Crochet Polar Bear Cub Pattern
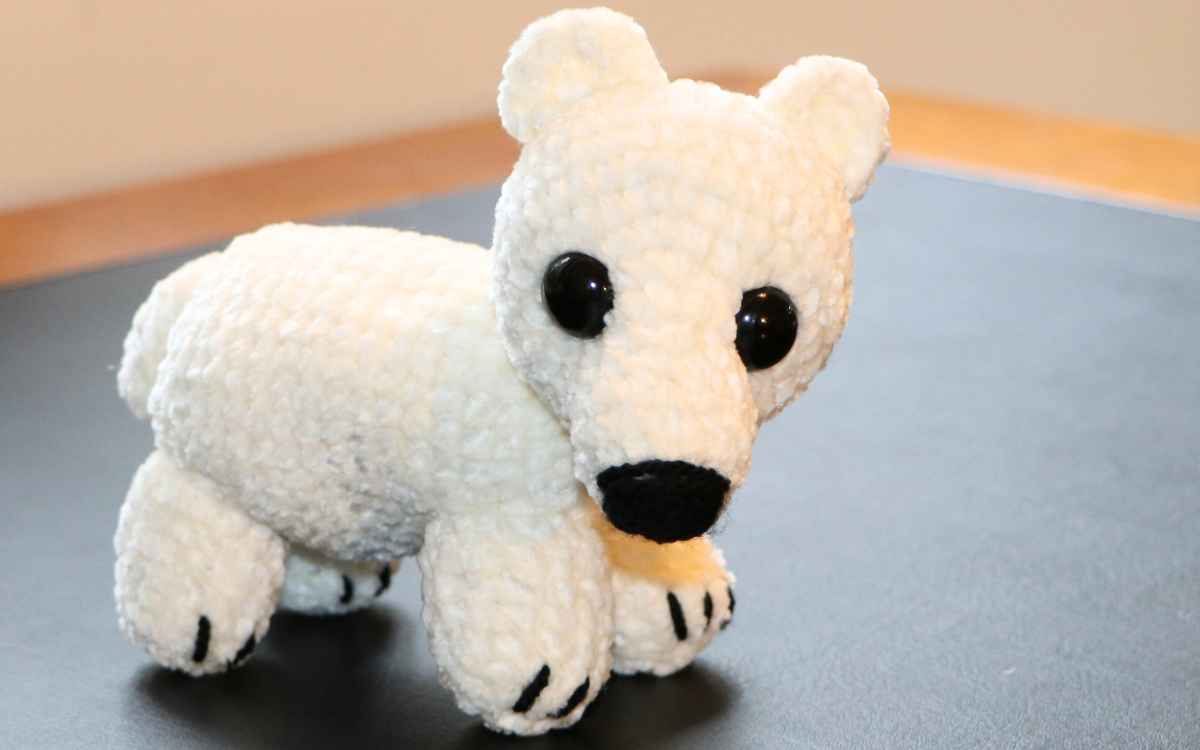
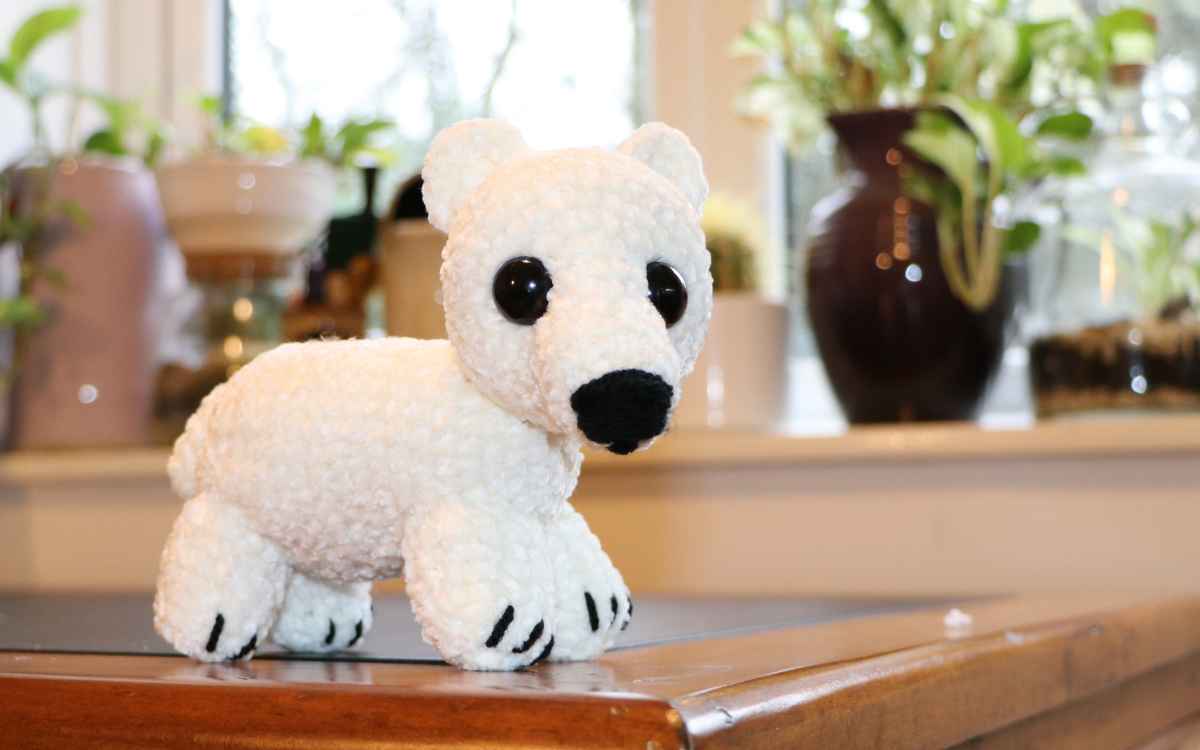
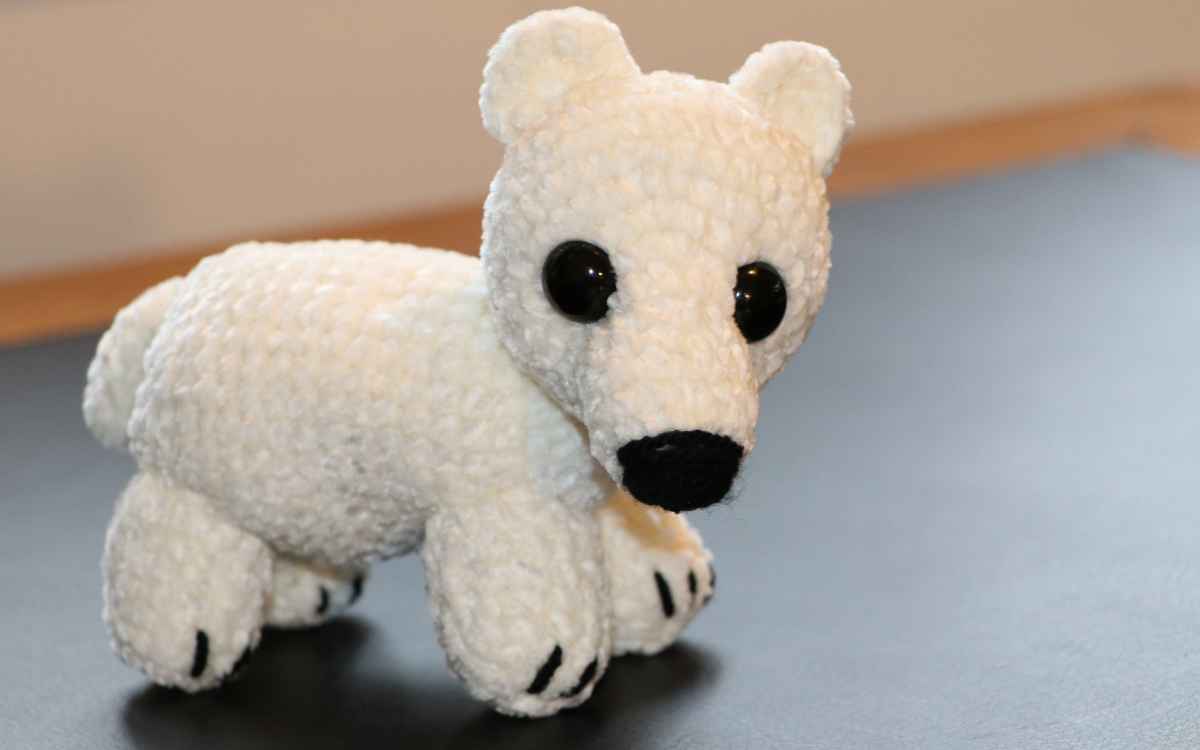
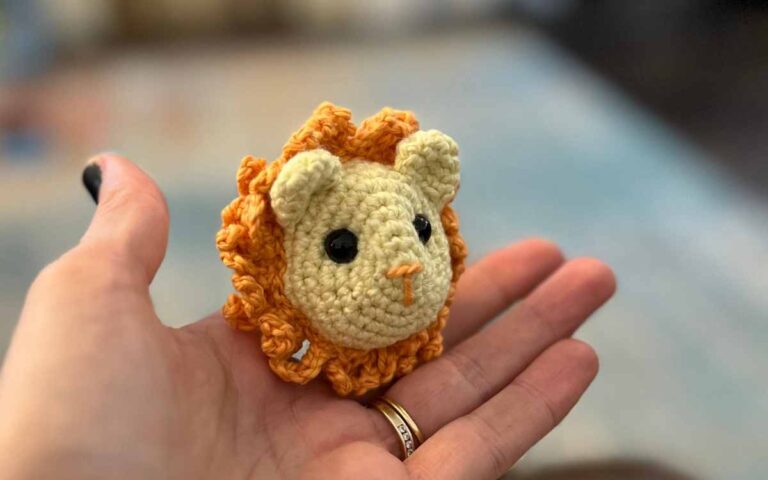
My fluffy crochet polar bear cub pattern is a celebration of one of the most impressive yet adorable animals in the world. Huge and fierce as adults, but so cute and cuddly looking as cubs! I hope I’ve managed to portray their classically cool personalities in my little amigurumi polar bear cub.
The design is simple, beginner friendly, and the details really add to the picture. You’ll find it’s a cute match for my sea creature designs too!
What You’ll Need
- 4mm crochet hook
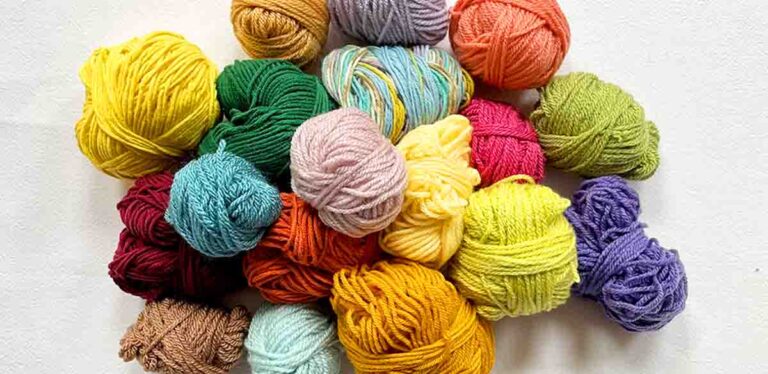
- 50g/1.8oz chunky chenille yarn*
- Toy safe stuffing*
- Tapestry needle
- 16mm safety eyes*
- Scrap of black yarn for the nose
Be picky about the chenille yarn you use, they are not all created equal! I worked with James Brett’s Flutterby yarn* for this, and was pleased with the outcome.
Pattern Notes
If you struggle to make magic circles with chenille yarn, you aren’t alone. You can either use the chain two method and make the number of single crochets for your magic circle into the chain, or add a strand of white acrylic yarn to your magic circle to allow you to tighten it more easily.
Here are some abbreviations you’ll see in the basket pattern:
- sc – single crochet
- sc2tog – use one single crochet to join two stitches together
- 2sc – put two single crochets into one stitch
Crochet Polar Bear Cub Pattern
This amigurumi polar bear pattern will be worked in sections. You’ll hand sew the pieces together when they are complete. You’ll be using a 4mm crochet hook, and the white chenille yarn for the entire bear. Just swapping to black for sewing the nose.
Crochet Polar Bear’s Head
Round 1
Make a magic circle of six stitches (6)
Round 2
2sc x 6 (12)
Round 3 – 5
1sc x 12 (12)
Round 6
(1sc, 2sc) x 6 (18)
Round 7
1sc x 18 (18)
Round 8
(1sc x 2, 2sc) x 6 (24)
Round 9
(1sc x 3, 2sc) x 6 (30)
Round 10
(1sc x 4, 2sc) x 6 (36)
Round 11 – 13
1sc x 36 (36)
Round 14
(1sc x 4, sc2tog) x 6 (30)
Round 15
(1sc x 3, sc2tog) x 6 (24)
Round 16
(1sc x 2, sc2tog) x 6 (18)
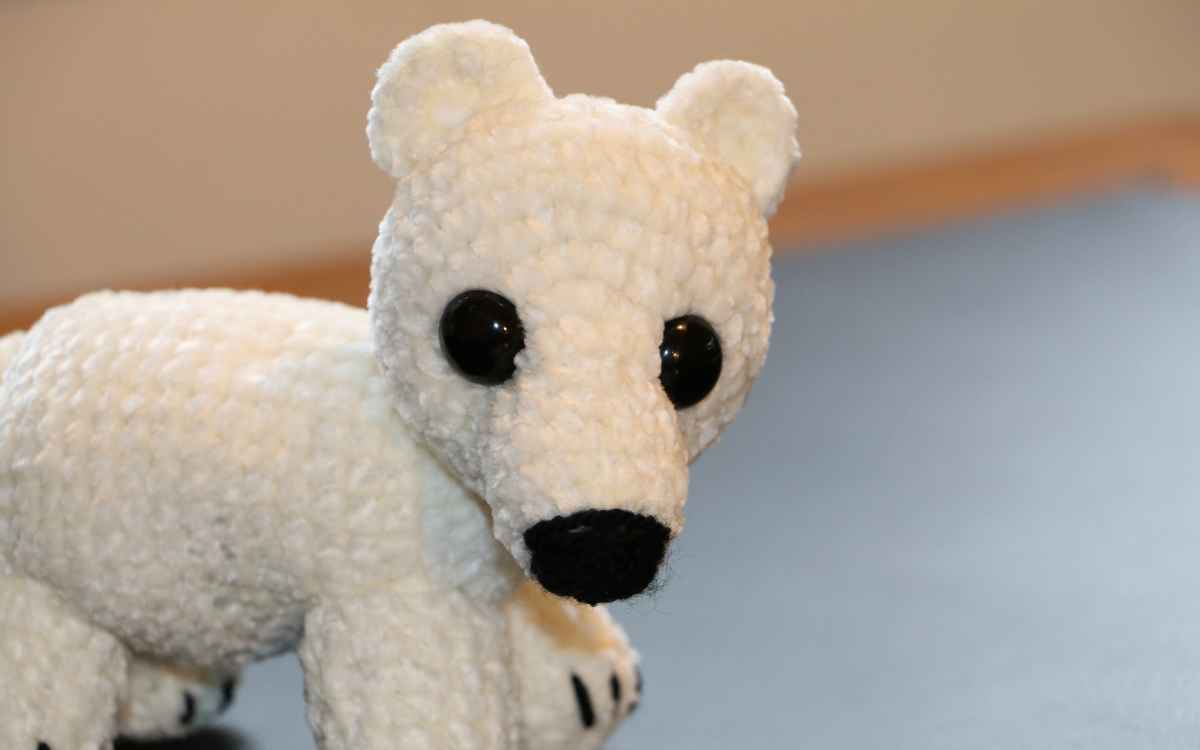
Insert safety eyes into the face, tying the backs together with a length of yarn to give them an inset look.
Round 17
1sc x 18 (18)
Stuff the head, ensuring that you get the stuffing into the snout.
Round 18
(1sc, sc2tog) x 6 (12)
Round 19
sc2tog x 6, then hand sew to close.
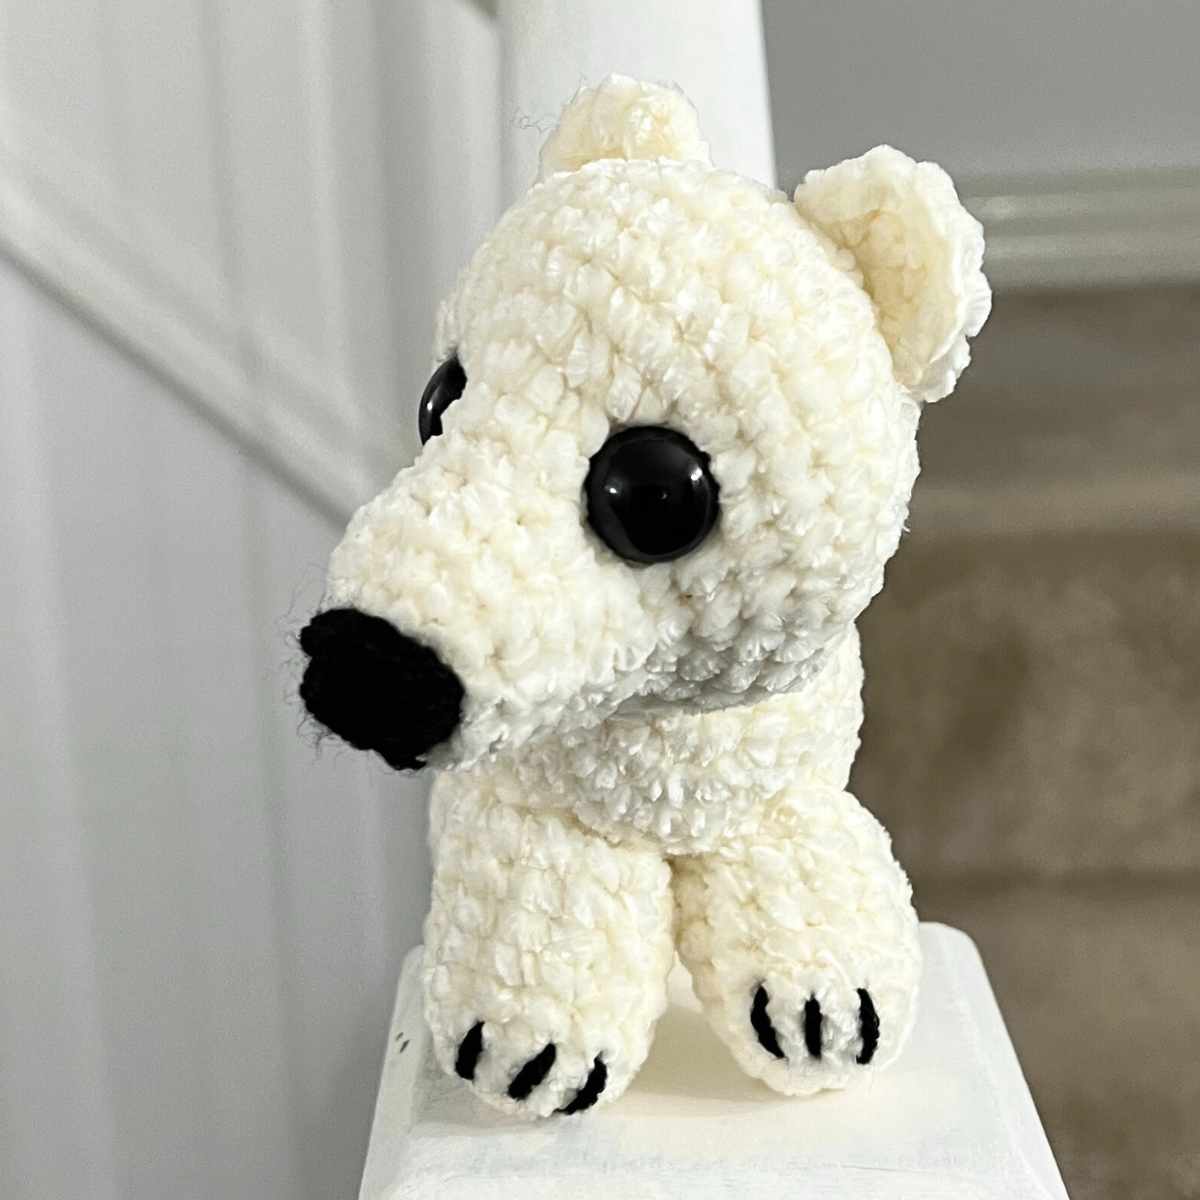
Sewing the Nose
Your polar bear needs a big black nose! I hand sewed mine using a scrap of worsted weight acrylic black yarn. I folded it to make it two strands thick, and very loosely sewed back and forth across the end of the nose.
Amigurumi Polar Bear Ears
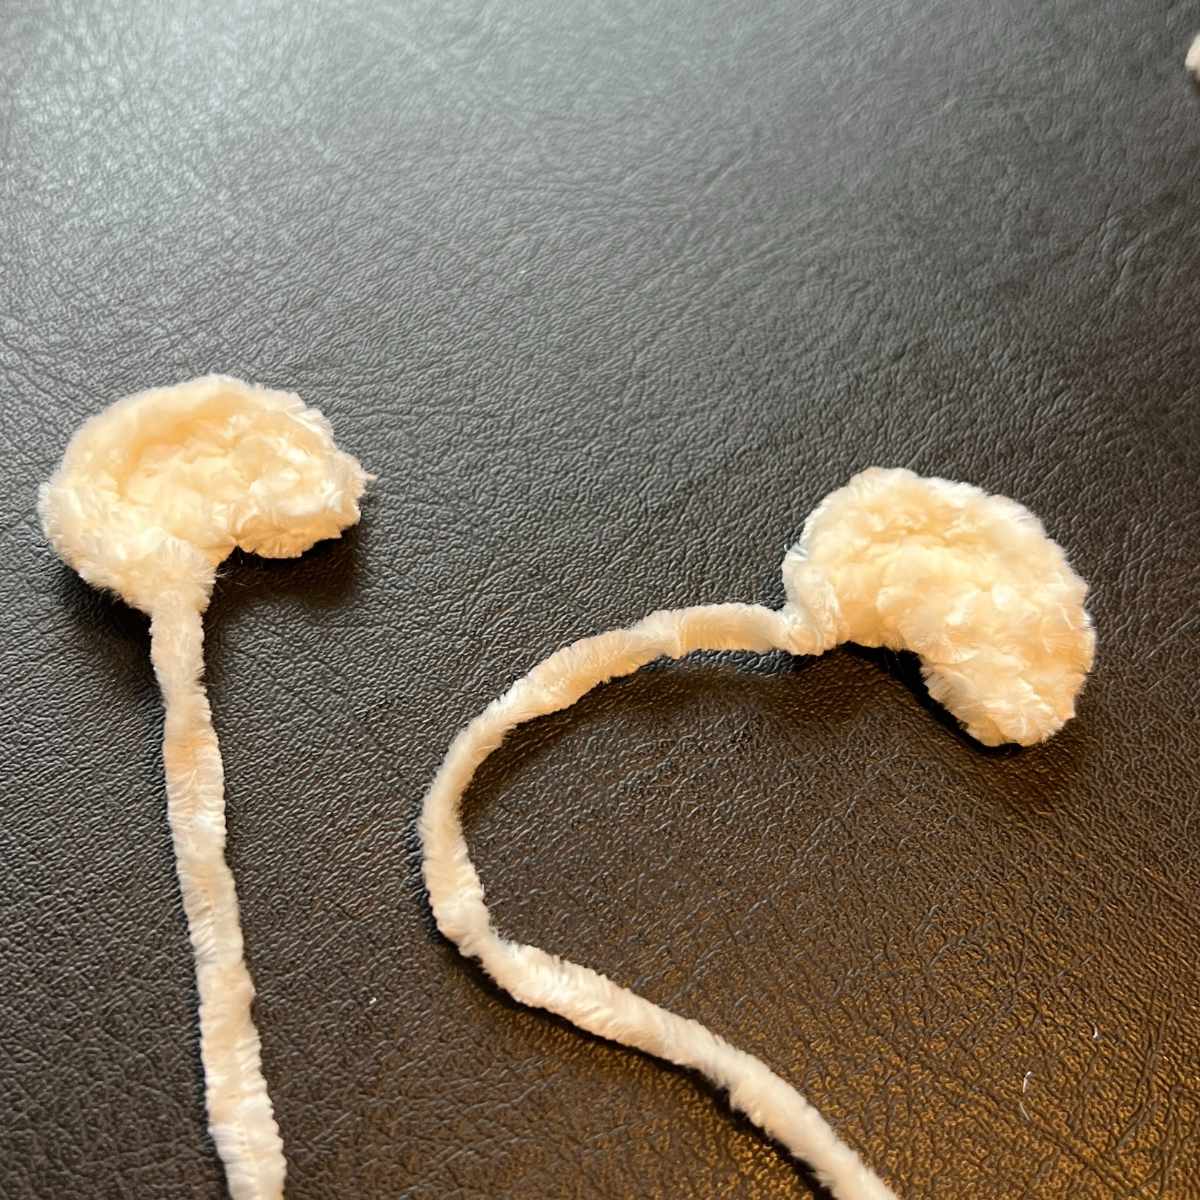
To create the ears you are going to work an open magic circle.
Make a magic circle of six stitches, but don’t close. Turn it over, chain one, then put a single crochet into each stitch.
Sew the ears around six stitches back from the eyes.
Crocheting Your Polar Bear’s Body

Round 1
Make a magic circle of eight stitches (8)
Round 2
2sc x 8 (16)
Round 3
(1sc, 2sc) x 8 (24)
Round 4 – 5
1sc x 24 (24)
Round 6
(1sc x 2, 2sc) x 8 (32)
Round 7 – 19
1sc x 32 (32)
Round 20
(1sc x 2, sc2tog) x 8 (24)
Round 21
1sc x 24
Round 22
(1sc, sc2tog) x 8 (16)
Stuff the body, evenly and sparingly.
Round 23
sc2tog to close
Sew The Polar Bear’s Head To His Body
Use your tapestry needle to weave in and out to join the head onto the magic circle end of the body. I recommend positioning it so that the nose is facing off center, as it adds to the character.
The Legs
Your amigurumi polar bear cub needs four identical legs. The stuffing is where you can accidentally end up with variation here, so be careful to pad them out equally.
Round 1
Make a magic circle of six stitches (6)
Round 2
2sc x 6 (12)
Round 3 – 8
1sc x 12 (12)
Slip stitch to join and fill completely with toy stuffing, leaving the tops open.
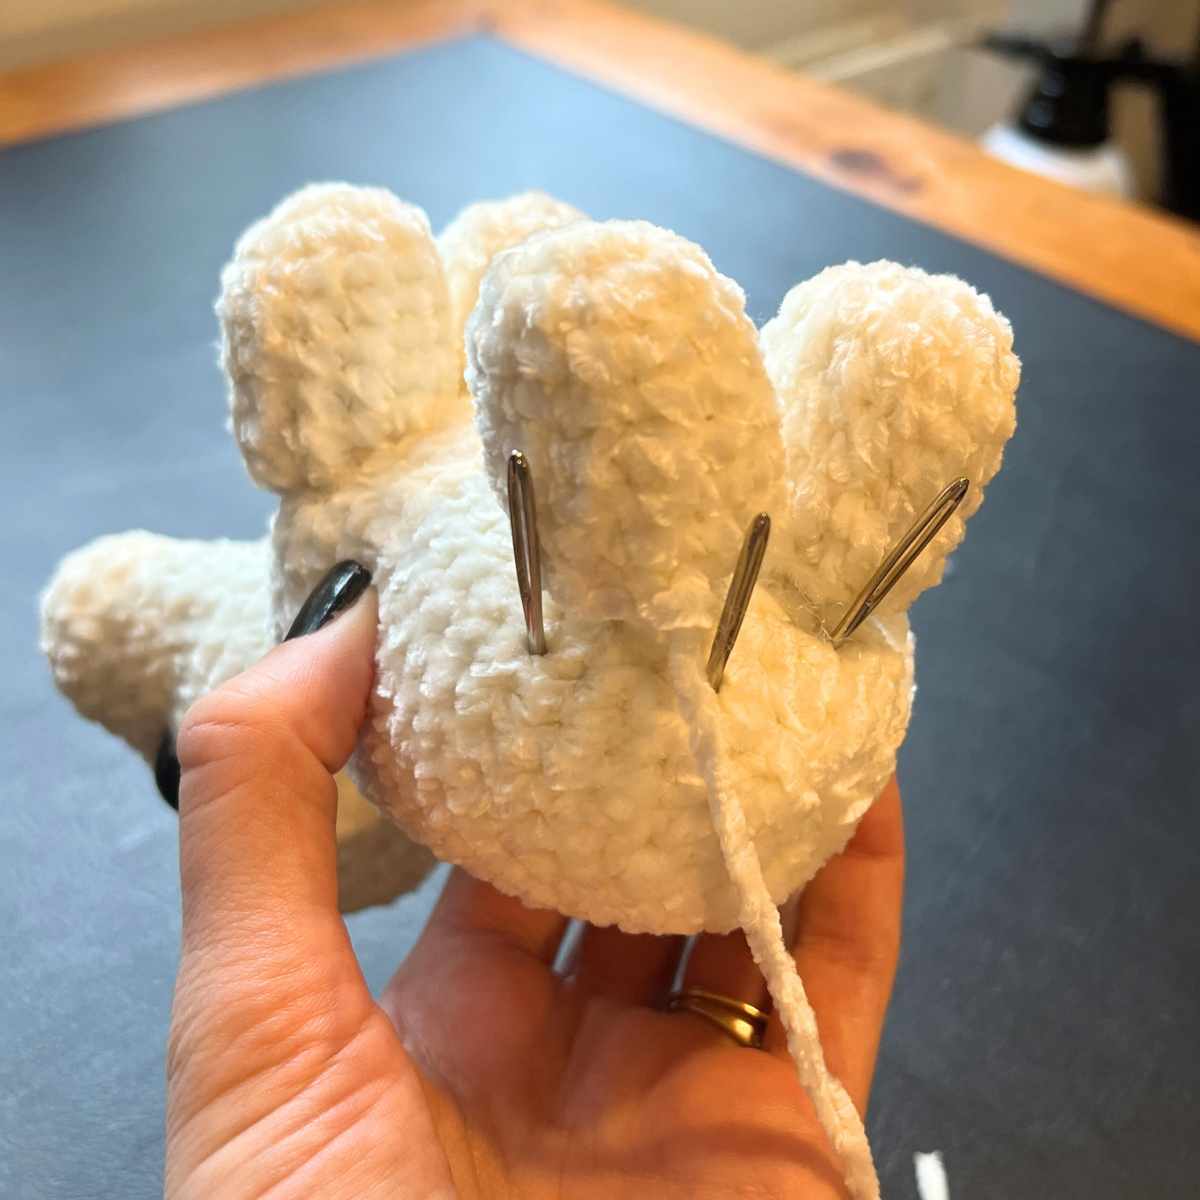
Sewing On The Legs
To attach your legs, first place them in pairs and check you are happy with the positioning. When you are confident they are in the right place you can pin them to ensure that they stay put as you sew. Using your needle, work around the outside open edge, and tightly sew each stitch of the circumference to the underside of your polar bear.
Crochet Polar Bear Tail
Polar bears have small tails that hang down at their behinds!
Round 1
Make a magic circle of five stitches (5)
Round 2 – 7
1sc x 5 (5)
Do not fill the tail, just sew the open end shut and onto the polar bear’s cute little butt!
Adding the Claws
You can now use a single strand of black yarn to sew the claws on. Just three stitches for each paw, approximately a crochet stitch apart and two crochet stitches long.
Your Crochet Polar Bear
Polar bears are all white, so there isn’t a lot of scope for variation with this pattern in the natural world, but that doesn’t mean you can’t liven up your design by getting creative and moving into the fun. A rainbow polar bear might be just the splash of awesome your craft room needs, after all!
Have fun with it, and most of all,
Happy Crocheting,
Lucy Kate, x
*The products linked in this pattern were carefully selected by Lucy Kate Crochet. If you decide to purchase using the links provided, we may earn a small commission on that sale. This is at no extra cost to you.


