How to Crochet a Twine Basket
This twice crochet basket pattern is a perfect beginner project. It uses simple techniques and the clear step by step instructions along with the pattern will help you to hook up a function, fun, twine basket.
Tips for Crocheting Rough Material
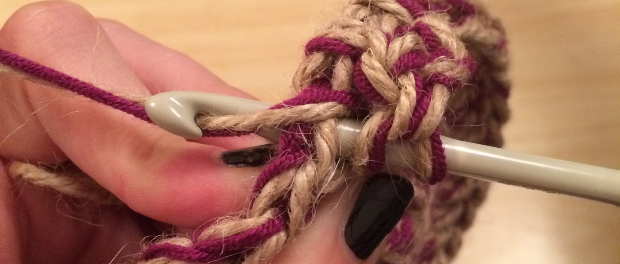
Twine is rough. It’s thick, hard to manipulate and has a sharp texture. When you make your crochet stitches with it you will not only have to work your fingers much harder than you do with yarn, but you will have to be careful to also pick up the soft yarn strand at the same time.
There are two ways around this friction problem for fellow soft-handed people. One is to limit your session times to an hour. When you have worked it for an hour, put it away somewhere safe and stop for a while or carry on with another project you have on the go.
Don’t pick it up again until the areas where friction was being created along your fingers is no longer sore. This might be in a number of minutes or hours, depending on you.
The other solution is to simply wear gloves. If you do this, make sure that they are very tight so that you can still work your fingers properly, and pick gloves made of leather.
Equipment Needed to Crochet a Twine Basket
To crochet this basket you will need the following:
- An aluminium 6mm crochet hook, with no hook grip.
- 300m of twine
- 100g of smooth yarn*
- A yarn needle*
- Scissors
Make sure that you have all of this equipment ready before you begin.
What hook should I use to Crochet Twine?
The biggest lesson I learned during the creation of this pattern, was which crochet hook to use. Primarily it needs to be a fairly large size, because the twine is thick and added to a strand of yarn. I chose a 6mm hook.
When stitching with a tough, thick material, you really need specific qualities to your hook.
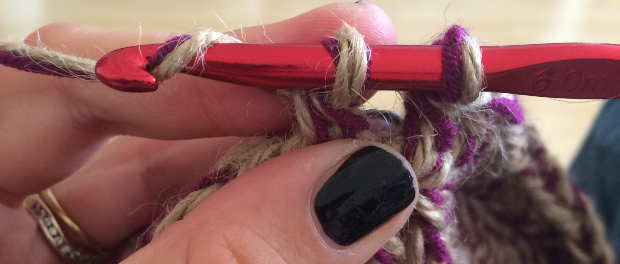
Firstly, it needs to have space. Thick, non-compressing material like twine needs room on the hook. The soft grip hook I tried to use initially picked up the strands and manipulated them well, but the strands simply didn’t fit on the hook.
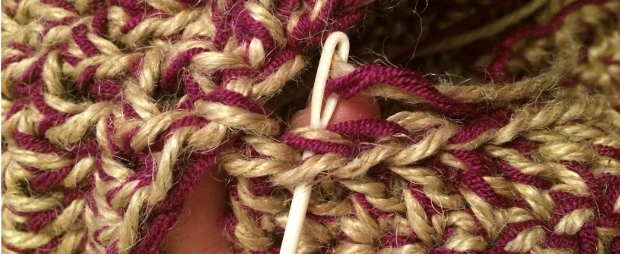
So I swapped to the white plastic hook shown. Whilst this is great for some yarn types, and had plenty of space, the end wasn’t pointed enough.
The next one I tried was a more pointed plastic hook, and this worked well for selecting stitches and moving them up the hook, but I couldn’t grip it hard enough to work the twine.
I finally moved on to one of the crochet hooks I have owned for years. One of my first set of hooks, it’s plain aluminium, straight up and down, with a fair but not excessive hook. It did the job.
To summarise – to crochet with twine you need a hook with space, a sharp point and a little friction.
Crochet Twine Basket Pattern
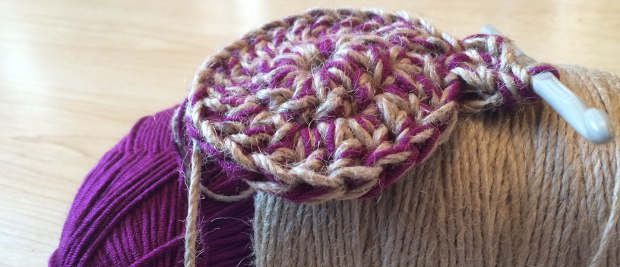
The base of this crochet basket begins with a standard circular increase. Moving onto a single back loop only row to create a flattened base. You then built this base by forming equally sized circles.
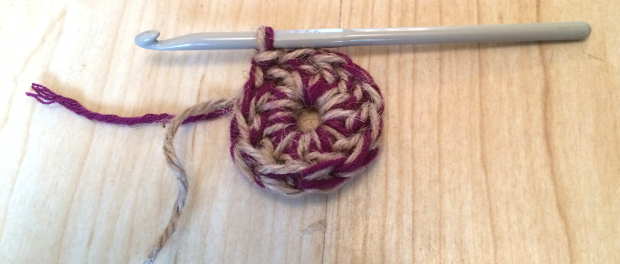
Row 1 – Chain (ch) 6 and join with a slip stitch (sl st) to form a circle (6)
Row 2 – Ch 3, put eleven double crochets US (dc) into the centre of the ring. Forming a ring of 12 stitches in total. Sl st to join (12)
Row 3 – Ch3, 1dc into the same stitch, 2dc into each subsequent st. Sl st to join. (24)
Row 4 – Ch3, *2dc into next st, 1dc into the following st. Repeat from *. Sl st to join at the end of the row. (36)
Row 5 – Ch3, 1 dc next st, *2dc next st, 1dc next 2 st. Rep from *. Sl st to join. (48)
Row 6 – Ch3, 1 dc next 2 st, *2dc next st, 1dc next 3 st. Rep from *. Sl st to join (60)
Row 7 – Ch3, 1 dc next 3 st, *2dc next st, 1dc next 4 st. Rep from *. Sl st to join (72)
Row 8 – Ch3, 1 dc next 4 st, *2dc next st, 1dc next 5 st. Rep from *. Sl st to join (84)
Row 9 – Ch3, 1 dc next 5 st, *2dc next st, 1dc next 6 st. Rep from *. Sl st to join (96)
Row 10 – Ch3, 1dc into the back loop only (blo) of the next 6 st, *2dc blo next st, 1dc blo next 7 st. Rep from *. Sl st to join (108)
Row 11 to 22 – Ch3 then dc in every stitch, sl st to join at the end of each row.
Crochet Twine Basket Handle
The handle of the basket is crocheted separately and sewn onto the main basket
- Row 1 – Ch 11 + 3 (14)
- Row 2 − 1dc in each stitch.
- Row 3 to 21 – Ch3, 1dc in each stitch to row end.
Once you have made your handle, using a yarn needle sew the handle onto the main basket at opposite sides.
I recommend attaching it at one side to the point that your rows begun and ended, as it will help to keep your basket looking neat.
Uses for the Crochet Twine Basket
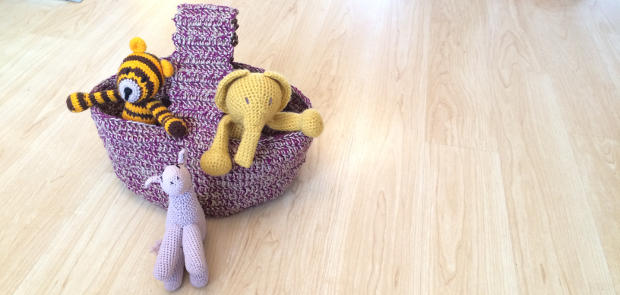
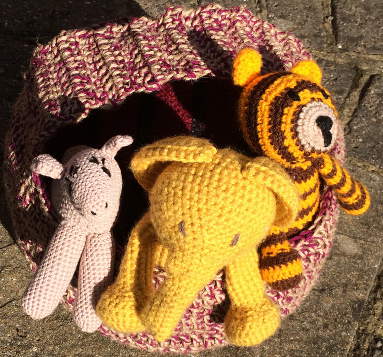
The finished basket is fairly large by design. I am using mine as a storage basket for my daughter’s toys.
I am attempting to make everything I can for her new room myself, and as any parent knows toy storage is a big deal for kids bedrooms.
It is functional and looks the part too.
I really love vintage and rustic looks, and trying to tie them in with a two year old’s room isn’t always easy.
Practicality is important too.
The wide, sturdy handle means that it’s easy to pick up and move around at play time, and just as simple to tidy up with at the end of the day.
The great thing about this basket is that it is so functional and there are loads of ways you can use it.
It would be fab for bringing your stock to a market day and displaying it whilst you are there. It would rock as an alternative, eco-friendly market basket.
The twine makes it strong and durable in a way that a pure yarn basket will be, even doubled up on strands. So simply stock it up with whatever you choose, and you’re ready to go!
*The products linked in this pattern were carefully selected by Lucy Kate Crochet. If you decide to purchase using the links provided, we may earn a small commission on that sale. This is at no extra cost to you.
