Free Crochet Puffer Fish Pattern
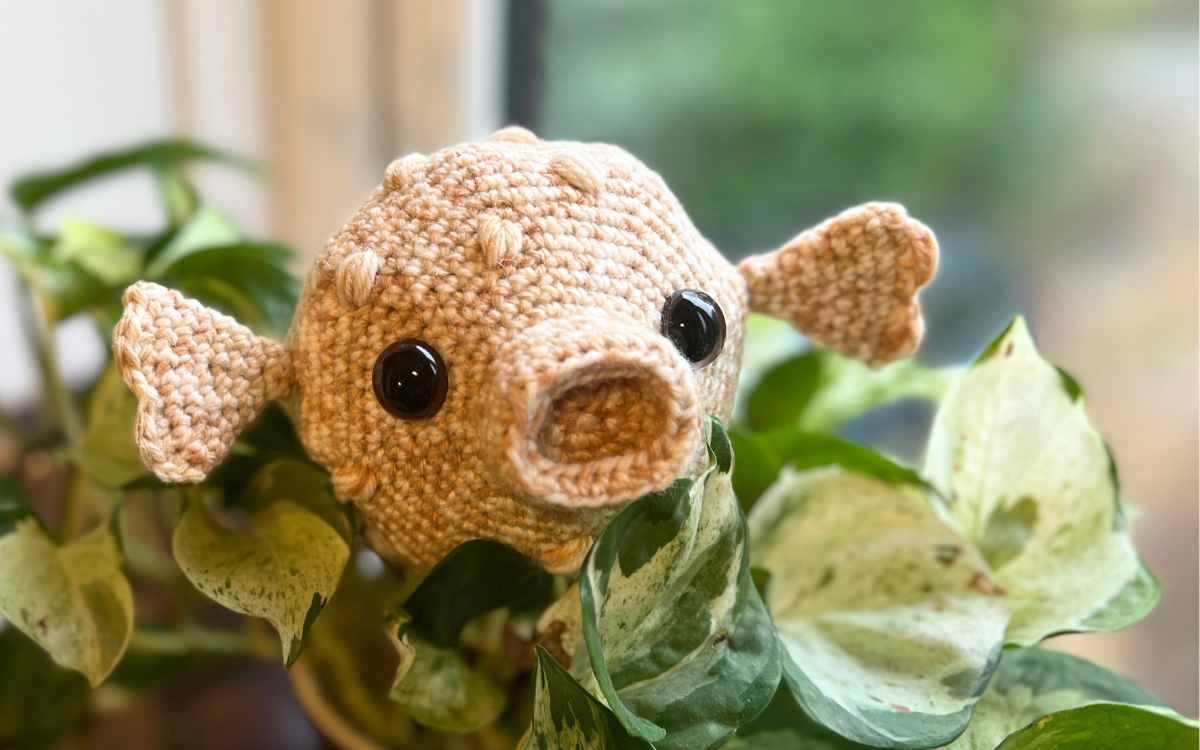
My free crochet puffer fish pattern is a quick, easy to hook up amigurumi design. It took me just a couple of days to produce. Whatever level of crocheter you are, you’ll be able to follow this simple pattern, and create your very own amigurumi puffer pal.
When you’re done, you can even make him a goldfish buddy.
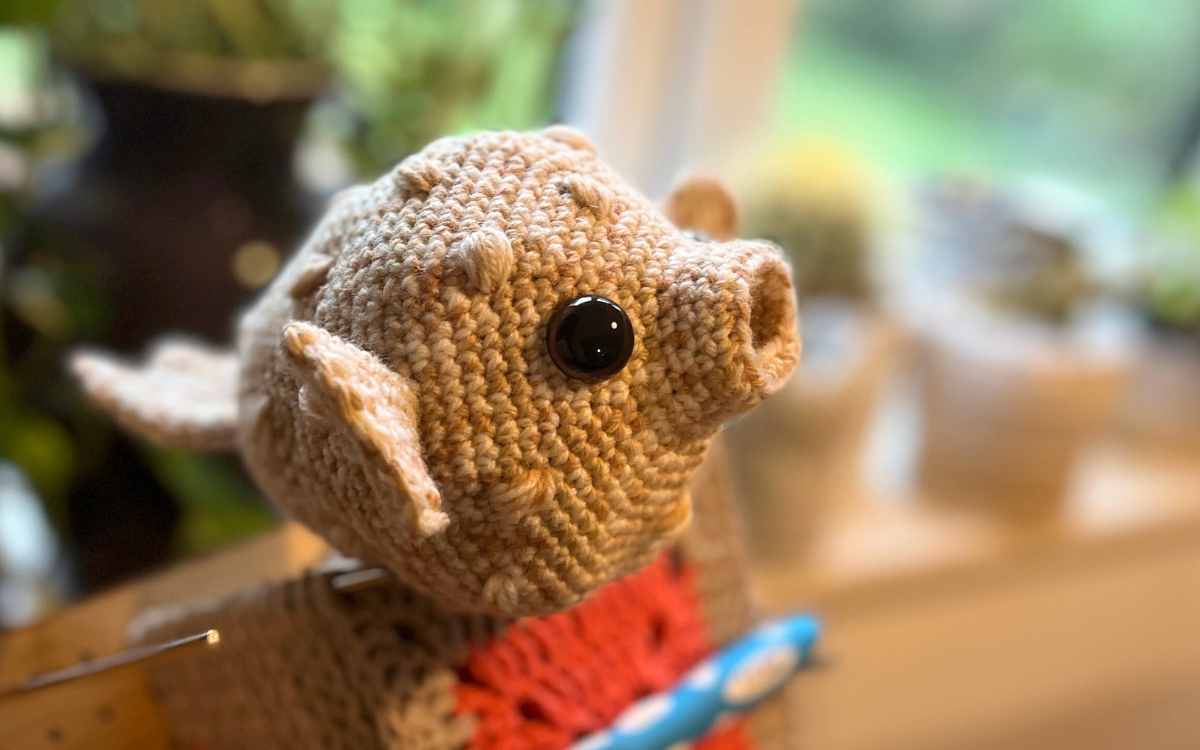
I created this pattern as an homage to a local shop’s cheerful store pet Mbu, Mr Puffy. Beloved by my son and stared at for several minutes every time we visit. Needless to say he’s been over the moon with his new toy, although we haven’t introduced it to the real Mr Puffy yet!
This crochet pattern also goes beautifully with my crochet seahorse and squid designs! You can check out all of my sea creature patterns here too.
What You’ll Need
- 50g/1.8oz variegated orange DK yarn
- 3.5mm crochet hook
- 16mm safety eyes*
- Toy safe stuffing*
- Yarn / tapestry needle
The yarn I used was out of my stash – a skein of DK Bergere de France Baronval. I am not sure this is still easily available, but any orange or brown shade of acrylic or wool blend Double Knit yarn* will do just fine.
Pattern Notes and Tips
You’ll find the following abbreviations and terms in this pattern:
- sc – single crochet
- 2sc – make two single crochets into the same stitch
- sc2tog – use a single crochet to join two stitches together
- BLO – back loop only
- FLO – front loop only
- dc – double crochet
- slst – slip stitch
The Free Crochet Puffer Fish Pattern
You’re going to crochet your puffer fish all in one color of yarn, using your 3.5mm crochet hook.
The Amigurumi Puffer Fish Body and Tail

Round 1
Make a magic circle of eight stitches (8)
Round 2
2sc x 8 (16)
Round 3
(1sc, 2sc) x 8 (24)
Round 4
FLO 1sc x 24 (24)
Round 5 – 6
1sc x 24 (24)
Round 7 – 8
BLO 1sc x 24 (24)
Round 9 – 11
1sc x 24 (24)
Round 12
(1sc x 2, 2sc) x 8 (32)
Round 13
1sc x 32 (32)
Round 14
(1sc x 3, 2sc) x 8 (40)
Round 15
1sc x 40 (40)
Round 16
(1sc x 4, 2sc) x 8 (48)
Round 17
1sc x 48 (48)
Round 18
(1sc x 5, 2sc) x 8 (56)
Round 19
(1sc x 6, 2sc) x 8 (64)
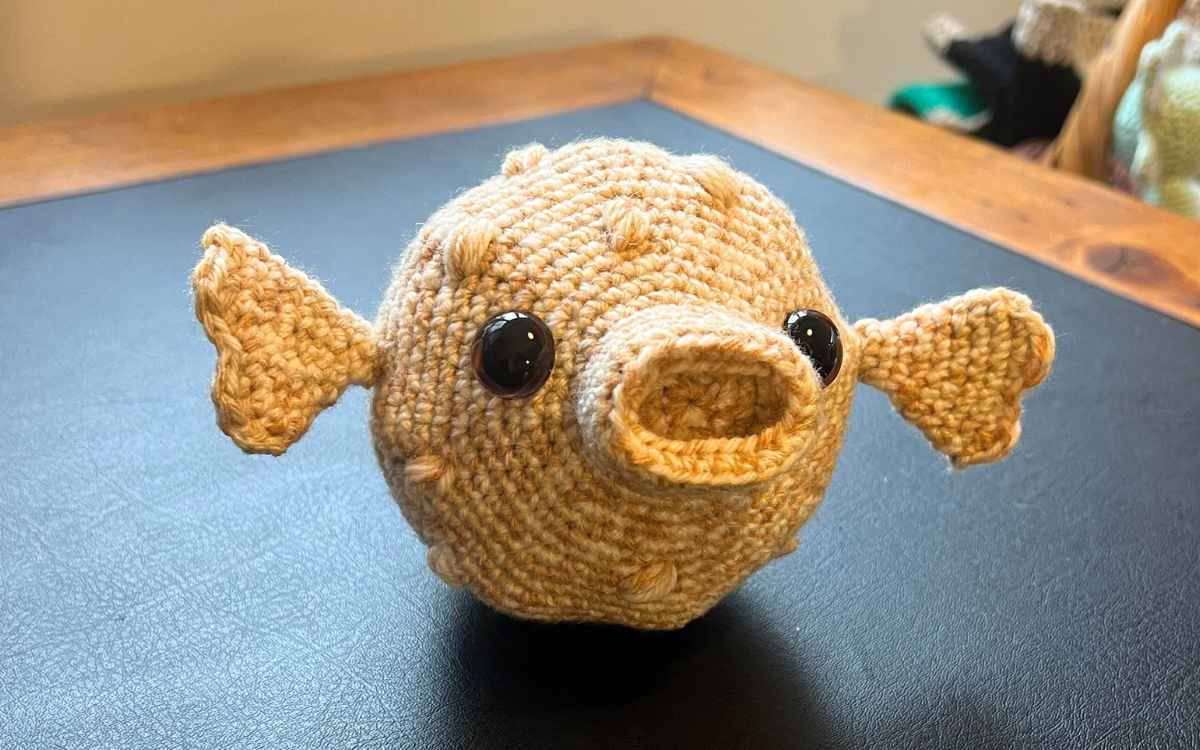
Insert safety eyes, in line with the top lip of the mouth, around four stitches to the left and right.
Round 20
(1sc x 7, 2sc) x 8 (72)
Round 21
(1sc x 8, 2sc) x 8 (80)
Round 22 – 23
1sc x 80 (80)
Round 24
(1sc x 8, sc2tog) x 8 (72)
Round 25
1sc x 72 (72)
Round 26
(1sc x 7, sc2tog) x 8 (64)
Round 27 – 28
1sc x 64 (64)
Round 29
(1sc x 6, sc2tog) x 8 (56)
Round 30 – 32
1sc x 48 (56)
Round 33
(1sc x 5, sc2tog) x 8 (48)
Round 34 – 36
1sc x 48 (48)
Round 37
(1sc x 4, sc2tog) x 8 (40)
Round 38
1sc x 40 (40)
Round 39
(1sc x 3, sc2tog) x 8 (32)
Round 40
1sc x 32 (32)
Round 41
(1sc x 2, sc2tog) x 8 (24)
Round 42
1sc x 24 (24)
Round 43
(1sc, sc2tog) x 8 (16)
Round 44
1sc x 16 (16)
Fill the body with toy safe stuffing, leaving the mouth unfilled so that you can indent it.
Round 45
sc2tog x 8 (8)
Increasing for the tail
Round 46
1sc x 8 (8)
Round 47
2sc x 8 (16)
Round 48
(1sc, 2sc) x 8 (24)
Round 49 – 54
1sc x 24 (24)
Finishing the tail
To detail the tail you’ll now need to crochet the end flat and closed. Make sure you line it up along the same angle as the eyes, so it doesn’t look wonky.
Make 1sc until you reach the end point, then single crochet the two sides together. You’ll end up with a row of 12 stitches.
At the end of that row, turn your fish and work back into it, put 1slst, 1sc, 2dc, 1sc, 1slst twice, and tie off at the end of the row, and hide the yarn tail in the fish tail!
Crochet Puffer Fish Fins
You’ll be crocheting your puffer fish’s fins from flattened magic circles, with a similar finish to the tail.

Round 1
Make a magic circle of six stitches (6)
Round 2 – 3
1sc x 6 (6)
Round 4
2sc x 6 (12)
Round 5 – 6
1sc x 12 (12)
Round 7
(1sc, 2sc) x 6 (18)
Round 8 – 9
1sc x 18 (18)
Single crochet across the end through pairs of stitches to close the fin. Now make the following stitches along your single crochets:
1sc, 2dc, 1sc, slst, 1sc, 2dc, 1sc, slst.
Tie off, and secure the loose thread inside the fin. You can now hand sew them onto your crocheted puffer fish’s body in line with the tops of the eyes.
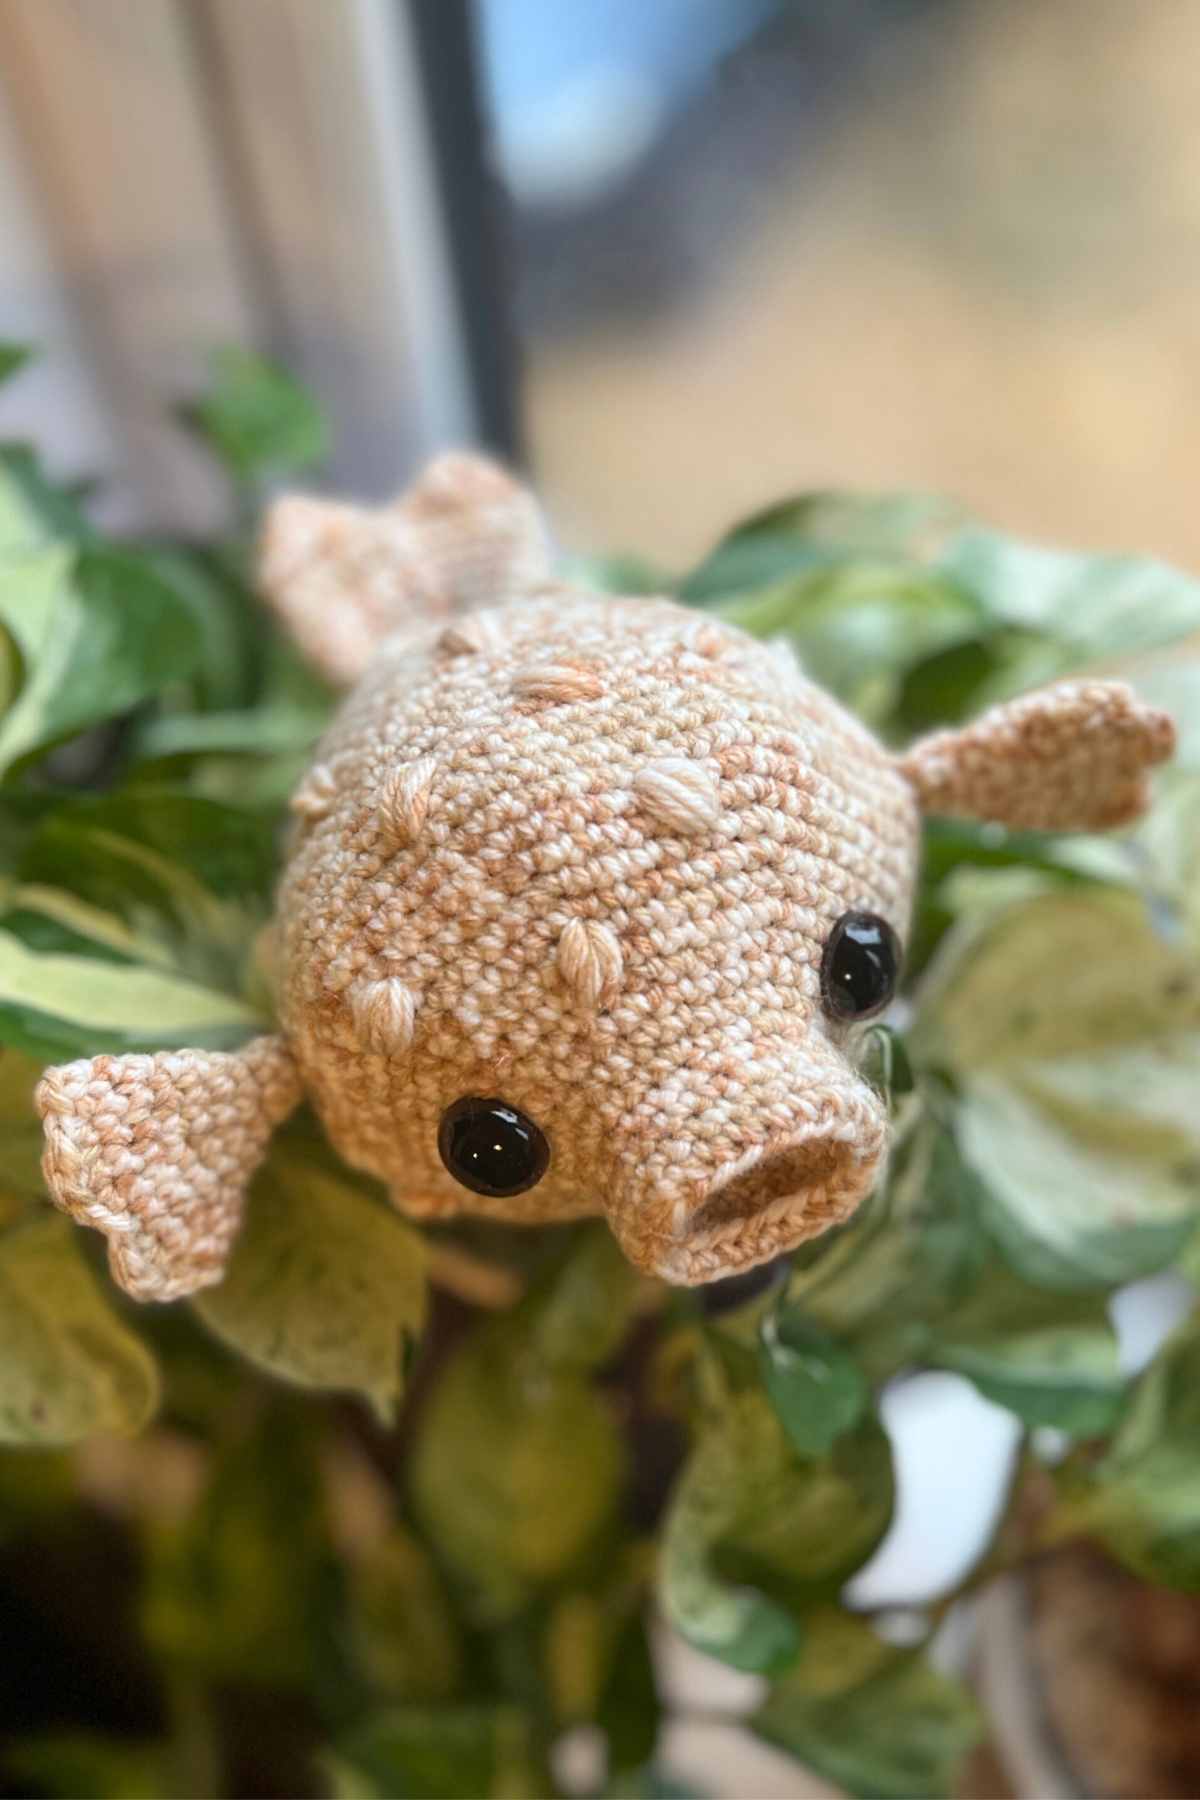
Creating Your Puffer Fish’s Surface Markings
Now it’s just a case of adding those final lumpy fish skin details. Take a length of your yarn, and double it up. Thread the two strands through your needle and work approximately twenty ridges into your fish at random uneven places.
Work the needle in a weaving motion four times through the surface, with a gap of two stitches in length.
I can’t wait to see your finished puffer fish if you’d like to tag me on Instagram! And don’t be afraid to add your own finishing touches if you want to!
And don’t forget that your puffer fish will go great with a squid or seahorse pal!
Happy Crocheting,
Lucy Kate, x
*The products linked in this pattern were carefully selected by Lucy Kate Crochet. If you decide to purchase using the links provided, we may earn a small commission on that sale. This is at no extra cost to you.


