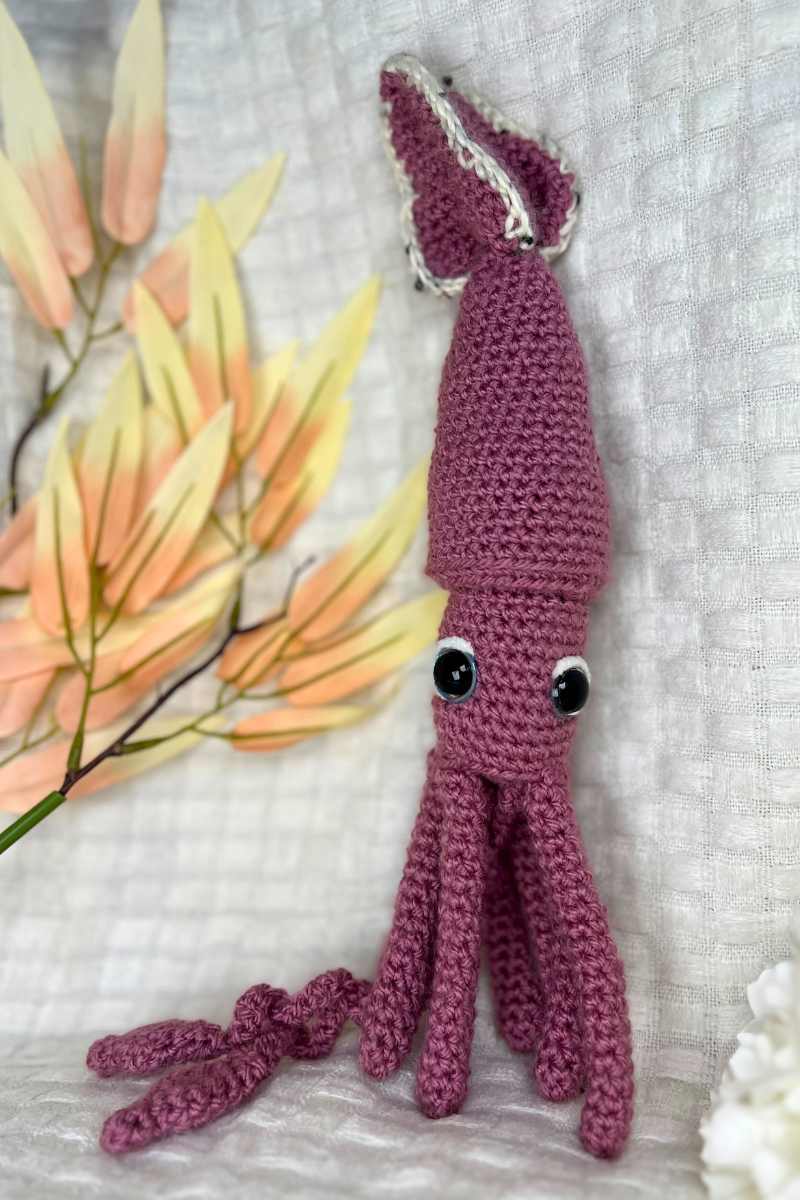
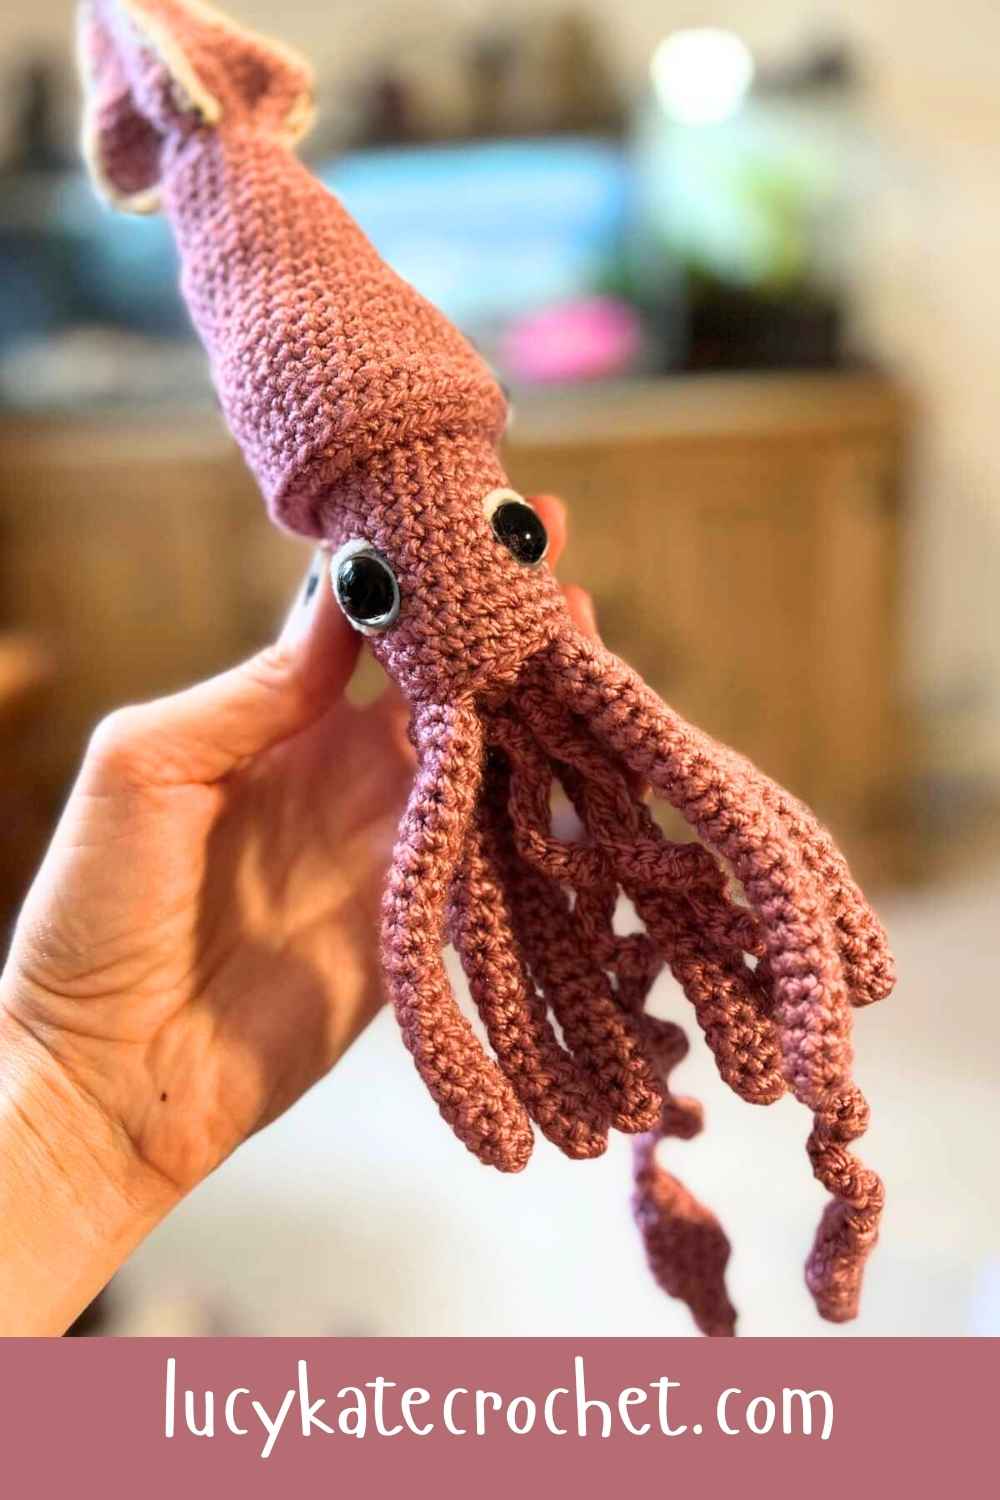
Free Cute Crochet Squid Pattern

My free crochet squid pattern isn’t just cute, it’s quick and easy to hook up! The amigurumi squid’s design is worked in the round from central magic circles, with a few chains and a little surface crocheting thrown in for good measure.

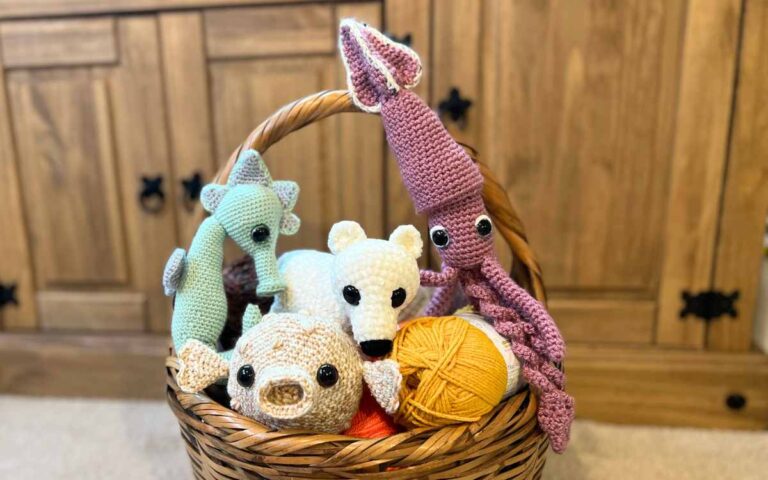
It’s a perfect match for my puffer fish and amigurumi seahorse patterns, too!
Your Kit List
You won’t need much in the way of kit to crochet your own cute crochet cephalopod:
- 1.8oz / 50g pink aran weight yarn
- Scraps of cream aran weight yarn
- 4mm crochet hook
- 3mm crochet hook (optional for surface crocheting)
- 16mm safety eyes*
- Toy safe stuffing*
- Yarn needle
The pink yarn I used was Stylecraft’s Highland Heather aran yarn* in Wild Salmon. For the eye definition I used a scrap of James C Brett’s Flutterby chenille yarn*, and for the surface crocheting around the fins I used aran weight Knitcraft Change It Up recycled yarn in white.

Pattern Tips and Techniques
Here are the translations for the abbreviations you’ll find in the pattern. Follow the links to check out tutorials for any techniques that aren’t familiar to you.
- sc – single crochet
- 2sc – make two single crochets into the same stitch
- sc2tog – use a single crochet to join two stitches together
- BLO – back loop only
- FLO – front loop only
- ch – chain
- sk – skip the next stitch
- slst – slip stitch
The Free Crochet Squid Pattern
You’re going to crochet your amigurumi squid toy in a few sections, using your pink aran weight yarn and 4mm crochet hook.
Start With The Fin

Round 1
Make a magic circle of eight stitches (8)
Round 2 – 3
1sc x 8 (8)
Round 4
2sc x 8 (16)
Round 5 – 9
1sc x 16 (16)
Round 10
(1sc, 2sc) x 8 (24)
Round 11
1sc x 24 (24)
Round 12
(1sc x 2, 2sc) x 8 (32)
Round 13
(1sc x 3, 2sc) x 8 (40)
Round 14
(1sc x 3, sc2tog) x 8 (32)
Round 15
(1sc x 2, sc2tog) x 8 (24)
Round 16
(1sc, sc2tog) x 8 (16)
Lightly stuff just the central ridge section of the fin.
Flatten the open end, thread your yarn needle and sew your 16 stitches closed, so that it’s 8 stitches wide.
Crocheting Your Squid
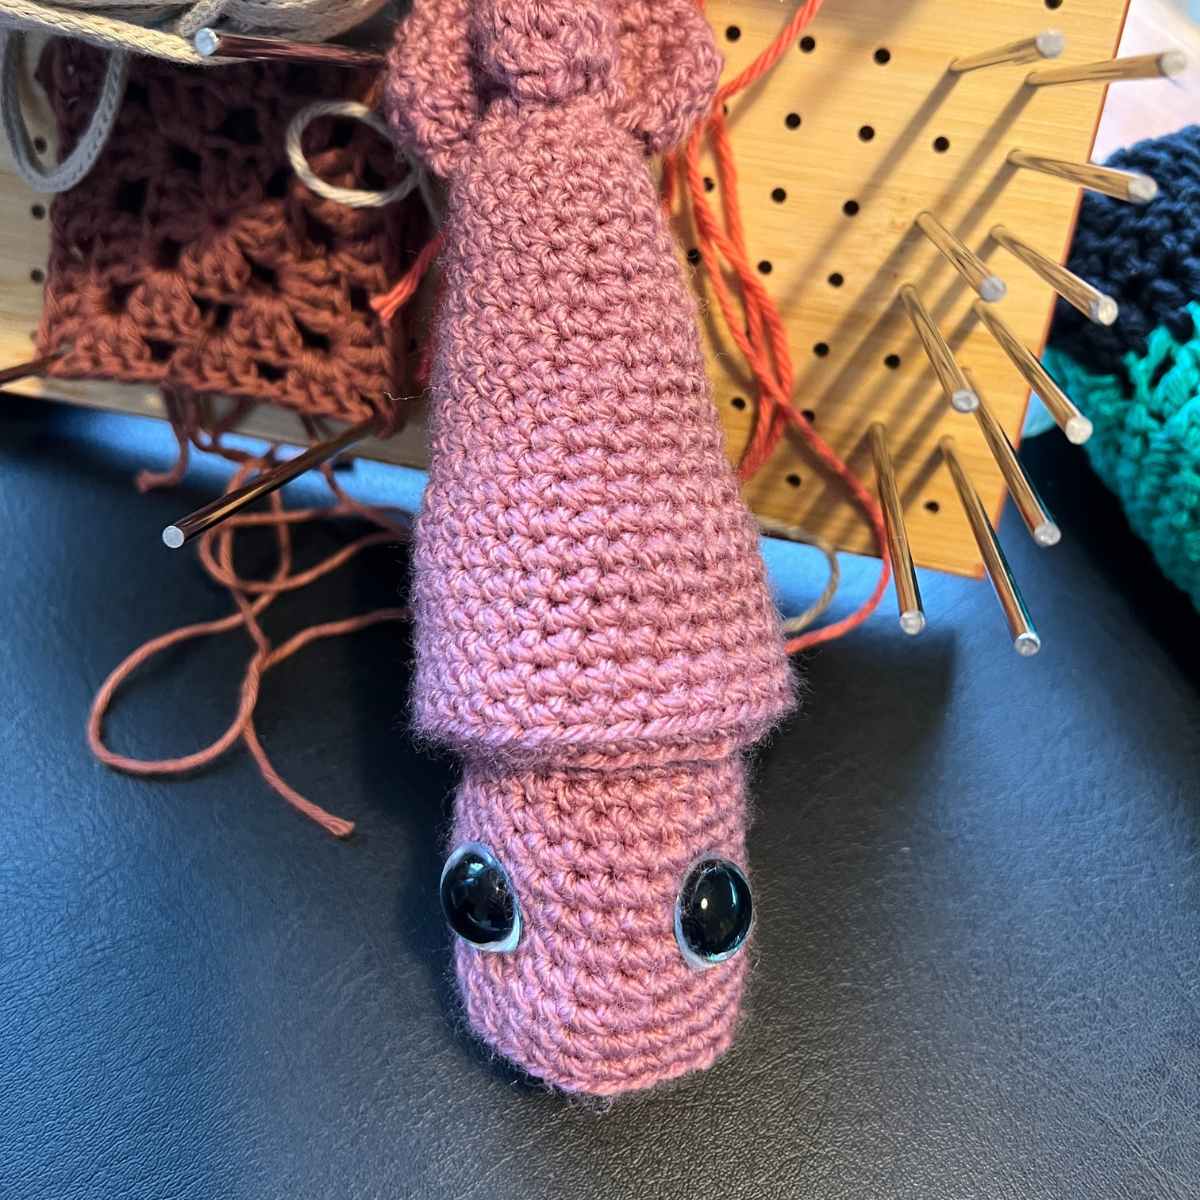
The bulk of my crochet squid pattern’s head and body is worked in the round, just keep an eye out for the few back and front loop only sections.

Round 1
Make a magic circle of six stitches (6)
Round 2
2sc x 6 (12)
Round 3
1sc x 12 (12)
Round 4
(1sc, 2sc) x 6 (18)
Round 5 – 8
1sc x 18 (18)
Round 9
(1sc x 2, 2sc) x 6 (24)
Round 10 – 15
1sc x 24 (24)
Round 16
(1sc x 3, 2sc) x 6 (30)
Round 17 – 23
1sc x 30 (30)
Round 24
BLO 1sc x 30 (30)
Round 25
BLO (1sc x 3, sc2tog) x 6 (24)
Round 26
FLO 1sc x 24 (24)
Round 27 – 33
1sc x 24 (24)

Now sew your fin section onto the top of the magic circle at the start of this piece. Weave in and out of the area you sewed flat, securing it tightly with your needle.
Stuff the squid up to about round 27.
Round 34 – 36
1sc x 24 (24)
Insert the safety eyes in at the round 31 level, and tie the backs together to inset them slightly.
Round 37
BLO (1sc x 2, sc2tog) x 6 (18)
Round 38
(1sc, sc2tog) x 6 (12)
Stuff the remainder of your toy squid.
Round 39
sc2tog x 6, then hand sew to close.
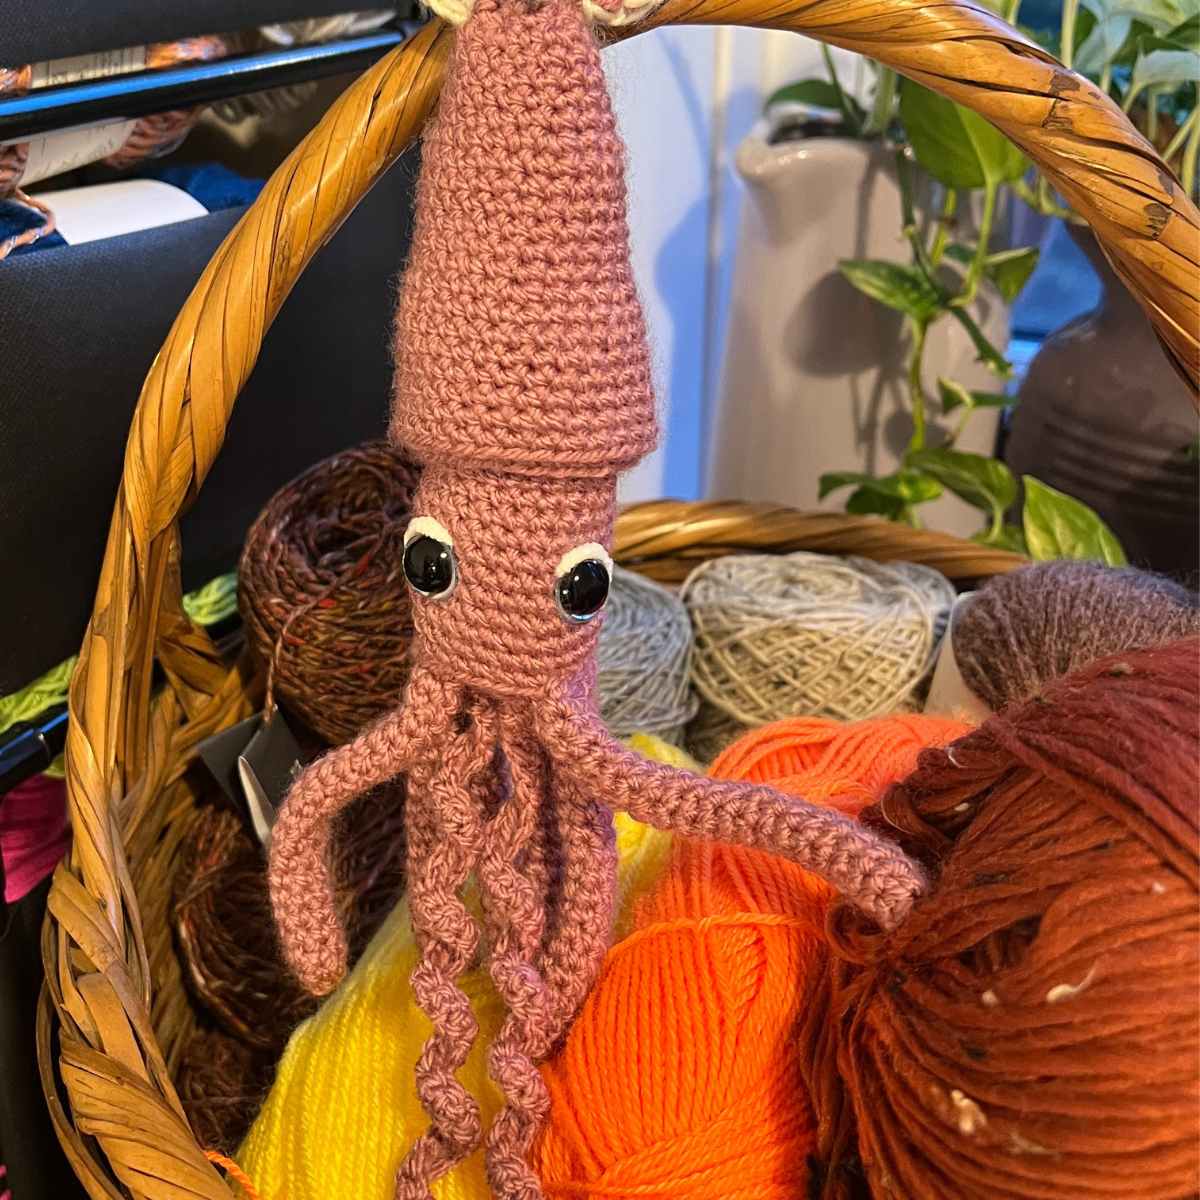
Crochet Squid Arms
Round 1
Make a magic circle of six stitches (6)
Round 2 – 21
1sc x 6 (6)
Don’t stuff your arms, just slip stitch to close and leave a long train of yarn for sewing later.
Attaching the Arms
I recommend that you use stitch markers to evenly space your arms around your squid before you sew them into place. When you’ve made all six, using your yarn needle weave in and out of the top of the arm and the base of your squid, using your markers to guide you.
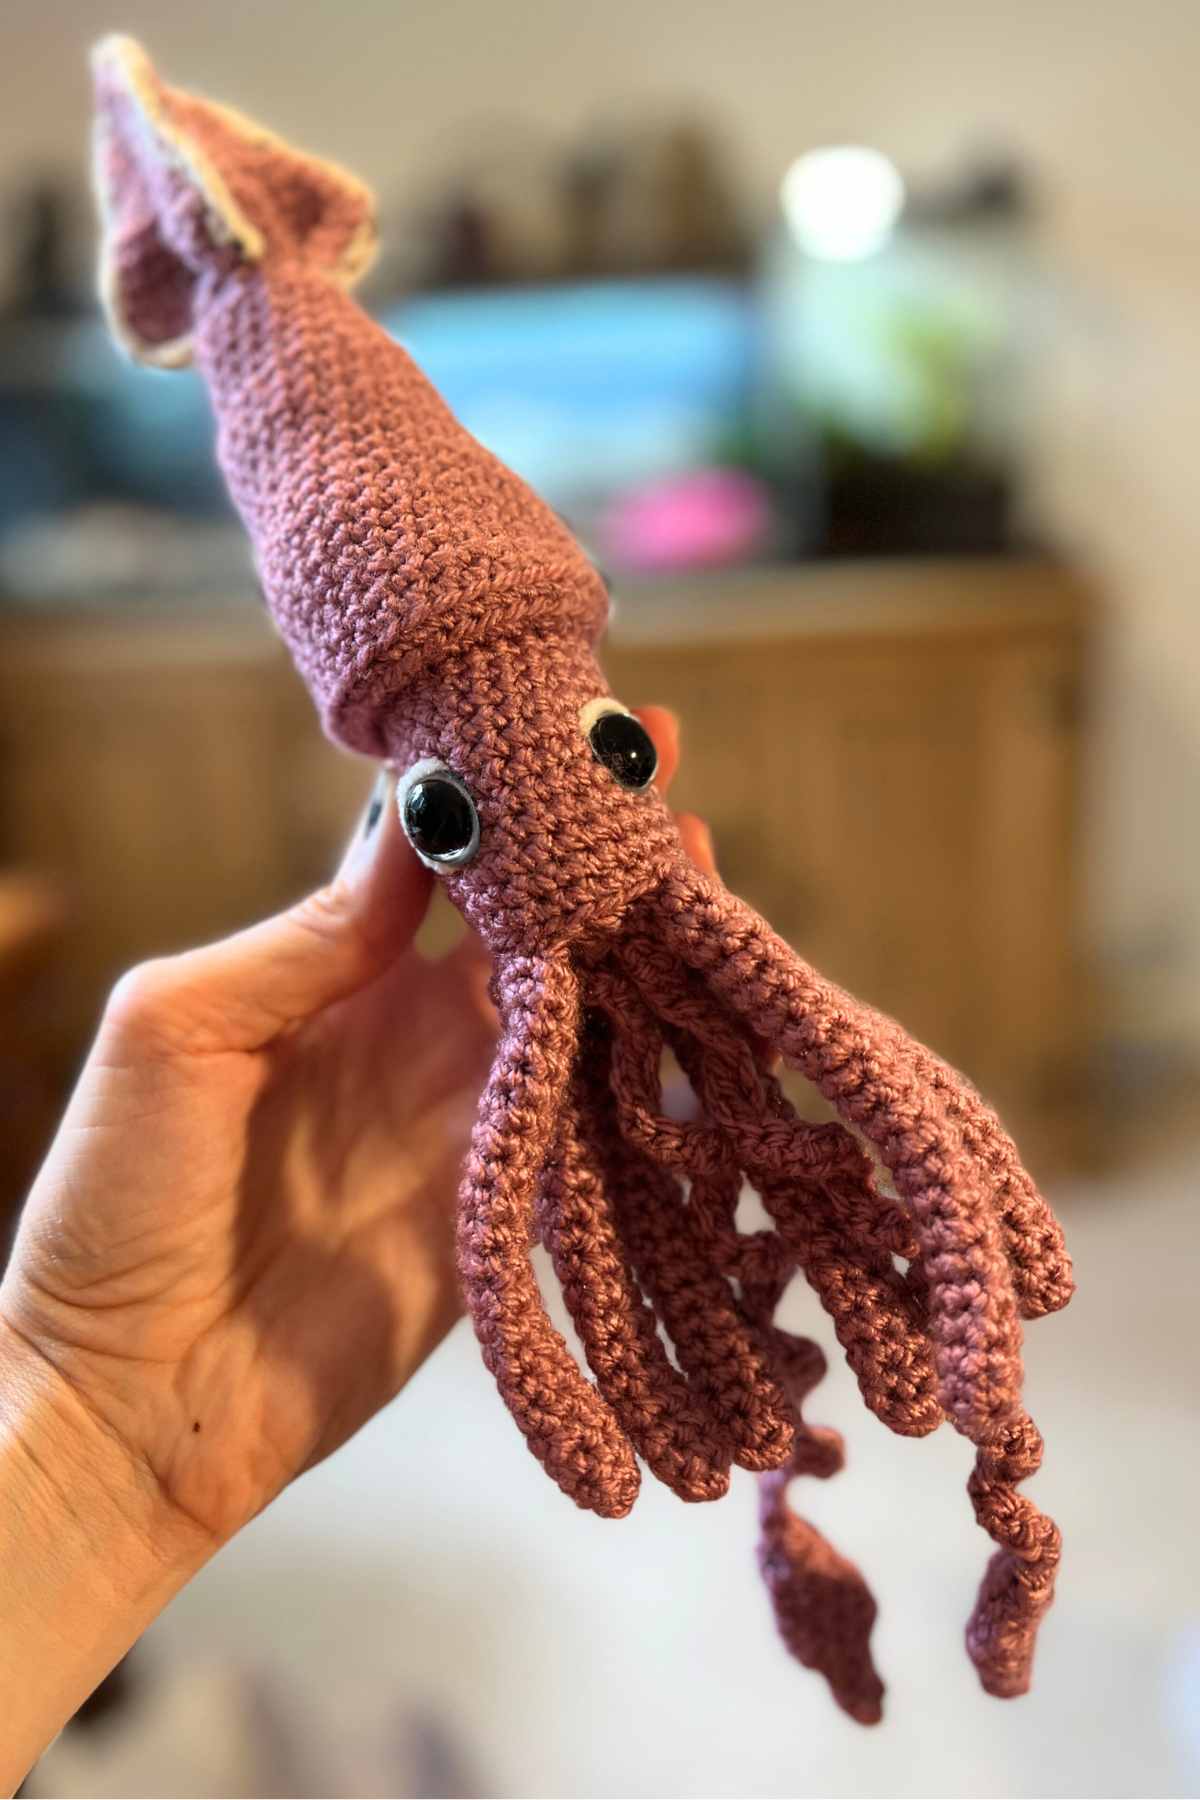
Amigurumi Squid Tentacles
Round 1
Make a magic circle of four stitches (4)
Round 2 – 3
1sc x 4 (4)
Round 4
2sc x 4 (8)
Round 5
(1sc, 2sc) x 2, 1sc x 4 (10)
Round 6
(1sc, sc2tog) x 2, 1sc x 4 (8)
Round 7
sc2tog x 2, 1sc x 4 (6)
Round 8 – 9
1sc x 6 (6)
We’re now going to move out of working in the round, to stretch out the tentacles.
Ch40, sk, 1sc x 39, slst to the next stitch to secure.
Thread your needle with the yarn tail and sew a few stitches at the top of the pointed end of the tentacle to give it some definition and hide the yarn thread.
You can now sew your two tentacles to the bottom of your crochet squid’s body, so that they hang down between the arms.
Finishing Touches
Surface crochet and a little bit of light sewing will finish off your crocheted squid nicely.
To give the eyes definition thread your needle with the cream yarn, then inserting it from the back of the squid, push the needle out at the edge of the eye, then stitch over the eye until almost the opposite side, and push it back through to the back. Repeat for the other side, and tie the ends together. You can then hide them inside the head.
To define the fine, surface crocheting around the three edges. You might find this easier with a slightly smaller crochet hook, I used a 3mm for mine.
Your Crochet Squid
I must admit, my squid isn’t just pink because some squids are a pinkish shade, it’s because I love this yarn and wanted to use it on something. If you have a yarn that you love, why not make your amigurumi in it? Realism is great, but sometimes, especially with sea creatures, a creative color twist can take a toy to a whole new level.
Just a thought! Let me know what you think?
Oooh, and you might like to crochet him some sea creature pals, so do check out my seahorse and puffer fish patterns too when you’re done!
Happy Crocheting,
Lucy Kate, x
*The products linked in this pattern were carefully selected by Lucy Kate Crochet. If you decide to purchase using the links provided, we may earn a small commission on that sale. This is at no extra cost to you.
