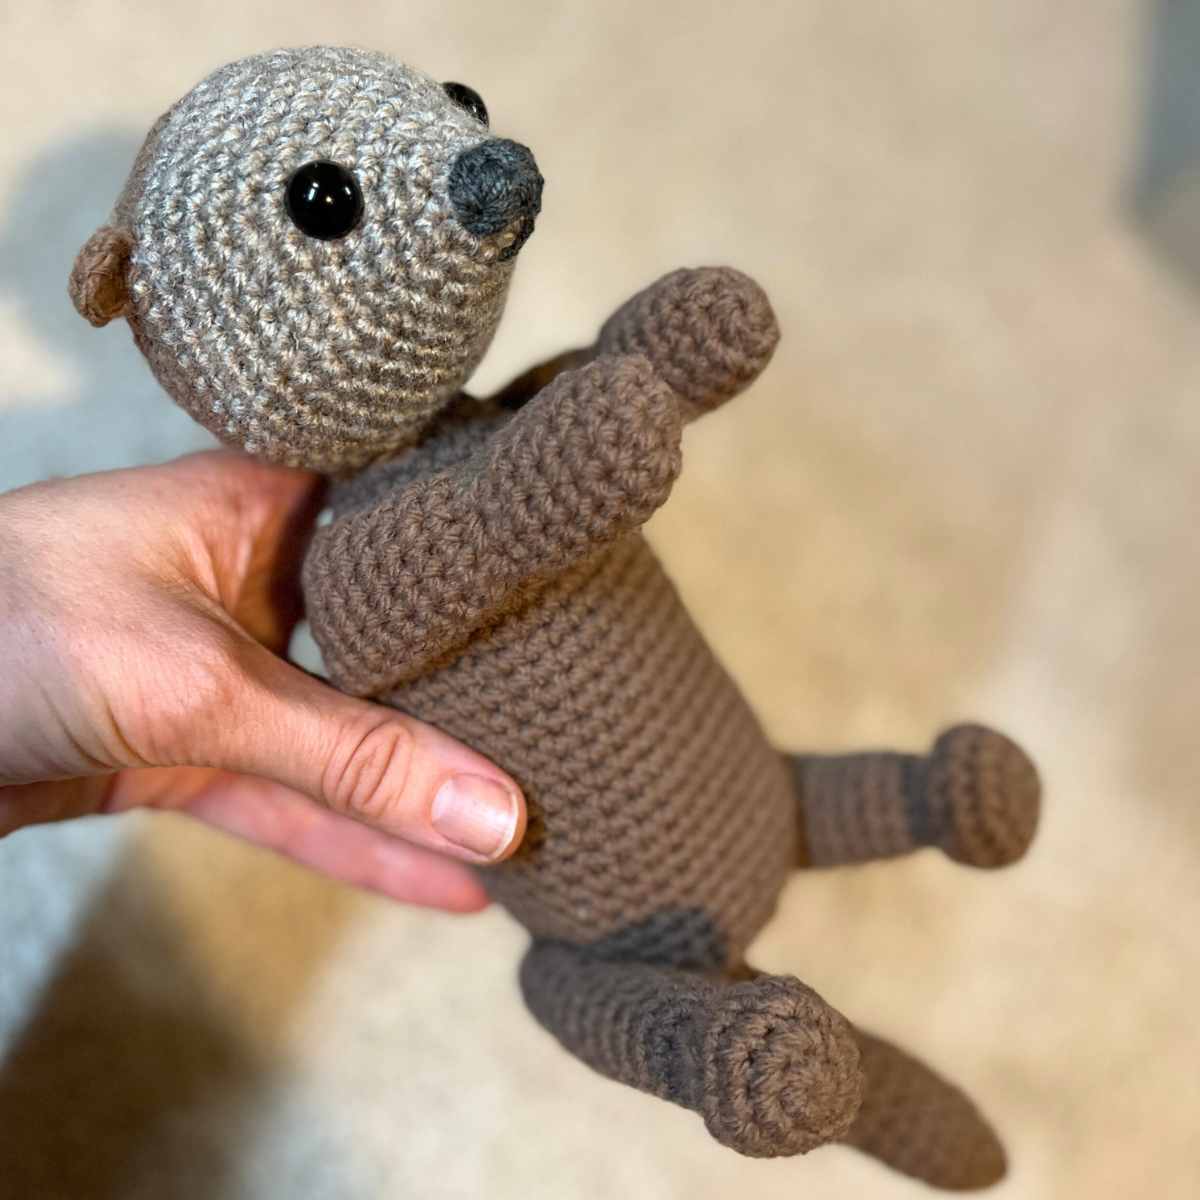
How To Crochet A Sea Otter
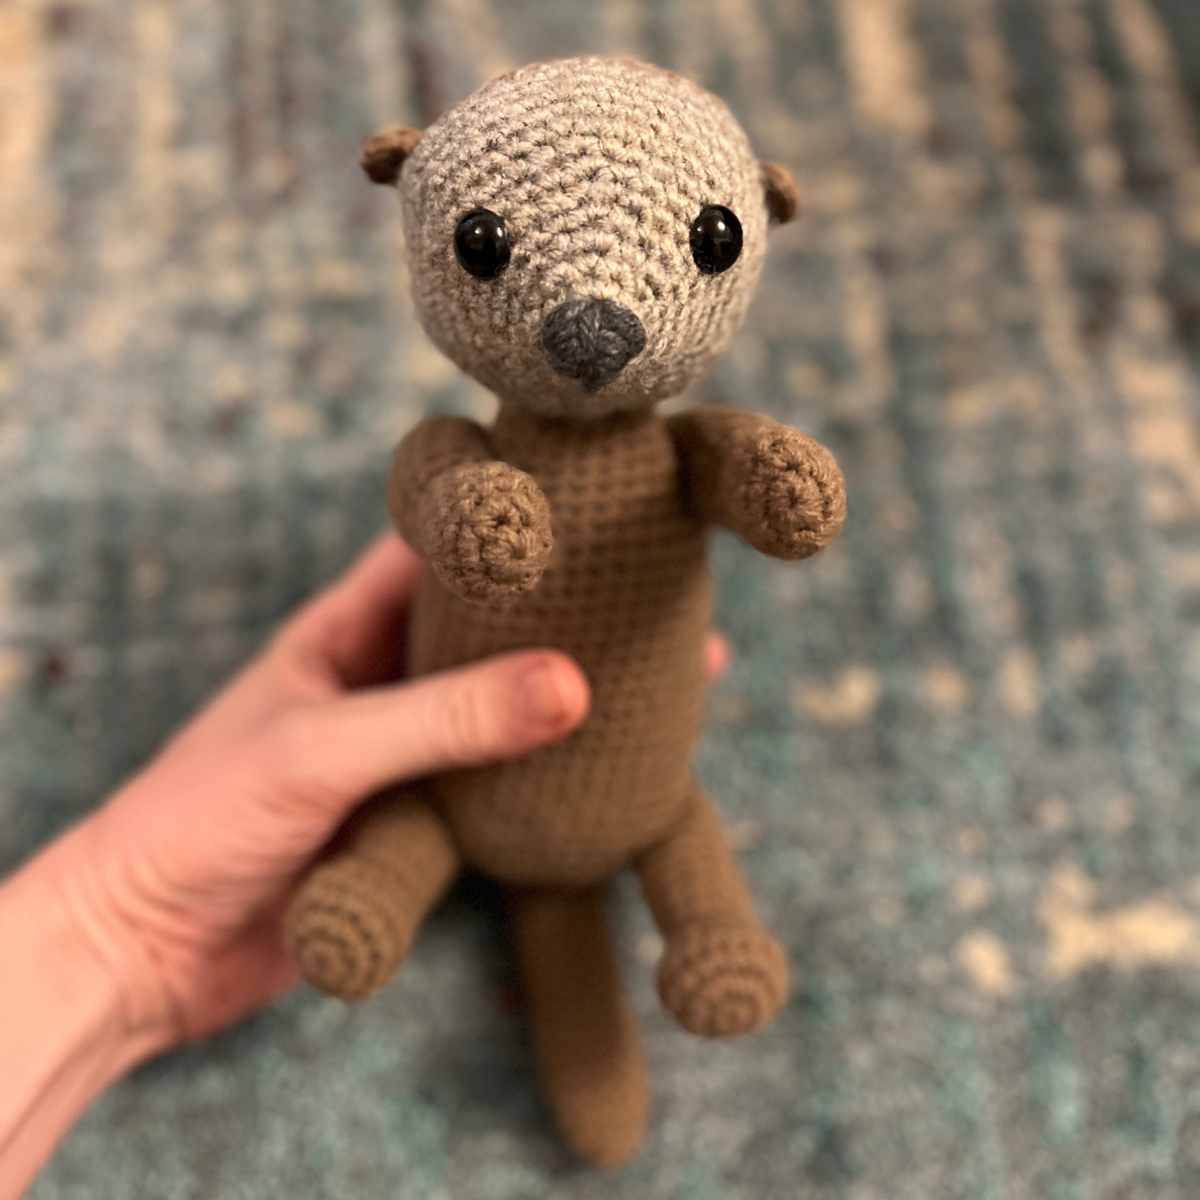
My beginner friendly crochet sea otter pattern is designed to give you a fast amigurumi project that is lifelike, fun and a little bit different. You’ll find full instructions with the written pattern, along with tips on how to join your own sea otter together fuss free.
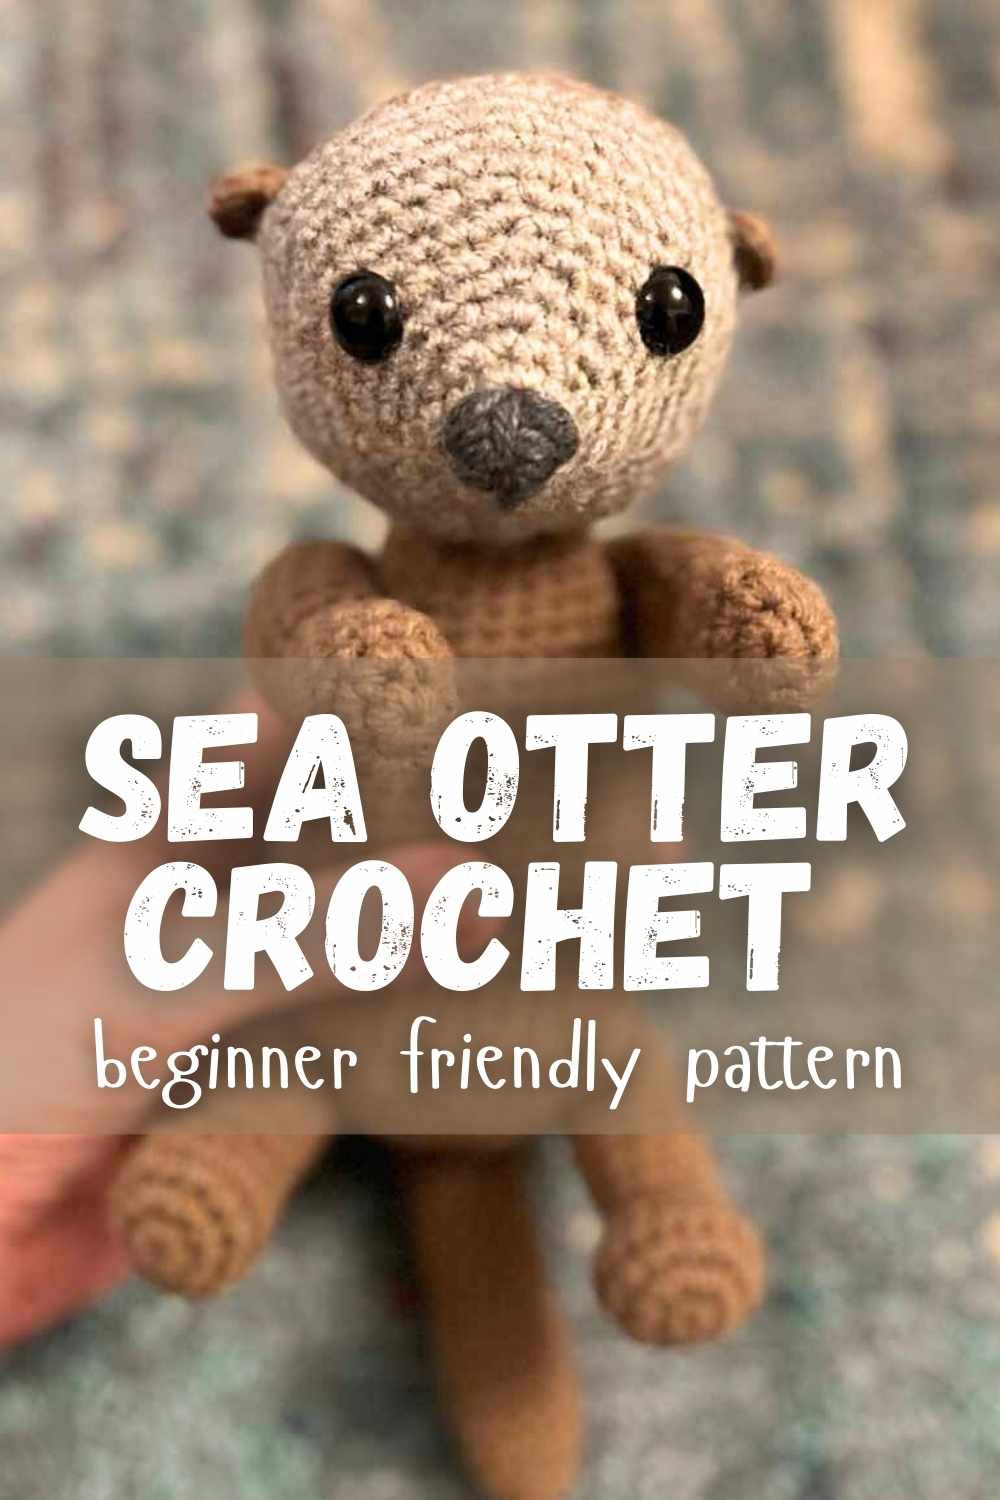
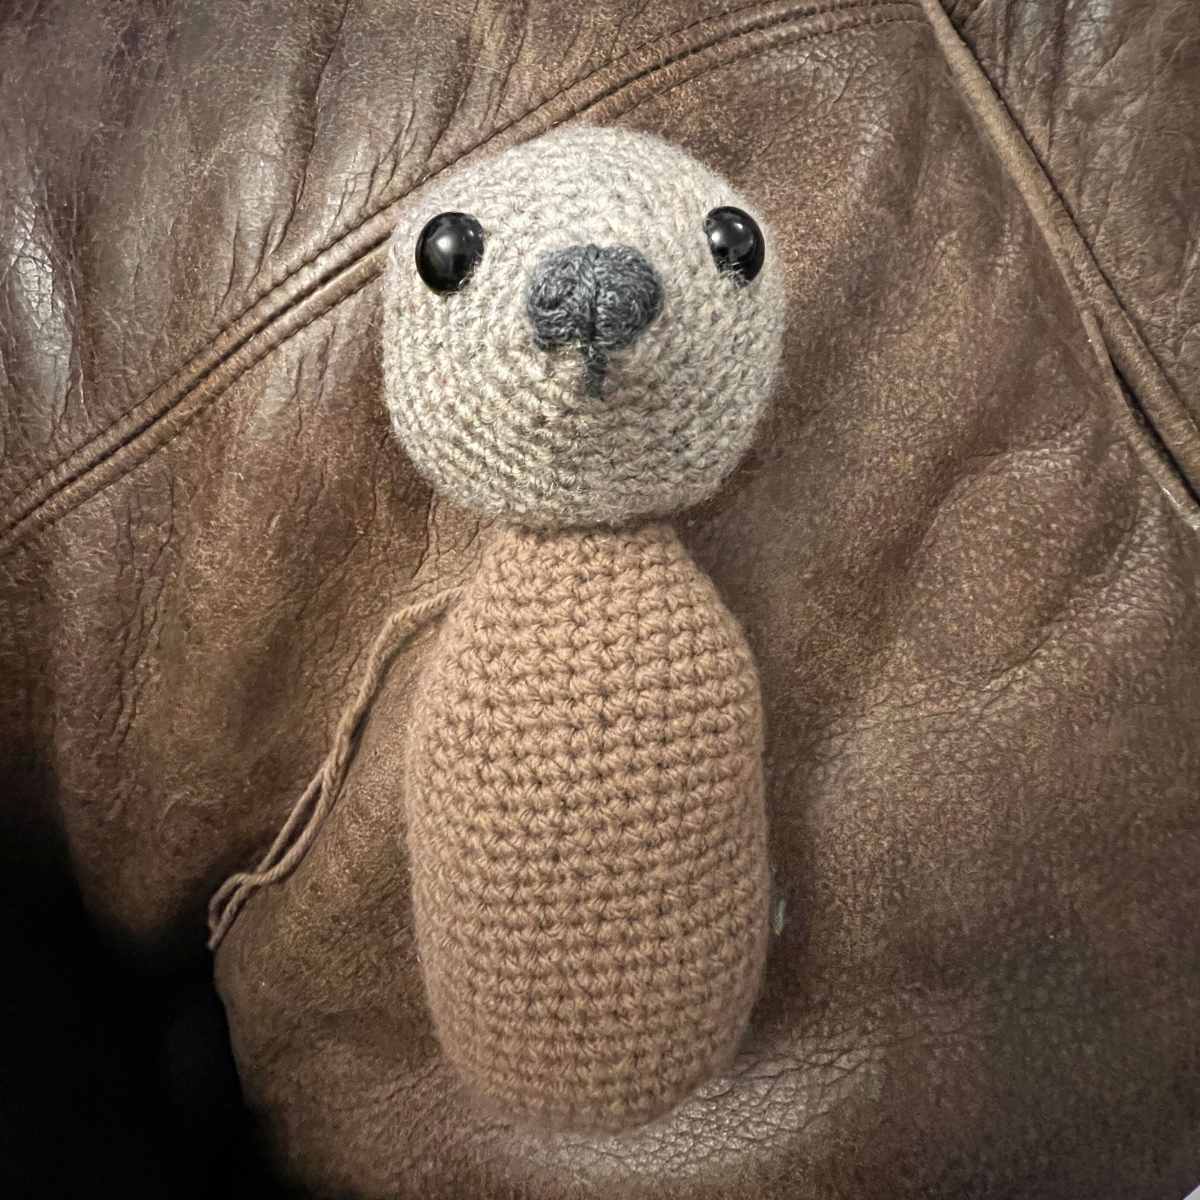
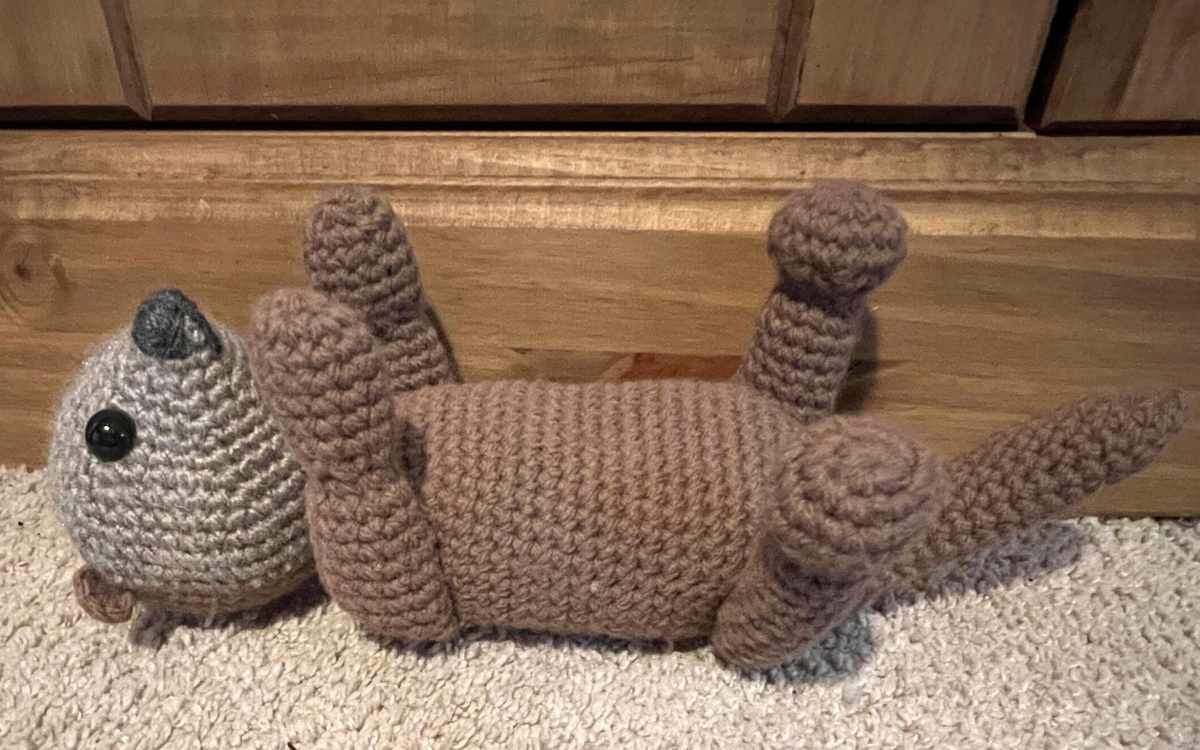
It’s not just an adorable tendency to lay on their backs and prepare their lunch on their chests that makes sea otters unique. Unlike other otter species, they have full pale faces contrasting with dark bodies and arms. They also have the most incredibly sharp noses on their surprisingly pointed faces. All in all, you can see why I picked this animal for my most recent sea creature project.
Here’s What You Will Need:
- 4mm crochet hook
- Stylecraft Highland Heathers aran yarn in grist
- Sirdar Supersoft aran yarn in walnut
- A few strands of dark gray yarn for the nose
- Safety eyes
- Toy stuffing
- Tapestry needle
You can substitute in any aran weighted oaty toned yarn for the face and brown yarn for the body if you can’t get hold of these brands in your area. Your Simone won’t be an identical crochet sea otter to mine, but that only adds to the creativity!
Pattern Notes and Tips
This crochet pattern uses magic circles as the basis for each body part. These are increased and decreased with single crochets, and hand sewn together.
You can find full stitch tutorials here, and more information on making your basic magic loops here.
This crochet pattern uses magic circles as the basis for each body part. These are increased and decreased with single crochets, and hand sewn together. Every time I use an abbreviation for the first time I’ll explain it in written English, but you can also find a translation guide here if you need it.
Your Free Crochet Sea Otter Pattern
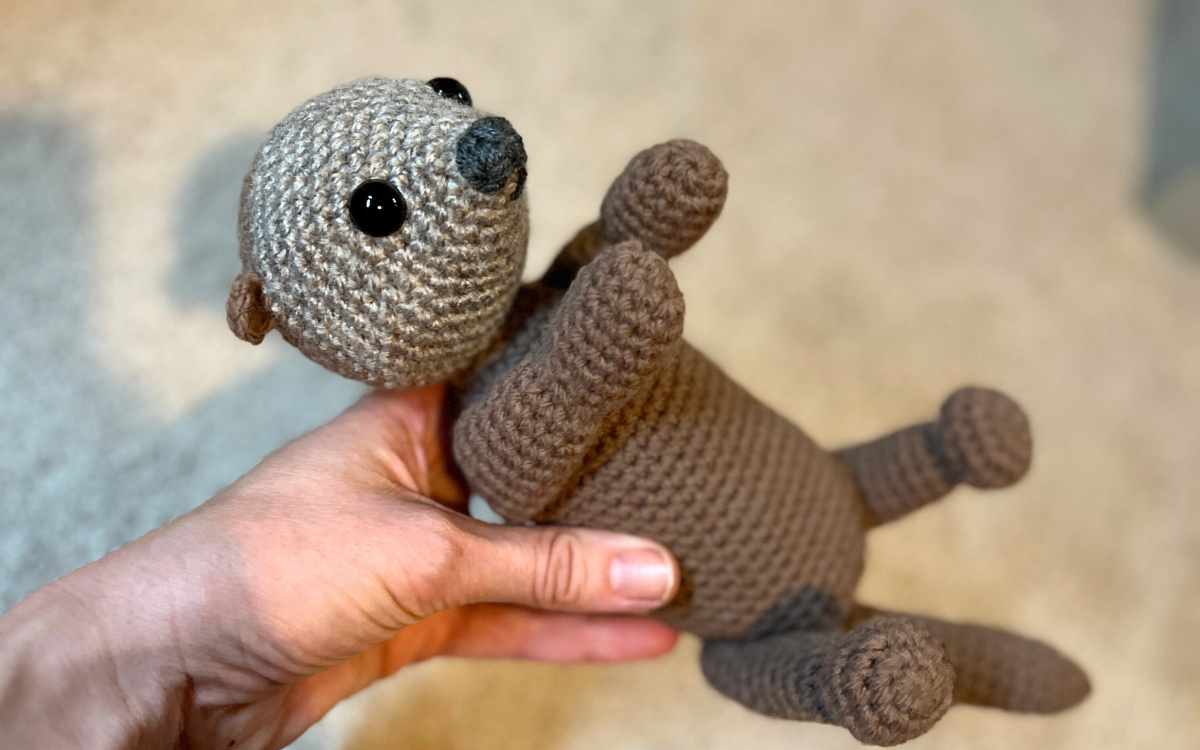
You will crochet your amigurumi sea otter in separate sections, which you will need to hand sew together as you go along.
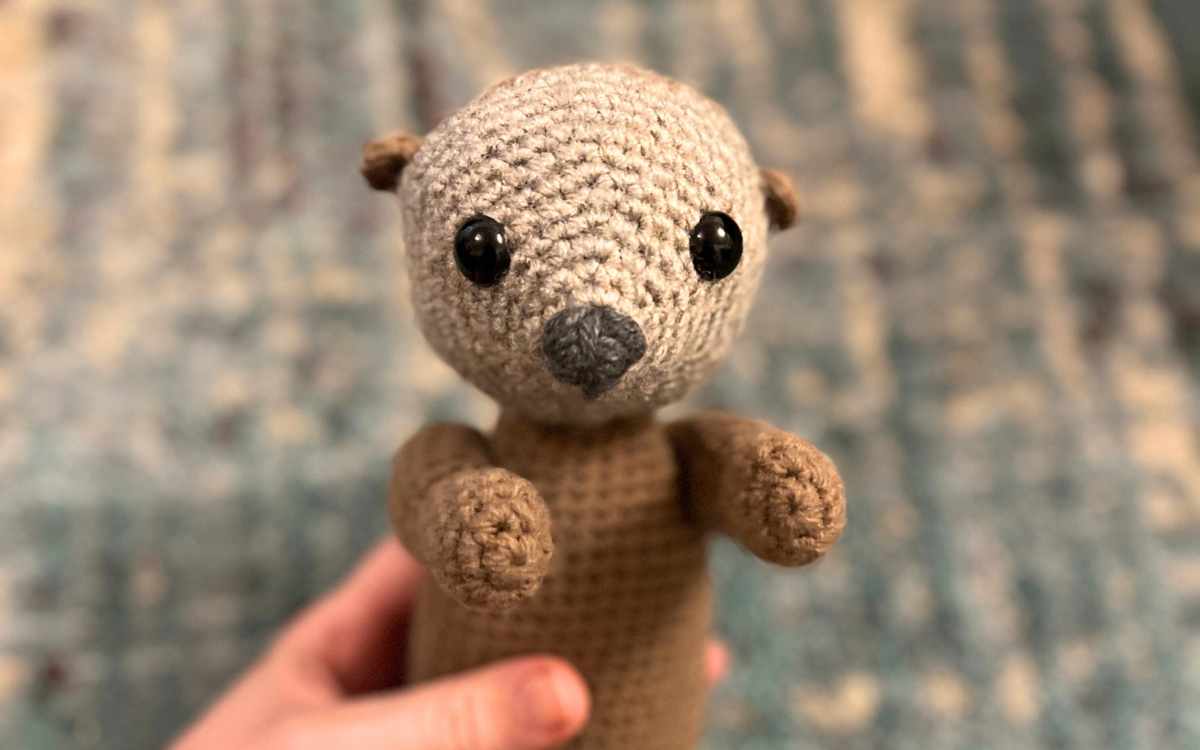
Sea Otter Head

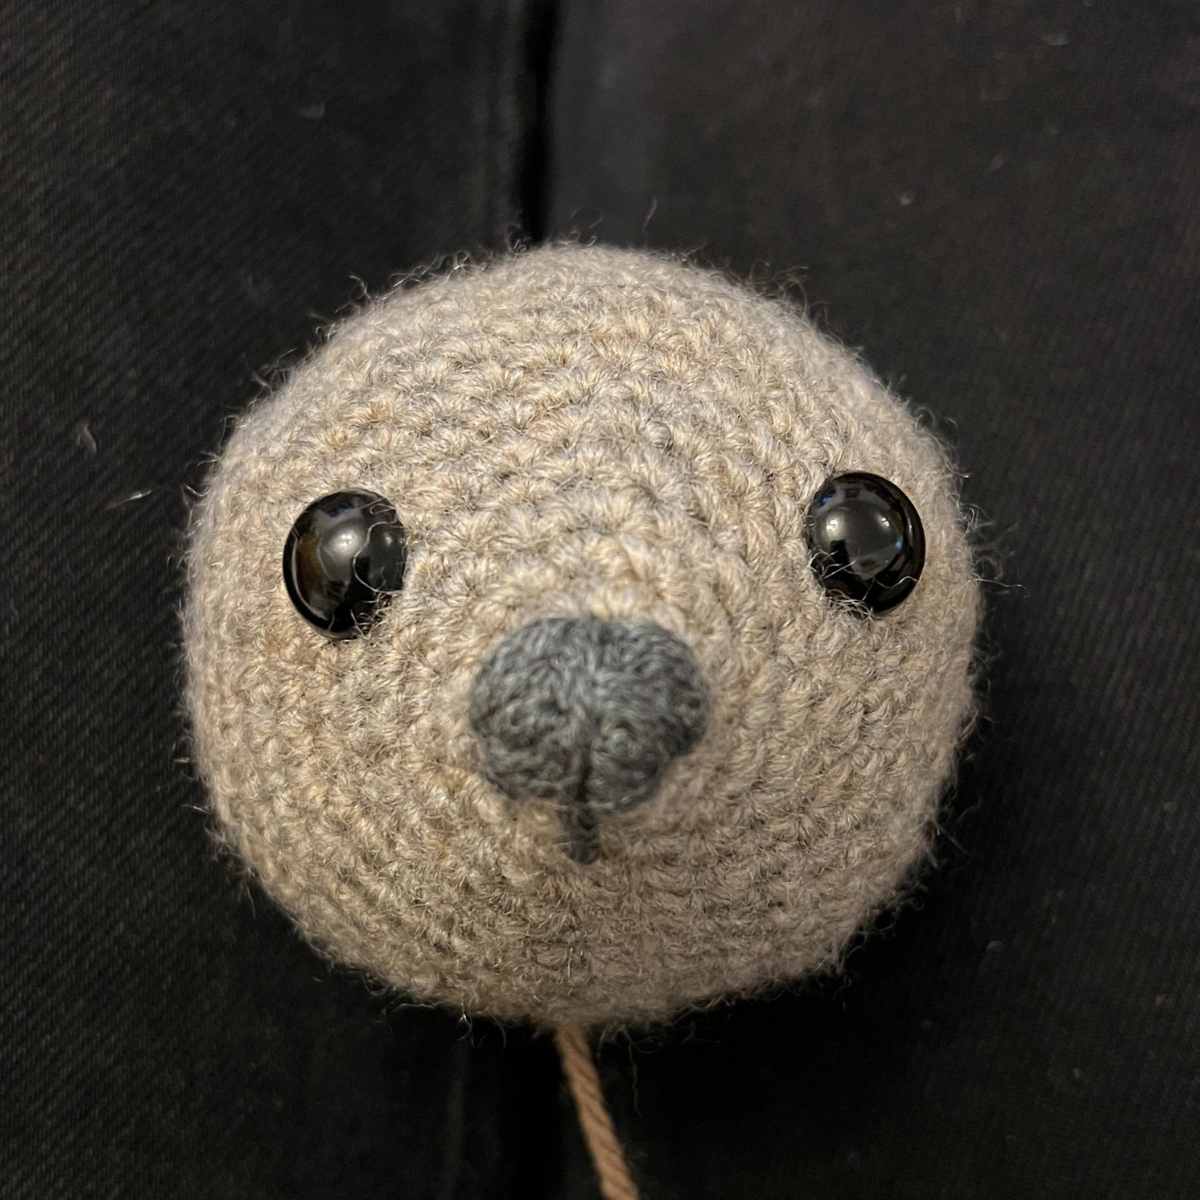
You will begin working the crochet sea otter’s face in the pale grist yarn. The magic circle will form the front point that you’ll use as the nose.
Round 1
Make a magic circle of six stitches (6)
Round 2
Put one single crochet into each stitch of the round.
1sc x 6 (6)
Round 3
Make two single crochets into each stitch.
2sc x 6 (12)
Round 4
1sc x 12 (12)
Round 5
Make one single crochet into the first stitch, then two into the next. Repeat in this manner for the rest of the round.
(1sc, 2sc) x 6 (18)
Round 6
(1sc x 2, 2sc) x 6 (24)
Round 7
1sc x 24 (24)
Round 8
(1sc x 3, 2sc) x 6 (30)
Round 9
(1sc x 4, 2sc) x 6 (36)
Round 10
(1sc x 5, 2sc) x 6 (42)
Round 11
1sc x 42 (42)
Round 12
(1sc x 6, 2sc) x 6 (48)
Round 13 – 14
Make one single crochet into each stitch for two rounds, then at the end of round 14 color change to brown
1sc x 48 (48)
cc brown
Round 15
1sc x 48 (48)
Round 16
(1sc x 6, sc2tog) x 6 (42)
Round 17
1sc x 42 (42)
Round 18
(1sc x 5, sc2tog) x 6 (36)
Round 19
(1sc x 4, sc2tog) x 6 (30)
Round 20
(1sc x 3, sc2tog) x 6 (24)
Round 21
(1sc x 2, sc2tog) x 6 (18)
Insert the safety eyes into the front of your sea otter’s face, and with the dark gray strand of yarn sew the nose. Weave back and forwards across the protruding central section.
Round 22
(1sc, sc2tog) x 6 (12)
Fill your otter’s head with toy stuffing.
Round 23
sc2tog to close.
Weave the loose end of yarn into your crochet sea otter’s head to hide it.
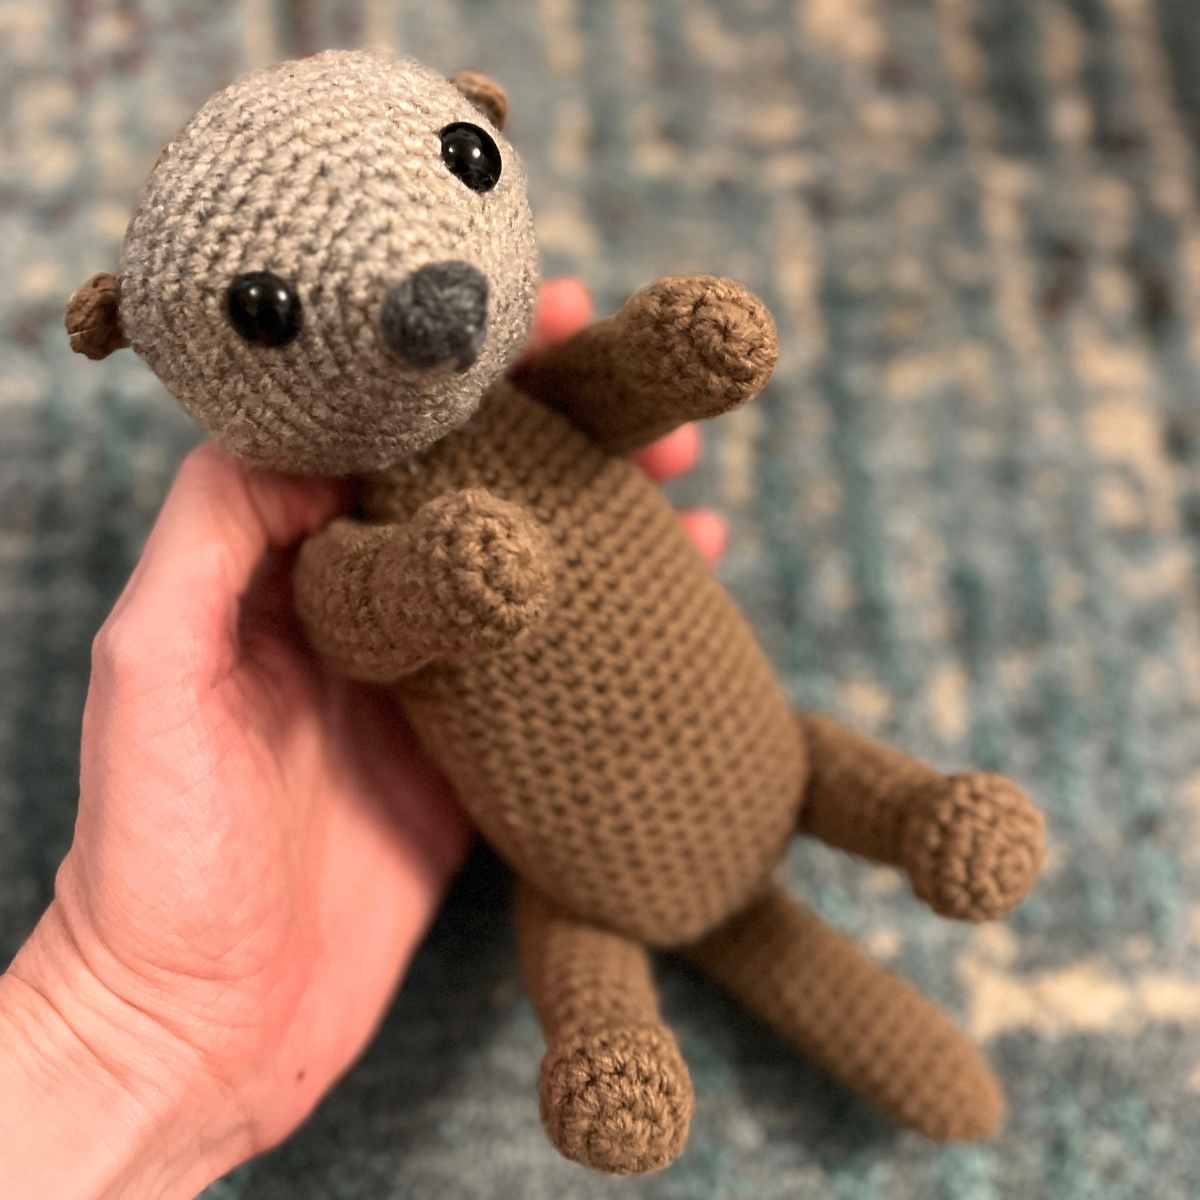
Sea Otter Ears
Use the 4mm crochet hook and your brown yarn.
Make a magic circle of six stitches, but don’t slip stitch to join it together.
That’s it, you’re done already! You just need to sew one of these to each side of your sea otter’s head now, in line with the position you chose for their eyes.
Sea Otter Body
You will be crocheting the sea otter’s body entirely in the brown yarn, with your 4mm crochet hook.
Round 1
Make a magic circle of eight stitches (8)
Round 2
2sc x 8 (16)
Round 3
This section is a partial increase. You’ll see that we switch back and forth within the round between increasing and standard stitches, this is to give your otter the flattened body shape.
(1sc, 2sc) x 2, 1sc x 4, (1sc, 2sc) x 2, 1sc x 4 (20)
Round 4 – 5
1sc x 20 (20)
Round 6
(1sc x 2, 2sc) x 2, 1sc x 4, (1sc x 2, 2sc) x 2, 1sc x 4 (24)
Round 7
(1sc x 3, 2sc) x 2, 1sc x 4, (1sc x 3, 2sc) x 2, 1sc x 4 (28)
Round 8
1sc x 28 (28)
Round 9
(1sc x 4, 2sc) x 2, 1sc x 4, (1sc x 4, 2sc) x 2, 1sc x 4 (32)
Round 10
(1sc x 5, 2sc) x 2, 1sc x 4, (1sc x 5, 2sc) x 2, 1sc x 4 (36)
Round 11 – 28
1sc x 36 (36)
Round 29
(1sc x 4, sc2tog) x 6 (30)
Round 30
(1sc x 3, sc2tog) x 6 (24)
Round 31
(1sc x 2, sc2tog) x 6 (18)
Round 32
(1sc, sc2tog) x 6 (12)
Round 33
sc2tog to close.
Sewing The Head Onto The Body
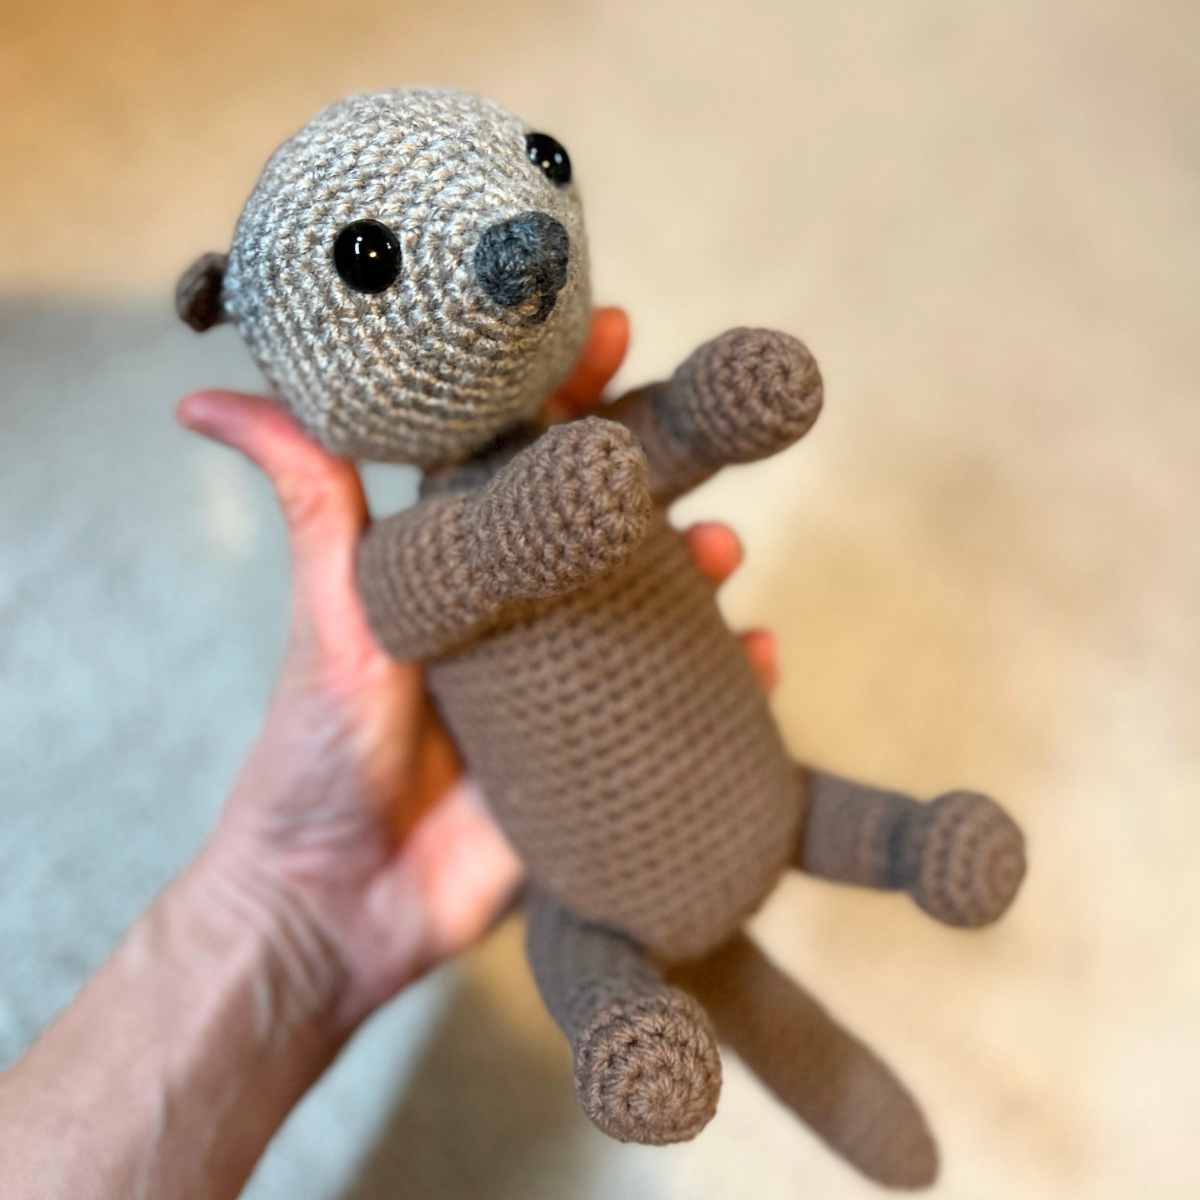
Your sea otter is designed to lay nicely on her back. To line up the head and body place the body section on a flat surface, and line up the brown back of the head with it.
Tack it in place with loose stitches using the brown yarn and your needle to begin with. Once you’re happy with the position you can sew it tightly together, moving the needle back and forth through the adjacent stitches of the head and body parts.
Sea Otter Arms
Your sea otter’s arms will be made using the 4mm crochet hook, with the brown yarn.
Round 1
Make a magic circle of six stitches (6)
Round 2
2sc x 6 (12)
Round 3 – 7
1sc x 12 (12)
Round 8
sc2tog x 6 (6)
Round 9
2sc x 6 (12)
Round 10 – 18
1sc x 12 (12)
Fill approximately half full with toy stuffing. If in doubt, less is better for your sea otter’s arms. This will make it easier for you to position them.
Round 19
sc2tog to close, sewing tight shut with the yarn needle if needed.
Attaching The Arms
Putting your sea otter back down on her back, position the arms so that they are held up into the air.
Sew the finished shoulder end of the arm so that it sits level with the desk, and weave the arm firmly onto the body so that the hands are coming together at the front.
Sea Otter Legs
Crochet your legs in brown yarn with the 4mm crochet hook.
Round 1
Make a magic circle of six stitches (6)
Round 2
2sc x 6 (12)
Round 3
(1sc, 2sc) x 6 (18)
Round 4
1sc x 18 (18)
Round 5
(1sc, sc2tog) x 6 (12)
Round 6
sc2tog x 6 (6)
Round 7
2sc x 6 (12)
Round 8 – 18
1sc x 12 (12)
Fill your legs with toy stuffing.
Round 19
sc2tog to close. Use the long tail of yarn to sew the legs onto the sides of your sea otter, in the same manner that you attached the arms.
Sea Otter Tail
Your final part is the sea otter’s tail. You will need to crochet this section with the brown yarn and 4mm crochet hook again.
Round 1
Make a magic circle of six stitches (6)
Round 2
1sc x 6 (6)
Round 3
2sc x 6 (12)
Round 4 – 19
1sc x 12 (12)
At the end of the final row, leave a long train of yarn and thread your yarn needle. Hand sew the tail on, joining it between the placement of your legs.
Crocheting Your Own Sea Otter
I hope you find my sea otter pattern easy to work up, and super cute to look at. If you have any photos of your finished amigurumi that you’d like to share, then you can upload them to my Facebook page, tag me on Insta or share them on Ravelry.
I can’t wait to see what you’ve made.
Happy Crocheting!
Lucy Kate, x