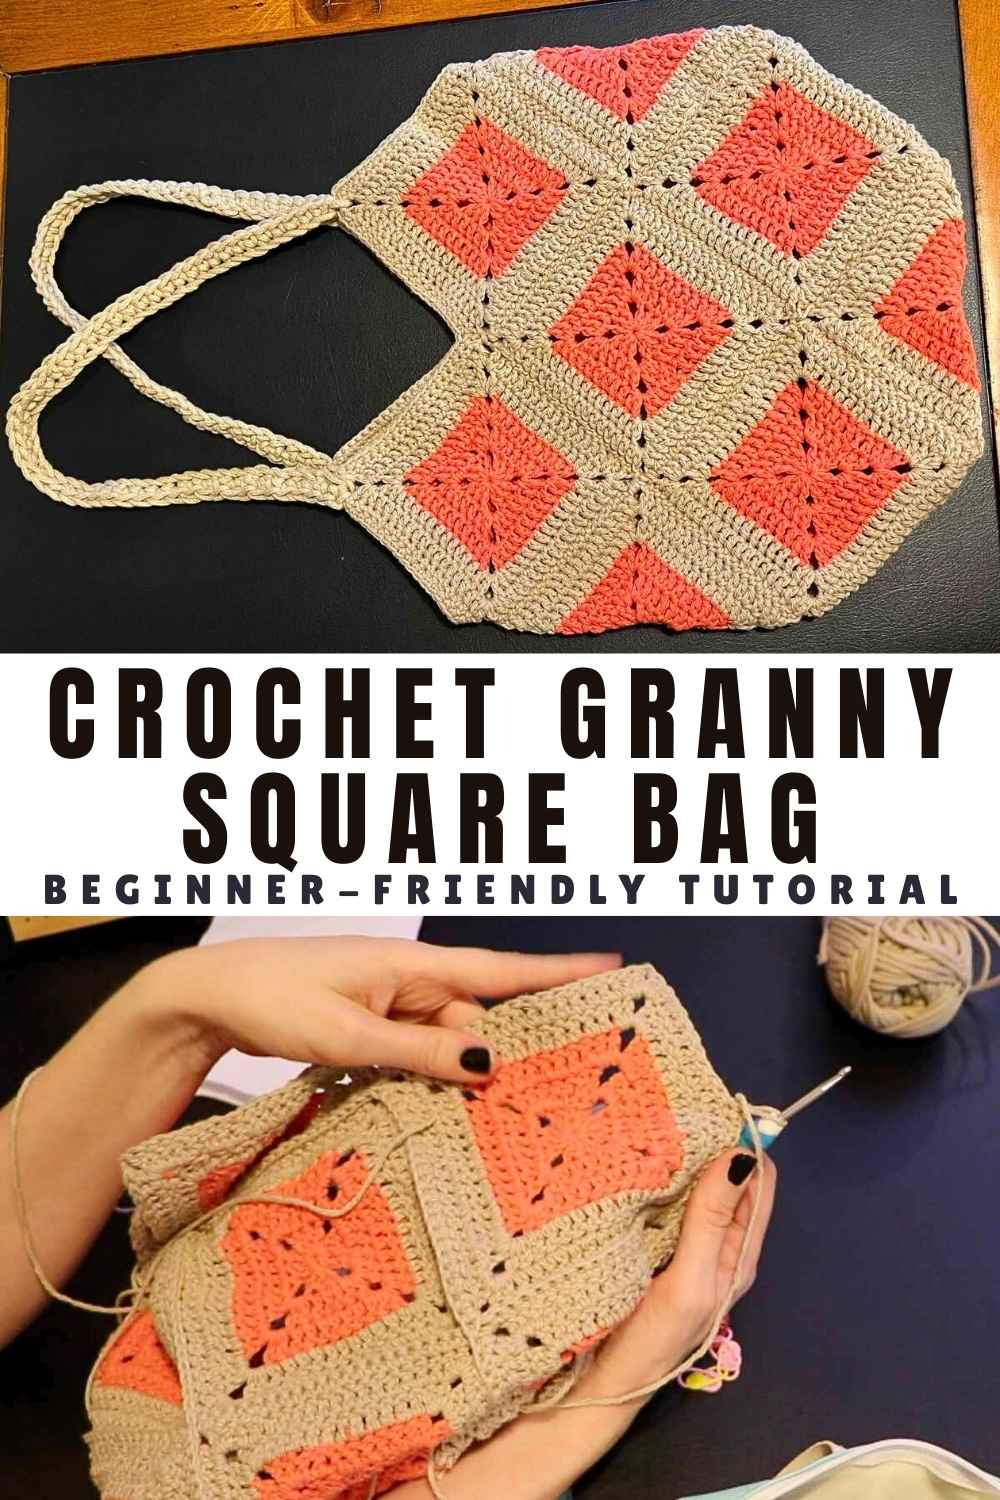
How To Crochet A Simple Granny Square Bag
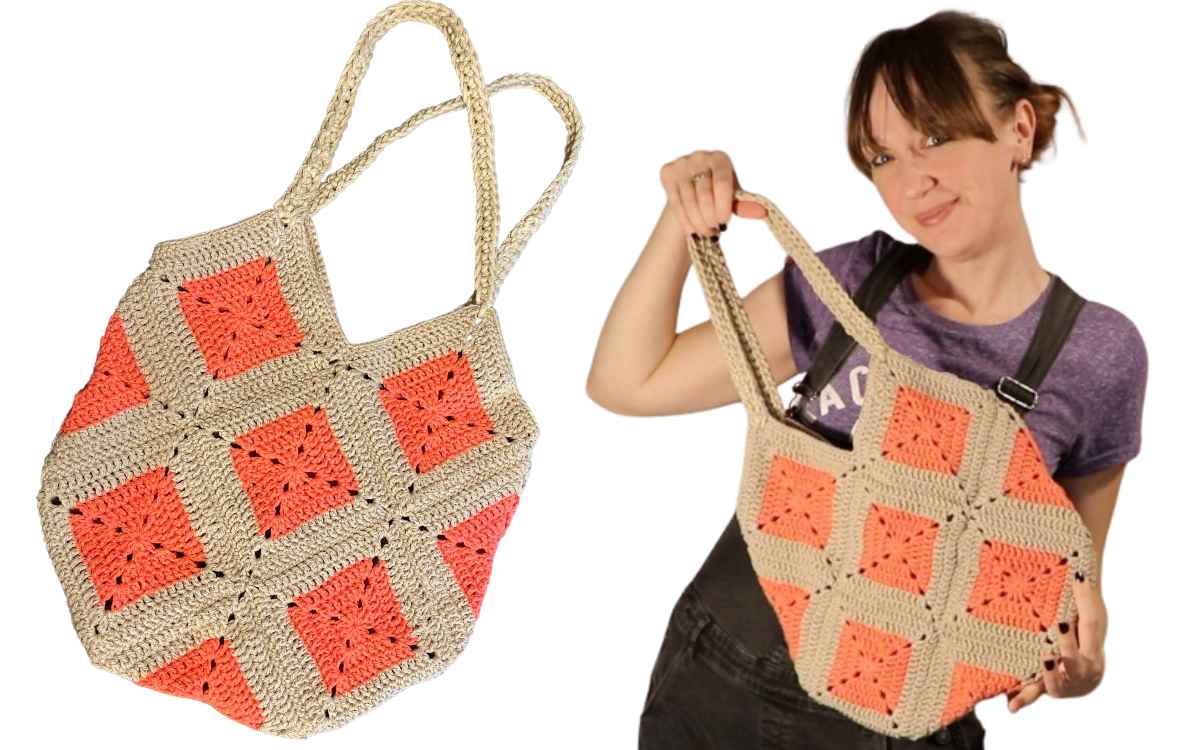
Not only is this crochet granny square bag simple, it uses very few stitches and you’ll barely have to dig into your yarn stash for supplies. The perfect beginner project, or a quick make for an advanced crocheter. I’ve also got a very similar bag, that’s spotty and dotty that you might like to check out!

- Granny square bag equipment list
- Techniques and tips
- Tutorial – How to crochet a simple granny square bag
I pressure tested this crochet bag in the most fitting way – by taking it to a yarn festival the day after I’d made it. I filled it with skeins and a new hook, and it held up with no visible stretch. And nothing fell out either, which is always a winner.
What You’ll Need
To crochet your granny square bag you’ll need the same sort of stuff as you’d use to make a granny square afghan or throw. However, I recommend using at least a 50% cotton yarn to keep the structure firm.
Acrylic yarns and wool blends have a bit more give and stretch, making them more likely to become misshapen once your bag is in action.
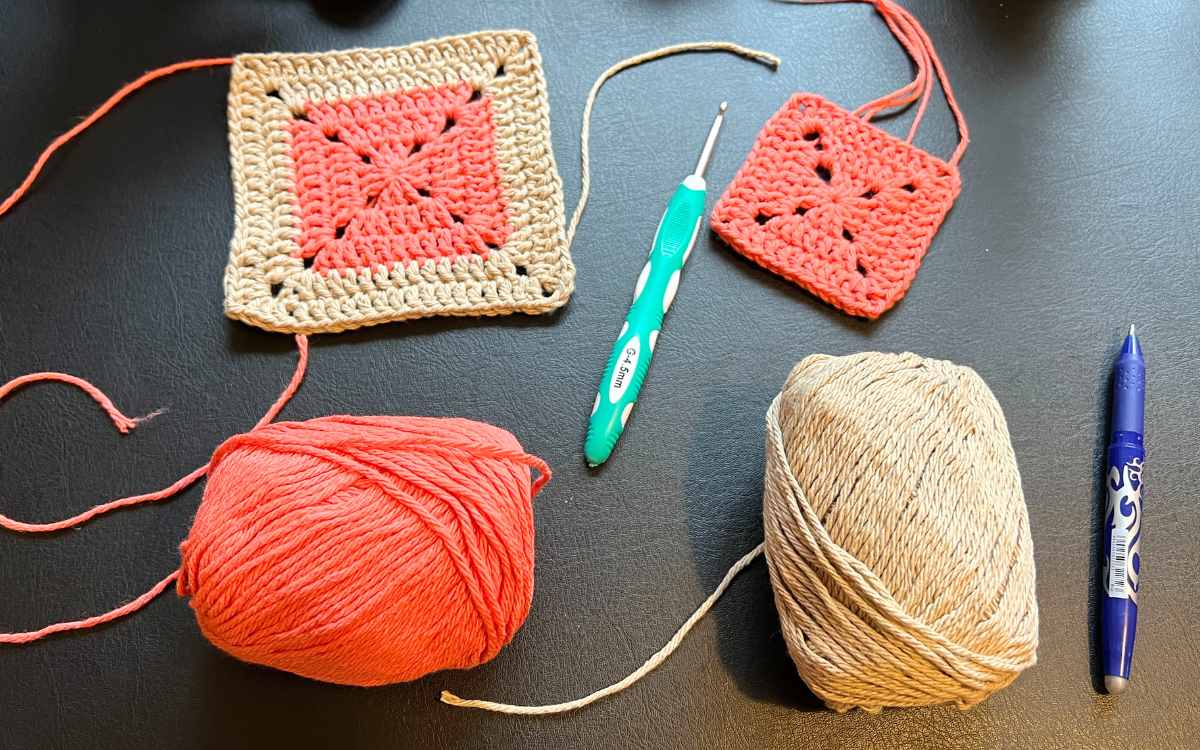
Here’s what I used:
- 1 skein Lily Sugar n’ Cream* tea rose cotton yarn
- 1 skein Lily Sugar n’ Cream* jute cotton yarn
- 4mm crochet hook
- Yarn needle
- 1 skein chunky macrame cord*
- 7mm crochet hook
The macrame cord I used for the handle was Knitcraft’s Return of the Mac. It’s got a little stretch to it, which is ideal for a bag strap.
Pattern Techniques
This pattern is based on a simple solid granny square design. The structure is again a classic of the crochet bag world, and one of my personal favorites because it’s so simple to put together yet looks more complex than it is.
The techniques we’ll use and their abbreviations are:
- ch – chain
- dc – double crochet
- slst – slip stitch
- sc – single crochet
I’m planning to make another bag just like this soon, but with diagonal granny squares. Which is going to look awesome and you might like to try combining the two styles now!
Simple Crochet Granny Square Bag Pattern
You’ll construct your granny square bag in two steps. First we’ll make up your granny squares. Then if you’ve got time, block them to create a more uniform shape, then begin construction of the bag shape.
Making the Granny Squares
You’re going to crochet 13 identical granny squares. This is a fairly standard solid granny square pattern, with just one color change.
The Granny Square Pattern
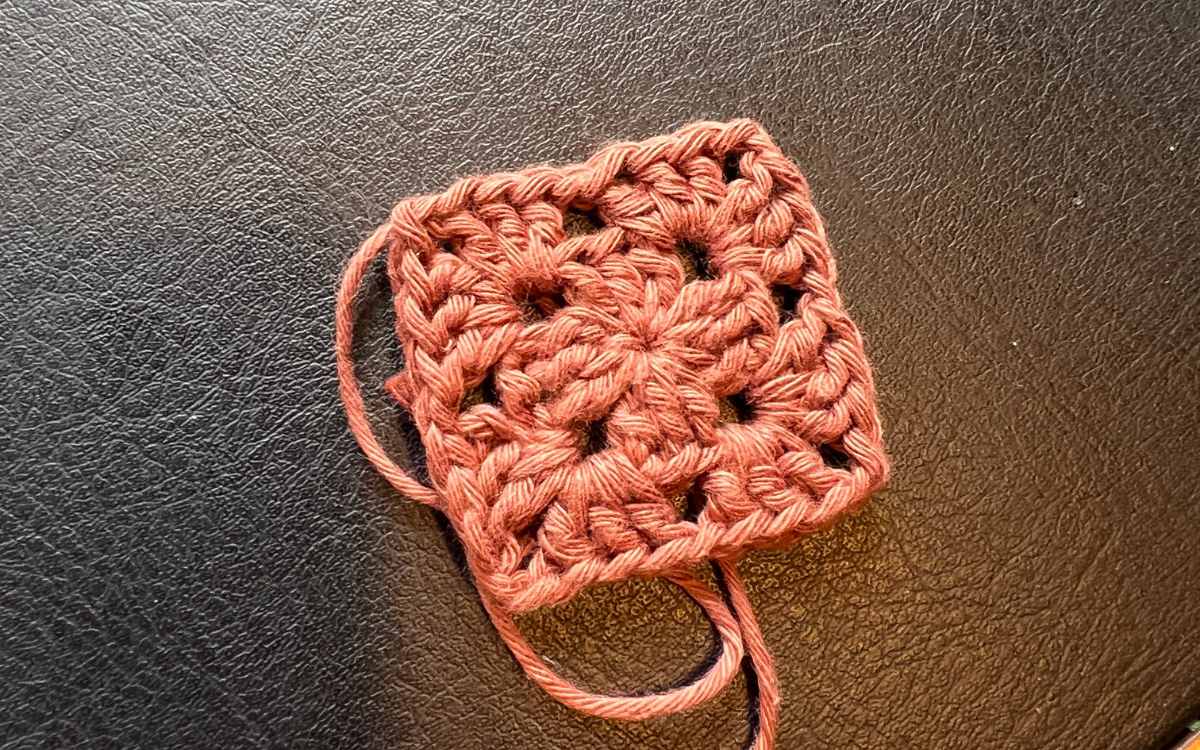
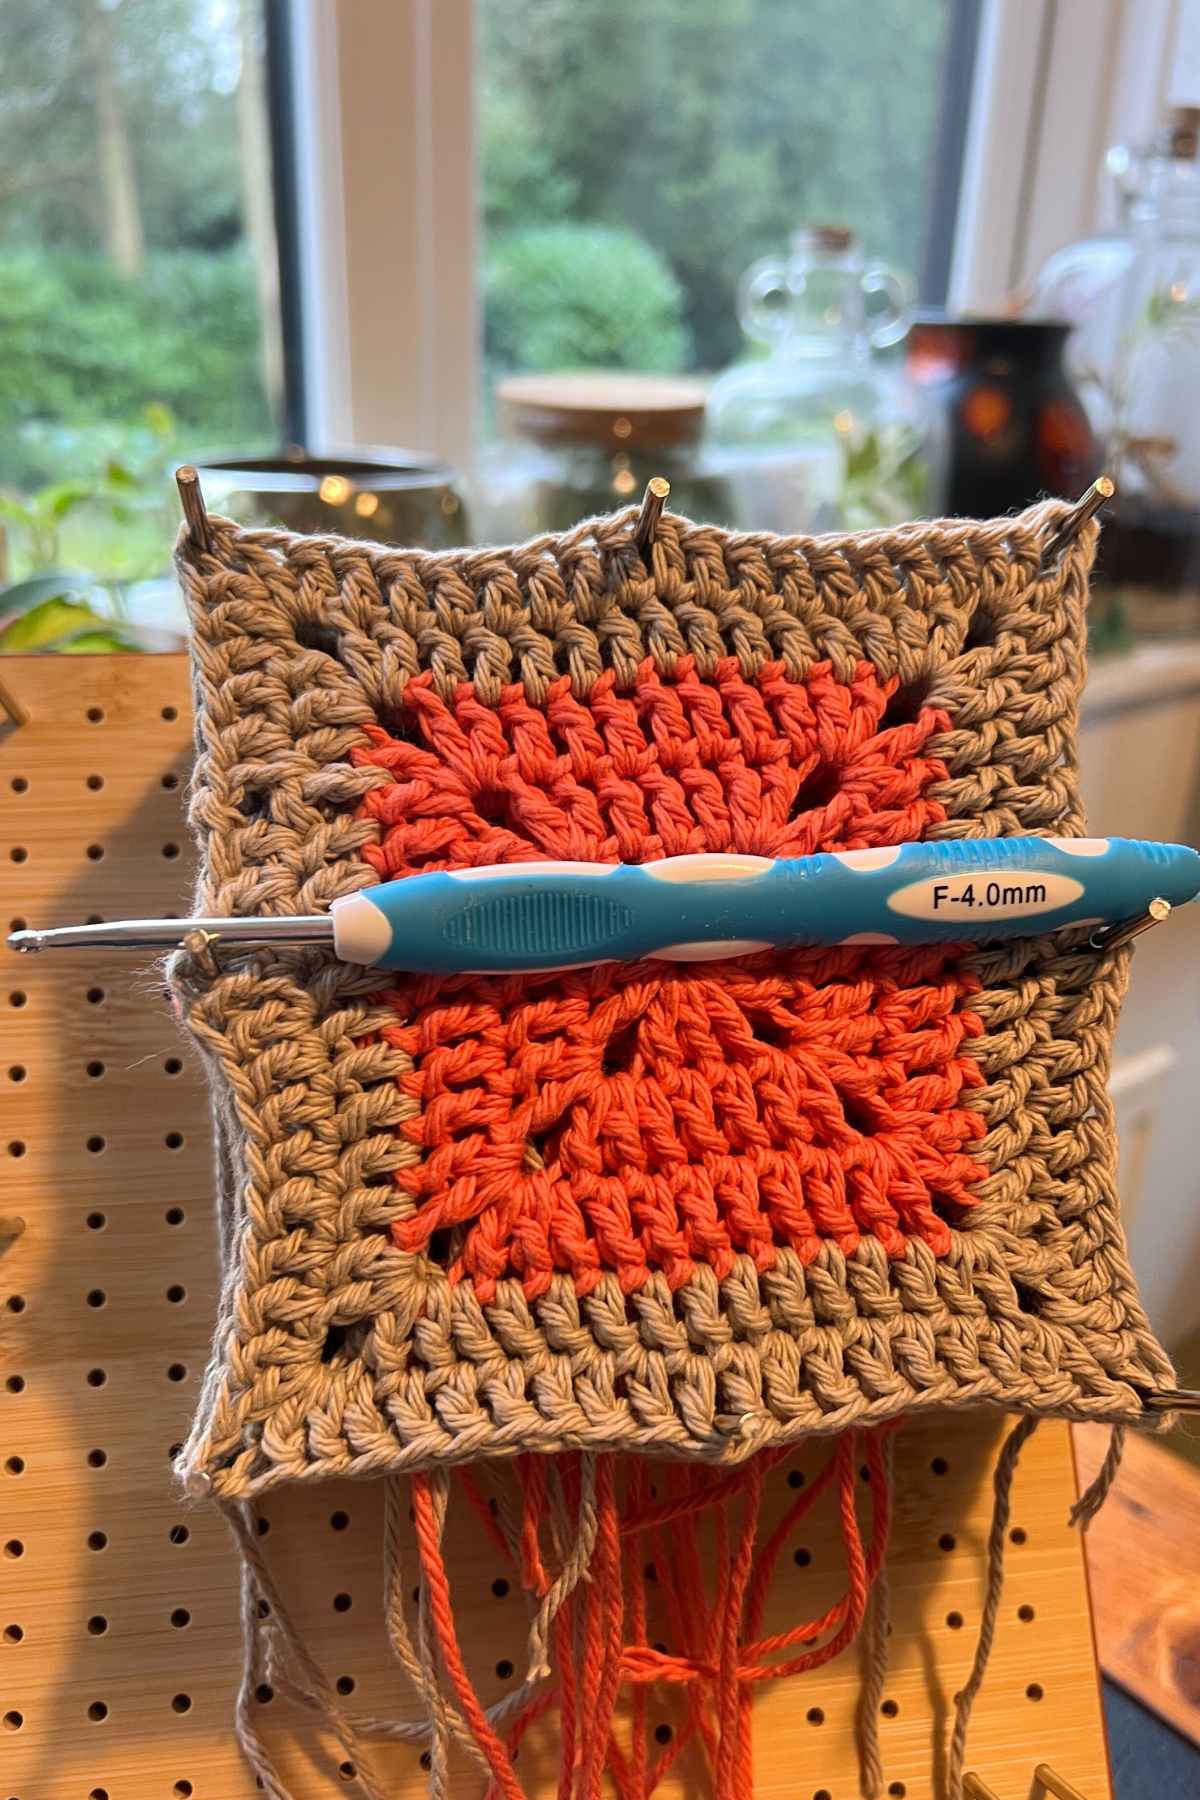
Work using your 4mm crochet hook and begin in your pink yarn.
Round 1
Chain 3 (as the first dc), 2dc, ch2, (3dc, ch2) x 3
Round 2 – 3
Ch3, and then make 1dc into the top of each double crochet stitch from the previous round until you reach the edge of the square. Into the corner chain two section, make 2dc, ch2, 2dc. Repeat in this pattern around the edge of your granny square.
Once you’ve worked your way around the granny square, slip stitch into the top of the chain 3 to close.
At the end of round 3, tie off and color change to jute.
Round 4 – 5
Ch3, 1dc into the top of each double crochet stitch of the previous round until you reach the corner. Into the ch2 gap make 2dc, ch2, 2dc. Repeat for the round. At the end of the round slst to close, and at the end of round 5 tie off and sew in the loose ends.
Blocking
You’ll want your bag to be made up of identical squares and to hold their shape, so I recommend blocking them if you’re able. You can use a blocking board if you have one, alternatively giving them a light squirt with some water and sticking them under something heavy overnight does a decent enough job.
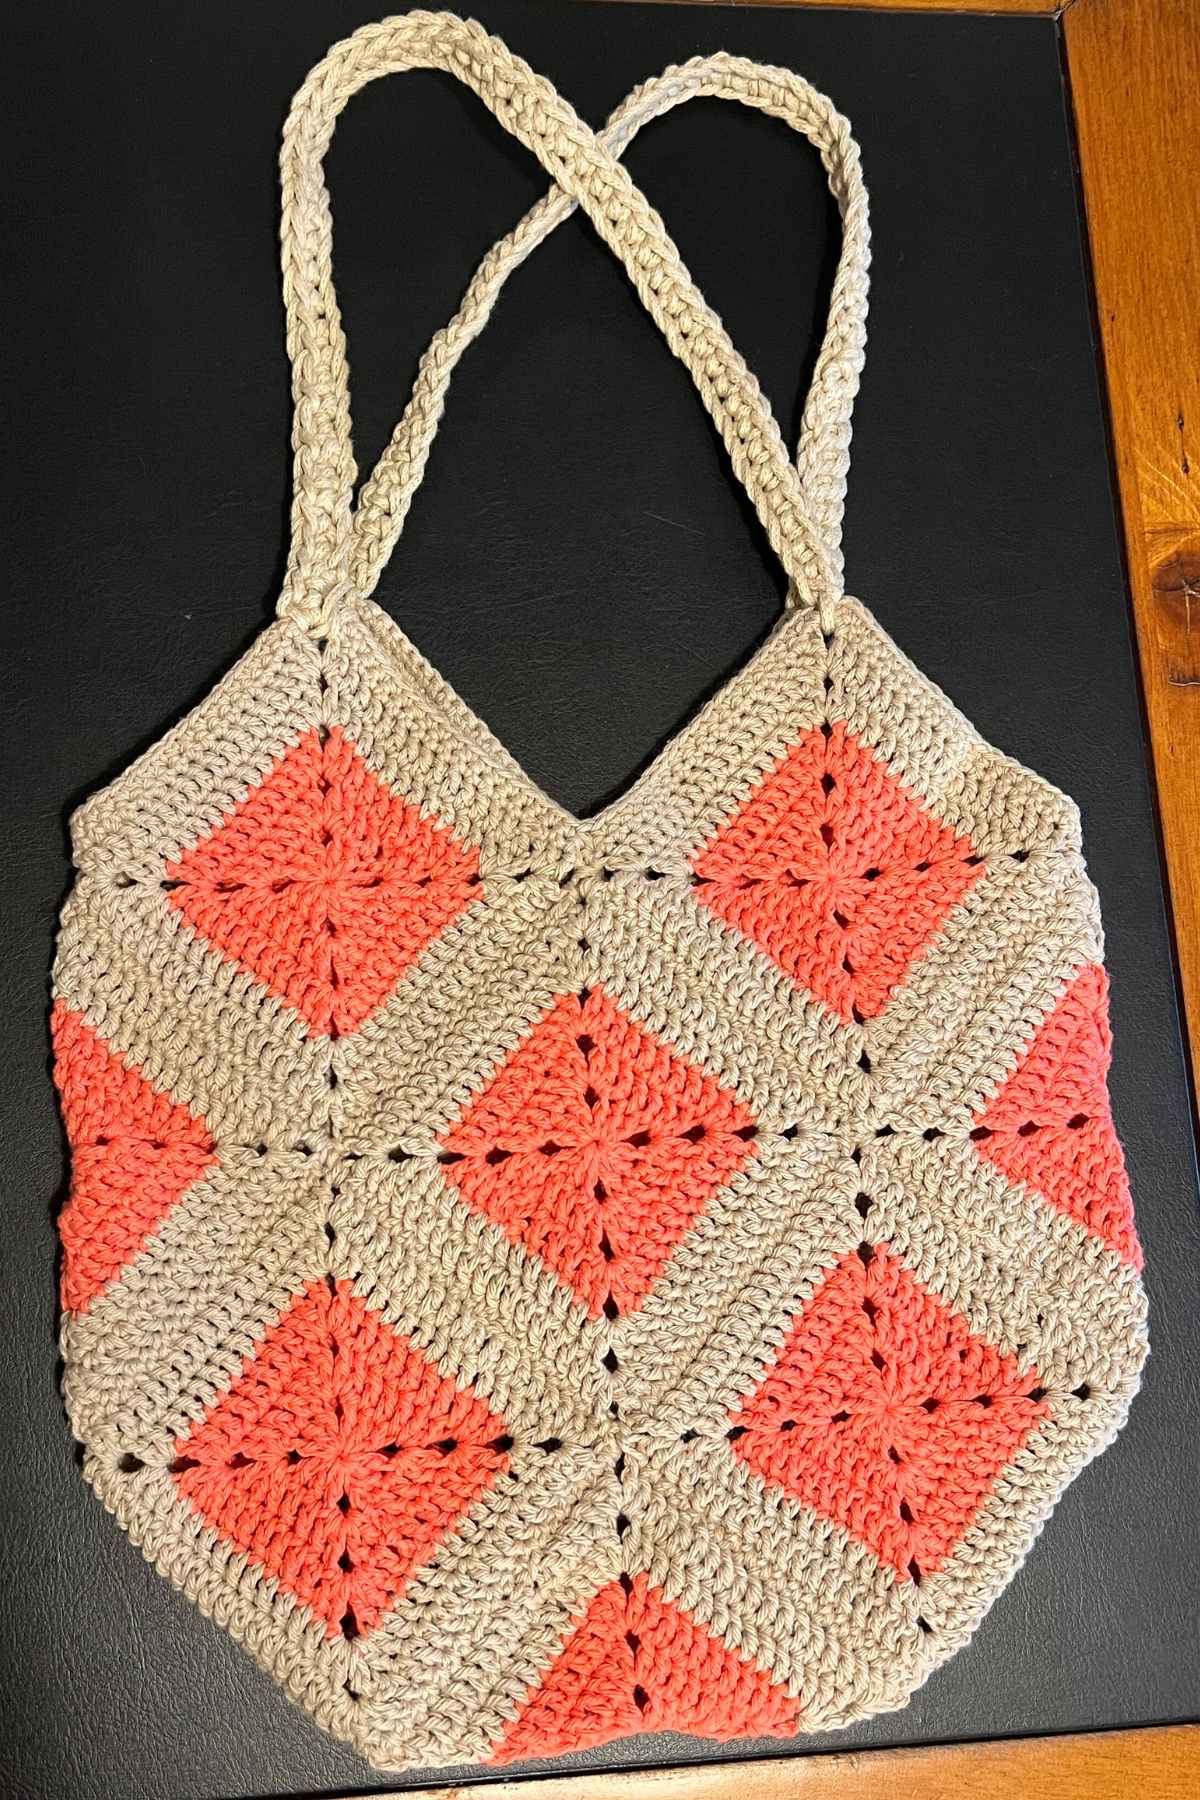
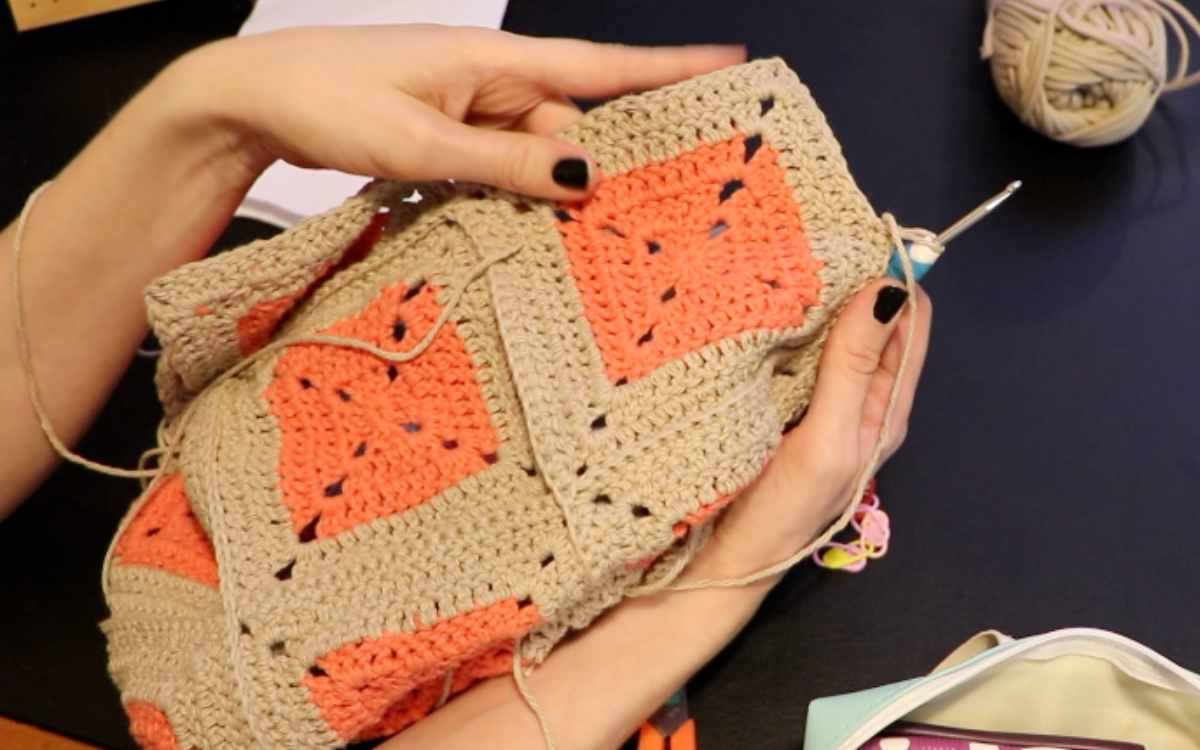
Constructing Your Granny Square Bag
Lay your bag out on a flat surface in the following pattern. You’ll have five granny squares one on top of the other, and three folded in half along the diagonal:
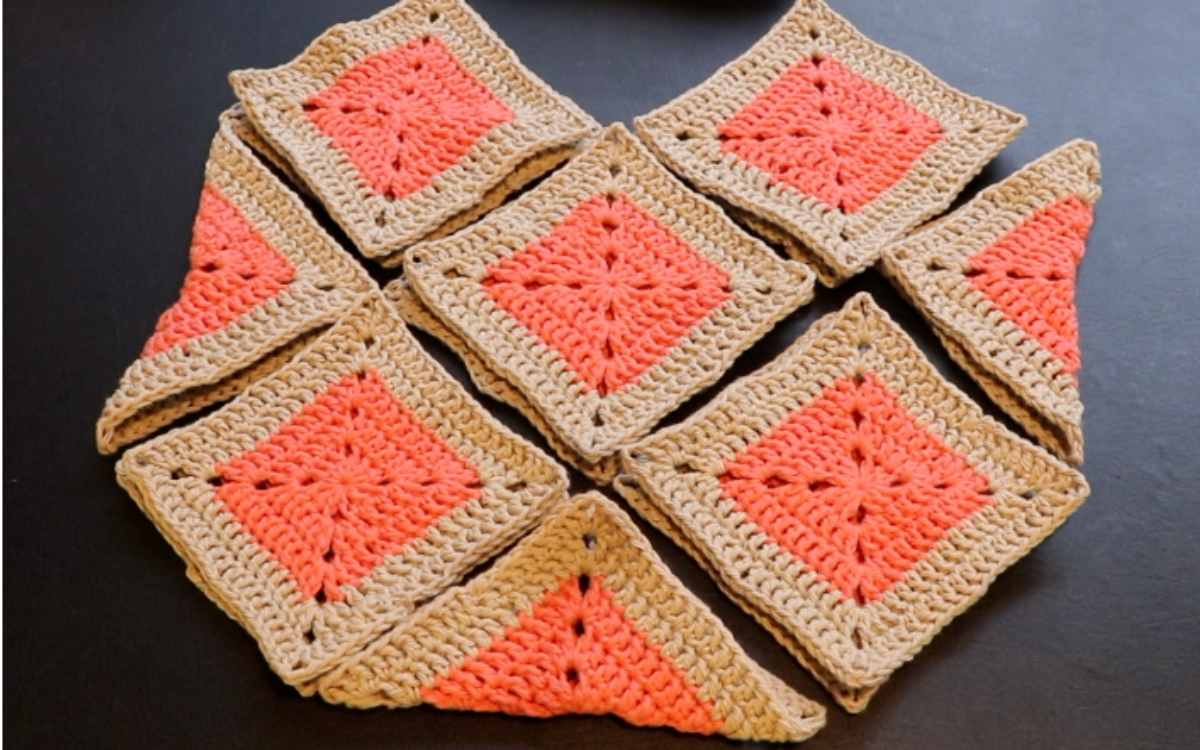
Use stitch markers to attach each granny square in the desired position:
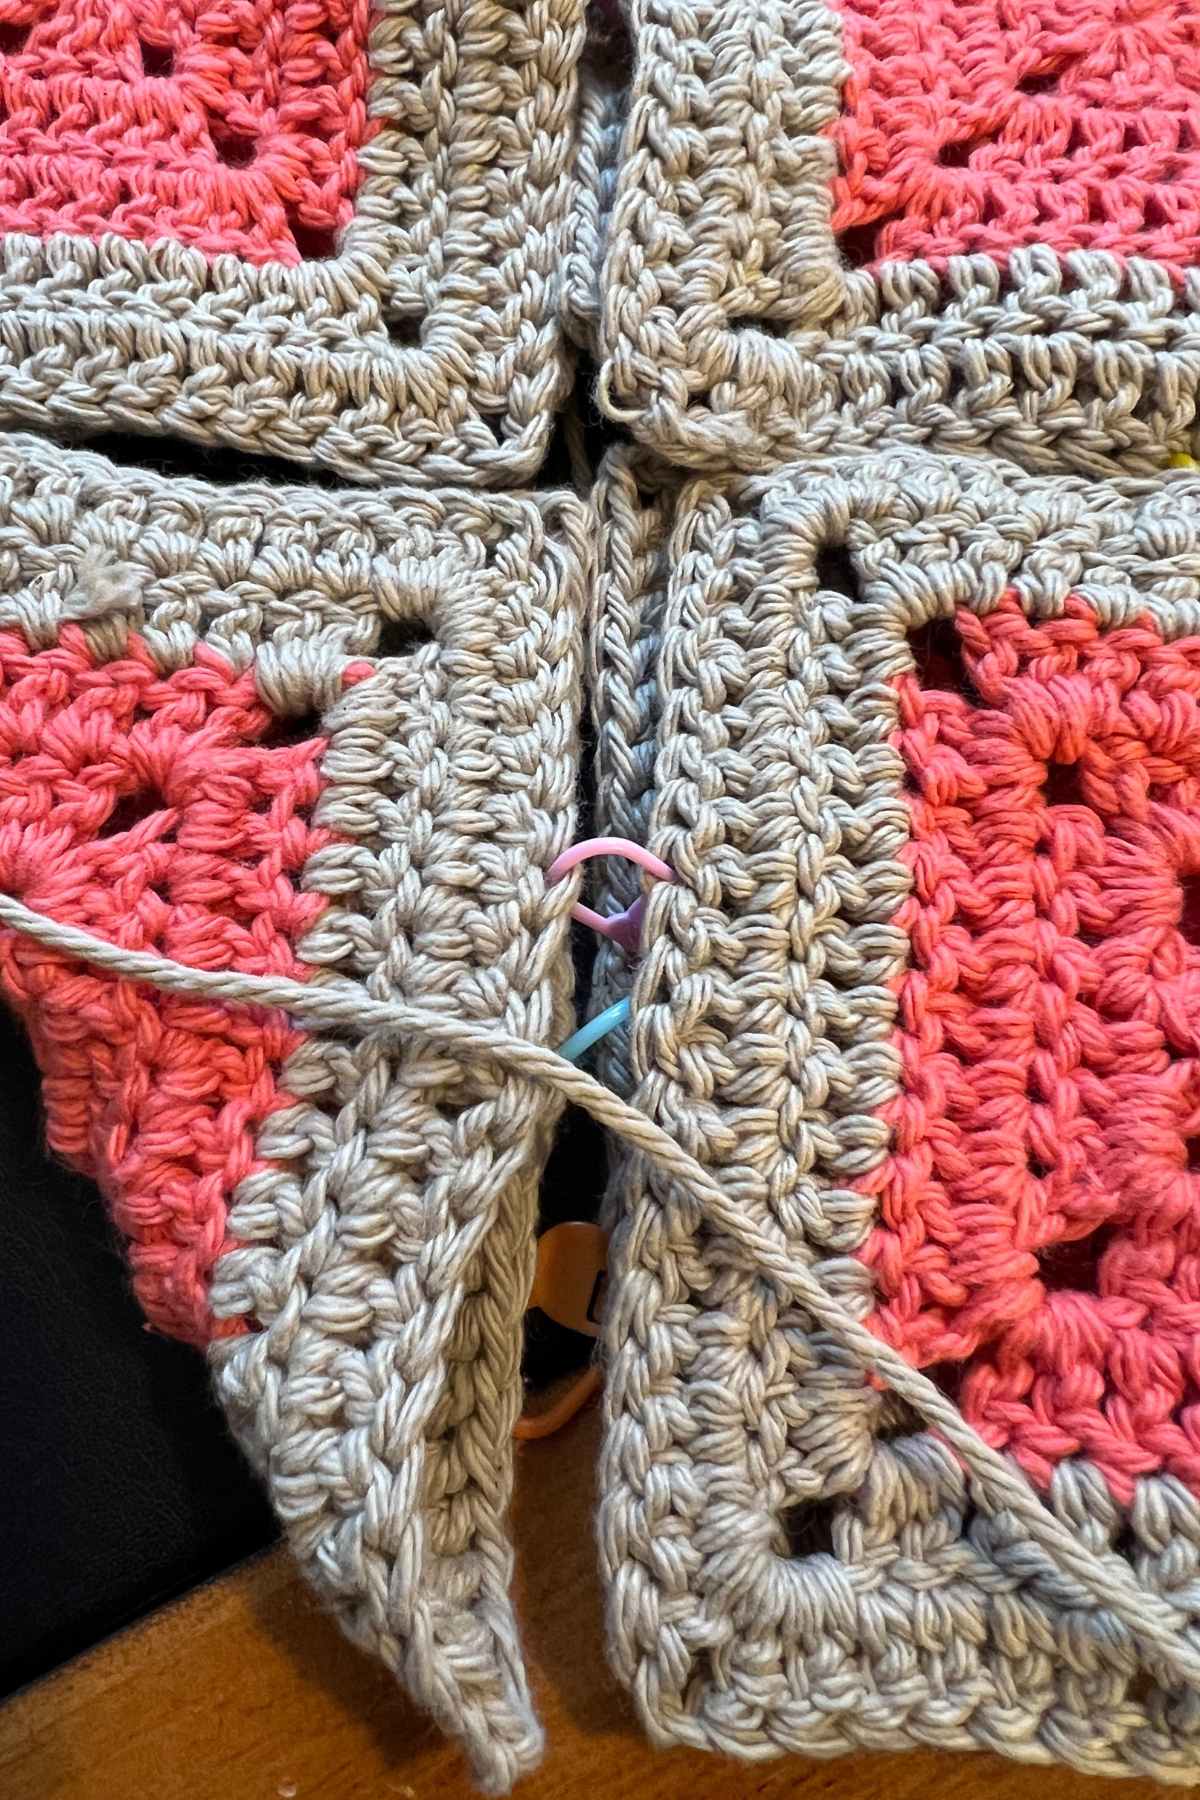
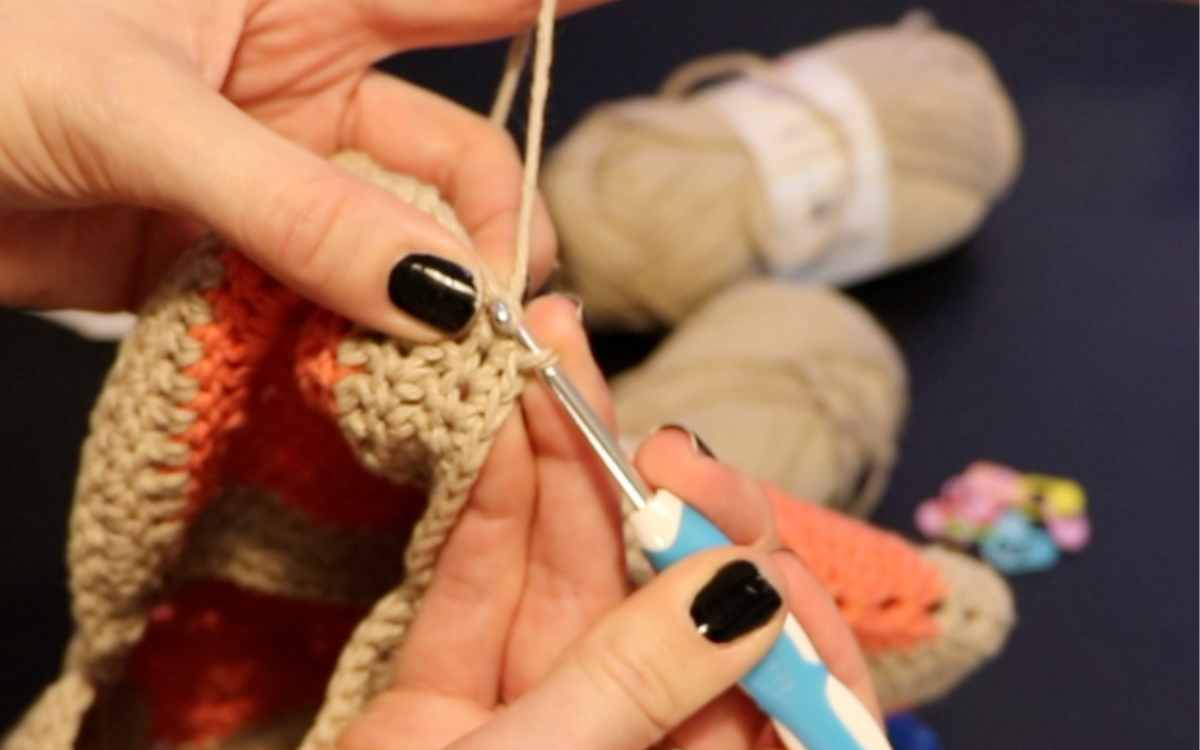
Now turn your bag inside out, and started from a corner using your jute yarn, use single crochets to join the two sides together.
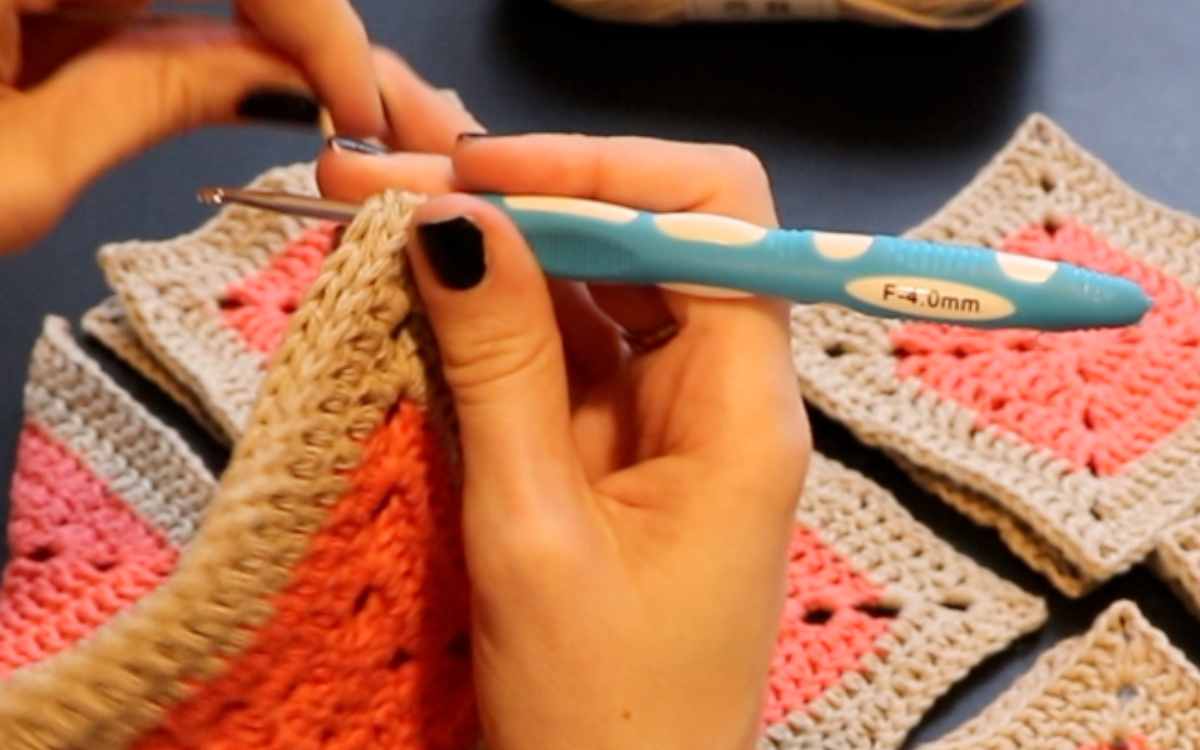
There are several ways to connect granny squares though crocheting or sewing, but this one is my personal favorite and the method I used in the pictures I’ve shown here.
Once you’ve crocheted down each edge, turn your bag the right way out again and weave in your ends. I prefer to weave in my ends using a large yarn needle or tapestry needle.
Finishing the Top
To give the top of the bag a defined finish, work a single crochet into each stitch around the top-most edge.
Make one single crochet into the top of each edge stitch, at the bottom of the handles single crochet two stitches together and into the top most stitch above the chain gap make three single crochets to maintain the shape.
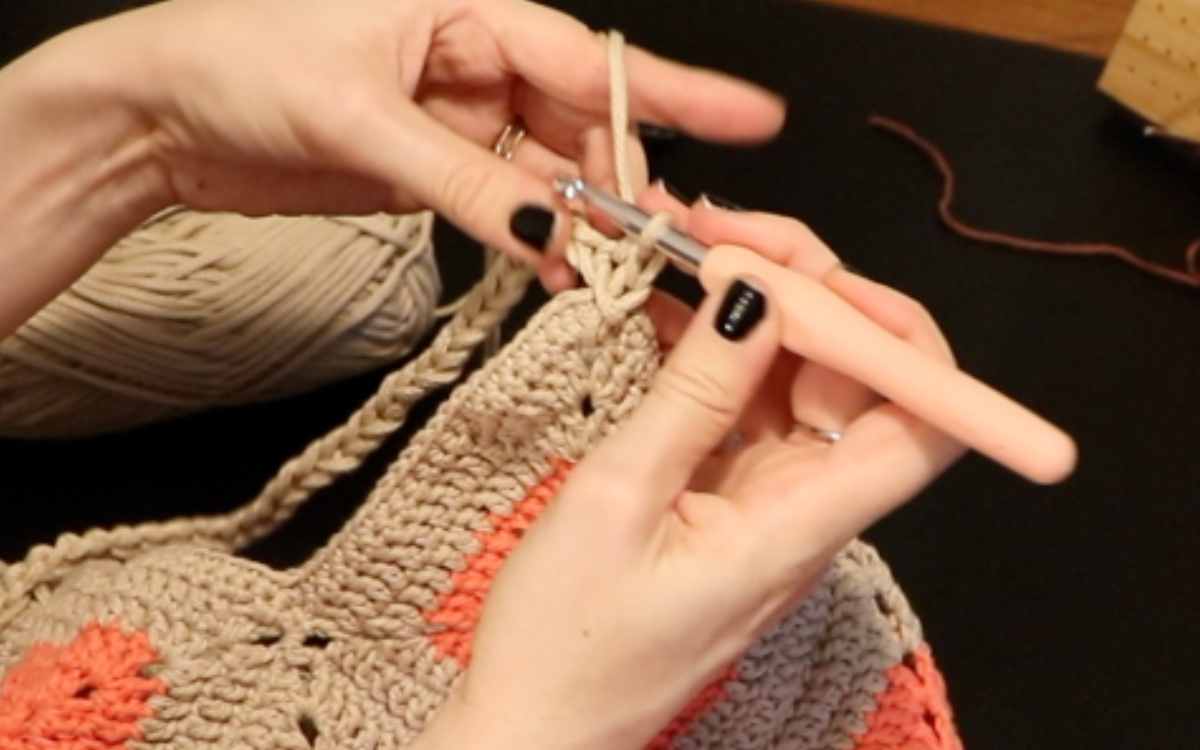
Crocheting the Handle
You are now going to be working with your 7mm crochet hook and macrame cord. You’ll need two handles, and you’ll make them both in the same manner.
Insert the crochet hook into one of the top most edge chain gaps and chain 51.
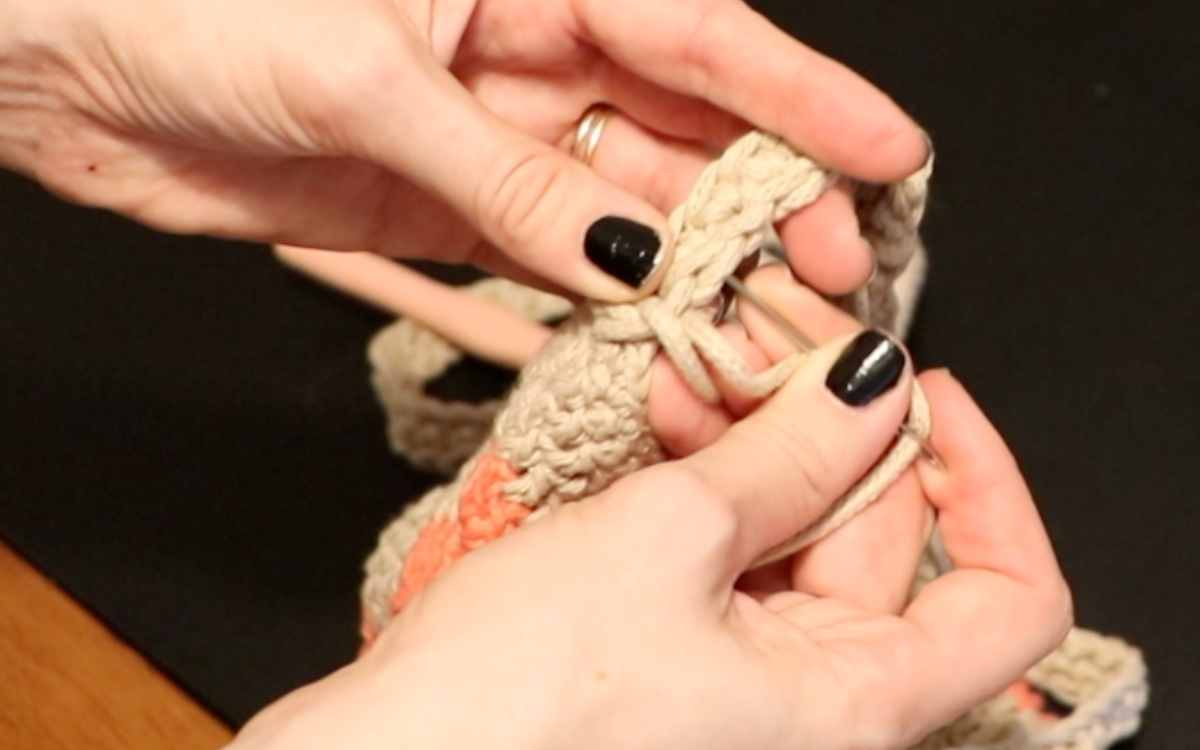
Slst into the opposite chain gap, and chain 1. Single crochet into each of the 50 loops of the chain until you reach your starting point.
Chain one and slip stitch into the edge once more, then cut a long tail of cord and using a wide eyed needle sew it back through the handle to hide the loose end.
Your Granny Square Bag
The best thing about this granny square bag isn’t that it’s easy, it’s that it’s so versatile. A thousand people could make this design and depending on the yarn choice they make, or how they attach a handle or finishes the edges, they can have a really unique finish.
I can’t wait to hear how you get along, and what you do to make your bag your own!
Happy Crocheting,
Lucy Kate, x
*The products linked in this pattern were carefully selected by Lucy Kate Crochet. If you decide to purchase using the links provided, we may earn a small commission on that sale. This is at no extra cost to you.


This is a great looking bag. Please add the option to post it to my Pinterest board. I would live to make it in the near and far future from my personal collection of crochet patterns. Thank you.
That’s a great idea, I’ll see what I can do!
On bag number 5 love them everyone wants one