How To Crochet Realistic Tulip Flowers
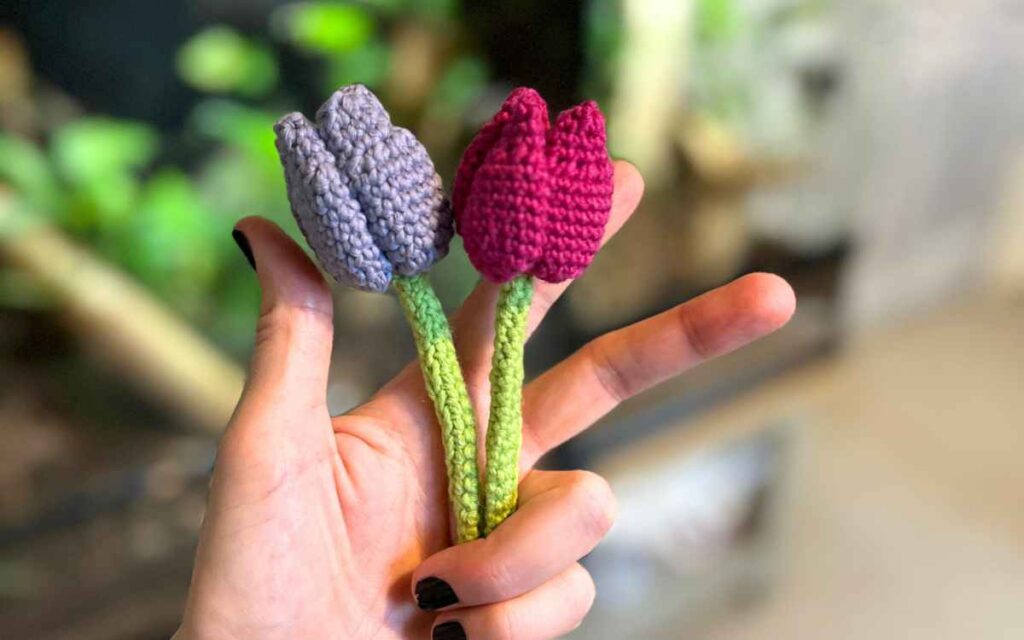
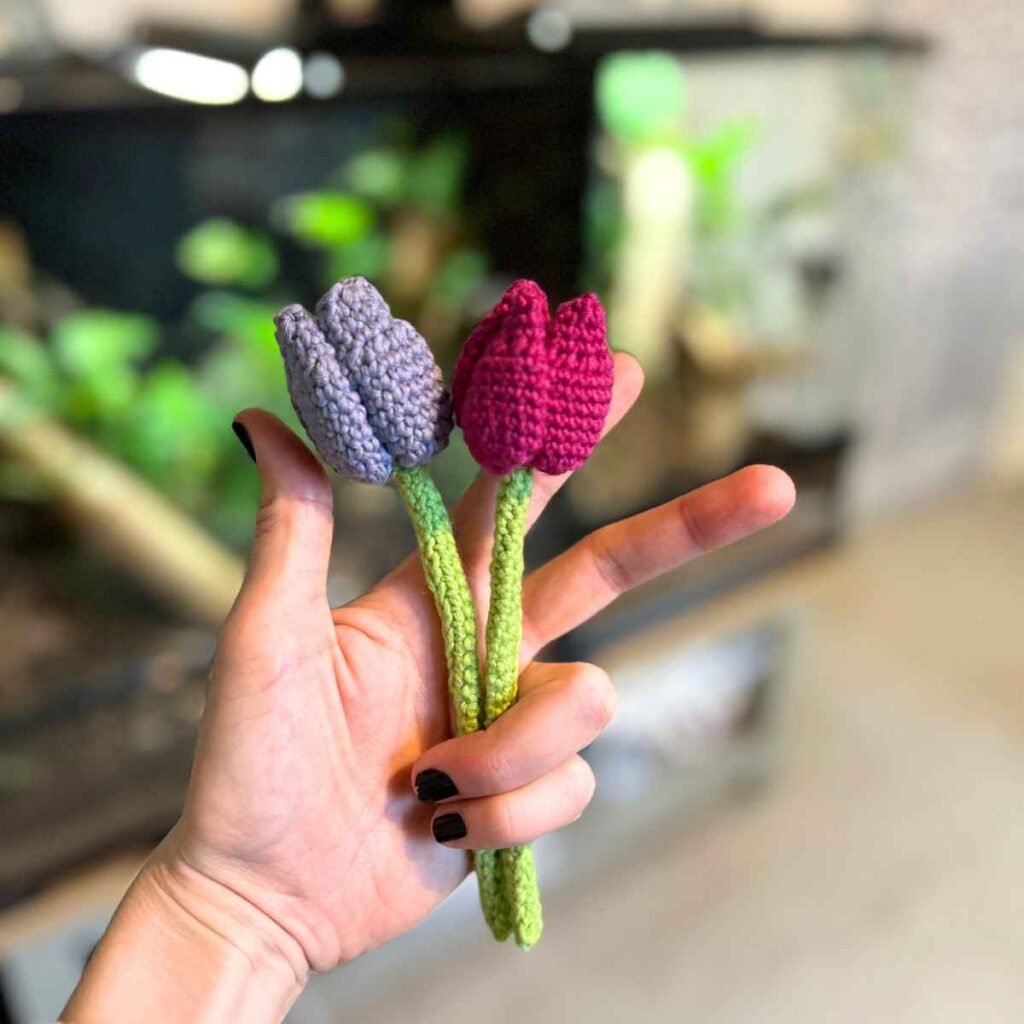
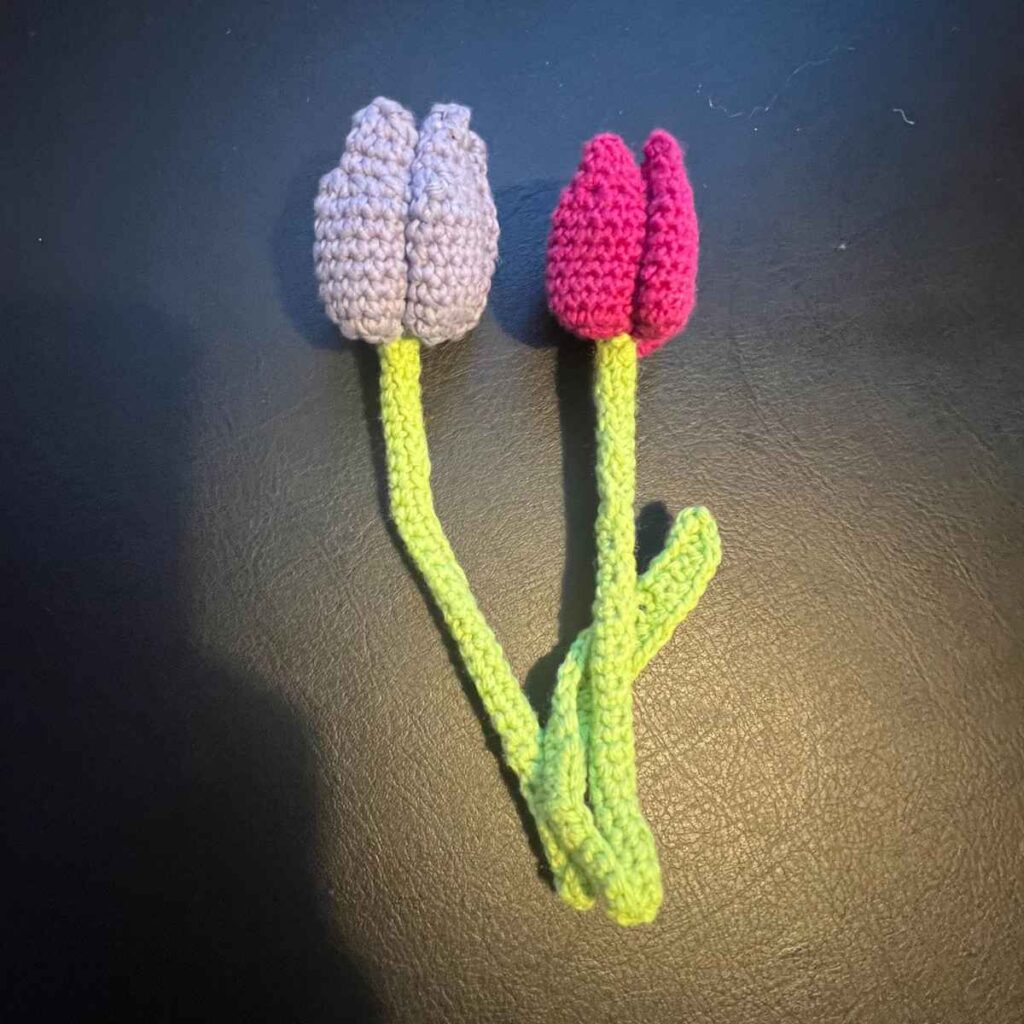
My free crochet tulip pattern was designed to replicate one of my favorite flowers in a realistic way. I wanted anyone who glanced at them to go, woah, that’s a tulip alright! It’s a fairly detailed pattern, but quick to work up if you’ve got a little crocheting experience.
- What you’ll need.
- Pattern notes and abbreviations.
- Crochet tulip pattern.
- Crocheting the stem and leaves.
My realistic crochet tulip pattern is the first in a new series of crochet flower tutorials I’m working on! I’m really excited about this project, as the plan is to bring them all together in a beautiful bouquet when I’m done. But you can work your individual crochet flower patterns into matching bunches, creative displays or even crochet yourself a gorgeous vase to put them in.
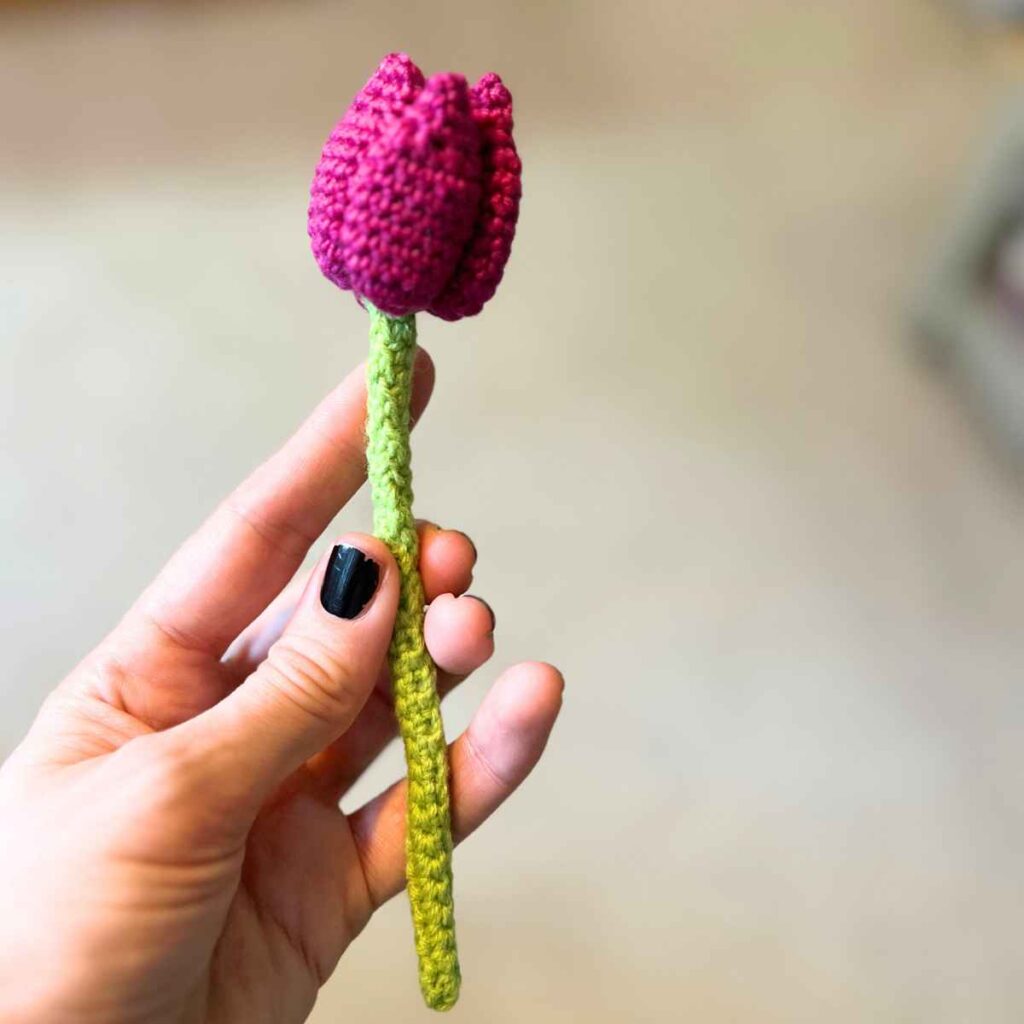
What You’ll Need To Crochet Your Tulips
To crochet your tulips you’ll need:
- Brightly colored DK yarn
- 3mm crochet hook
- Pipe cleaners* (for stem support)
- Tapestry or yarn needle*
- Scissors
I recommend using an acrylic, wool or cotton/acrylic blend yarn. The yarns used in the example were from my yarn scraps stash. They included some Sirdar Snuggly*, Paintbox DK* and another brand that might have been DMC’s Woolly.
You don’t need to use a pipe cleaner to support the stem, any fine wire will work just fine. Or if you don’t want them to stand up, just crochet the stem alone and it will still look gorgeous laid flat!

Pattern Notes and Terms
To use this pattern you’ll need to be familiar with making a magic circle, crocheting chains, single crocheting and happy to do a little bit of hand sewing.
The abbreviations I’ll use in this pattern are:
- sc – single crochet
- 2sc – make two single crochets into the same stitch
- sc2tog – use one single crochet to join two stitches together
- hdc – half double crochet
- dc – double crochet
- slst – slip stitch
Free Crochet Tulip Pattern
Tulips come in a huge range of colors, but my preferred shades for this tulip crochet pattern are pinks and purples. Use your 3mm crochet hook and DK yarn.
Crocheting the Petals
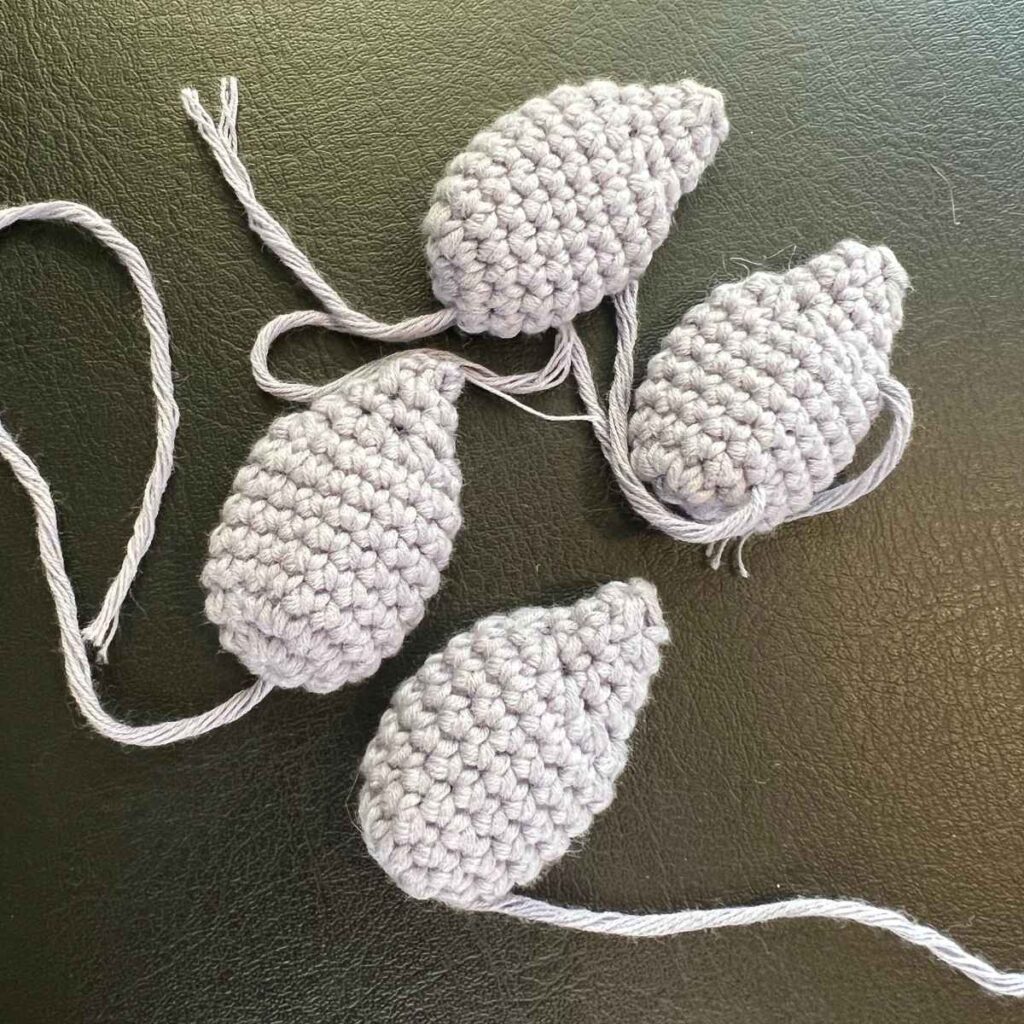
Create four identical petals:
Round 1
Make a magic circle of eight stitches (8)
Round 2
2sc x 8 (16)
Round 3 – 8
1sc x 16 (16)
Round 9
sc2tog x 8 (8)
Round 10 – 11
1sc x 8 (8)
Round 12
sc2tog x 4 (4)
Sew the final four stitches together with your yarn needle.
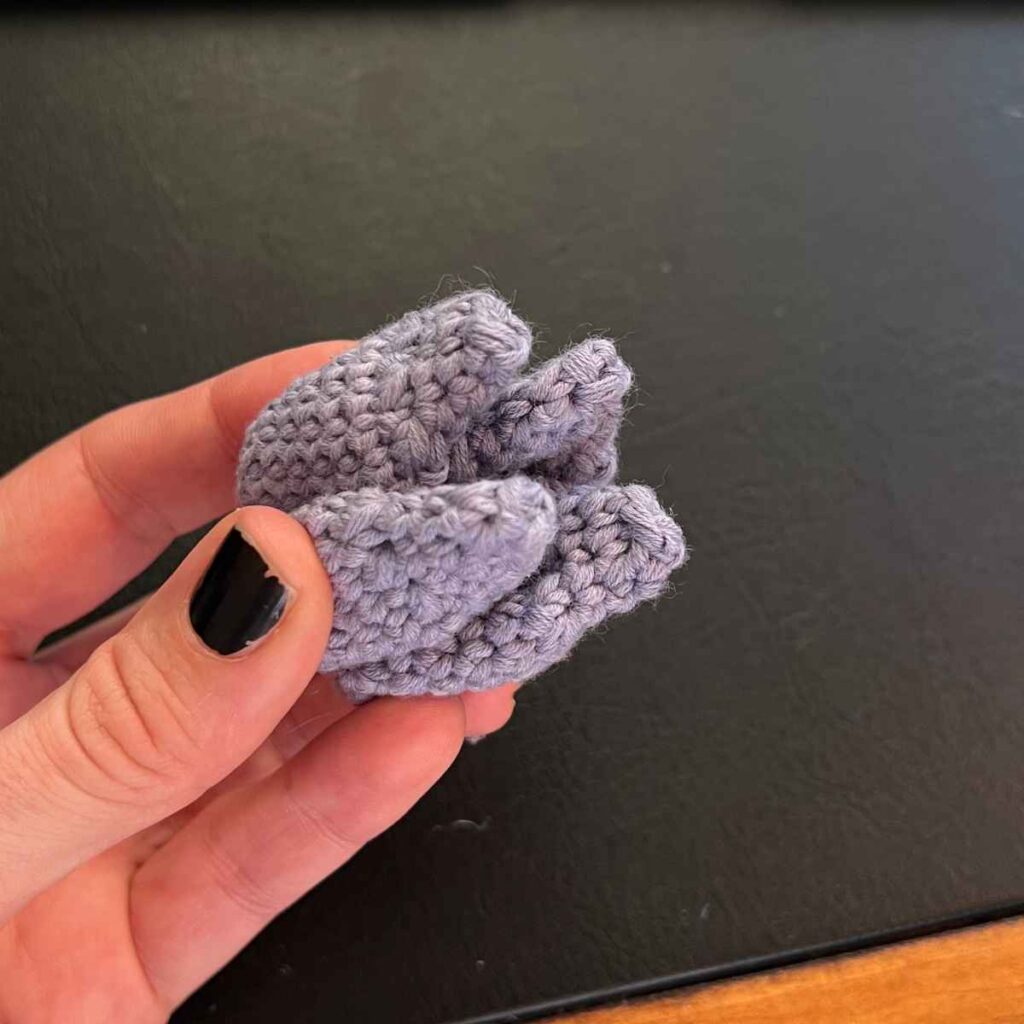
Joining the Petals
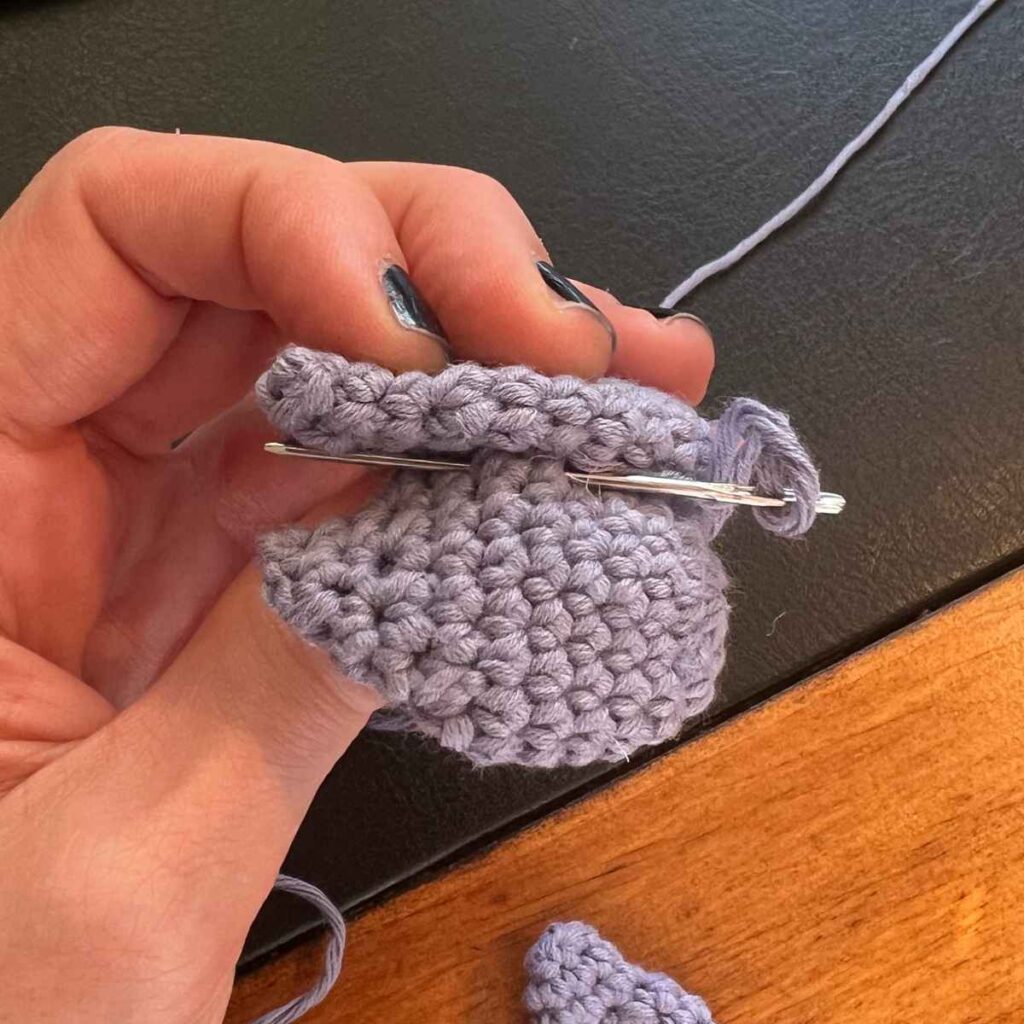
Cut off all loose ends, leaving a loose end to pull back into each petal to hide them.
Thread your yarn needle with the same colored yarn. Please the petals overlapping each other in a circle.
Sew up the side of each petal, to join it to the adjacent petal.
Weave in and out to sew the bottom closed.
Crocheting Flower Stems
For the stems I recommend you keep it consistent in terms of the pattern, but change the color of fiber of the yarn to give variation if you are creating a bouquet.
I used a section of pipe cleaner to give structure to my crochet flower stems.

Row 1
Chain 35 + 1
Row 2 – 5
1sc x 35, turn, ch 1
Wrap around the section of pipe cleaner and hand sew down the edges.
When you’ve finished your flower you can hand sew a stem to it.
How to Crochet Tulip Leaves
I worked my tulip leaves into each side of a long chain. You don’t need to be exact with your stitch count for this, because leaves aren’t exactly even! This gives you a bit of artistic license to have fun with the design.
Row 1
Make a chain of 31 stitches
Row 2
Slst x 5, sc x 5, hdc x 5, dc x 5, hdc x 5, sc x 5, 3sc (33)
Row 3
Rotate and work into the back edge of your starting chain.
Sc x 5, hdc x 5, dc x 5, hdc x 5, sc x 5, slst x 5
Putting Your Crocheted Tulip Pattern Together
You can now hand sew the composite parts of your tulip flower together. Use a yarn that matches the area where the stitches will be most visible for the neatest finish.
Happy Crocheting!
Lucy Kate, x
*The products linked in this pattern were carefully selected by Lucy Kate Crochet. If you decide to purchase using the links provided, we may earn a small commission on that sale. This is at no extra cost to you.
