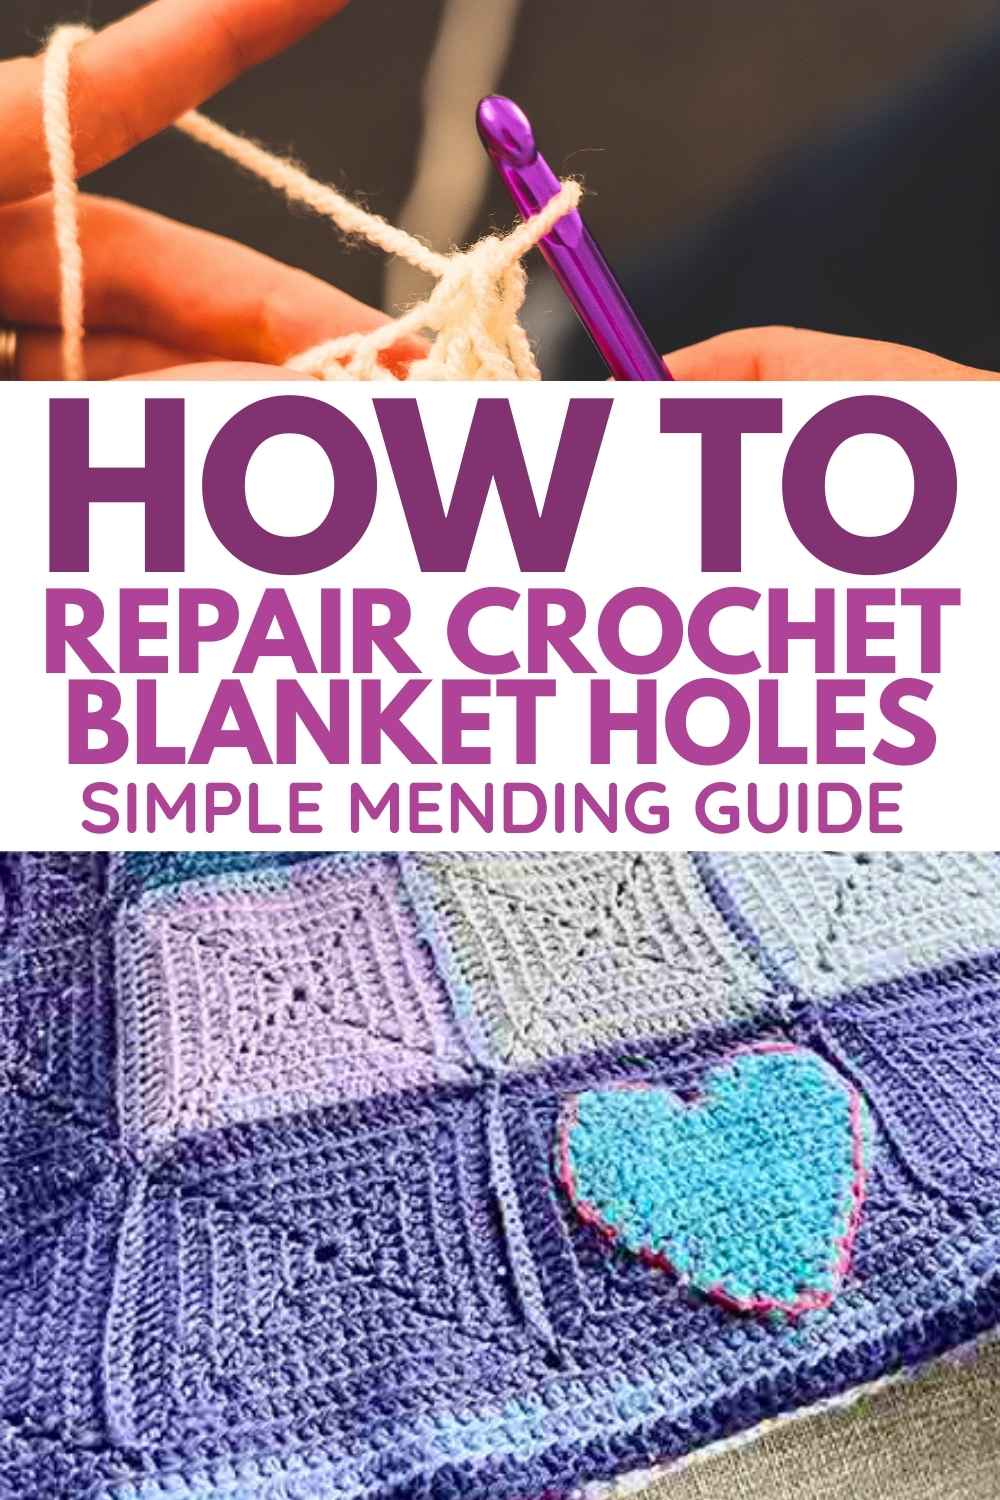
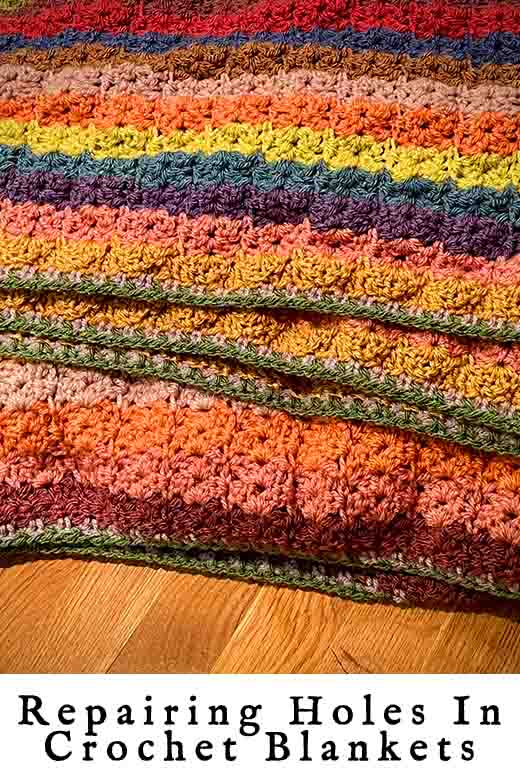
Repairing Crochet Blankets
No one wants to find a hole opening up in a treasured crochet blanket. Whether it’s a blanket you made yourself, received as a gift, or inherited from your family. But holes do happen, due to things like wear and tear, accidents, and moths.
There are a few ways of repairing holes in crochet blankets. From restoring it exactly as it was, to visible mending techniques that tell a story of your blanket’s history.
- Replacing granny squares
- Patching holes over
- Sewing up holes
- Grafting across holes
- In praise of visible mending
Repairing holes in crochet blankets
Holes appear in your crochet blankets for all kinds of reasons. They can be the result of a yarn end working loose, moths chomping through the fibers in winter, or a space between your stitches getting snagged against something and torn. I find that lever handles on doors are a terrible culprit for this!
Luckily, crochet doesn’t ladder or unravel at the same speed as knitted fabric. So you shouldn’t experience the panic of a hole that just won’t stop growing, from the moment it forms. But a hole in crochet fabric will still get bigger if you stretch or poke at it. So it’s a good idea to put your damaged crochet blanket to one side as soon as you spot a hole, and resist the urge to use it until you’ve performed a repair.
Sewing up holes
One option for mending small tears is to sew them up with your tapestry needle and some yarn. This works best for narrow splits and tears, where the sides already meet. It’s not a very discreet or attractive way to mend wider holes. As you sew up a hole in a crochet blanket, take care to catch any loops of yarn that could further unravel if they’re not anchored back in place.
You can watch someone mend a tear in a crochet blanket by sewing the two sides together, and see how it turns out, in the video:
A needle and thread (or yarn) are also your best friends for correcting the appearance of small gaps caused by
- missed stitches
- uneven sized holes in the center or corner spaces of a granny square
- spaces where the corners four granny squares haven’t quite lined up correctly when you joined them
- or gaps caused by a lapse in tension, perhaps because you were working with an unfamiliar stitch.
These aren’t problems that will get worse with time. They’re just small visual flaws that sometimes have an annoying habit of drawing your attention. To mend them I use yarn or sewing thread, depending on whether it would be tricky to hide yarn. Run the yarn or thread around the edges of the hole, hiding it in the stitches. Then gently pull it tight like the top of a drawstring bag, until the hole reaches the right size. Secure it with a double knot and weave in the loose ends. No one will be any the wiser about what happened!
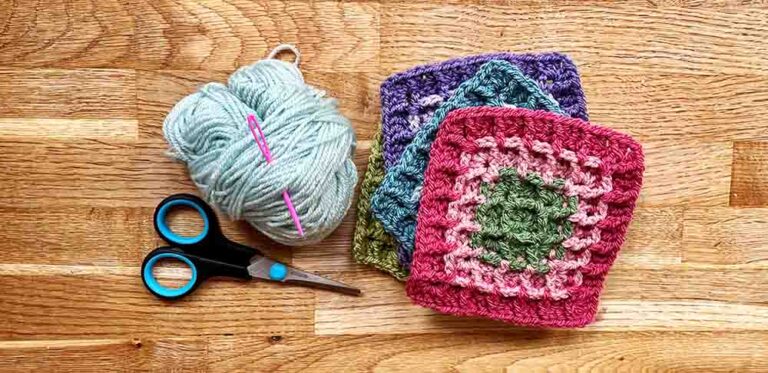
Replacing granny squares
If your blanket is constructed from granny squares, one option is to take out a square with a hole in it, and replace it. If you made the blanket yourself and you have enough of the yarn leftover in your stash, you can replace the square with an exact replica. But if this isn’t possible, a new square with a special motif to commemorate the repair can be just as successful. For example a square with the initials of the blanket’s owner surface crocheted onto it.
Make your replacement square to the same dimensions as the original one, and from the same fibers. If your blanket has been washed since it was made, wash the square too and make sure it still fits the space afterwards. Some yarns behave and shrink differently in the wash! Carefully unpick the joins holding the damaged square in place. It can be tempting to only unravel the seams as far as the corners of the old square, and insert the new square by working around its four sides. But the repair will look more polished if you unpick the seams beyond the corners, and inset the new square using four straight joins, like tic-tac-toe grid.
Patching holes over
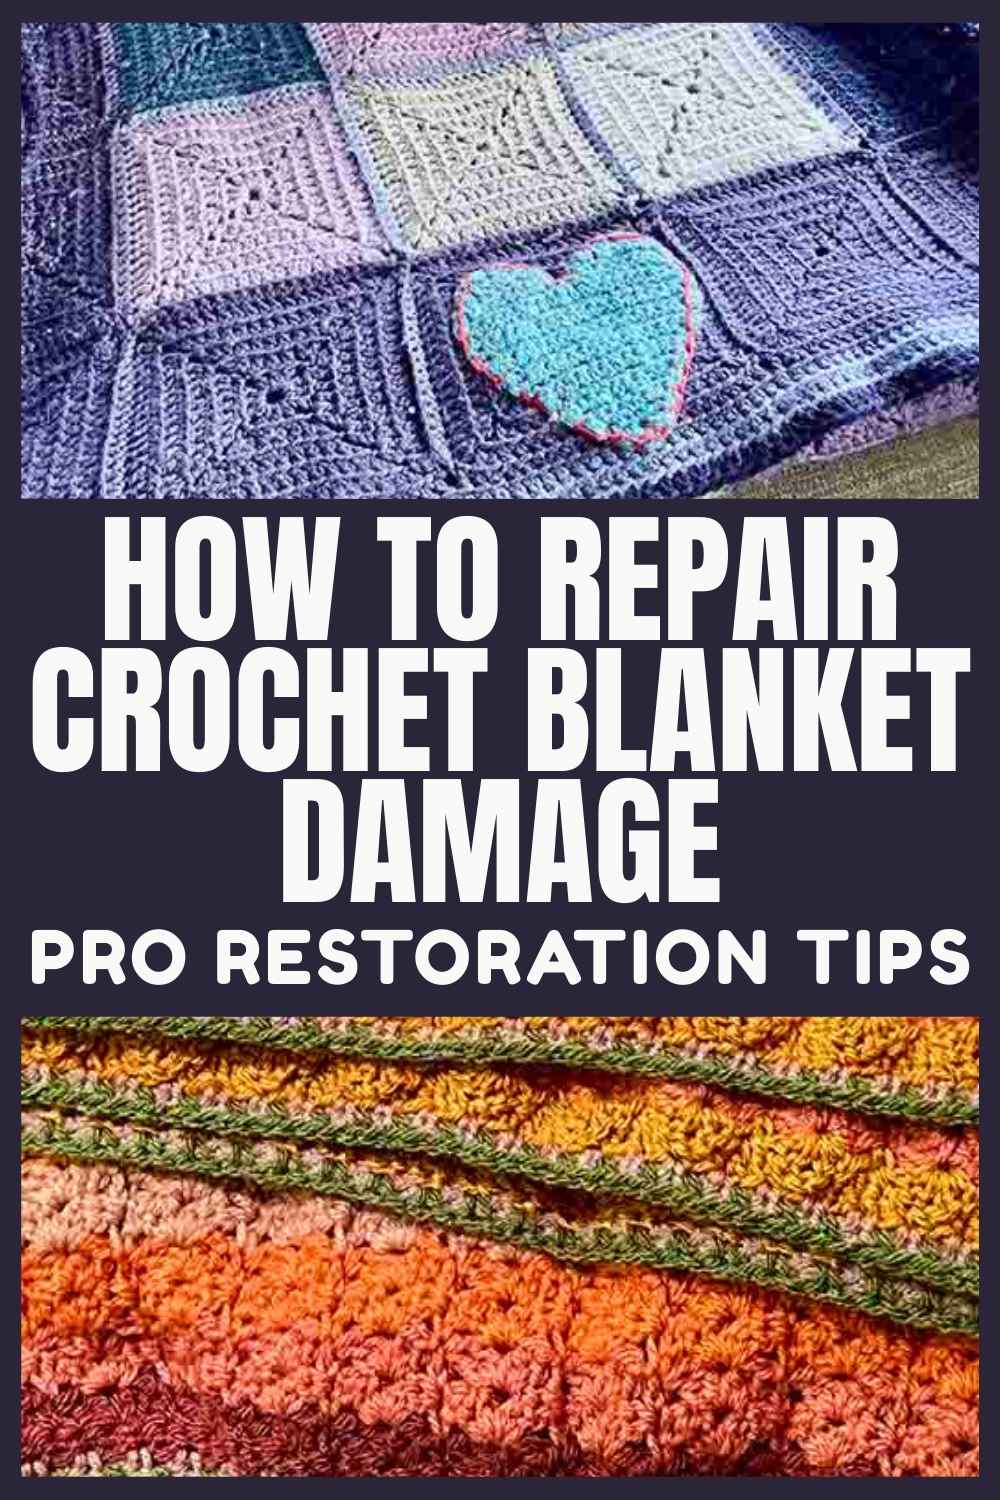
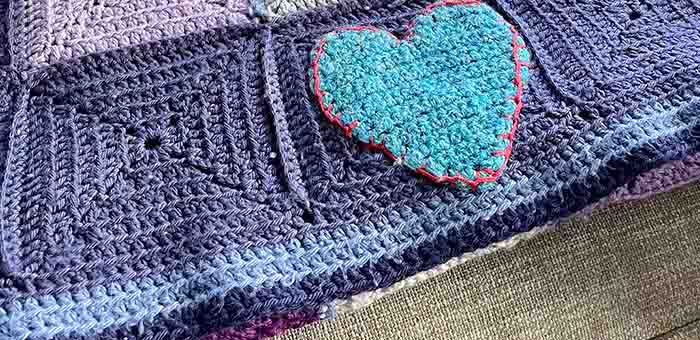
Here’s a solid granny square crochet blanket I made about 13 years ago. You can tell from its condition it’s been well-loved since then!
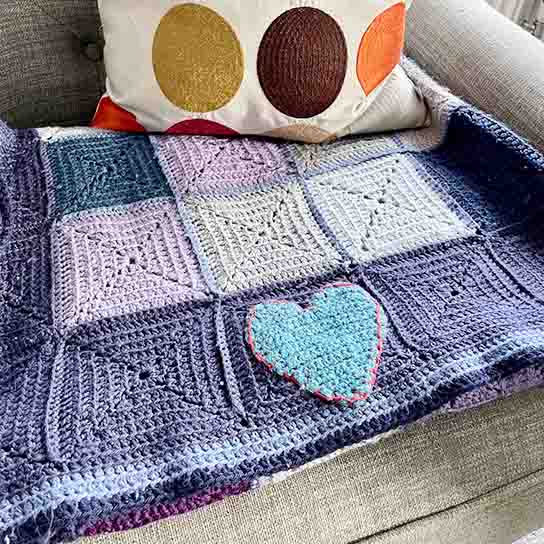
About 6 years ago, one of the granny squares started to unravel from the center. I didn’t have any matching yarn left to replace the square, and I didn’t yet feel confident trying to graft in a new center. But what I did have was half a dozen crochet hearts I’d made for another project, then abandoned without finishing it.
So I took the route of sewing one heart over either side of the hole, using blanket stitch. It’s a pretty unsophisticated solution, but I think it looks quite homespun and charming in its own way. This was my first ever crochet blanket, and it has plenty of other imperfections in it already. But it also has huge sentimental value and I doubt I’ll ever part with it. I can imagine eventually it’ll have many more patches too!
Besides hearts, you could make squares, hexagons, circles or ovals. You could even turn your patch into an intentional embellishment. For example make a round red patch, and embroider a green stem and leaf onto the blanket to turn it into a juicy cherry!
You can also patch a hole in a crochet blanket with woven fabric appliques. It works best if you choose a fabric weight that sits comfortably with the weight of your blanket. For example brushed cotton or needle cord for a DK or worsted yarn blanket, and heavy flannel or chunky elephant cord for a bulky yarn blanket.
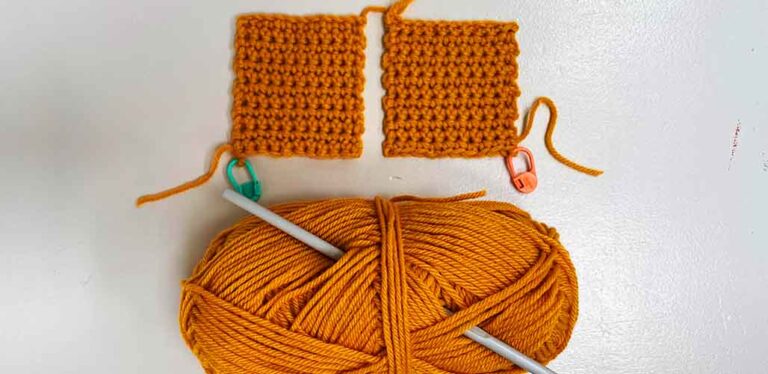
Grafting across holes
Finally, for a truly invisible mend, you can fill a hole in a crochet blanket by recreating the stitches that used to be there. If you do this with leftovers of the same yarn, your repair will be completely seamless. But I actually love how this technique looks with a contrasting color of yarn too – it’s got heaps of potential for beautiful visible mending.
Grafting across a blanket hole with new stitches is a bit more advanced than any of the previous approaches, but nonetheless it is totally achievable. Just take it one step at a time, and don’t try to rush. Here’s a video showing how it’s done:
In praise of visible mending
Visible mending has existed for millenia. From functional darning on clothes with oddments of yarn, to the beautiful Japanese tradition of mending broken pottery with gold or silver lacquer. More recently, interest in visible mending has been revived by creative menders sharing their work on social media. The philosophy behind it is simple. Rather than trying to conceal or camouflage repairs so that they can’t be easily recognized, fixes are turned into decorative features in their own right. The presence of a visible repair on a blanket becomes part of its story, and a celebration of how much service it has given you.
Visible mending also turns repairing holes in crochet blankets into a fun and satisfying creative process in it’s own right. Not just a chore! And of course when you stop trying to make your repairs inconspicuous, you no longer need to stress about whether you’ve succeeded. So there are practical and sentimental advantages of visible mending. And for me, they really helped break down the psychological barriers that used to prevent me getting started on a repair in the first place.
Repairing holes in crochet blankets – summary
Fixing holes in crochet blankets is eventually an inevitable part of owning crochet blankets, for most people. Yarn is not indestructible! But happily there are several ways of mending holes, so that you can continue snuggling under your favorite blanket. My favorite techniques are the ones that aren’t disguised – big patches, and contrasting grafted stitches, so you can see exactly where the original blanket ends and the repair begins. Let us know which approach you like best on the comments box down below!