All My Free Crochet Patterns
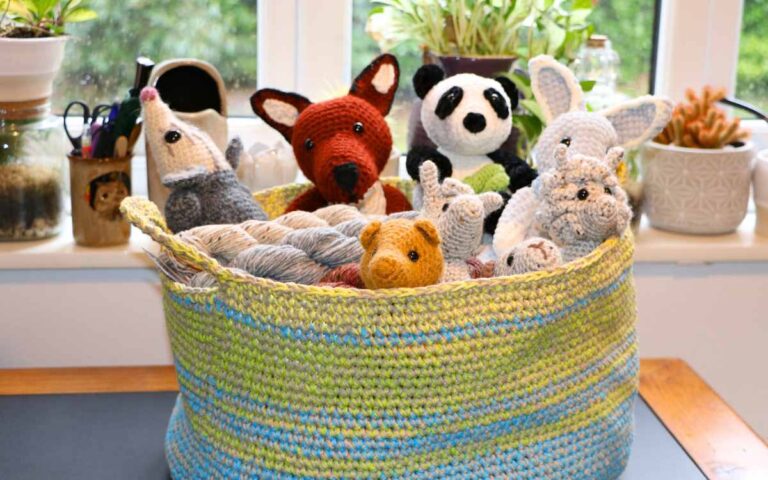
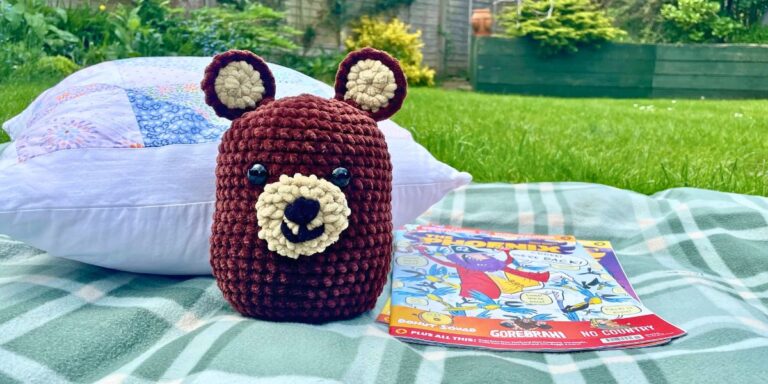
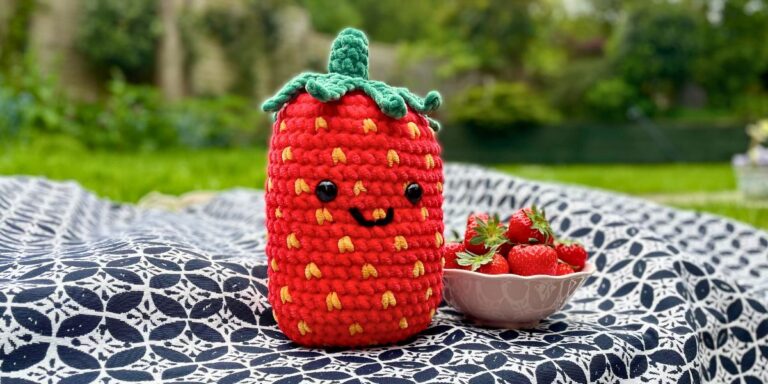
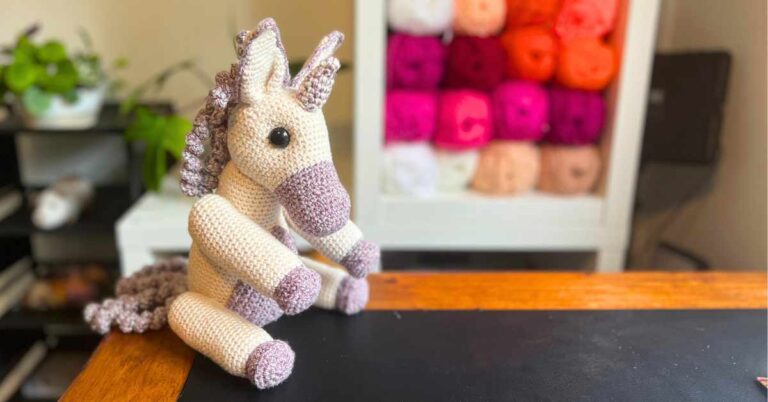
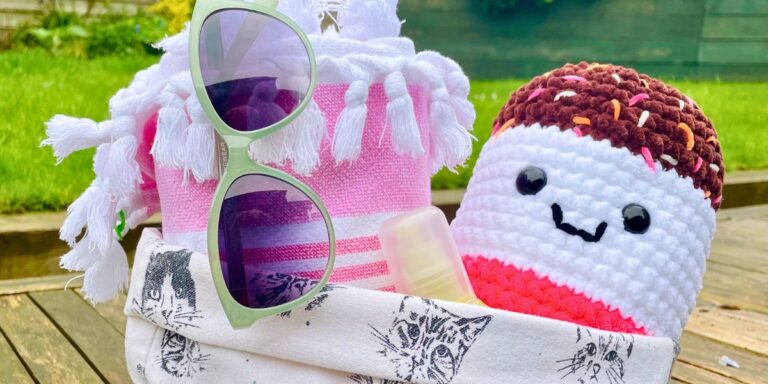
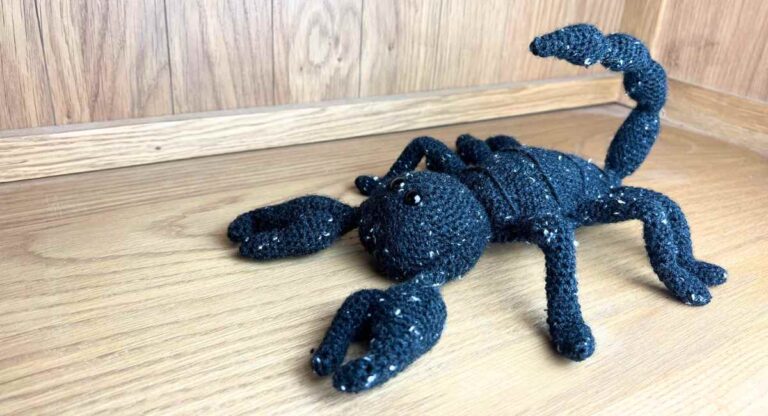
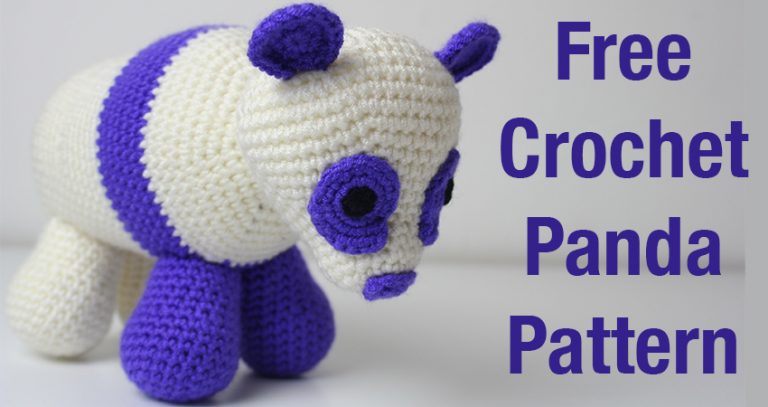
Crochet Toy Patterns
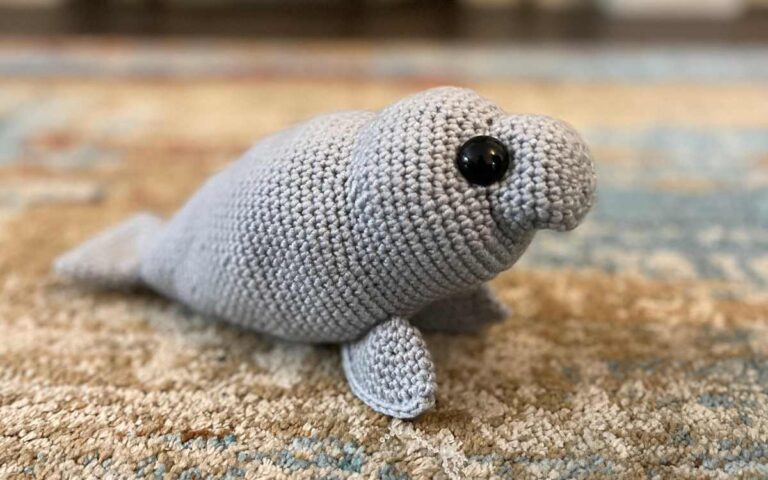
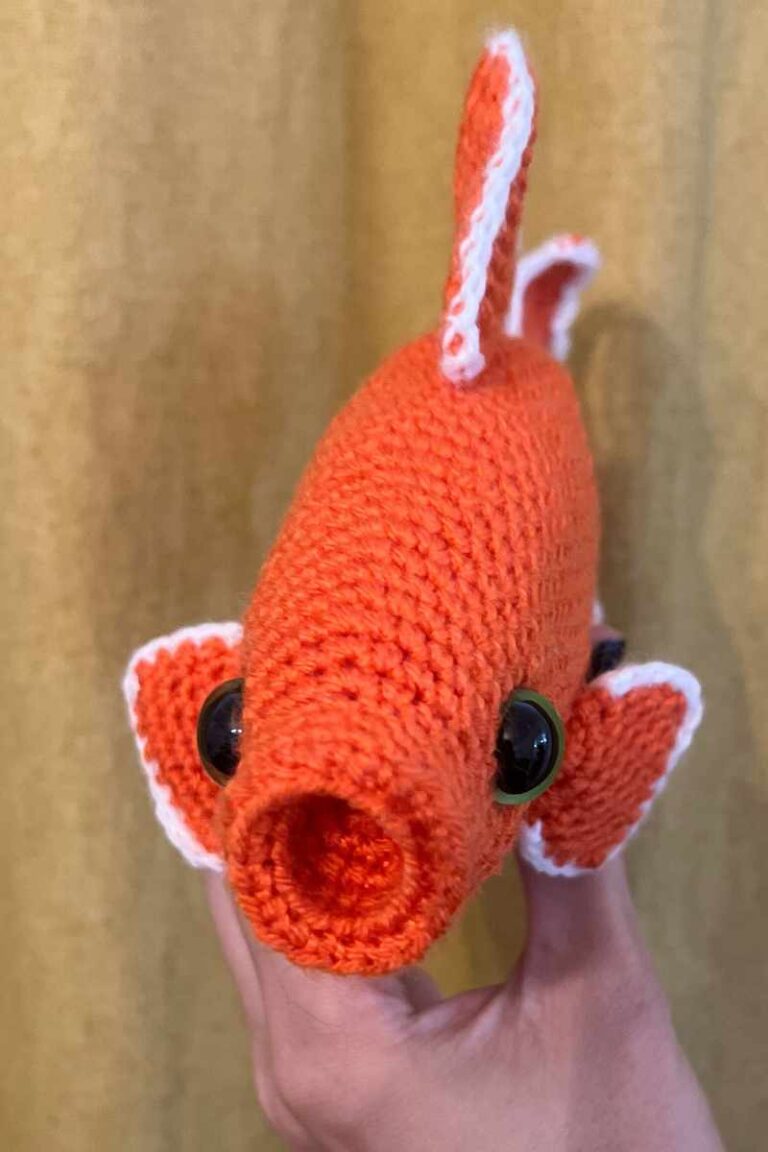
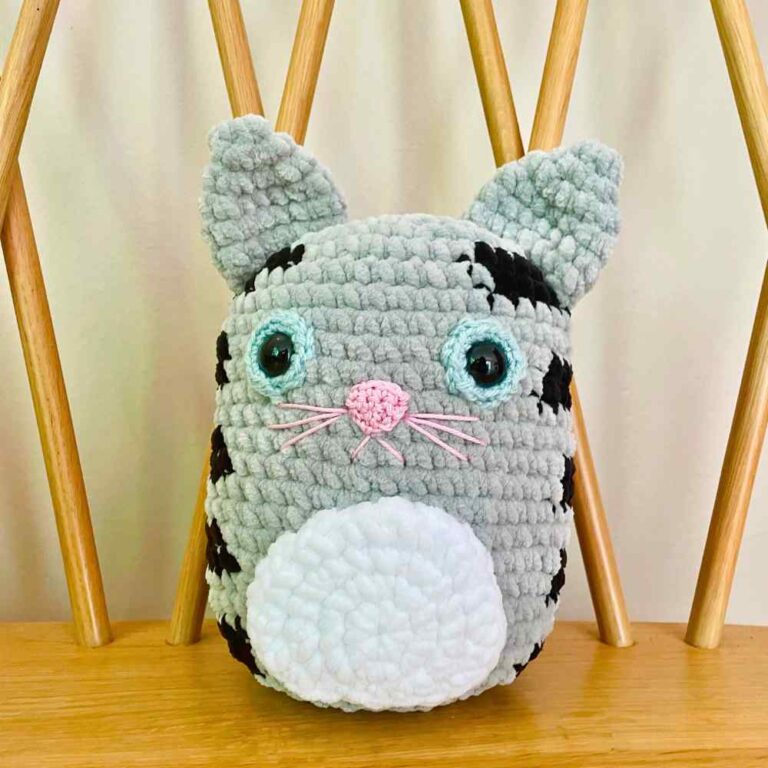
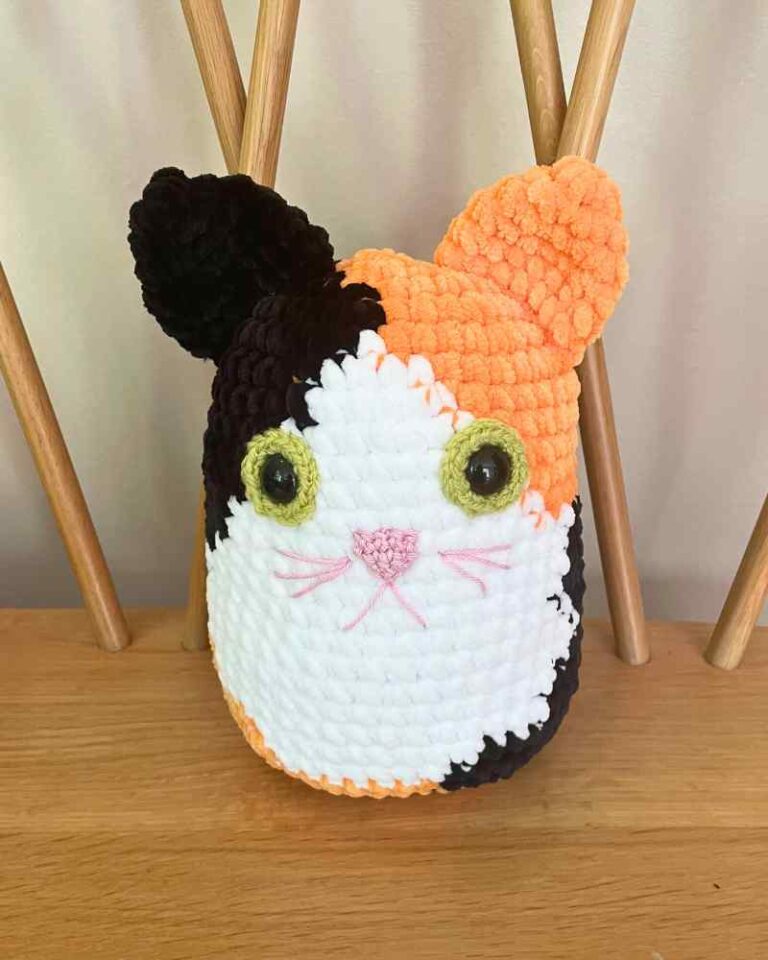
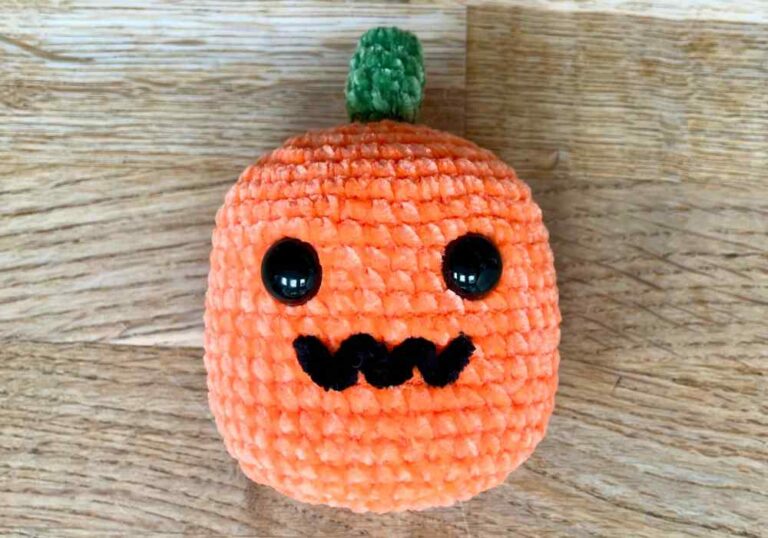
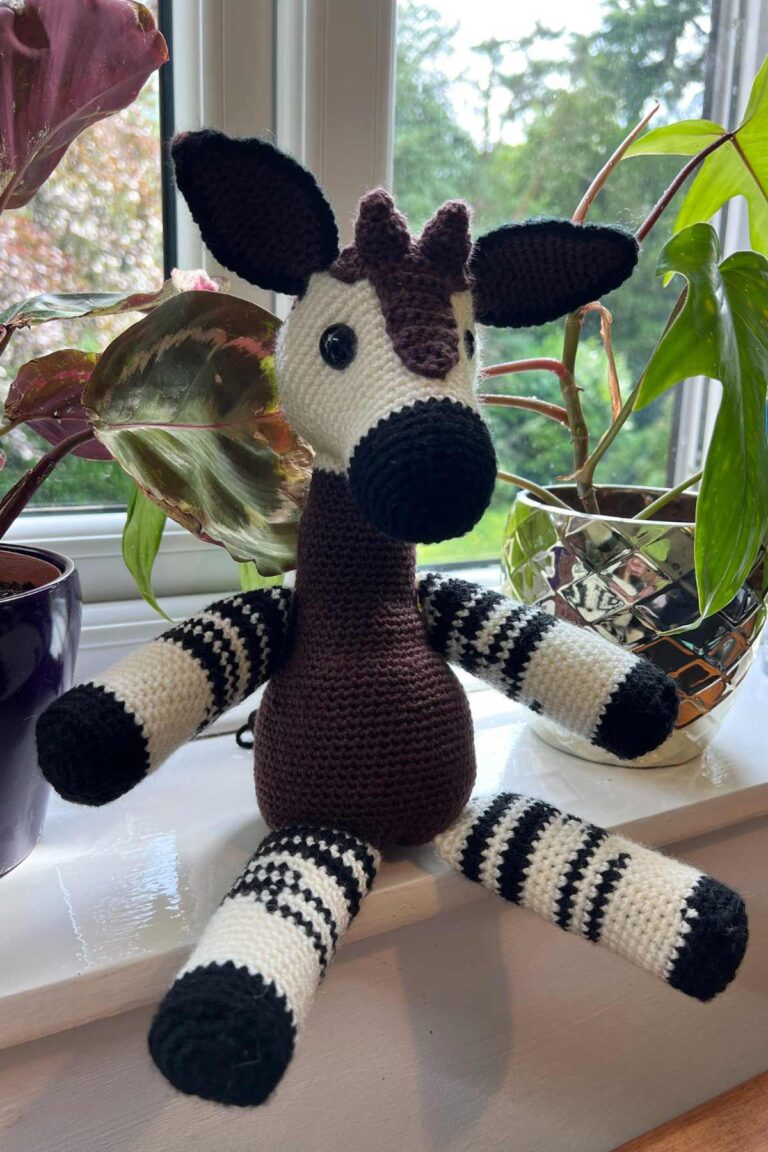
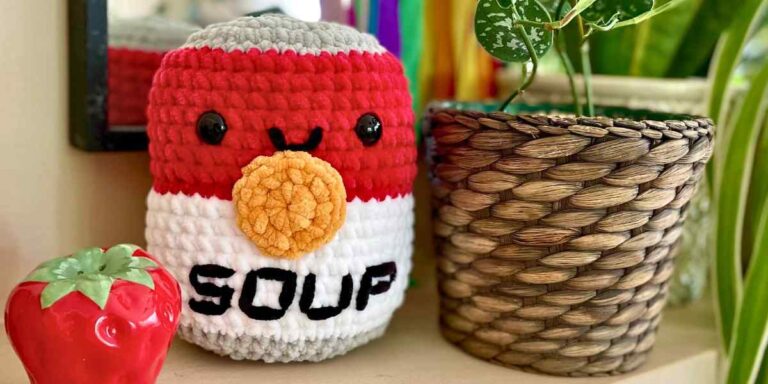
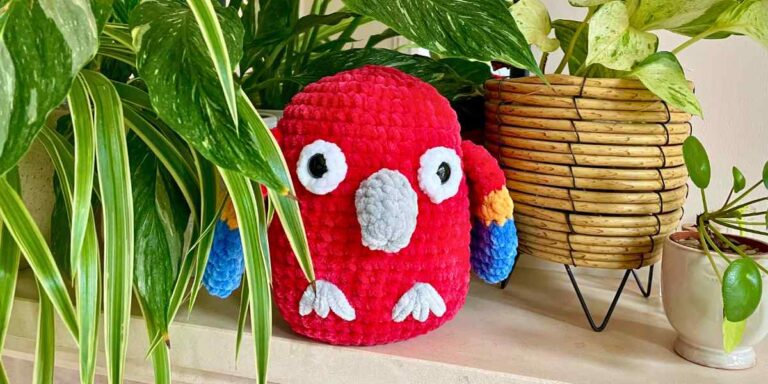
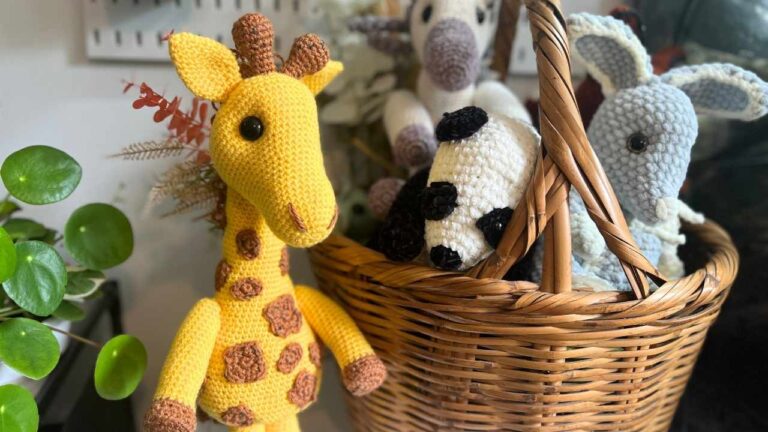
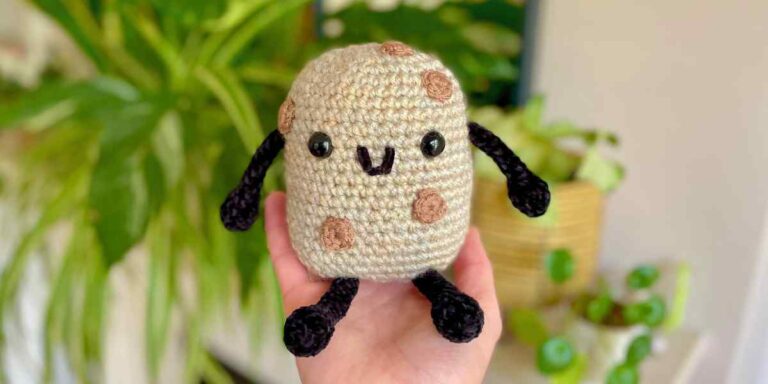
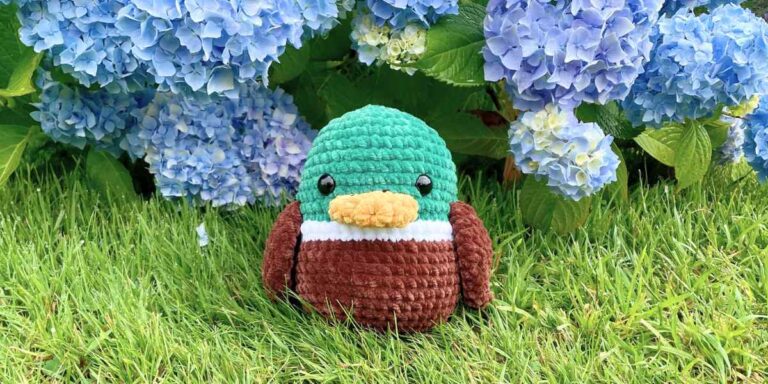
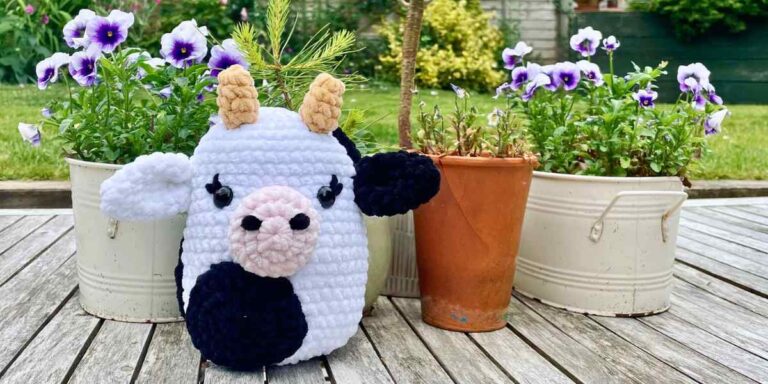
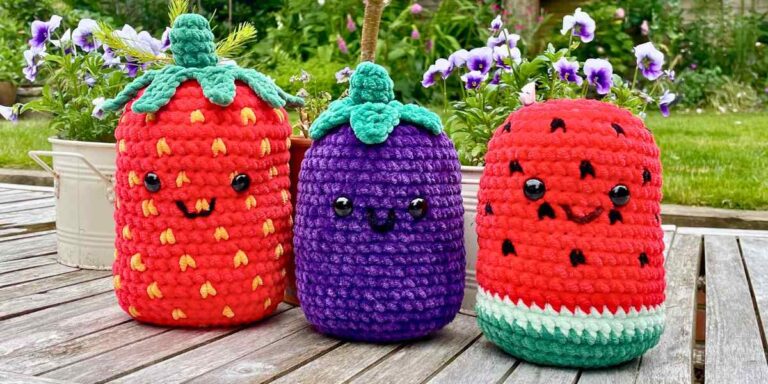
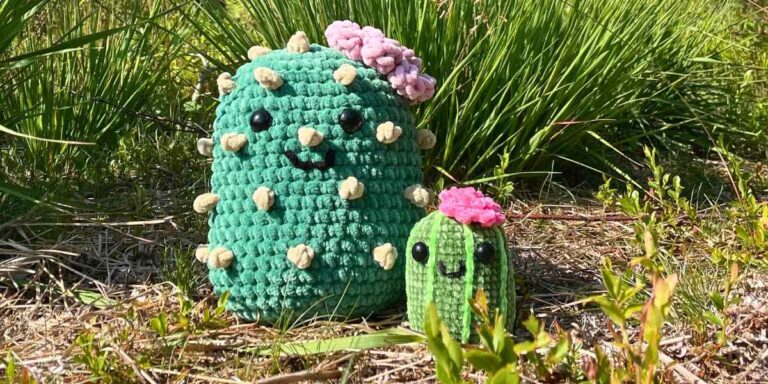
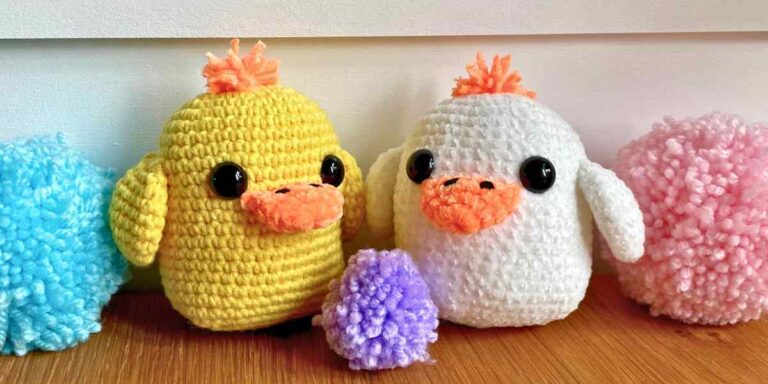
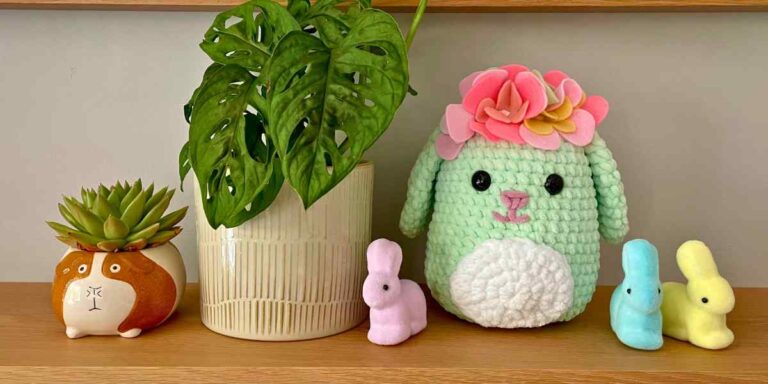
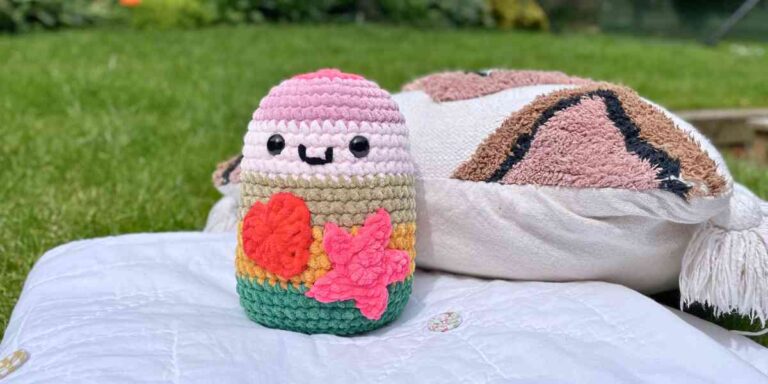
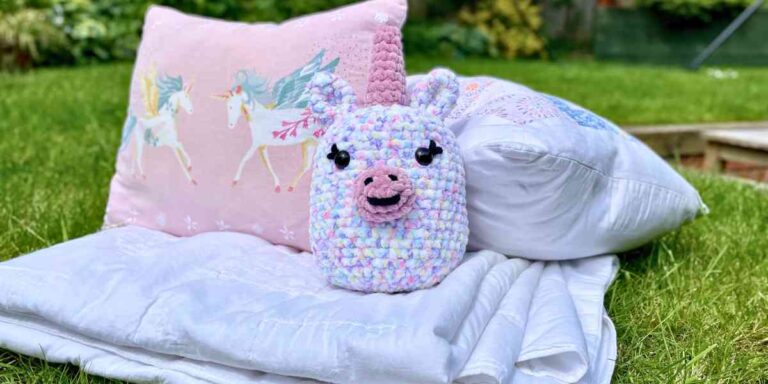
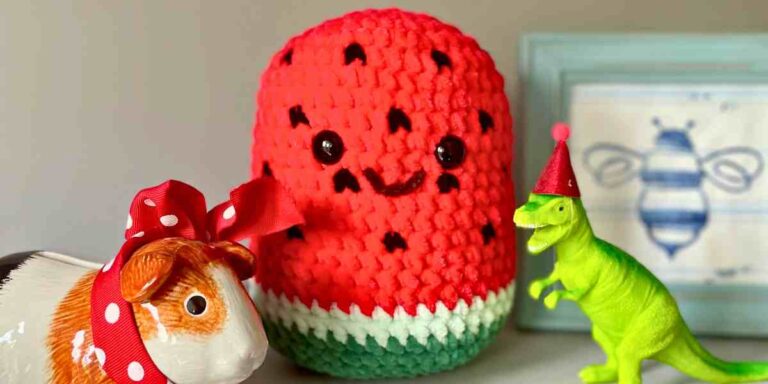
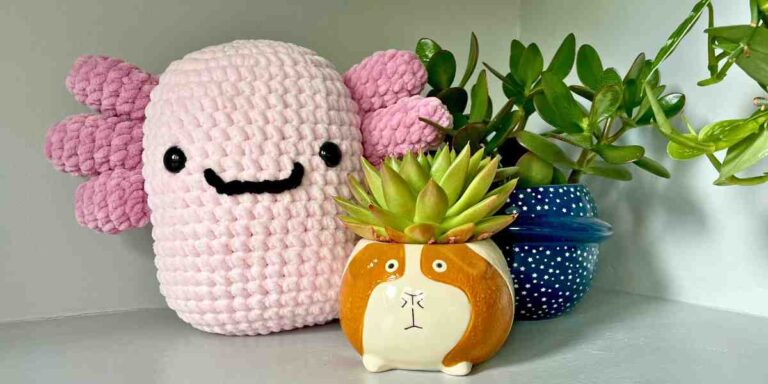
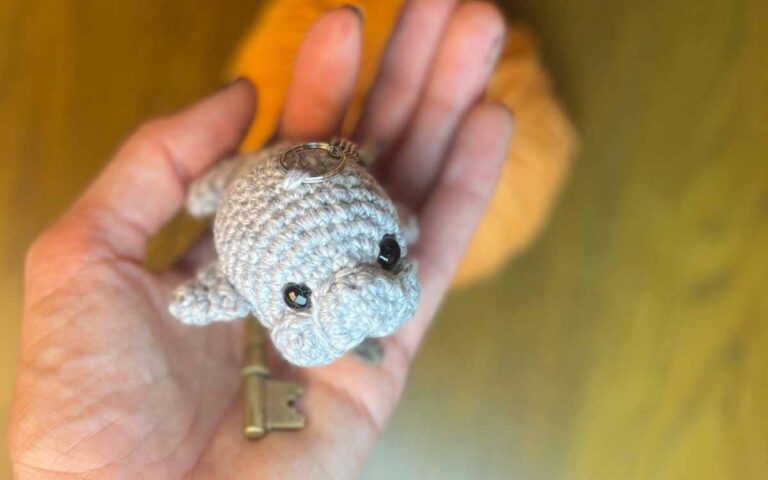
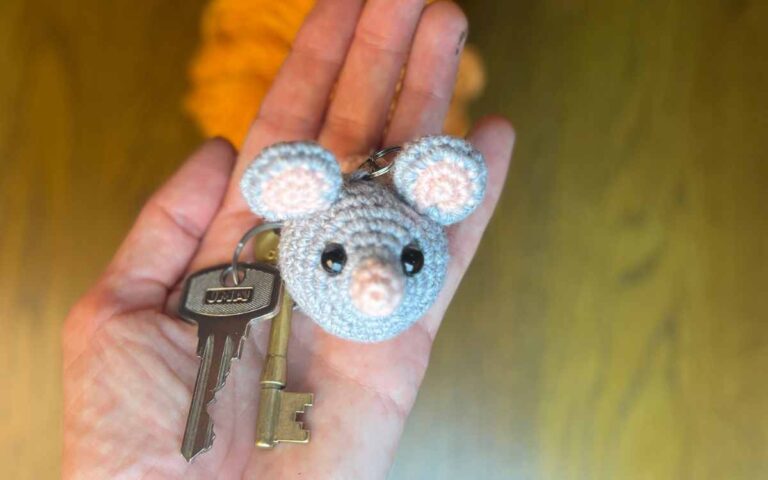
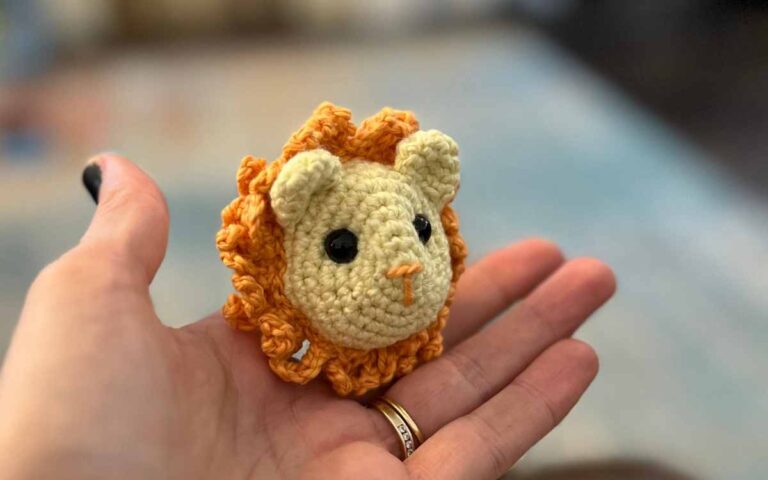
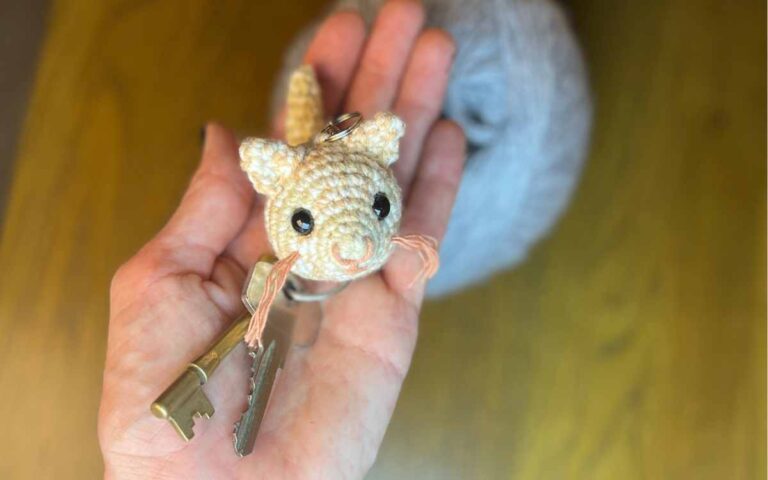
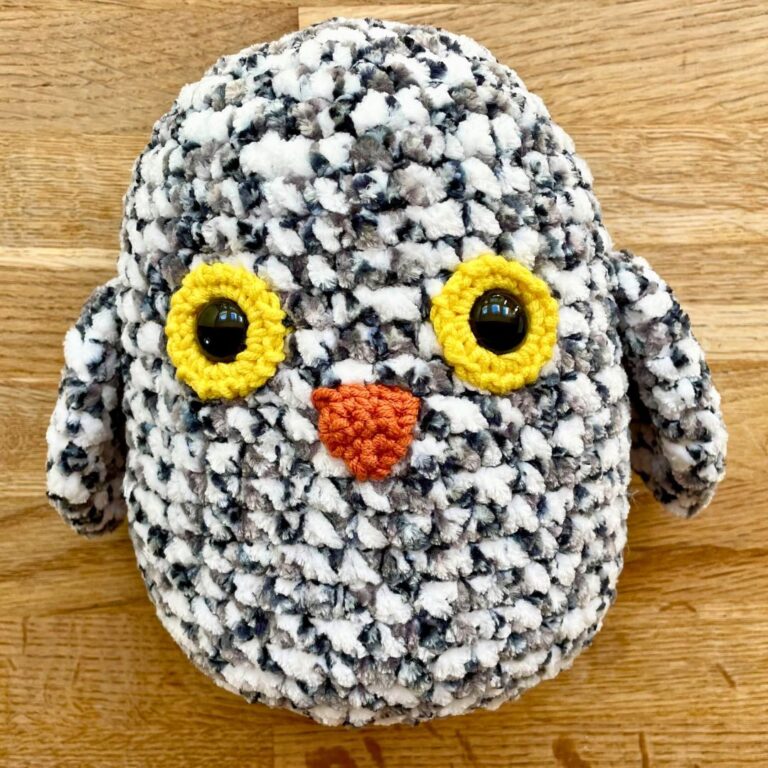
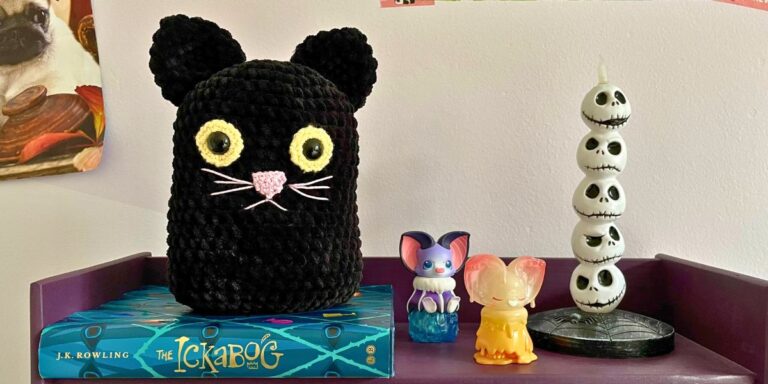
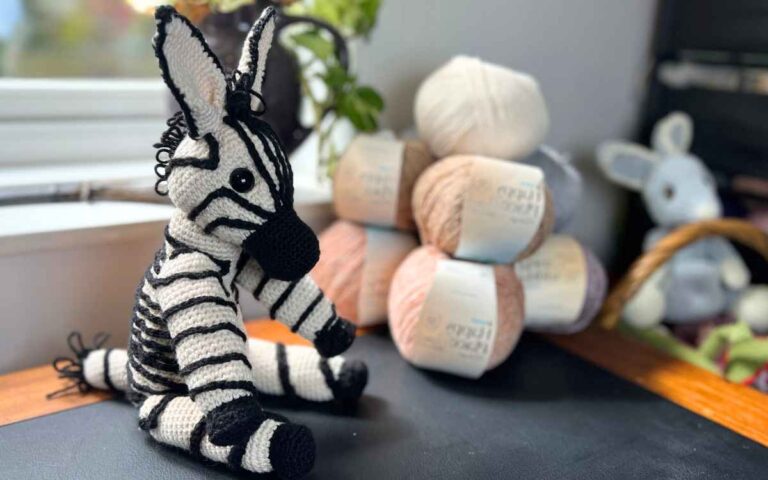
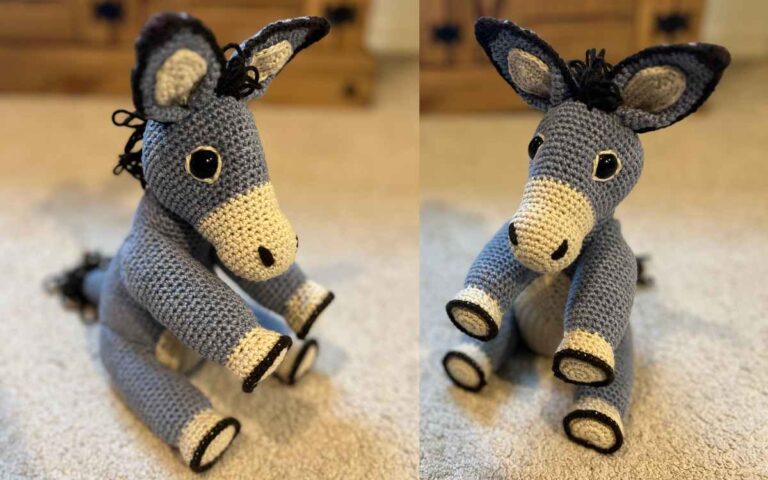
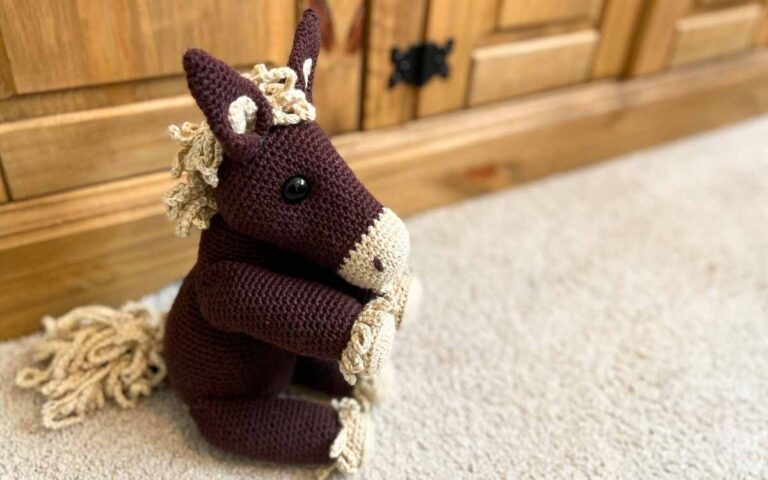
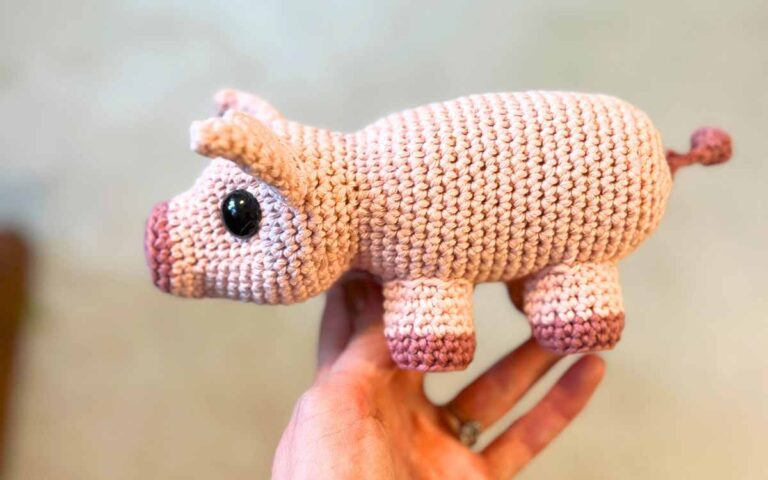
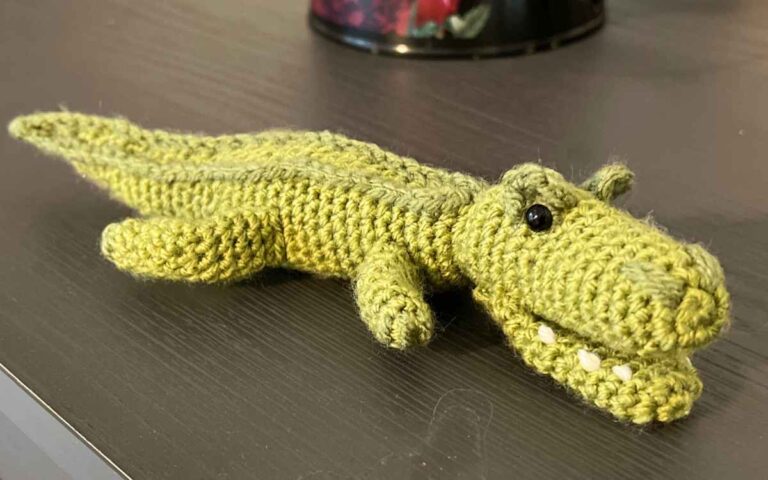
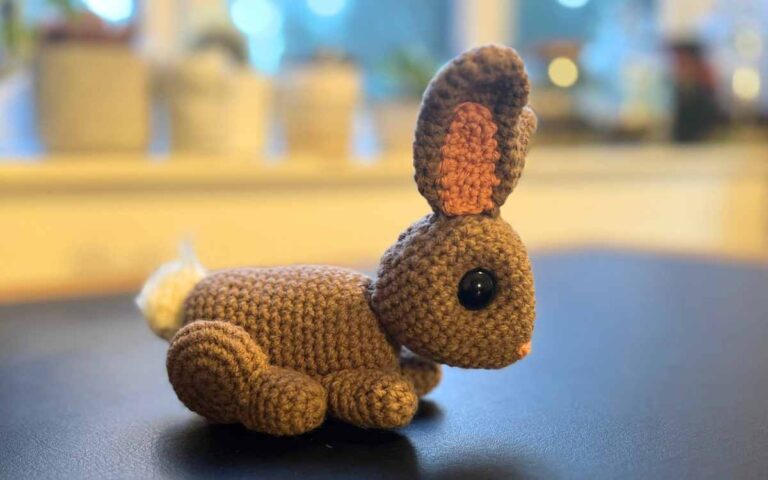
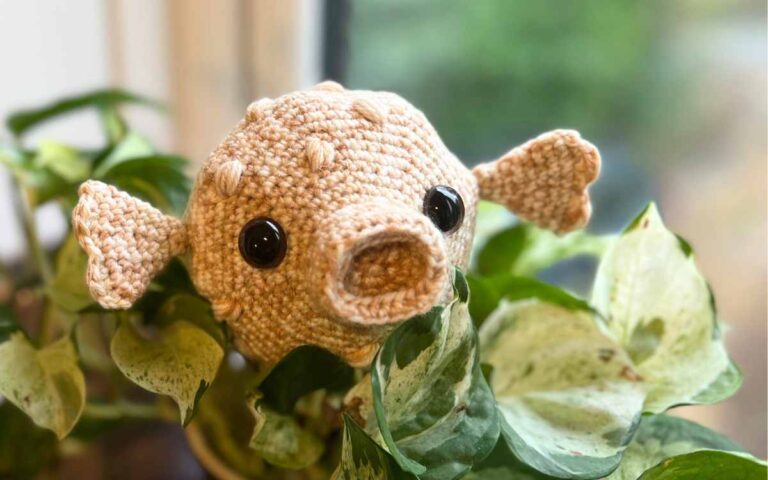
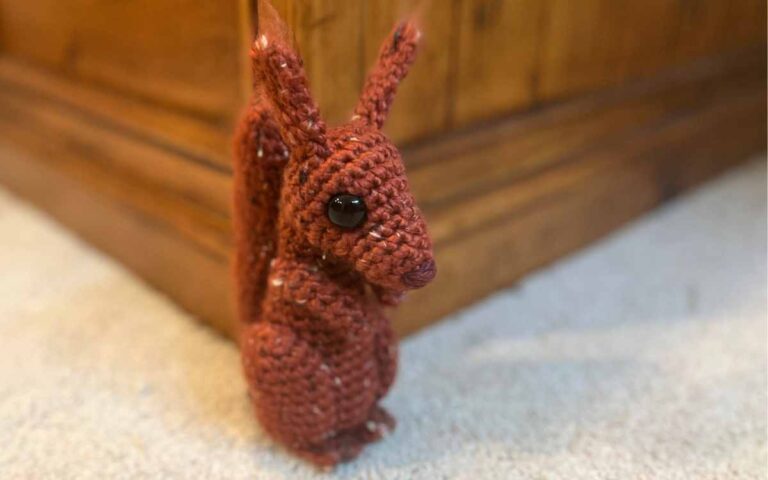
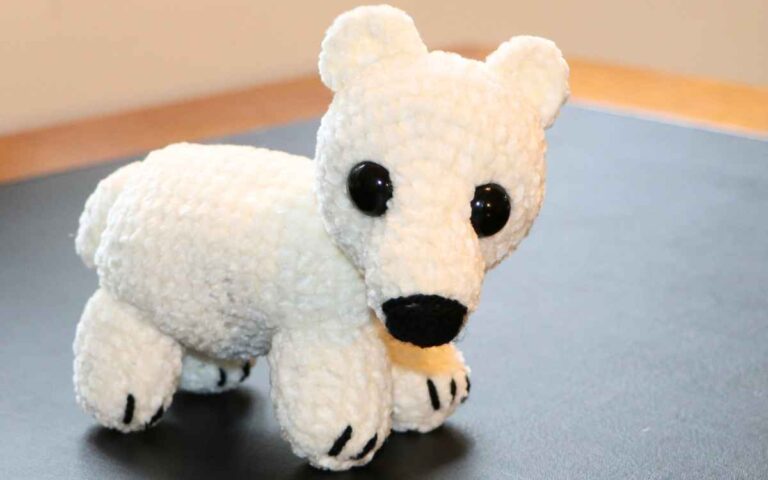
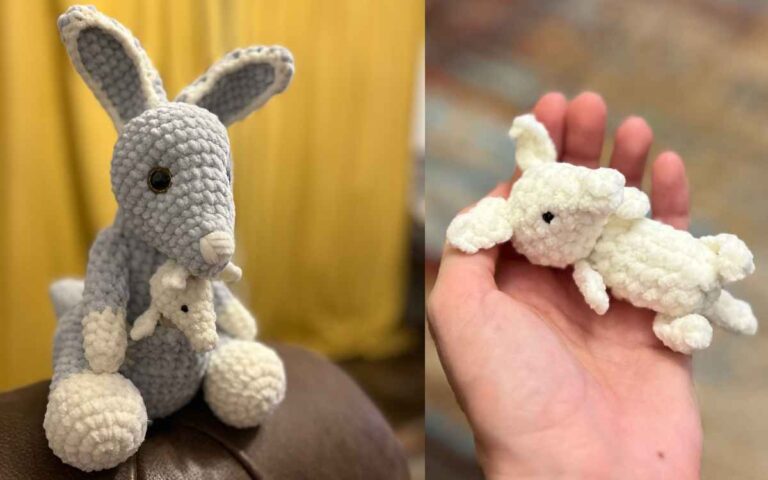
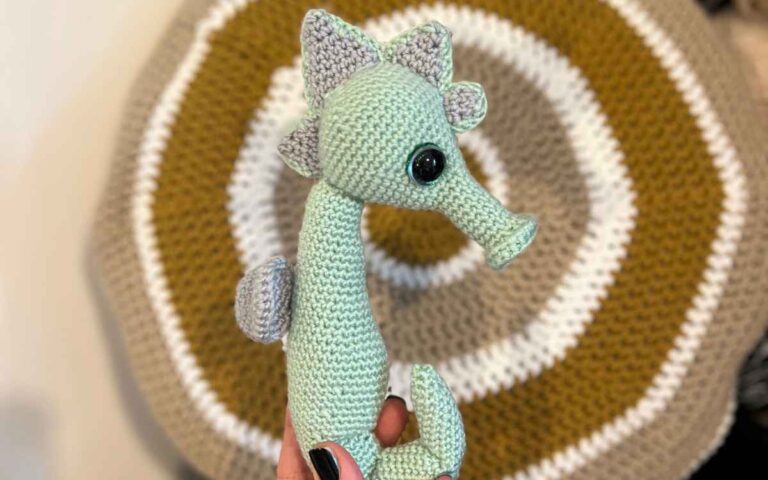
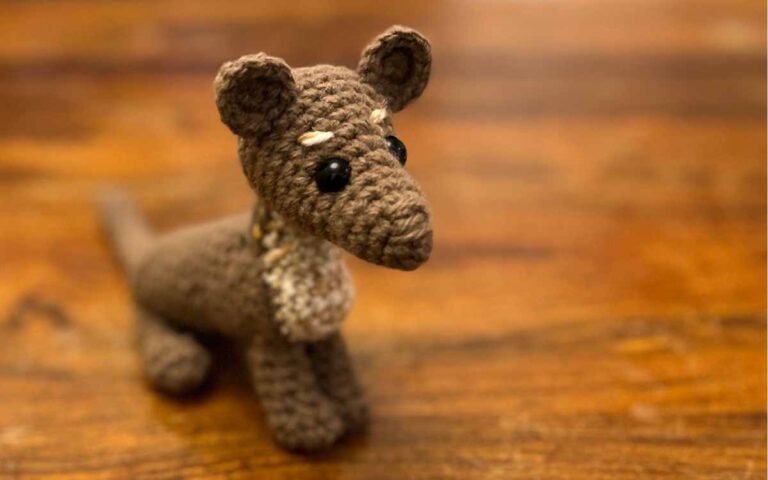
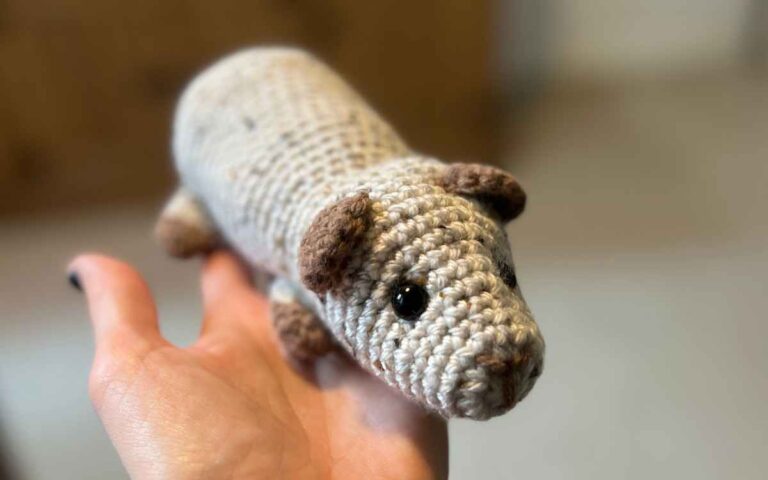
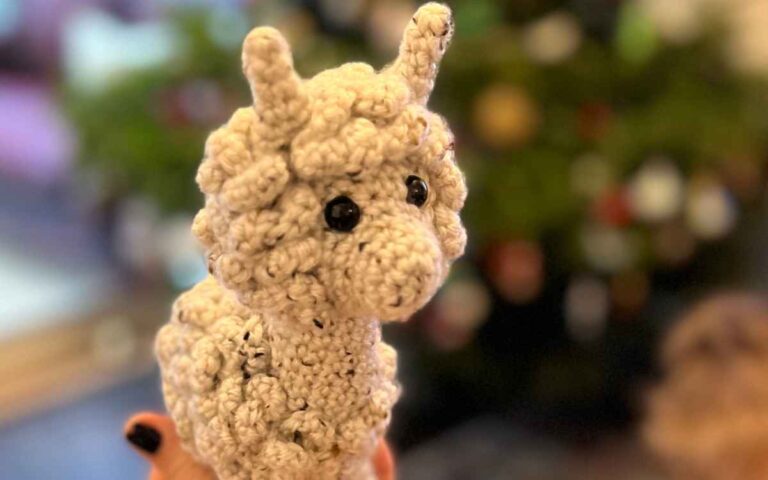
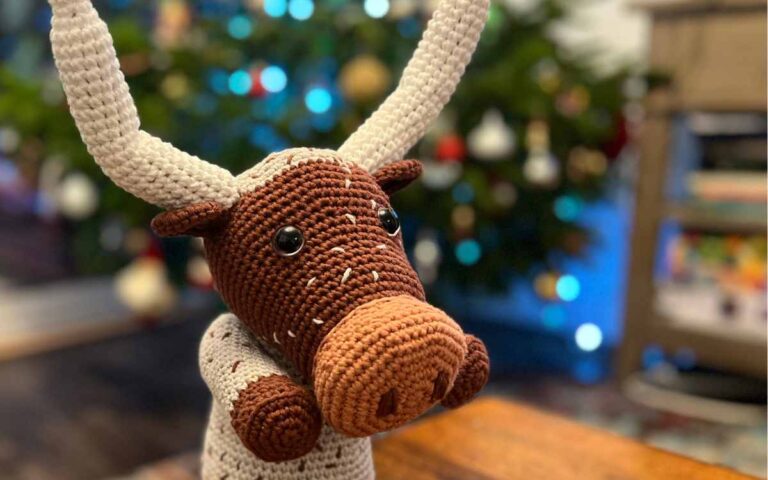
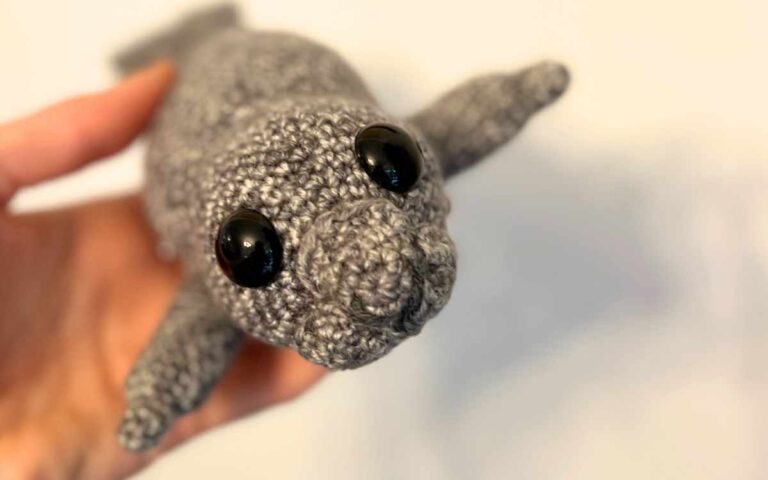
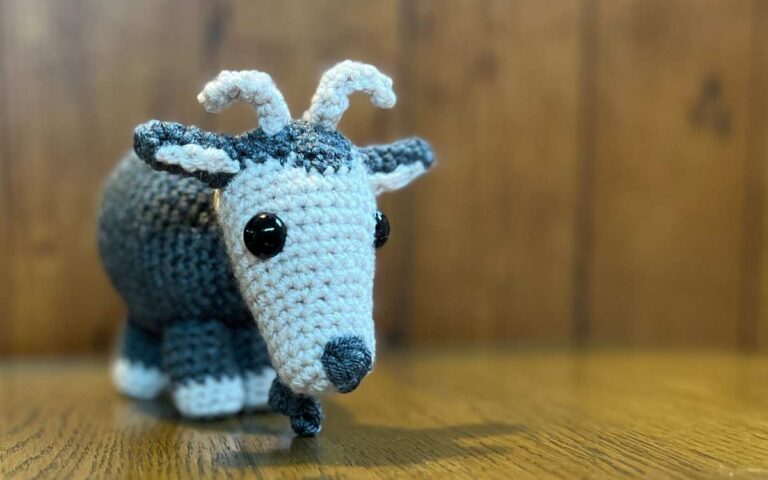
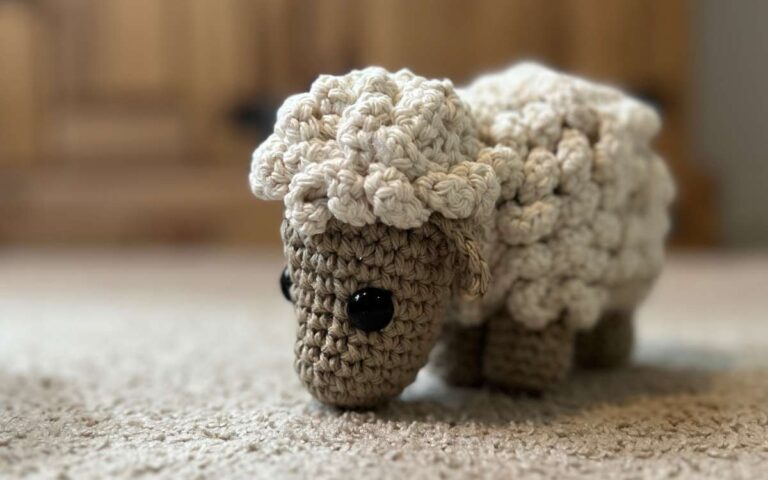
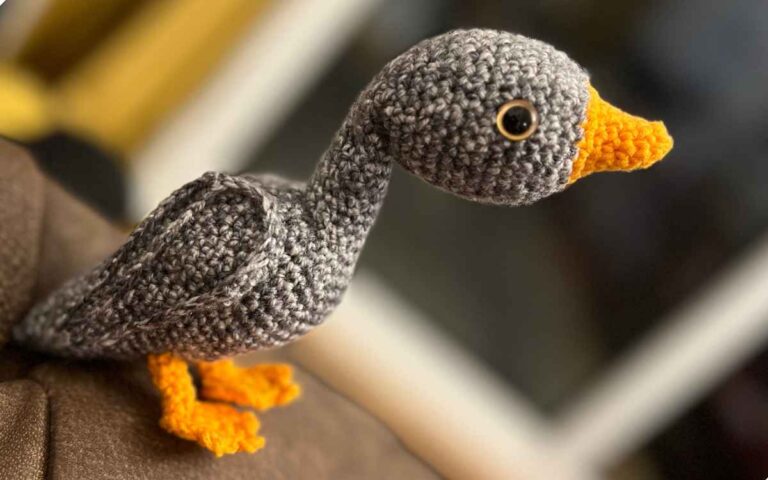
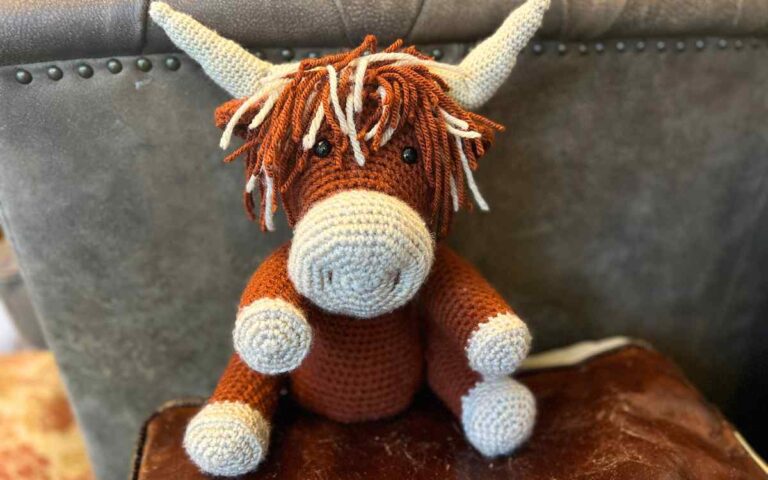
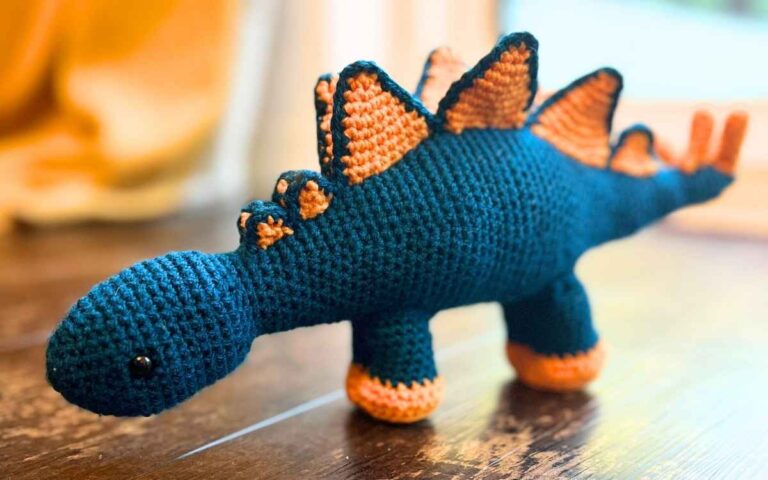
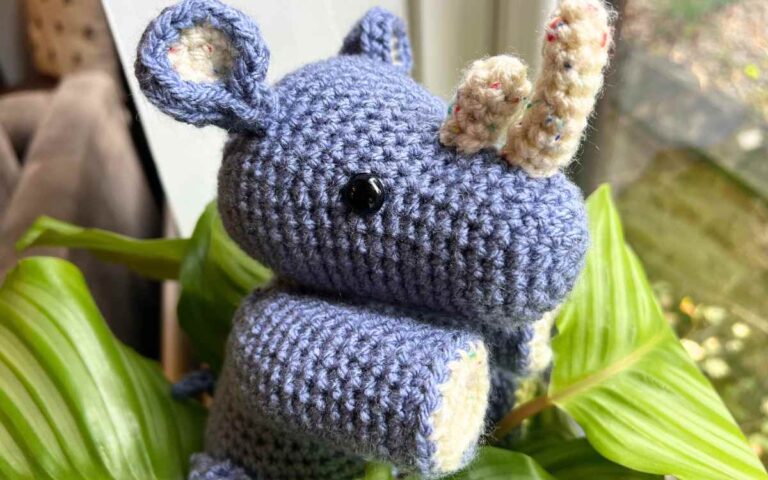
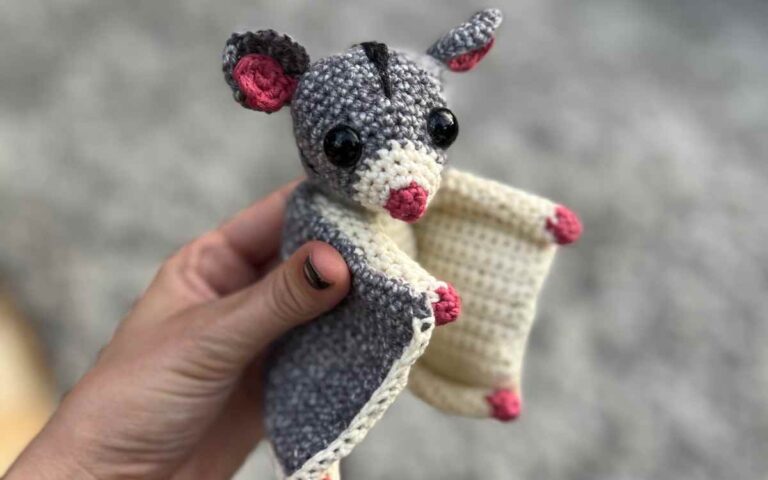
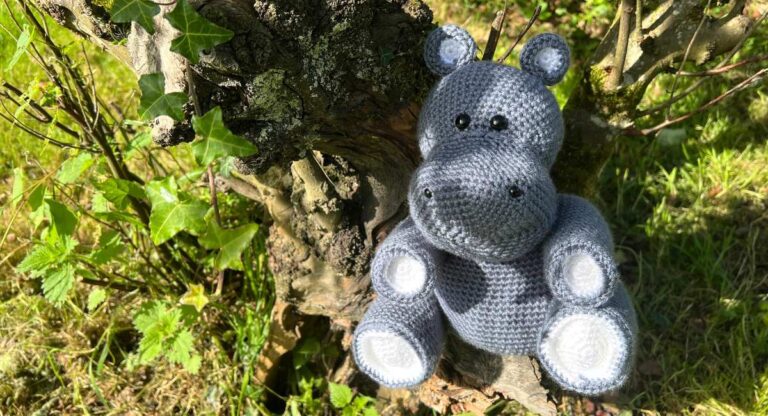
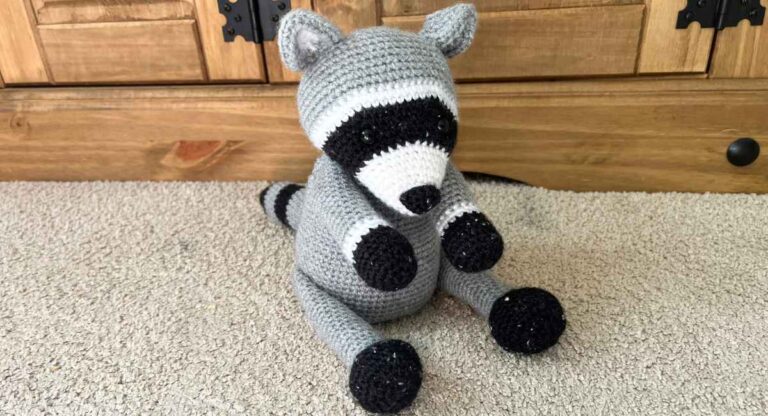
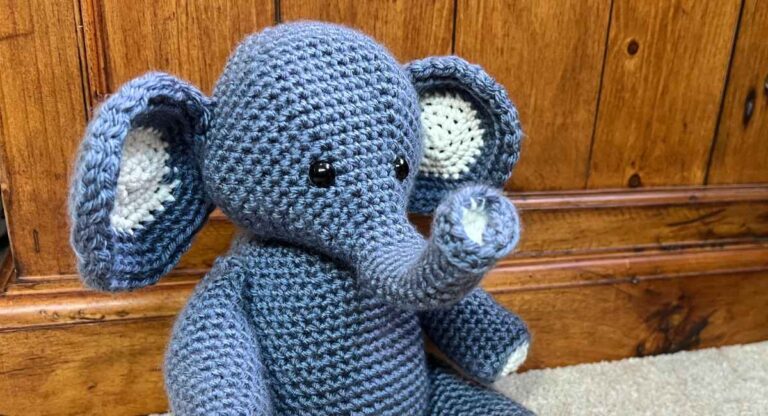
I love amigurumi and I am so excited to share my free patterns with you! The designs range from simple and beginner friendly, to advanced and complex. Simply click on the one that suits your taste and experience!

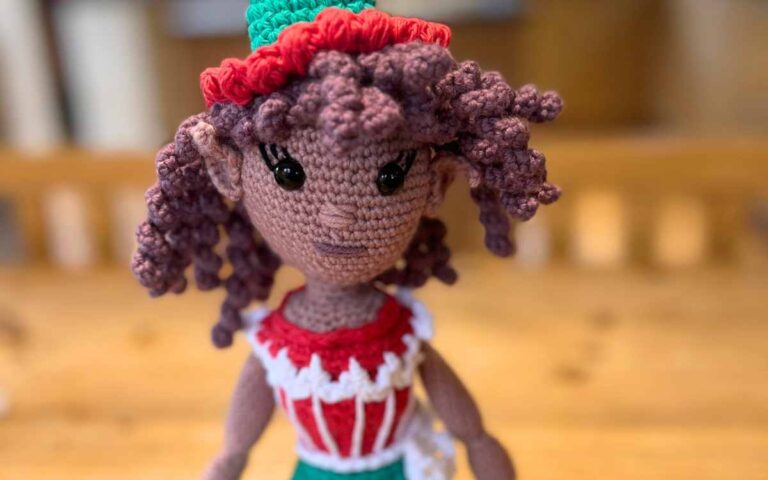

Welcome to my crochet patterns hub – the center of operations for this site, where you’ll find over a decade’s worth of free designs. That’s right, no charge!
When I tell you I’m passionate about sharing my crochet patterns with you, it’s not lip service. I want my patterns to be accessible to anyone who wants to make them, so you will find everything I’ve created here for exactly zero dollars.
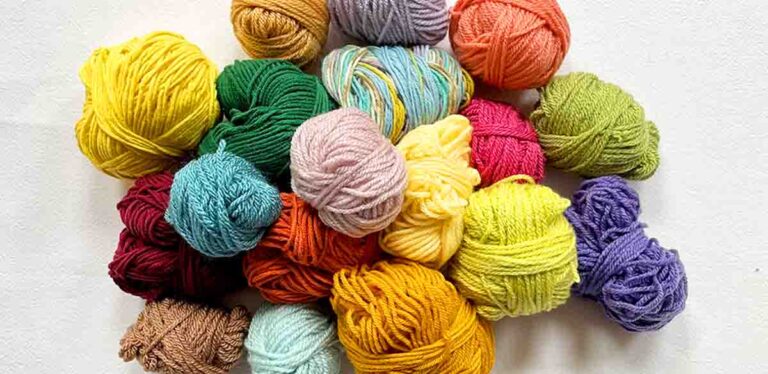
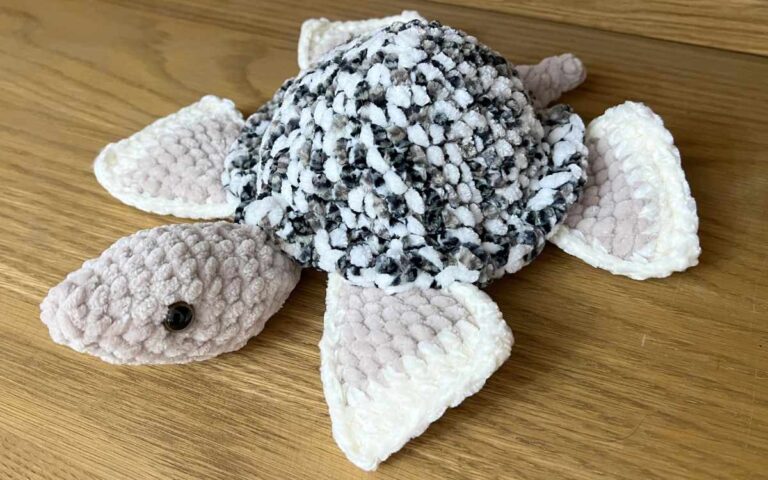
I love crocheting in batches of similar styles, so I’ve collected my patterns together by the simplest, most beginner friendly, complicated or fastest crochet projects. You can also find separate collections for my popular crochet patterns, like the sea creatures, family pets and farm animals.
In my experience the best way to describe crochet patterns is as the blueprints we crochet designers produce to allow crocheters to replicate our hook and yarn based creations. They include detailed stitch instructions, descriptions of abbreviations, written tutorials and videos.
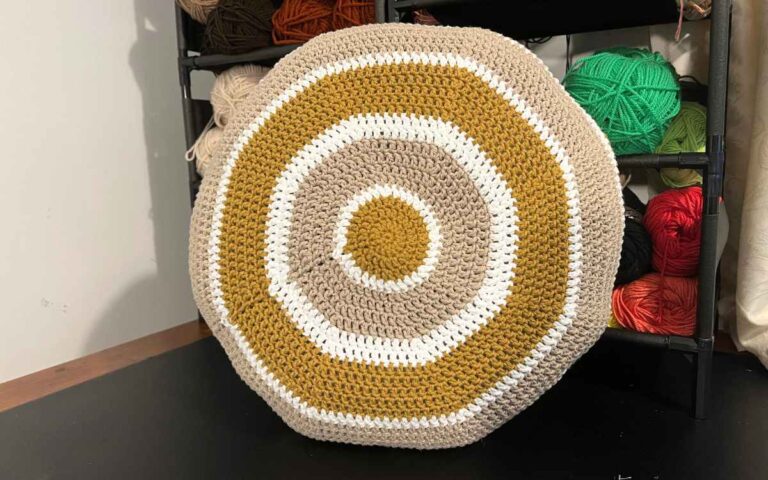
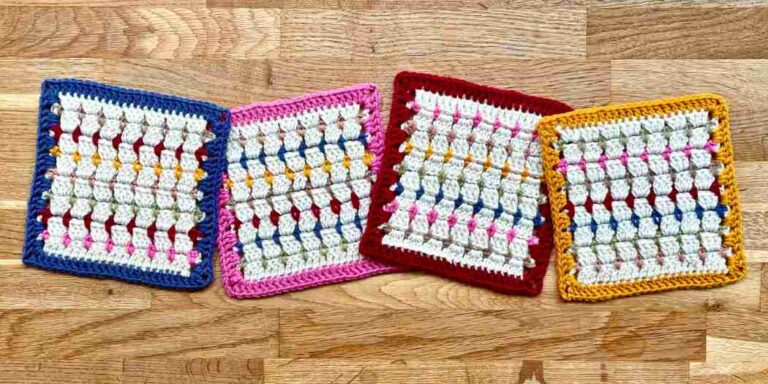
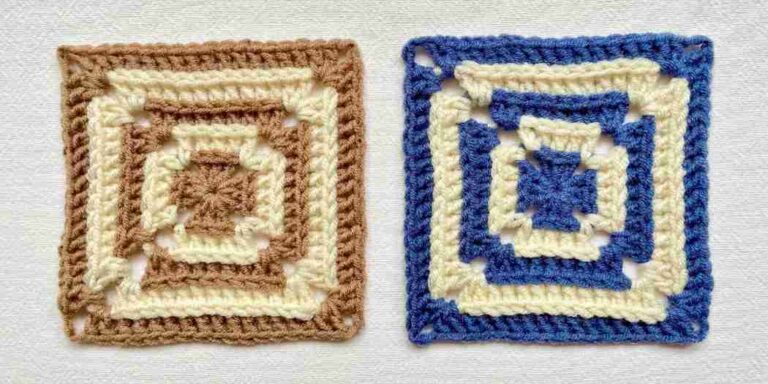
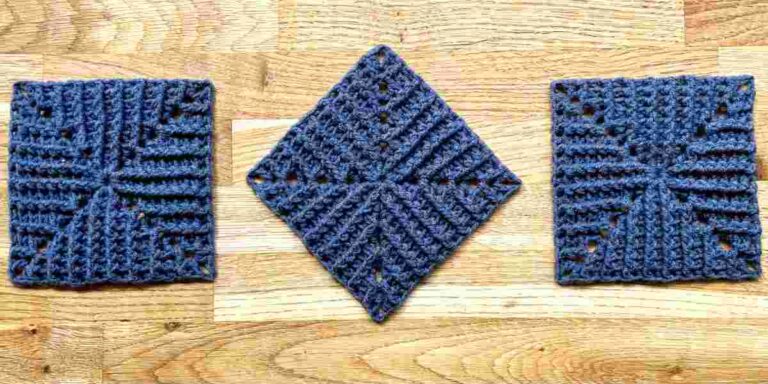
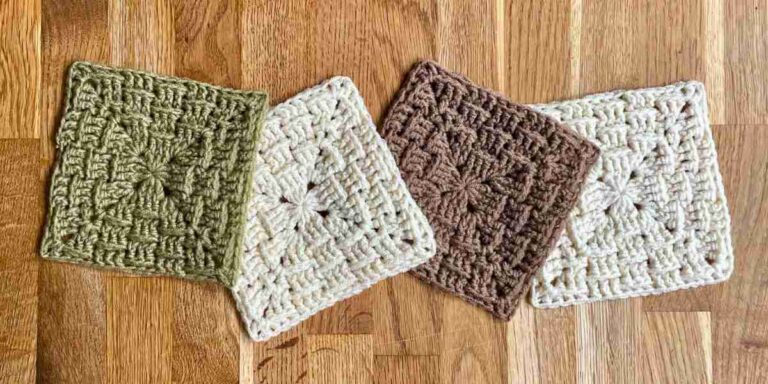
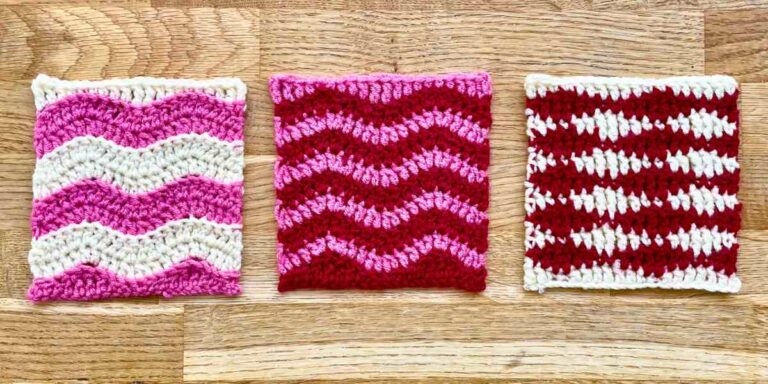
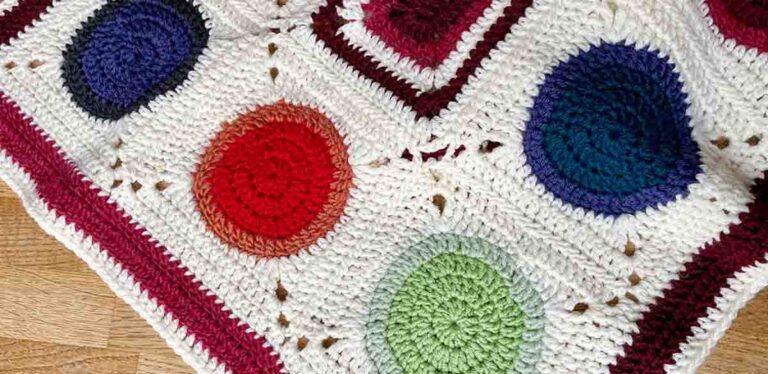
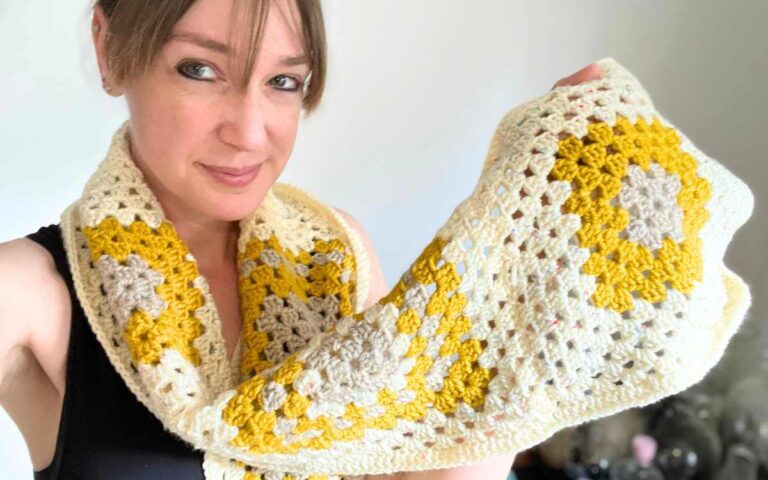
Crochet Blanket Selection
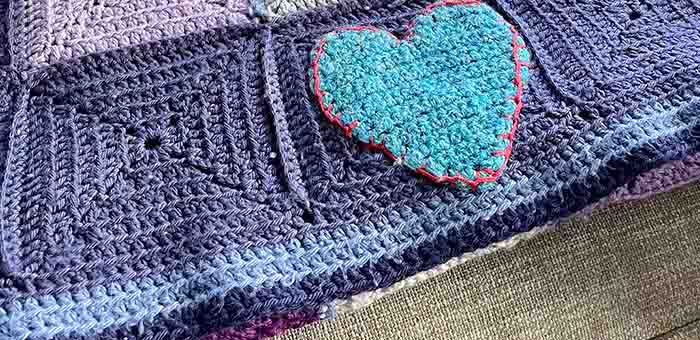
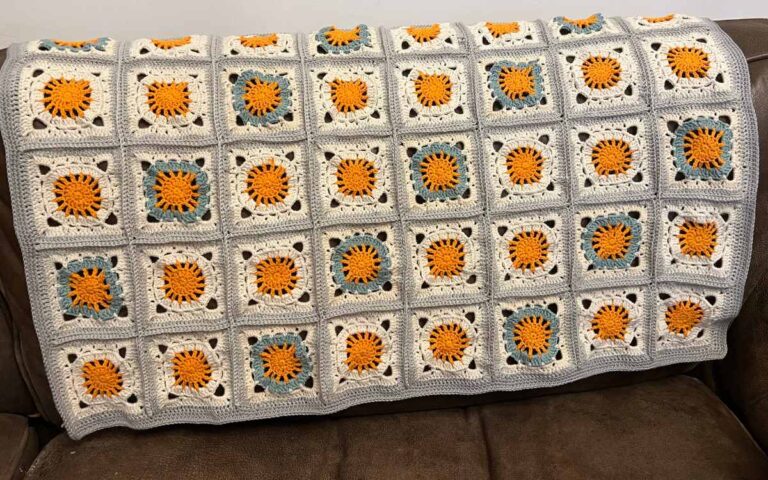
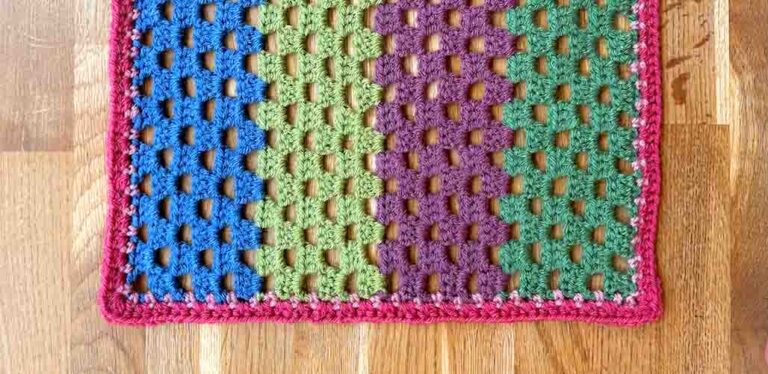
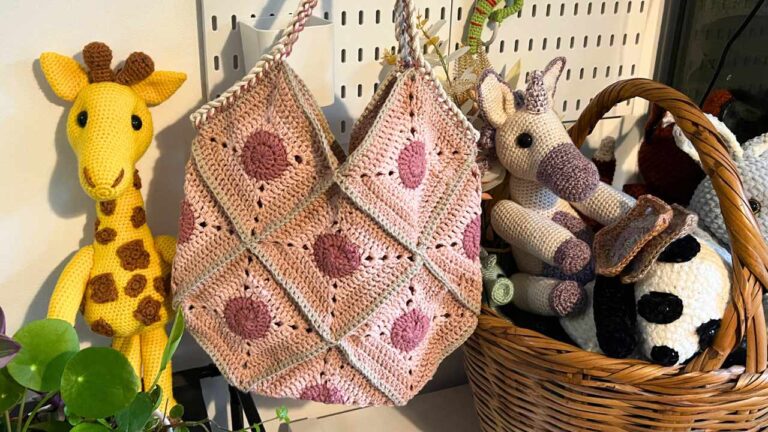
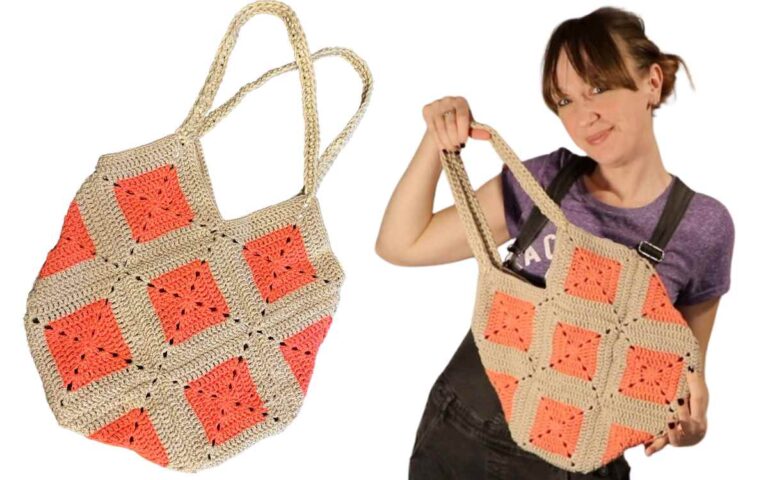
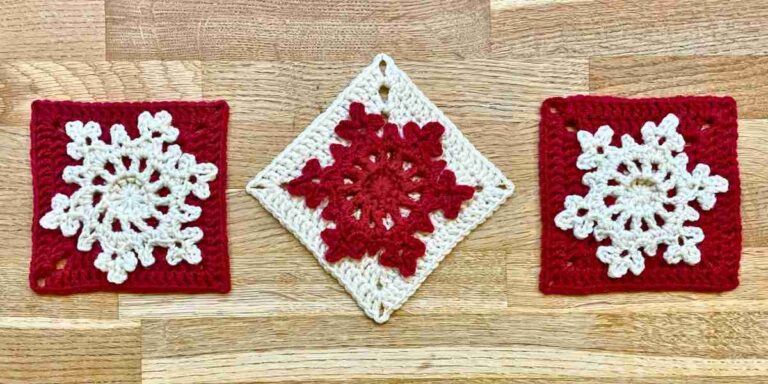
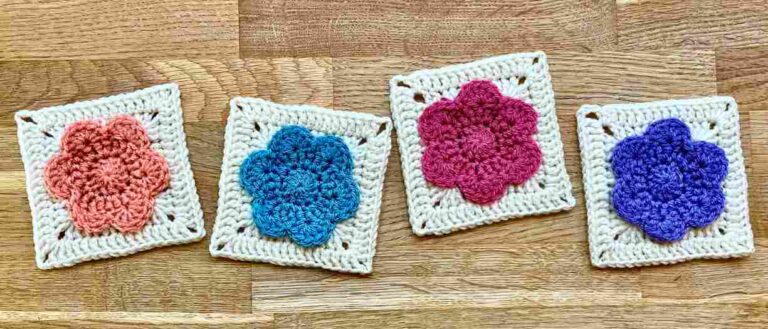
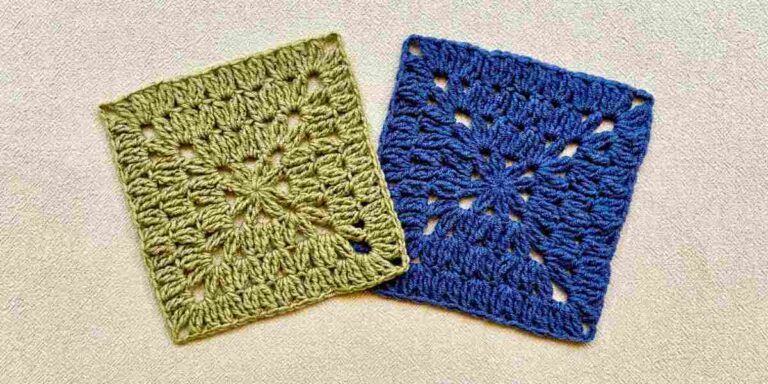
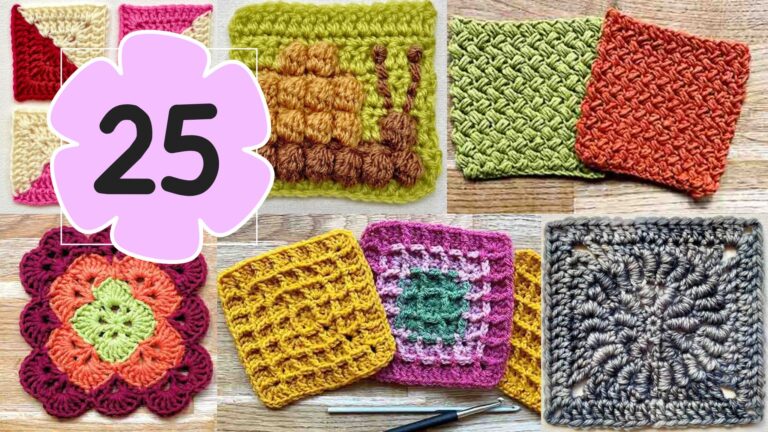
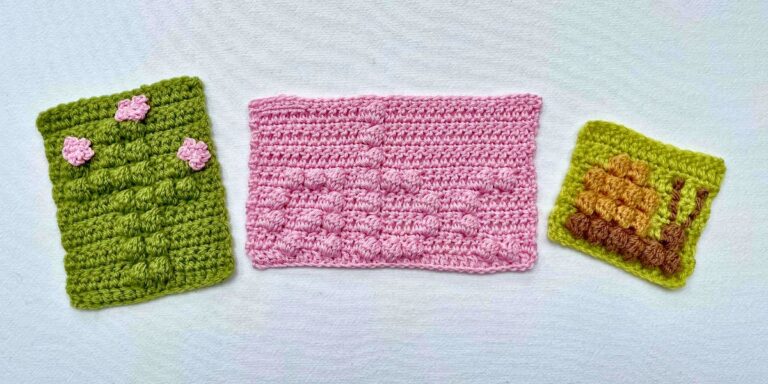
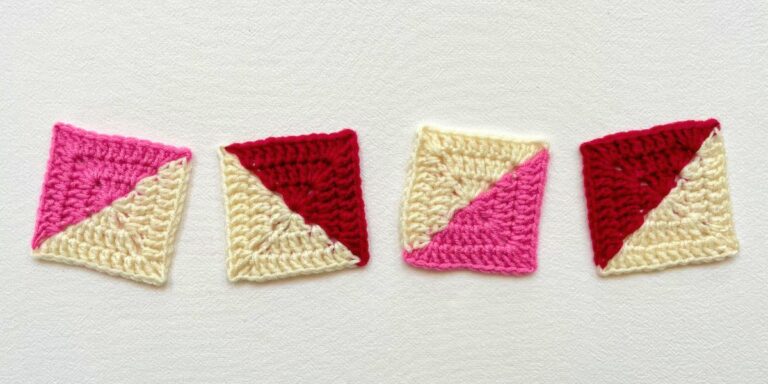
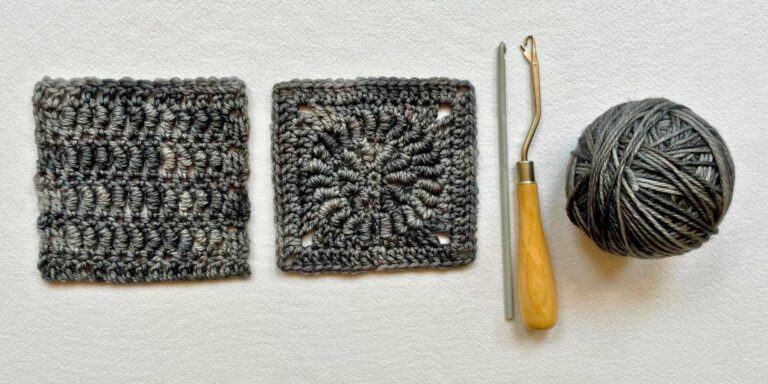
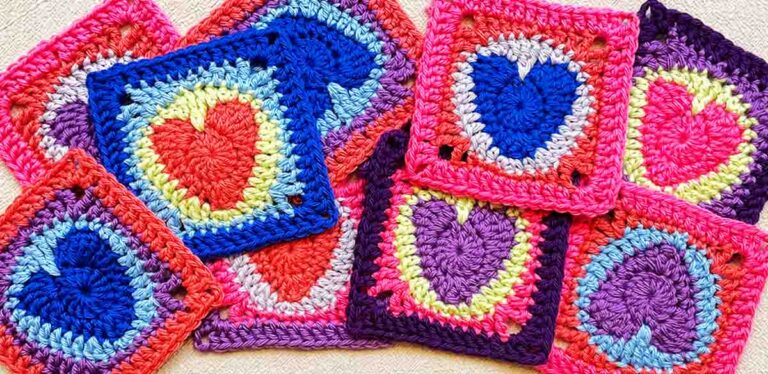
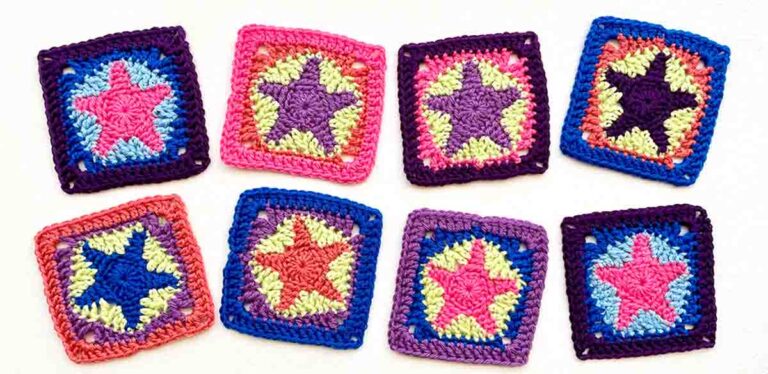
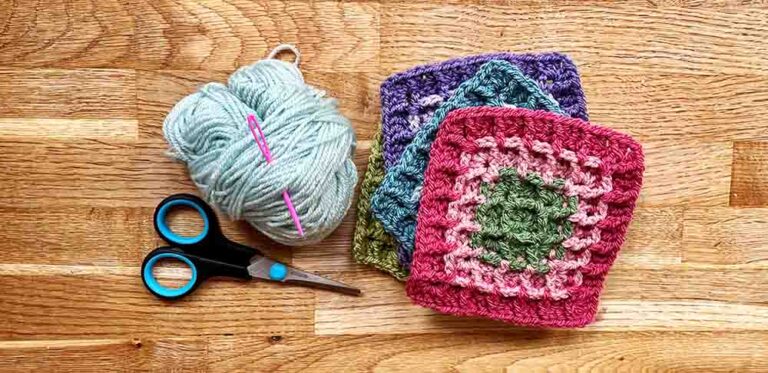
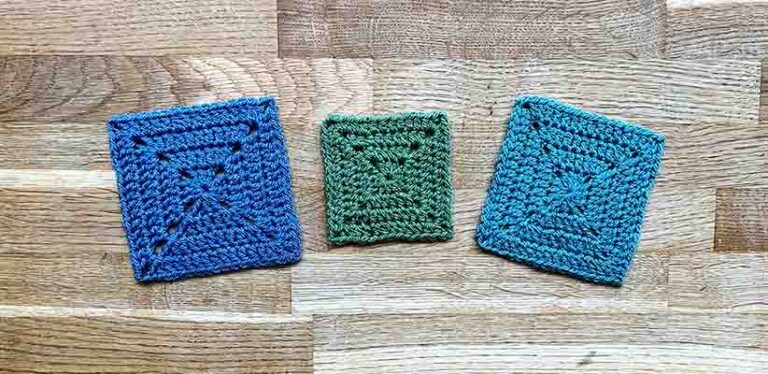
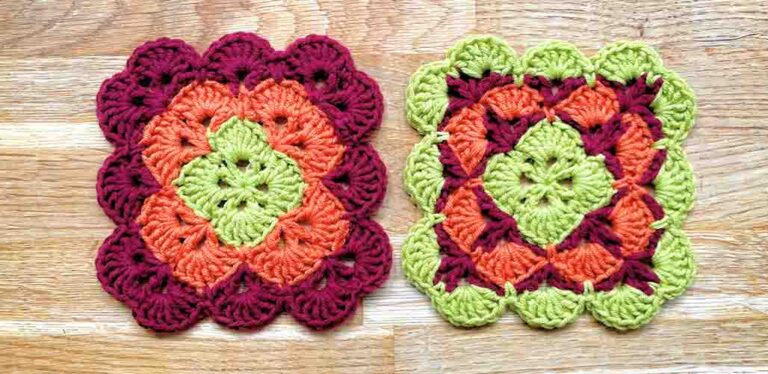
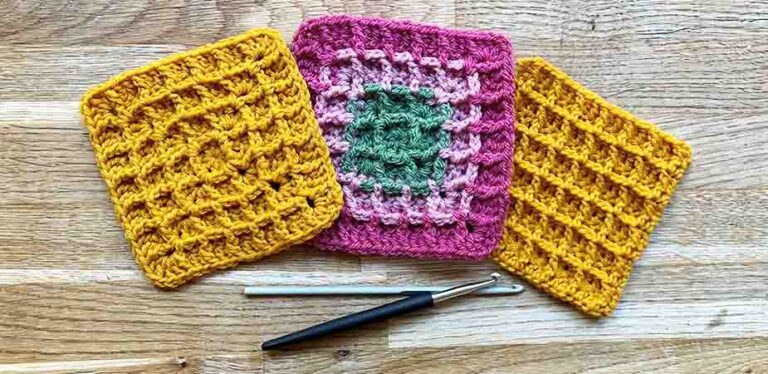
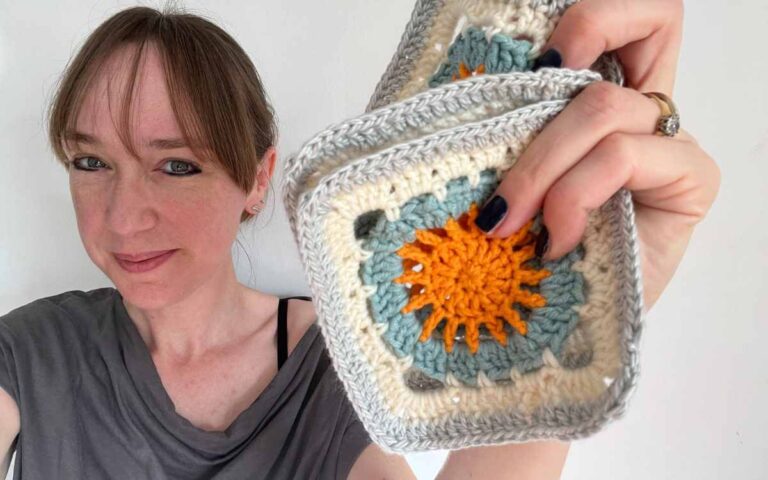
Granny Square Patterns
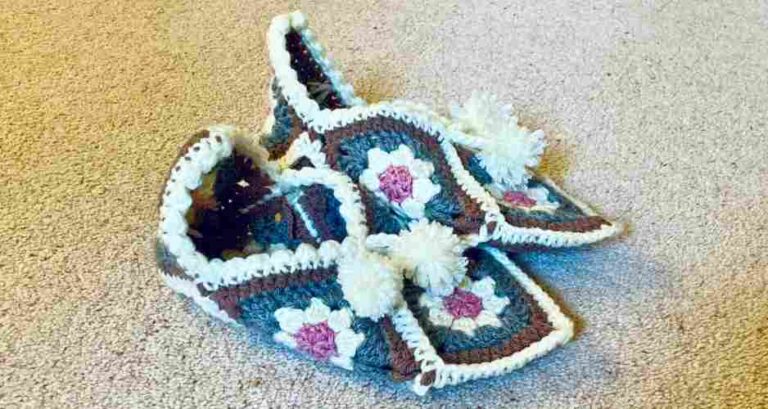


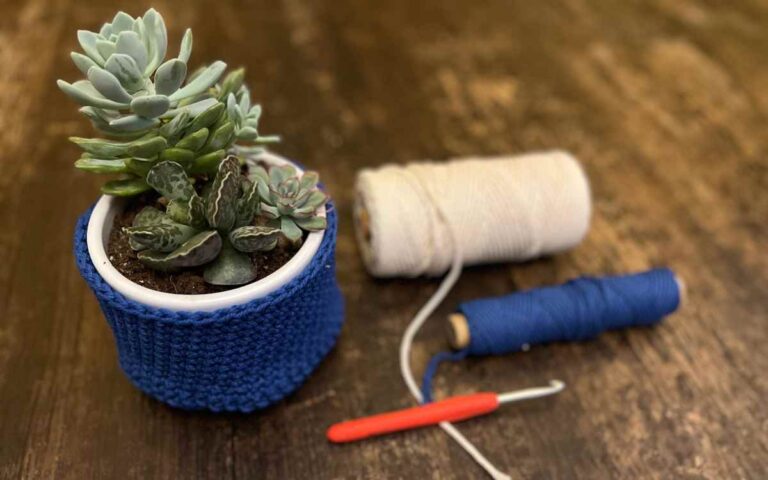
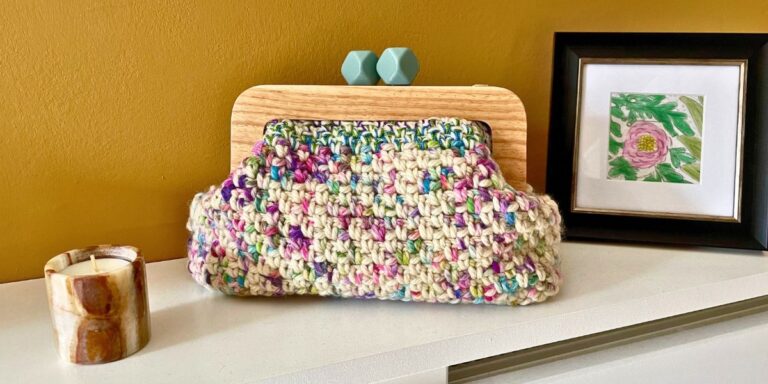
Home Decor
Crochet patterns to help you create your own beautiful home accessories like throw pillows, baskets and even bunting.