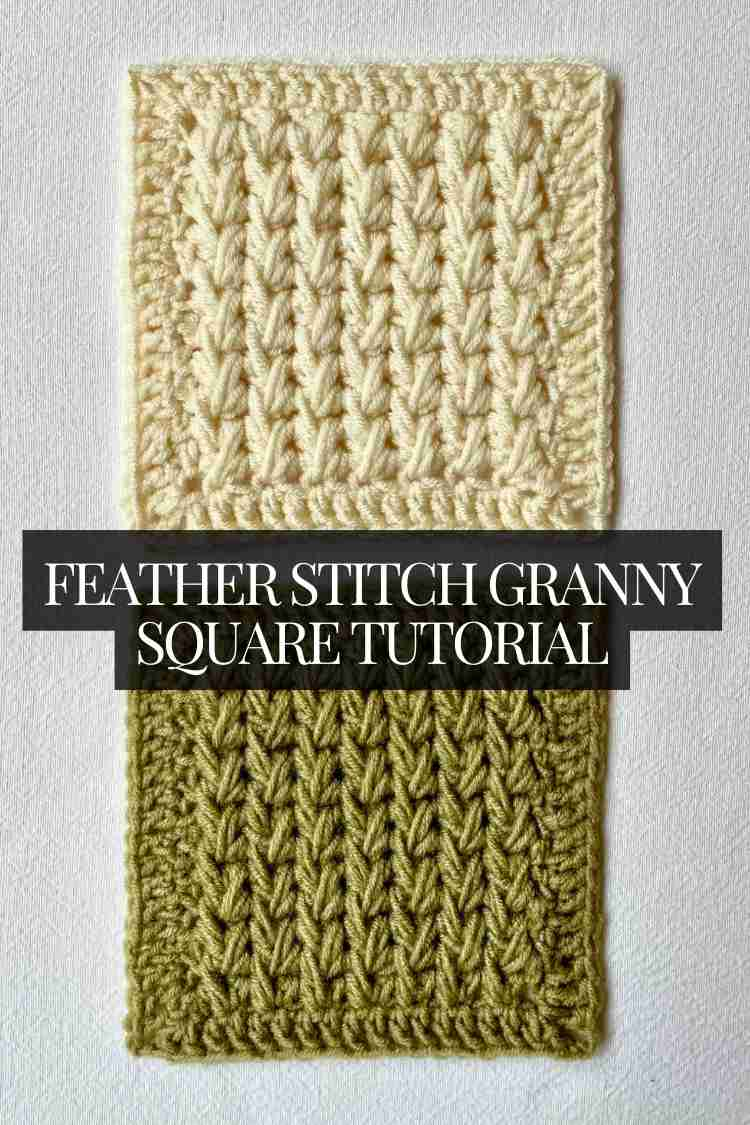
Feather Stitch Granny Square
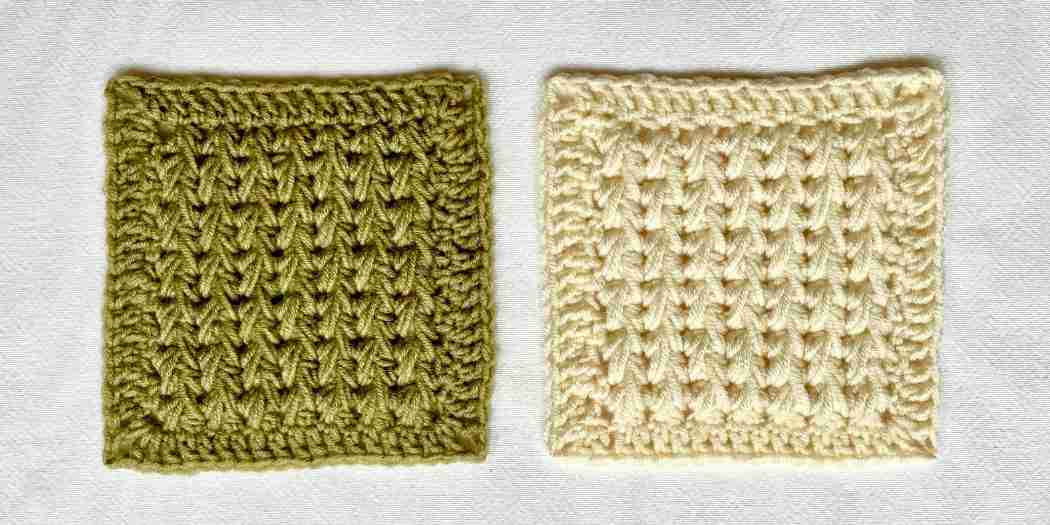
This feather stitch granny square is a great alternative to using puff stitch, especially if, like me, you find getting the height of puff stitches consistent a bit of a drag.

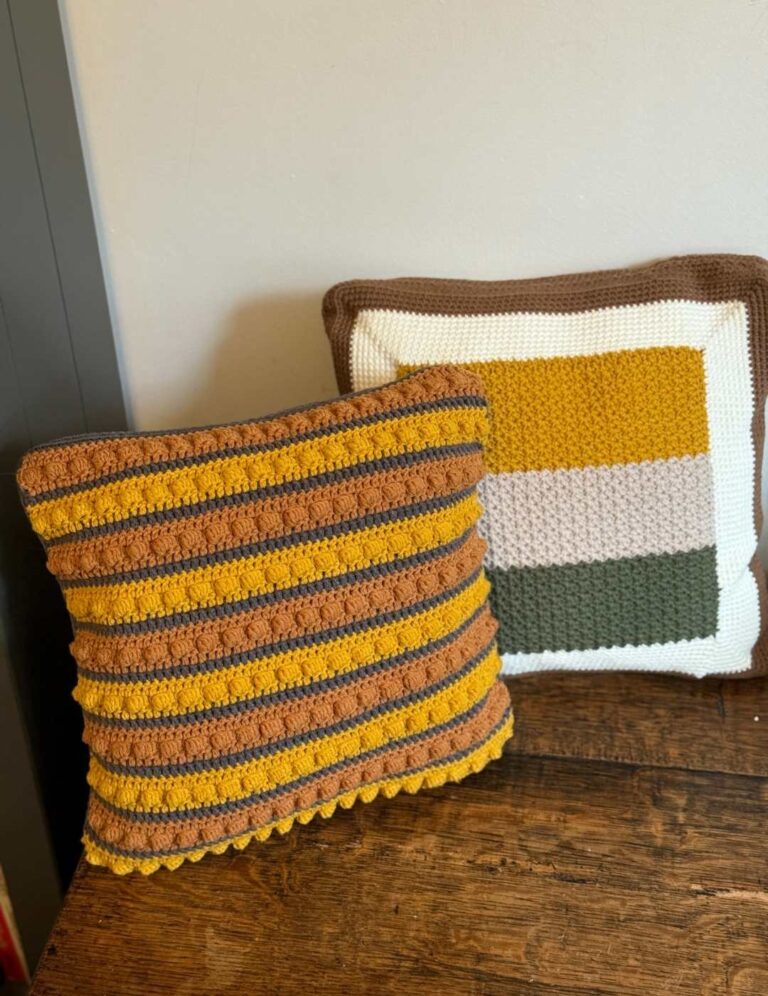
Feather stitches are based on half-double crochet, and the height between the rows creates a framework for perfectly even stitches which are also attractive to look at, and dense and squashy to touch. These feather stitch granny squares are ideal for making small baby blankets to use in prams and strollers in winter. This is not a beginner stitch, but I find that intermediate to advanced crocheters really enjoy working with it.
Choosing the best yarn and hook
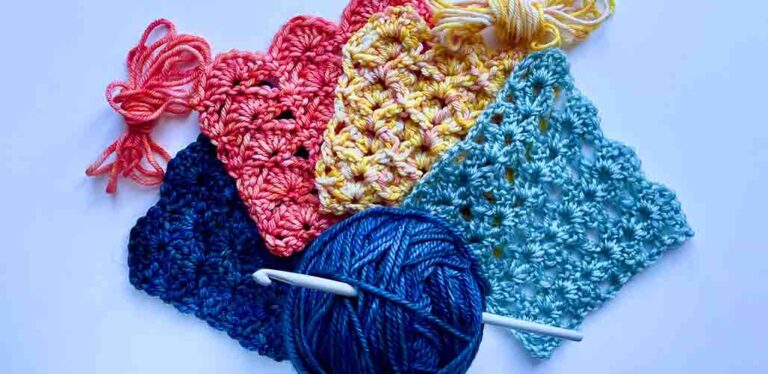
Feather stitch looks effective in most woolen, bamboo, cotton or acrylic yarns. Steer clear of fluffy mohair-like yarns or bulky chenilles, because the beauty of the stitch will get lost in the texture of the yarn. They’ll also make it hard to see where to insert your hook. And finally make a test swatch first if you’re thinking of using anything heavier than a worsted or aran weight yarn. Feather stitch makes a thick fabric, and with bulky yarns, it can even end up too thick to be practical. So check what you’re letting yourself in for, and if it’s definitely the result you want.
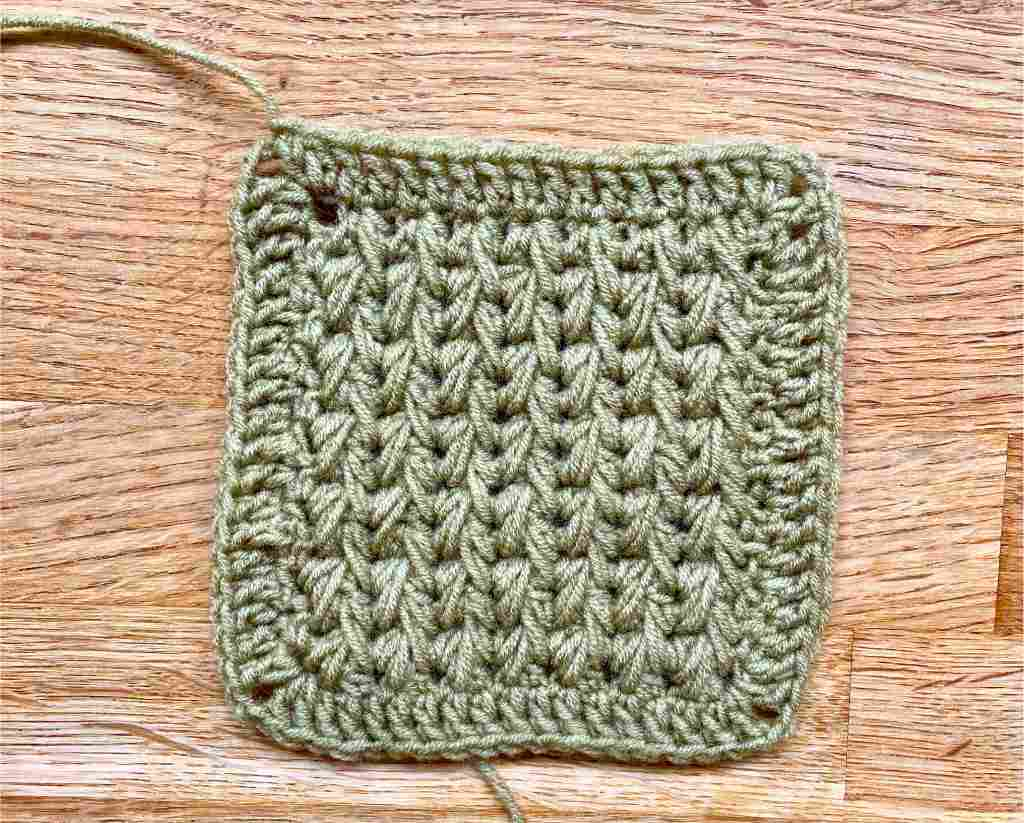
If your tension is even a little on the tight side, I recommend going up a hook size to make sure your fabric doesn’t end up stiff. For the squares in these photos I used a 4.50mm (size H) hook, and DK acrylic and merino blend yarn.
Starting your feather stitch granny square
Feather stitch is worked in rows, so begin by making a foundation chain with an odd number of stitches. The number of feathers you’ll get in your row is equal to three less than the number of chains, divided by two. I like to start with a foundation chain of 17, which makes 7 feathers.

For granny squares made in rows, I like to work the first row into the back loops of the foundation chain. It’s not essential, but it leaves the two top loops free for easy joining later. To find the back loops just flip your chain over and you’ll see them running along the center of the underside of your chain.
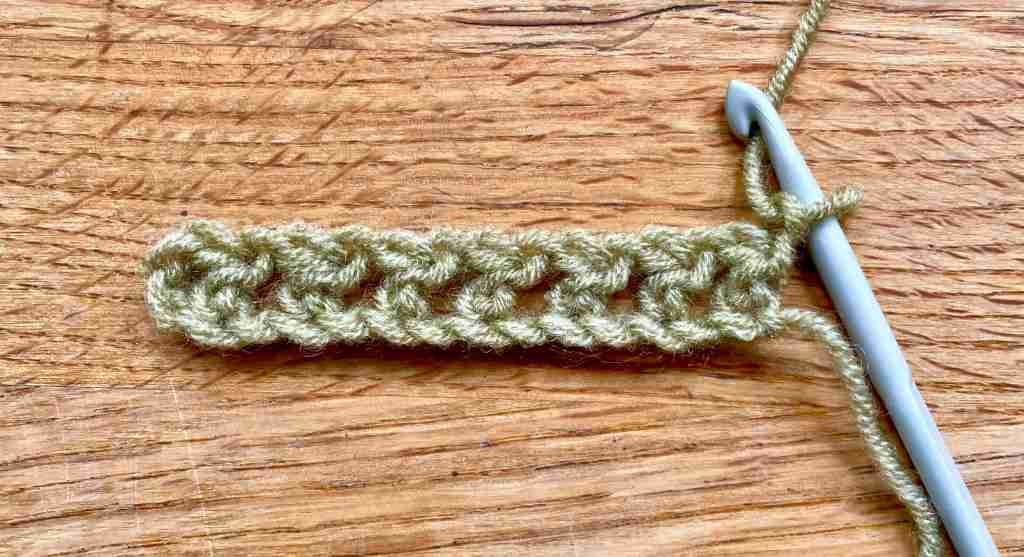
Row 1
Rows 1 and 2 are a little different – and more fiddly – than rows 3 onwards. So just take heart that the difficult bit will be over quickly, and it is going to get easier!
Starting in the 3rd stitch from the hook, *hdc 1, ch 1* all the way along, finishing on a hdc. Ch 1 and turn.
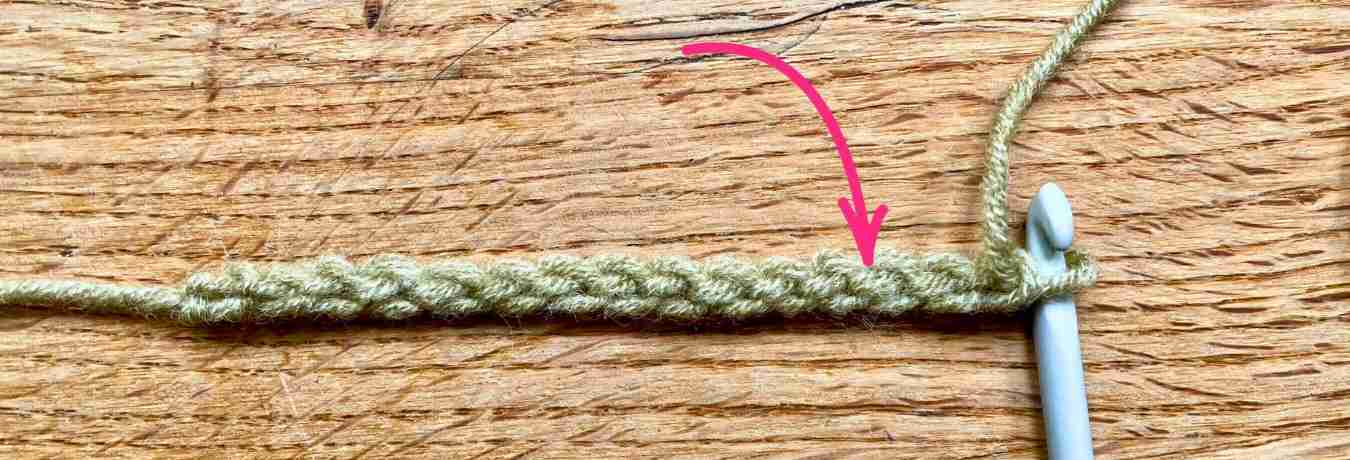
Row 2
Skip the turning chain, and make an hdc into the top of the next stitch – which is the last hdc from row 1.
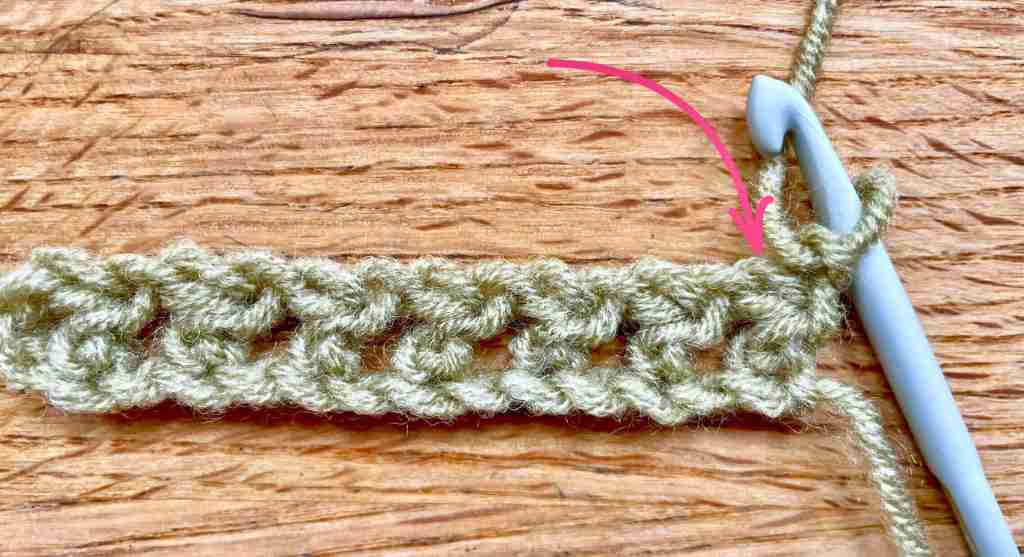
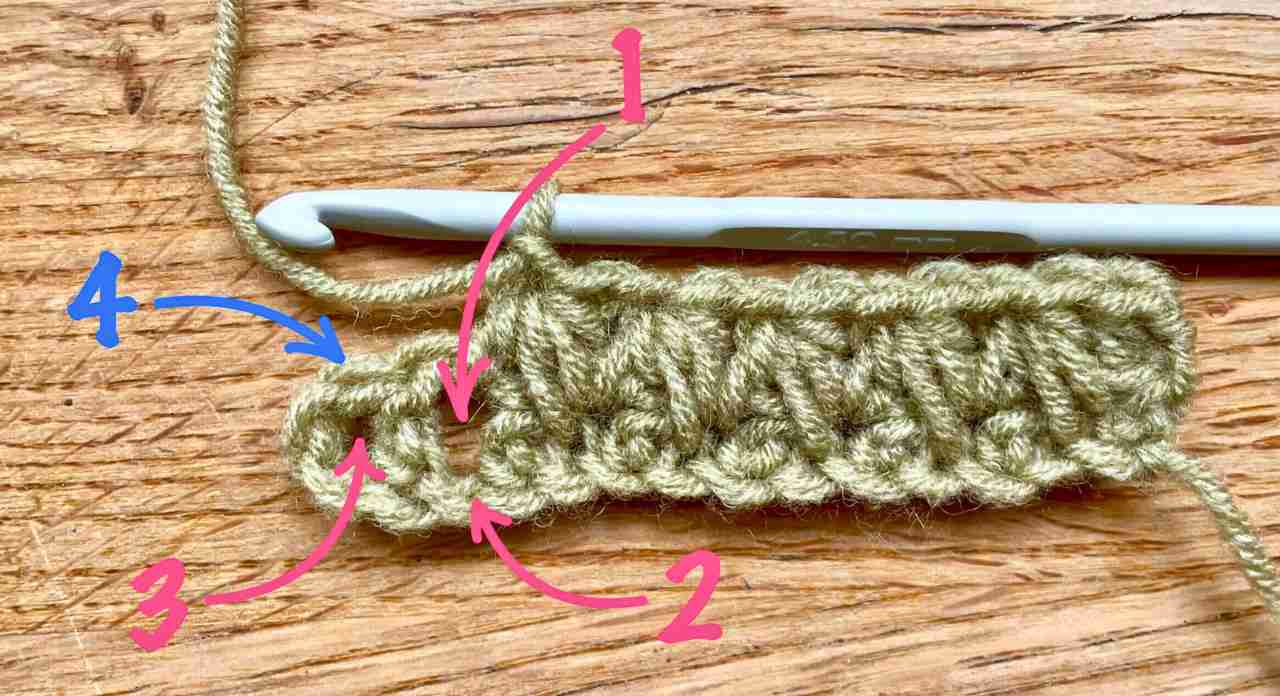
Now follow these steps:
- Yarn over the hook.
- Insert the hook into the chain space marked 1 in the photo.
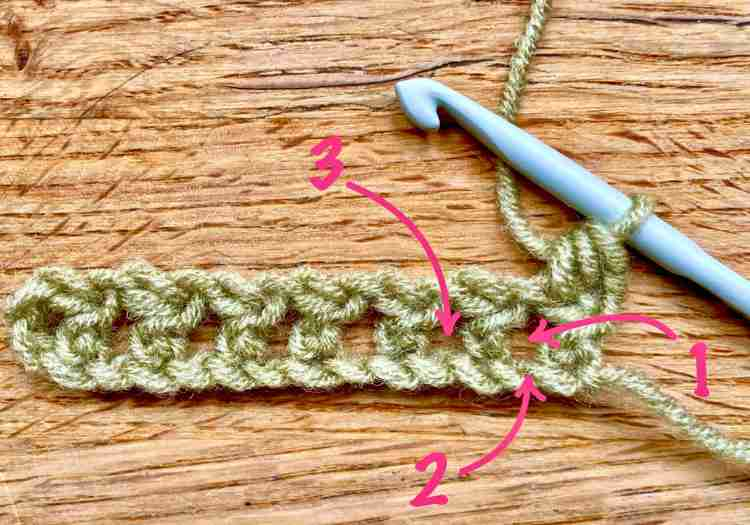
- Yarn over the hook and pull through to the front.
- Yarn over the hook.
- Insert the hook into the stitch below that chain space, marked 2 in the photo.
- Yarn over and pull through the front.
- Yarn over the hook.
- Insert the hook into the next chain space, marked 3 in the photo.
- Yarn over and pull through to the front – you should have 7 loops on your hook now.
- Yarn over, and draw through all 7 loops.
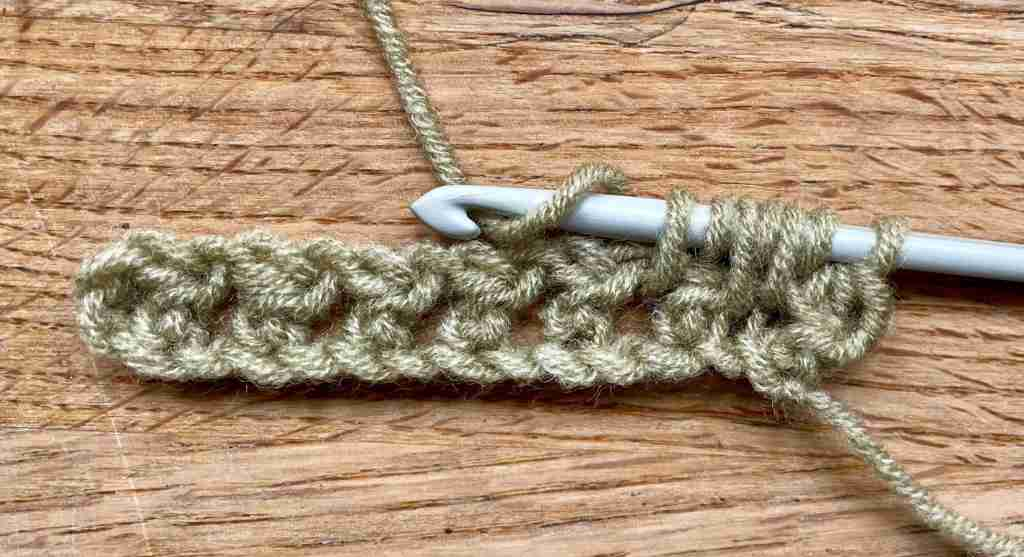
Finally, make a chain stitch.
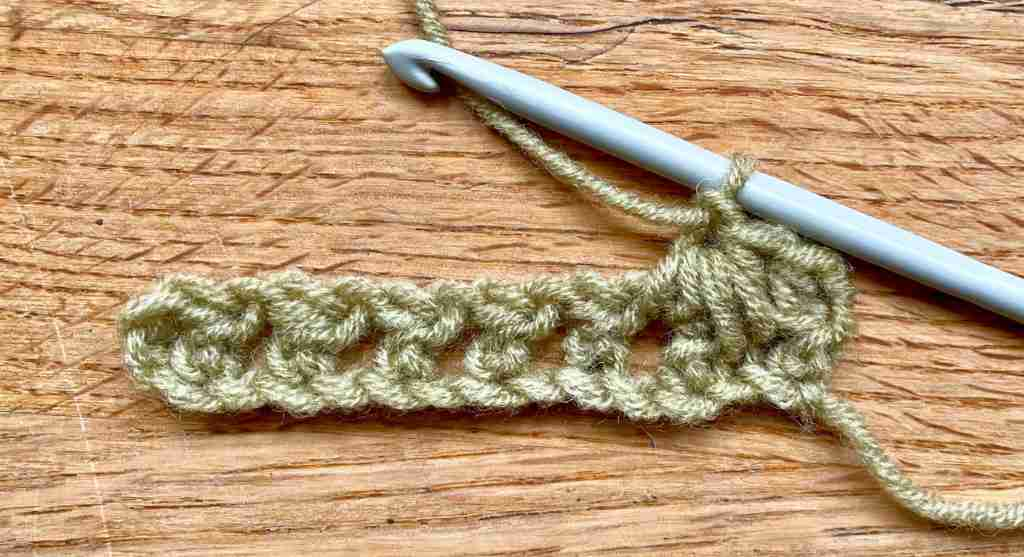
That’s one feather stitch! To make the next, repeat those steps, but now position 3 in the photo is the new position 1.
When you get to the end of the row, make your final feather stitch into positions 1, 2 and 3 indicated below. Don’t forget to close it with a chain stitch, then hdc into the top of the turning chain from your foundation row – marked 4 in the photo. Ch 1 to finish.
Row 3
Turn your work. Skip the ch 1 and make an hdc into the last hdc stitch of the previous row (marked 1 down below).
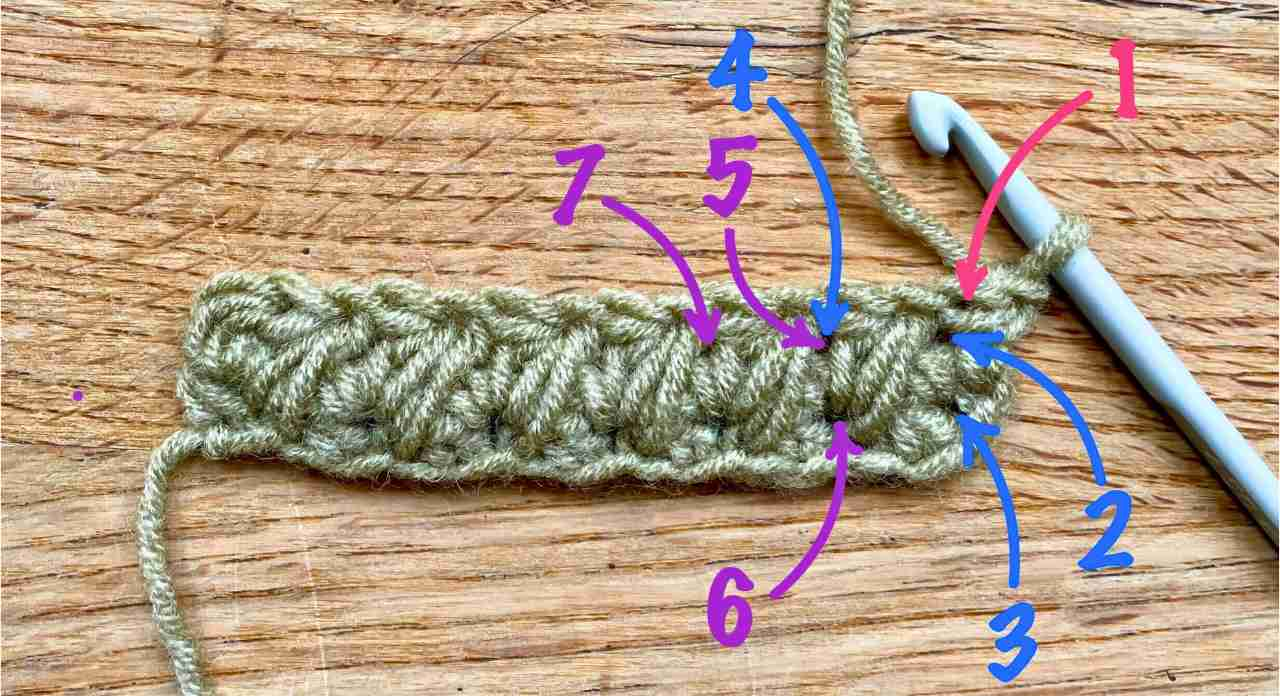
Markers 2 – 4 show where to make the first feather stitches, and markers 5 to 7 show where to make the second. Keep going to the end of the row, and finish with an hdc into the top of the hdc at the end of the row below.
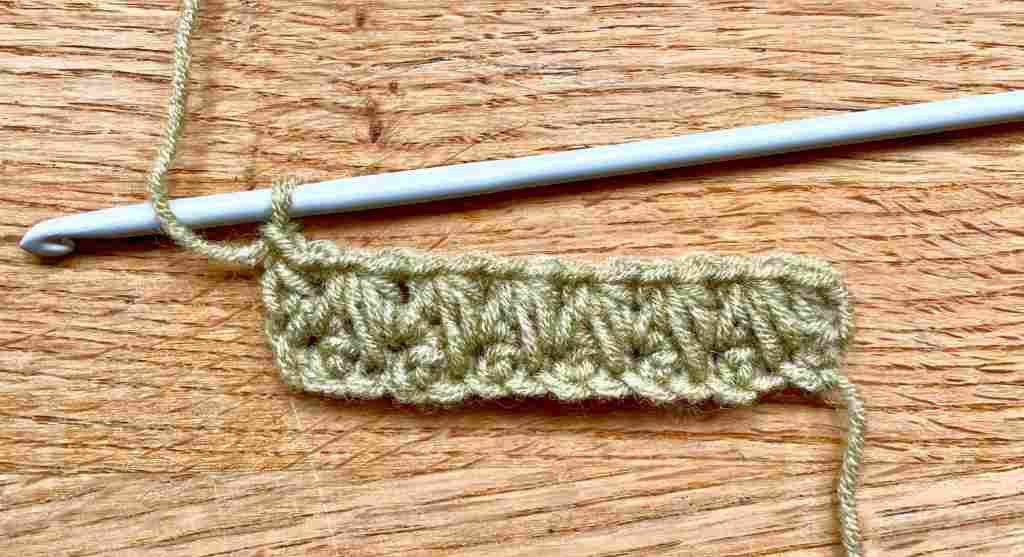
Keep repeating row 3 until your square is as tall as it is wide.

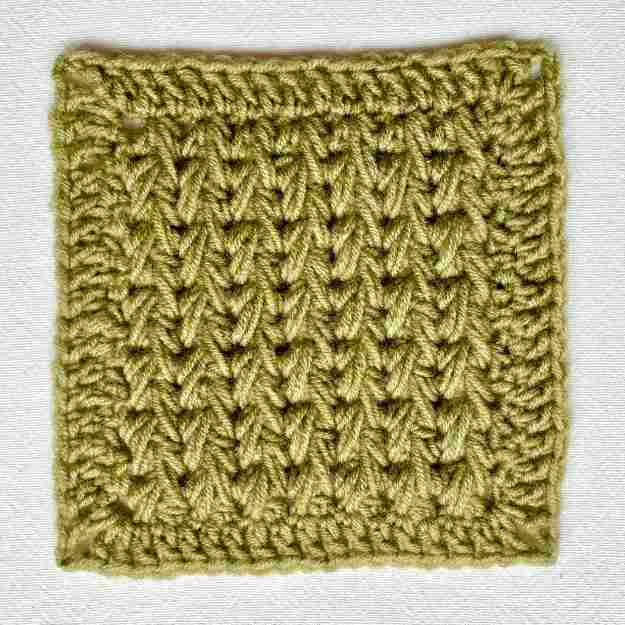
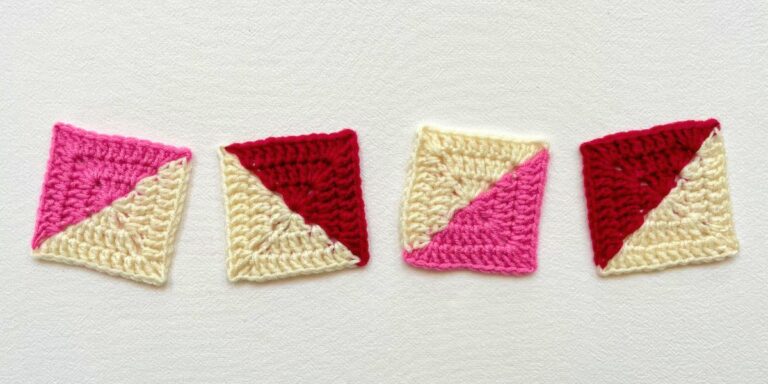
Adding a double crochet border
I like to finish my feather stitch granny squares with a double crochet border. It’s optional, but there are the advantages:
- It looks attractive.
- It makes the squares easier to join together later.
- And it’s a quick way of boosting their size.
For all its beauty, feather stitch is not fast to work up. Which is why I usually save it for small projects like baby blankets. Adding a double crochet border to my squares is a quick way of getting them from just shy of 4” square, to nearly 5” square. Which is a surface area increase of nearly 50%, and in much less time than it would have taken to cover the same area with more feather stitch!
The method
Start by chaining 5, and making a double crochet into the corner space. This represents one double crochet on each edge, and a 2-chain corner space between them.

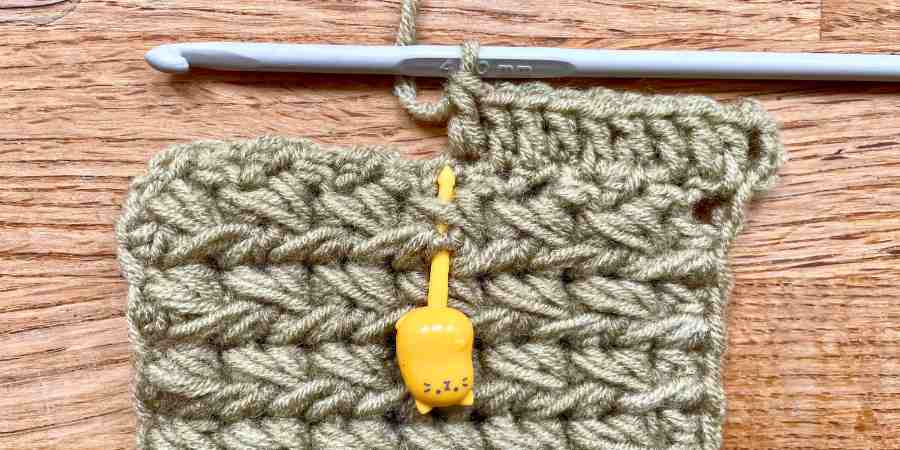
The number of stitches along the top and bottom edges of your work are equal to your foundation chain, less one. Which in my case is 16. So I need to fit 16 double crochets along the sides as well. There’s not really a lot of rhyme or reason to where you position them, as long as they look evenly spaced. I like to mark the center point so I know I need 8 stitches either side, and then eyeball it.
At the next corner (dc 1, ch 2, dc 1) into the space nearest the corner. Dc along the bottom edge of the square, (dc 1, ch 2, dc 1) into the closest space to the next corner, and keep working your way around until you’re back at the beginning. Slip stitch into the 3rd stitch of the chain 5 from the start of the round, cut your yarn, and pull the yarn tail right through the slip stitch.
You’re done!
Hey presto! Now it’s time to weave in the yarn ends and block your square, so it’s ready to use.


Nice tutorial! One note though, an H hook is 5mm. The 4.5mm hook does not have a letter designation. It is known as a size 7 hook.. thank you for sharing your tutorial!