How To Crochet Ripple Stitch For Complete Beginners
Crocheted ripple stitches look amazing, and once you’ve got the hang of them they are surprisingly easy to produce. However, although they are often touted as a great beginner stitch, a lot of people have issues producing them to begin with. And I think I know why. It’s because to understand how it works, you need to start small. And I mean really small.

Today I’ll share my ultra simple, everyone friendly guide to crocheting ripple stitch, and then a beginner friendly pattern to create a cushion cover to practice your amazing newfound ripple stitch skills.

Getting Started – The Simplest Sample
To understand the ebb and flow of a ripple stitched crochet blanket, I find that making a tiny sample of just one section of it helps people to get to grips with the structure of the pattern.
The Stitches You Will Need to Know
- sk – skip the next stitch
- sc – single crochet
- hdc – half double crochet
- dc – double crochet
- tr – treble crochet
- 2dc – make two double crochets into the same stitch, this is written in some patterns as ‘inc’
- dc2tog – join two stitches together with one double crochet
- hdc x 2 – make one hdc into each of the next two stitches
- dc x 2 – make one dc into each of the next two stitches
How to dc2tog
To join two stitches together with one double crochet, begin as you would with a normal dc, but retain two loops on your stitch, then work straight into the next stitch, and finish by pulling through when you have three loops on the hook.
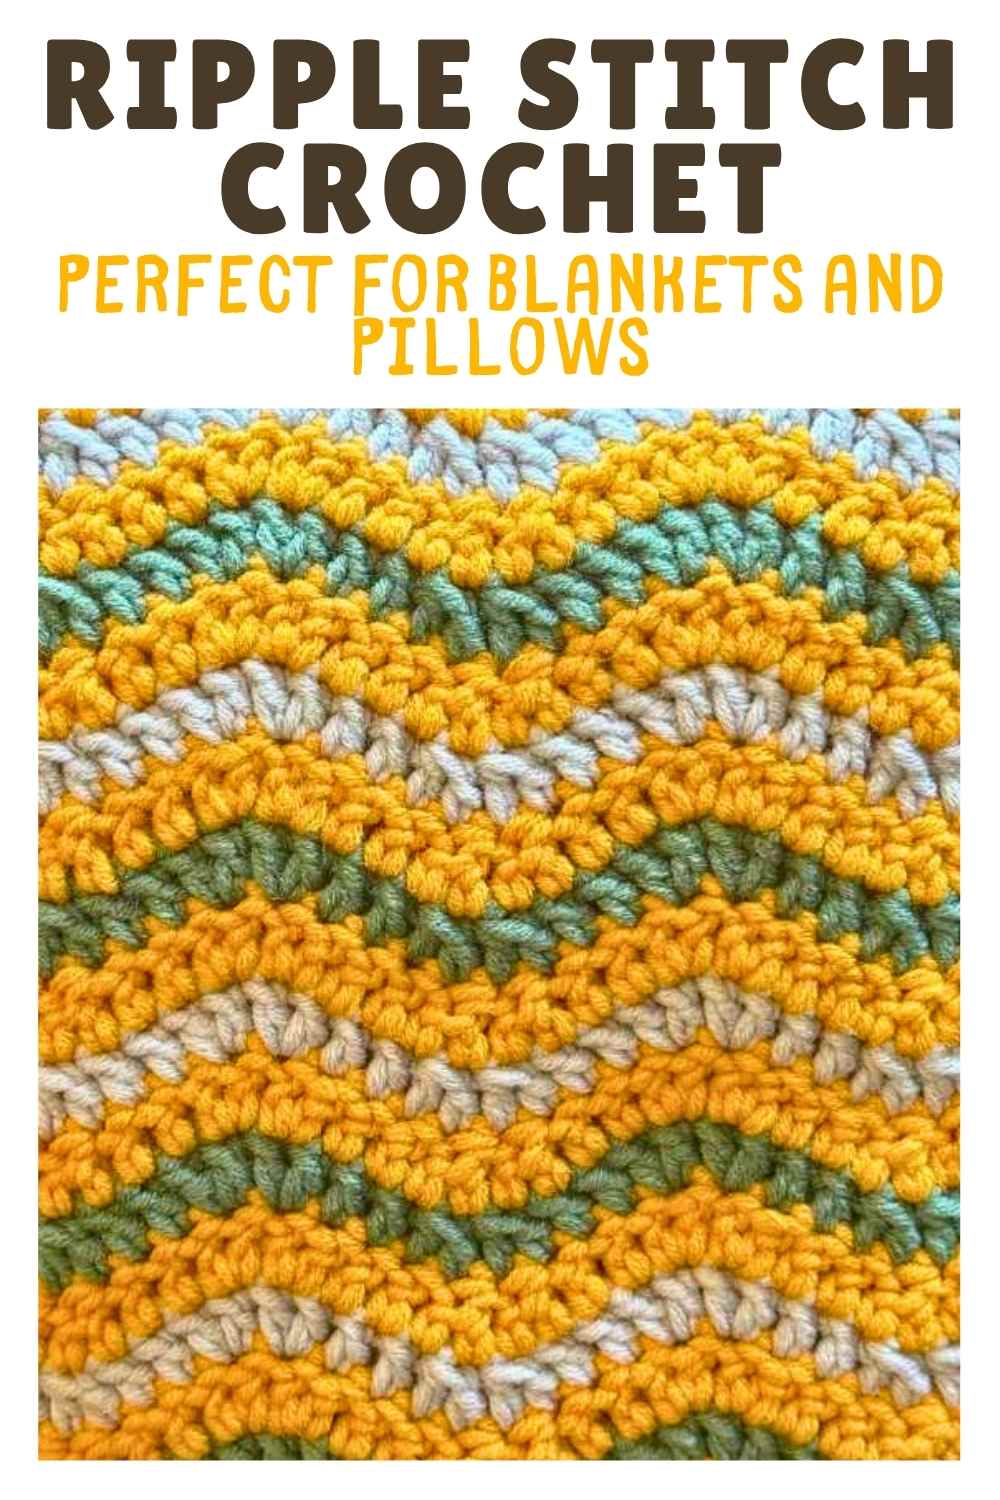
The Easiest Crochet Ripple Stitch Sample
If this is your first time rippling, I recommend using a DK cotton blend yarn that is approximately 50/50 cotton and acrylic in a bright color, and a 4.5mm crochet hook. Other options are fine too, it’s just the cotton makes the stitches really well defined and easy to see.

Row 1
Make a chain of 11 stitches.
One of these will be your skipped stitch, so going forward you will have ten stitches at the end of each row. Ripple stitching in the pattern shared here will always be started with a chain that is a multiple of ten plus one.
To see your rows even more clearly, you might like to swap colors between each row from now onwards, but this is just a practice sample so it’s absolutely not essential.
Row 2
sk, sc, hdc x 2, dc, tr x 2, dc, hdc x 2, sc

Row 3
dc2tog, dc x 2, 2dc x 2, dc x 2, dc2tog

Row 4 onwards
Repeat row 3 until the second to last row
Final Row
tr, dc x 2, hdc, sc x 2, hdc, dc x 2, tr

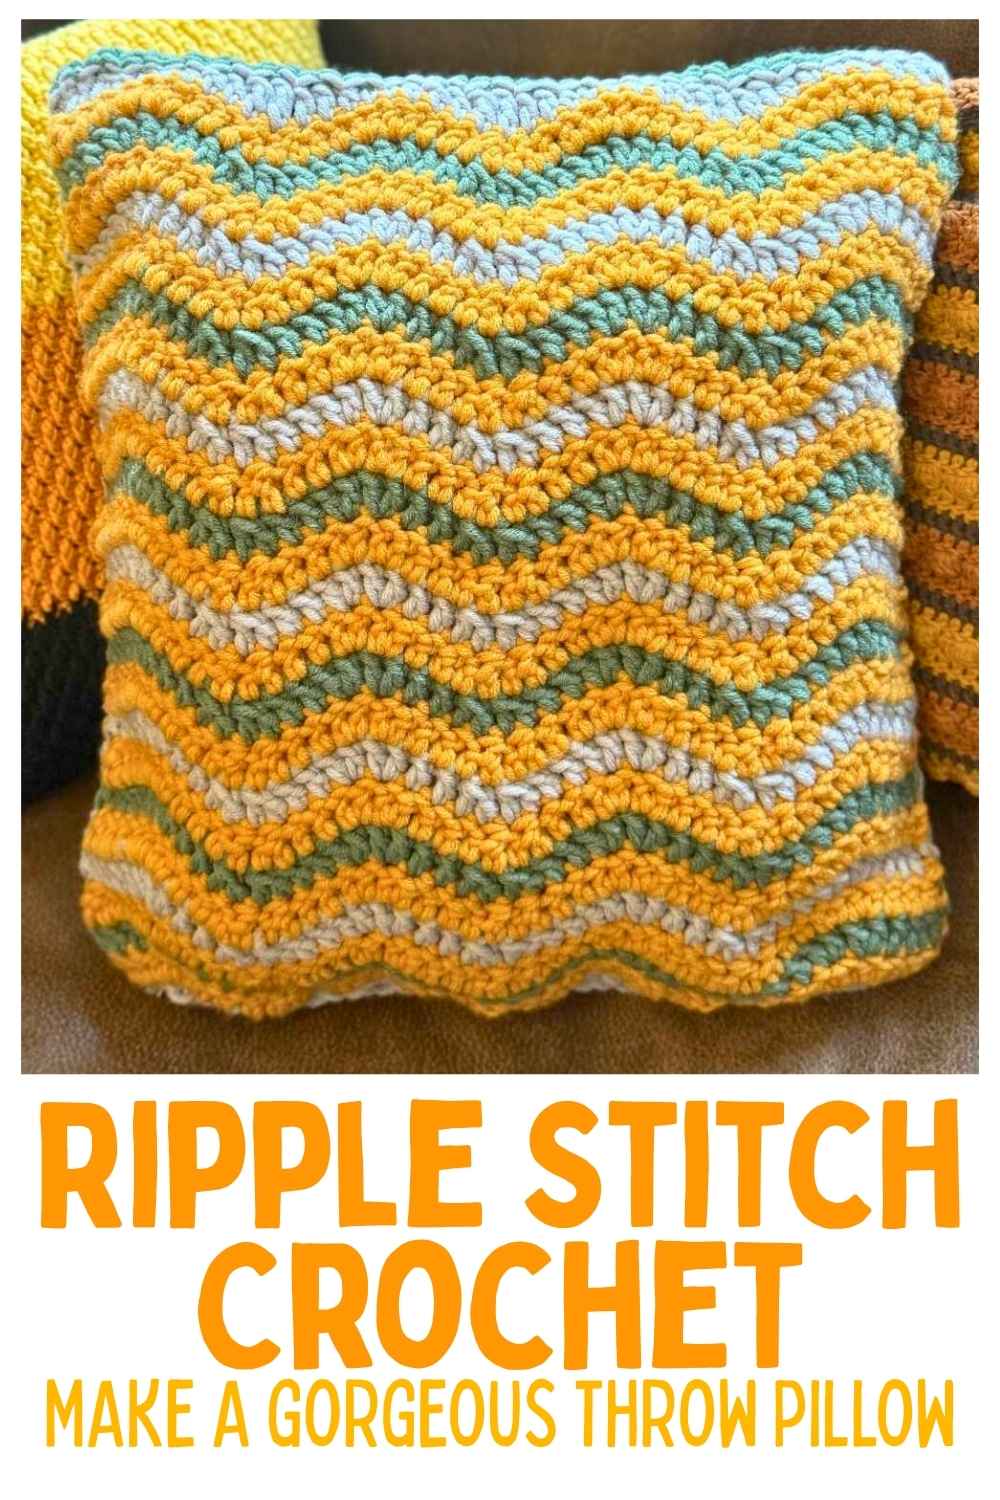
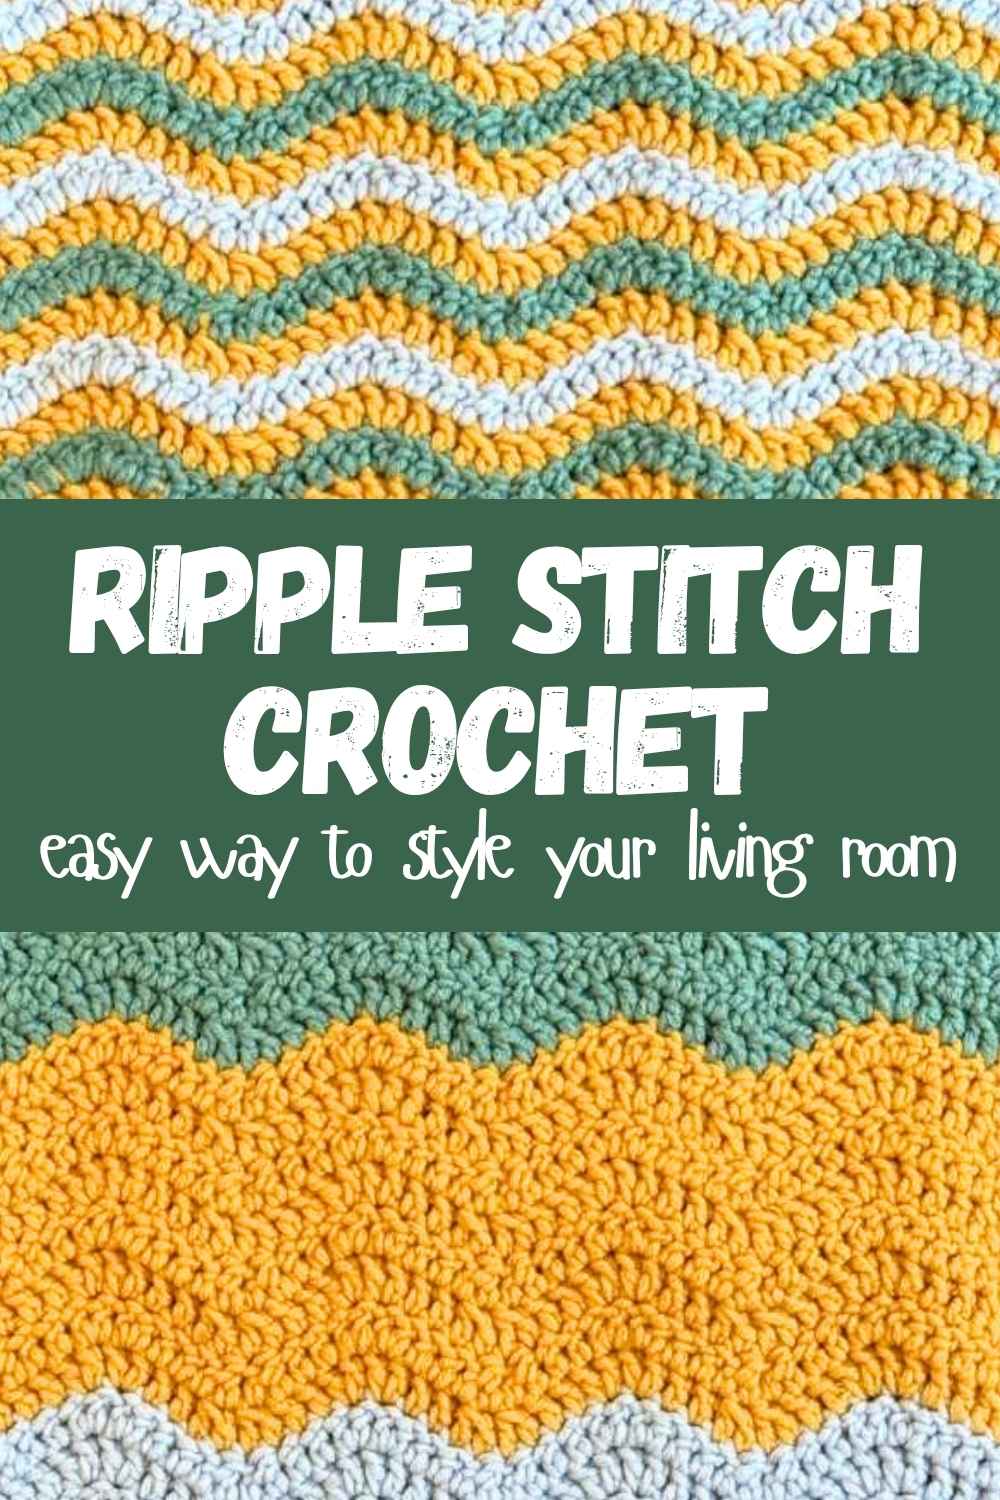
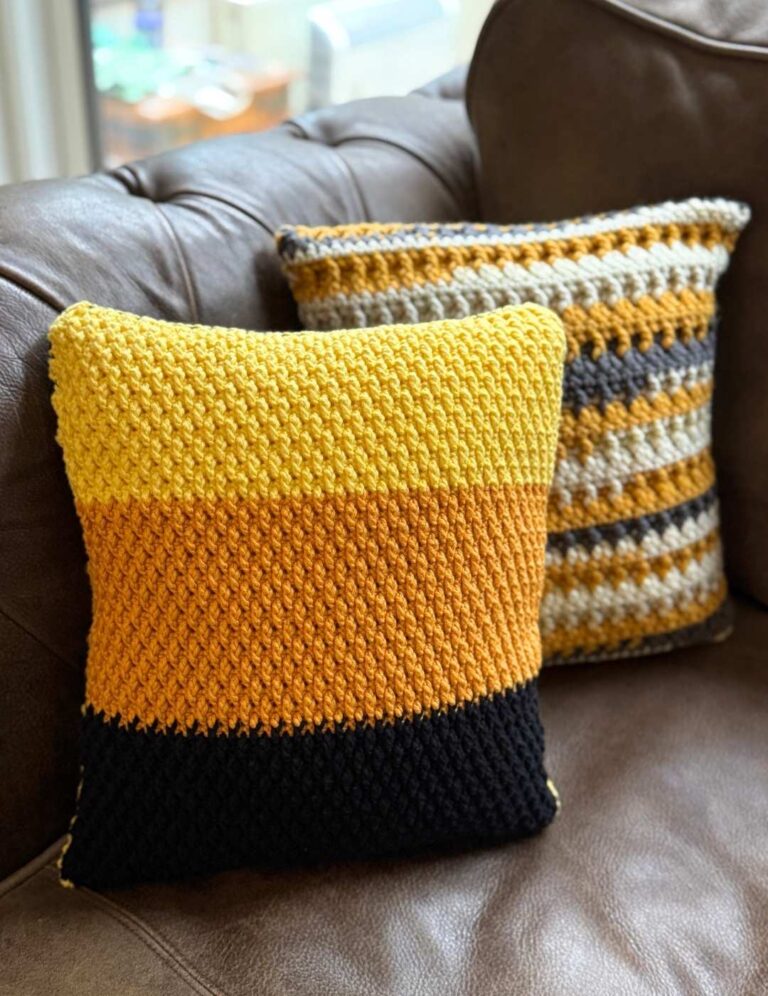
My Ripple Stitch Throw Pillow Pattern
To produce this pattern I used a chunky weight yarn with a 6.5mm crochet hook.

You will need:
- 200g yellow chunky yarn
- 200g blue chunky yarn
- 200g green chunky yarn
- 6.5mm crochet hook
- Cushion pad
- Yarn needle
Side One
Begin working in the pale blue color.

Row 1
Make a chain of 41 stitches
Row 2
sk, *(sc, hdc x 2, dc, tr x 2, dc, hdc x 2, sc). Repeat from * until the end of the row.
cc yellow
Row 3
*(dc2tog, dc x 2, 2dc x 2, dc x 2, dc2tog). Repeat from * until the end of the row.
cc green
Row 4 – 25
Repeat row three, changing color each row in the following pattern:
- yellow
- light blue
- yellow
- green
Your 25th row should land on the yellow color.
Then cc to light blue for the final row as follows:
Row 26
tr, dc x 2, hdc, sc x 2, hdc, dc x 2, tr
Tie off and place to one side for sewing later.
Side Two

Begin working in the light blue color
Row 1
ch41
Row 2
sk, *(sc, hdc x 2, dc, tr x 2, dc, hdc x 2, sc). Repeat from * until the end of the row.
Row 3 – 9
*(dc2tog, dc x 2, 2dc x 2, dc x 2, dc2tog). Repeat from * until the end of the row.
cc yellow
Row 10 – 17
*(dc2tog, dc x 2, 2dc x 2, dc x 2, dc2tog). Repeat from * until the end of the row.
cc green
Row 18 – 25
*(dc2tog, dc x 2, 2dc x 2, dc x 2, dc2tog). Repeat from * until the end of the row.
Row 26
tr, dc x 2, hdc, sc x 2, hdc, dc x 2, tr
Joining The Sides
Place the two sides together, and sew around the edge using a yarn needle and your yarn. I worked into the front loops only, on adjacent stitches on each side.
Sew three sides, then insert the pad and sew the final side.