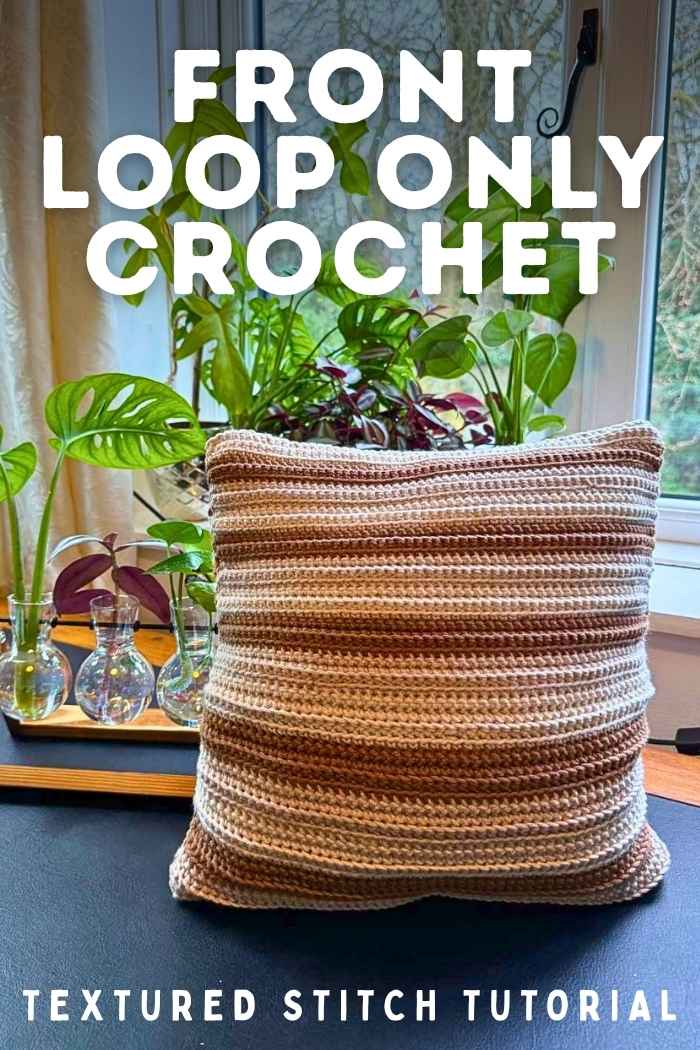
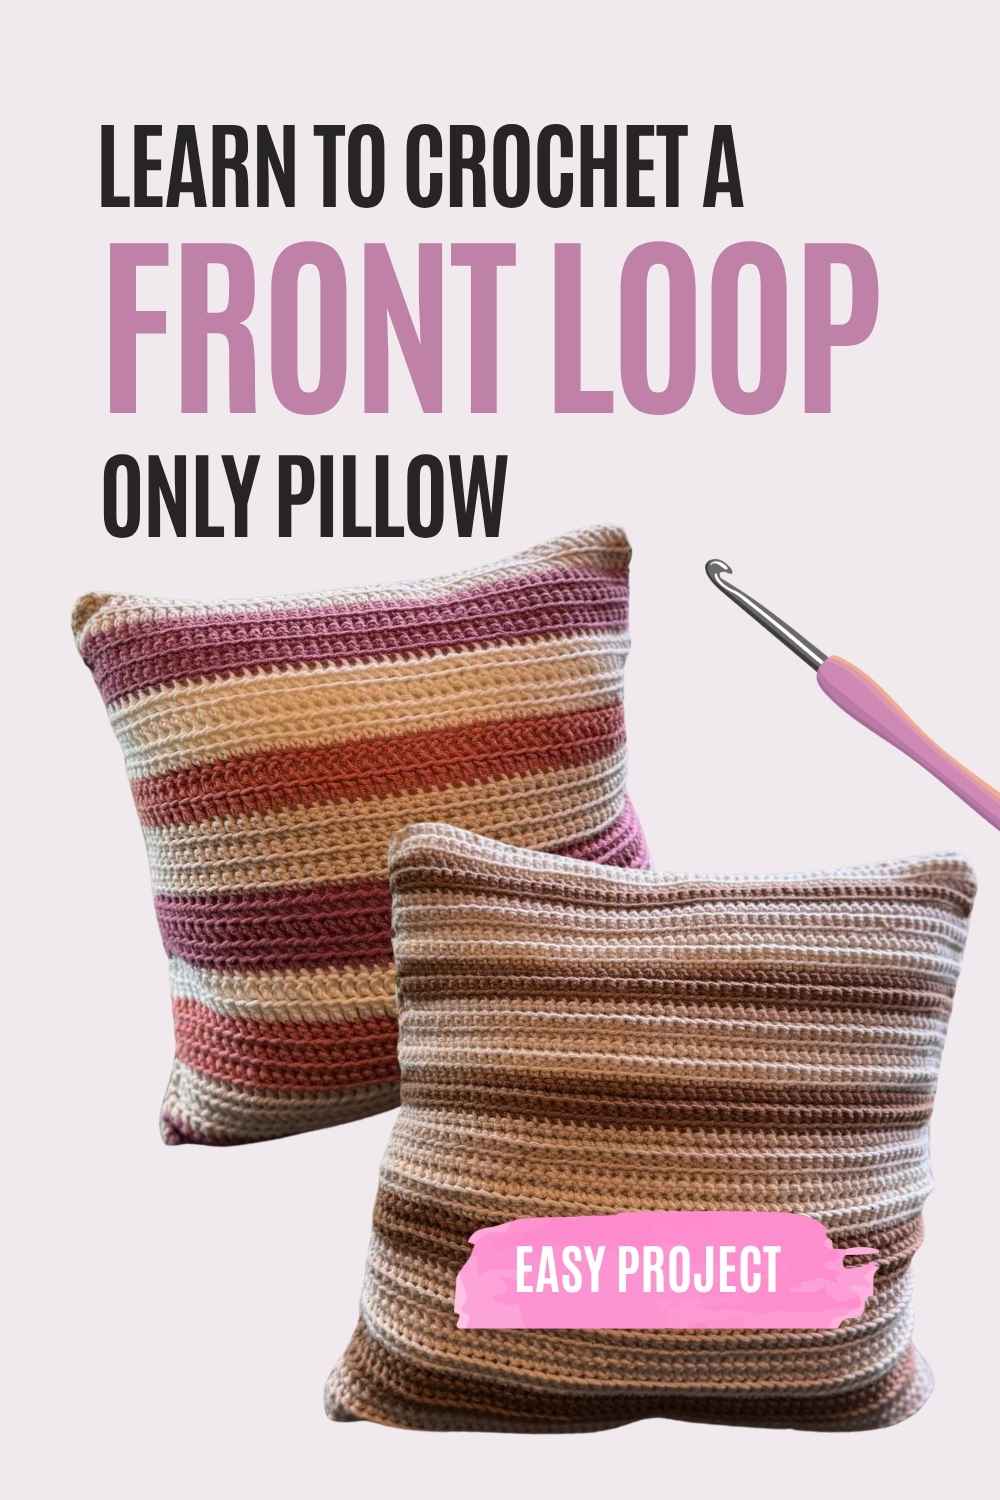
How To Front Loop Only Crochet (And Make A Stunning Throw Pillow)
A few months ago I was teaching a friend to crochet, and they were getting very frustrated with the appearance of their stitches. It didn’t look bad, it just looked different to the pictures they were trying to follow.
And that was because they were doing a crochet technique, just not the one that the pattern had dictated. What they were doing was crocheting, but just into the front loop only instead of the full stitch.
I tell you this story because it’s fabulous news for anyone who is new to crochet, that front loop only crochet is so simple that you can do it entirely by accident.
So let’s begin by taking a look at how to do it on purpose. And then I’ll show you how to practice while you make this cozy and stylish pillow!
Where to Hook
When you make a standard crochet stitch, you work your hook under and through the set of two loops at the top of the stitch you made in the previous round or row. With front loop only (often abbreviated to FLO) you work only into the loop nearest to you.
Let’s practice.
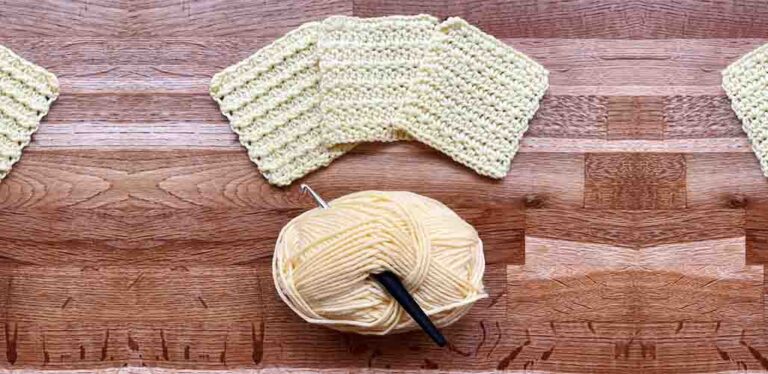
FLO Sample
Make a chain of about ten loops, then make a single crochet into each stitch.
Turn and hold the crocheted fabric so that you can see the top edge of the stitches. You’ll see each stitch has two upper loops, one nearer to you and another further away.
The loop nearest to you is the front loop.
To crochet into the front loop, insert your hook underneath it and out of the center of the stitch, as shown by the arrows in the image here:
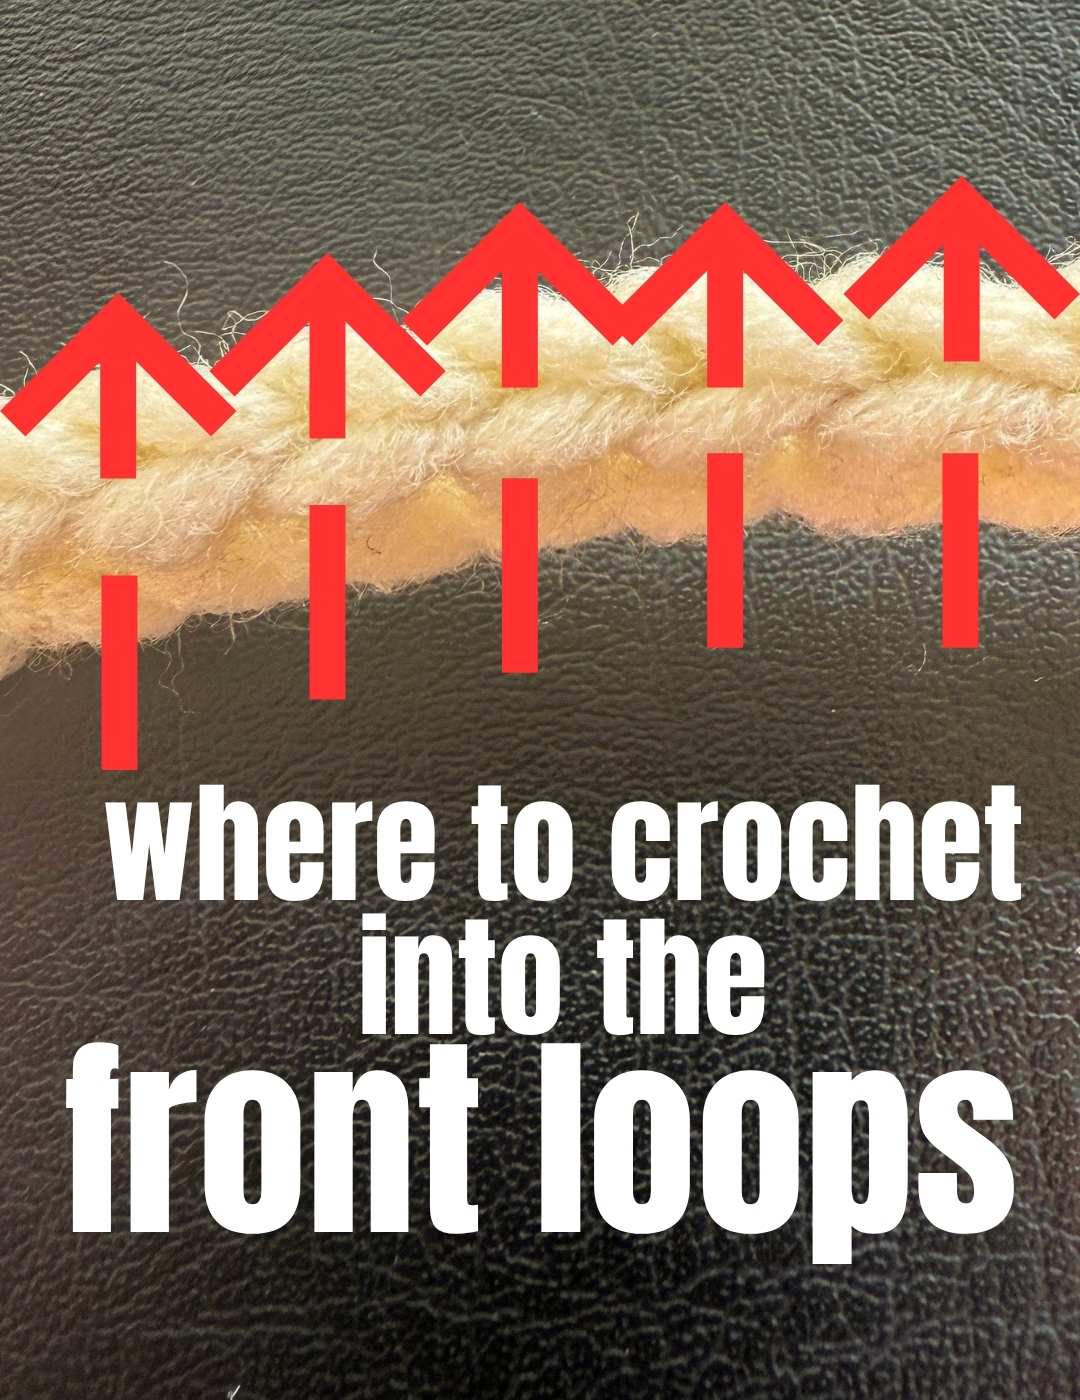
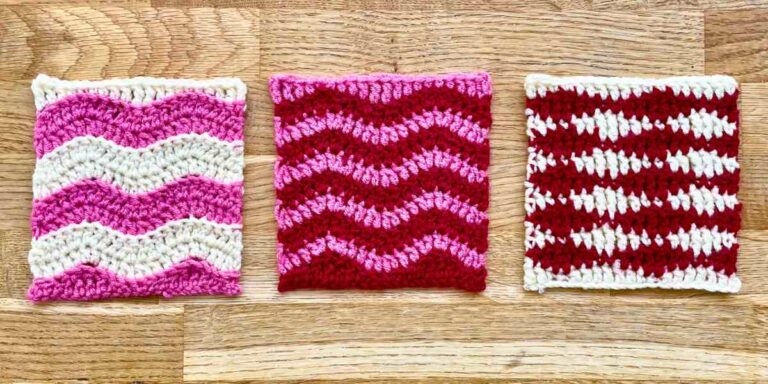
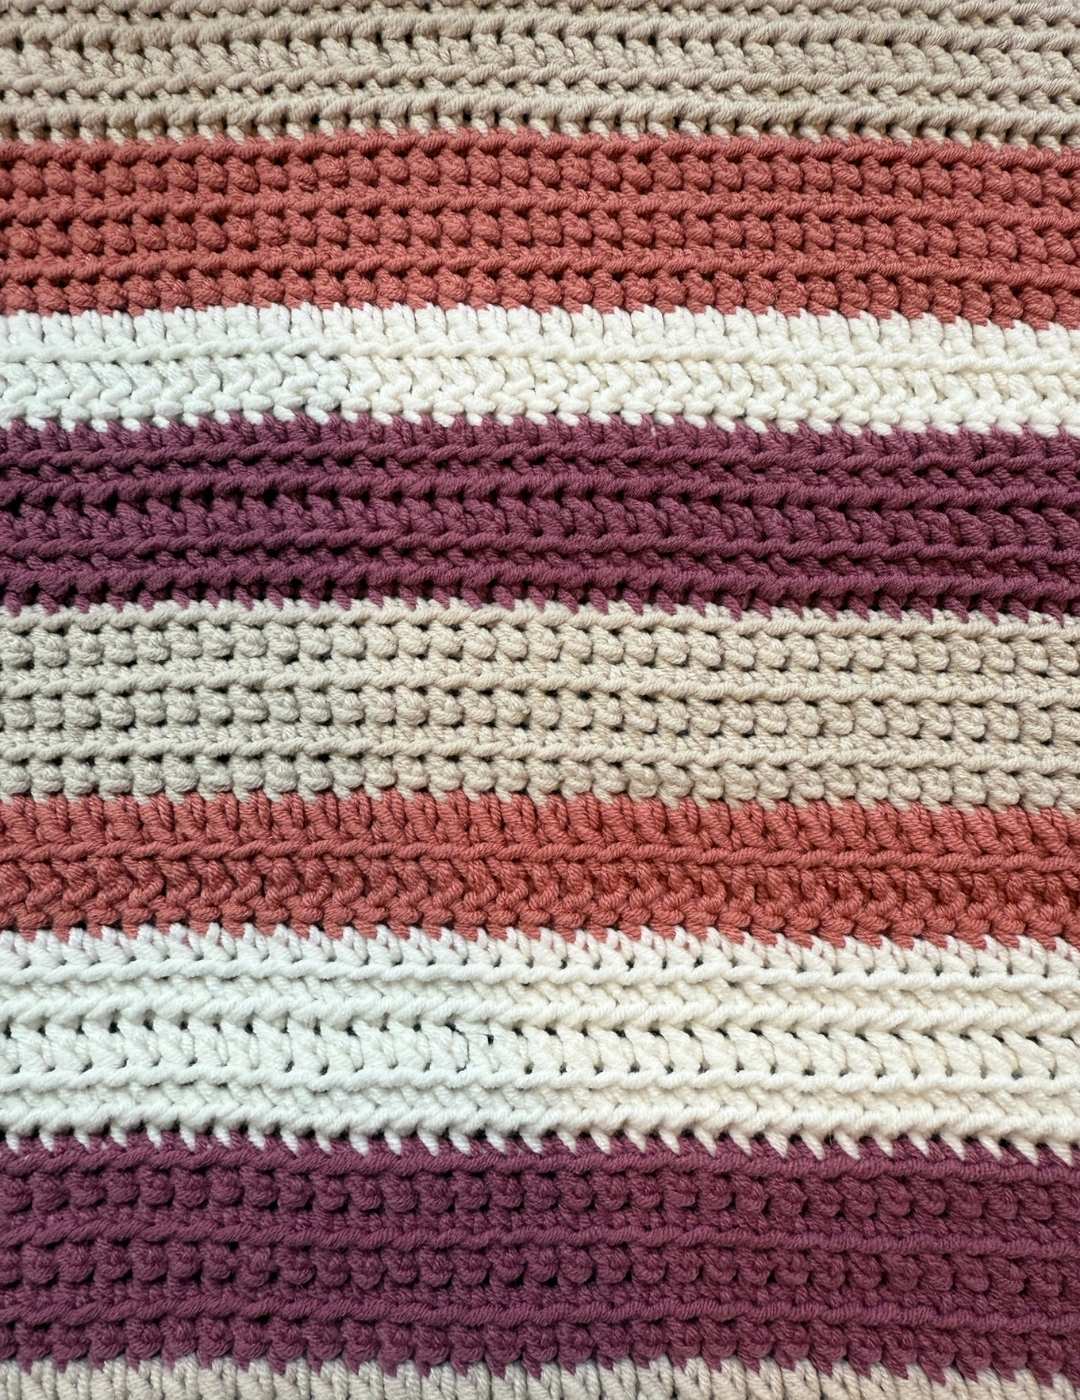
This stitch creates a very similar appearance to a standard crochet stitch, but with an extra line across the crocheted material which is left by the loops that were not worked into.
And it’s really that simple.
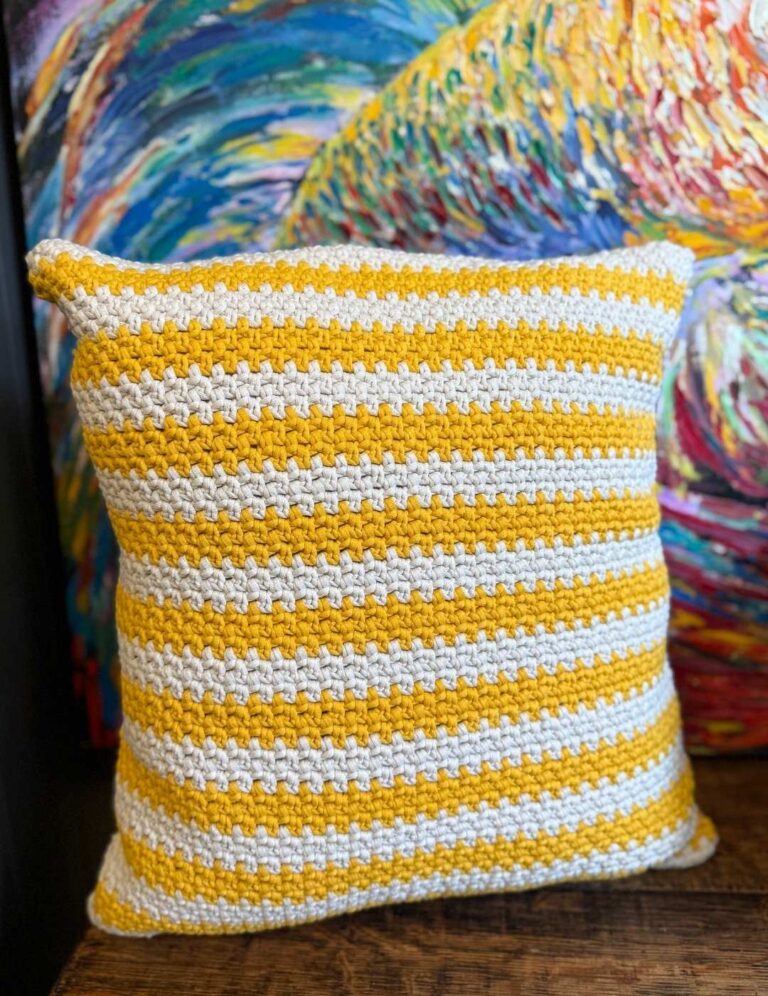
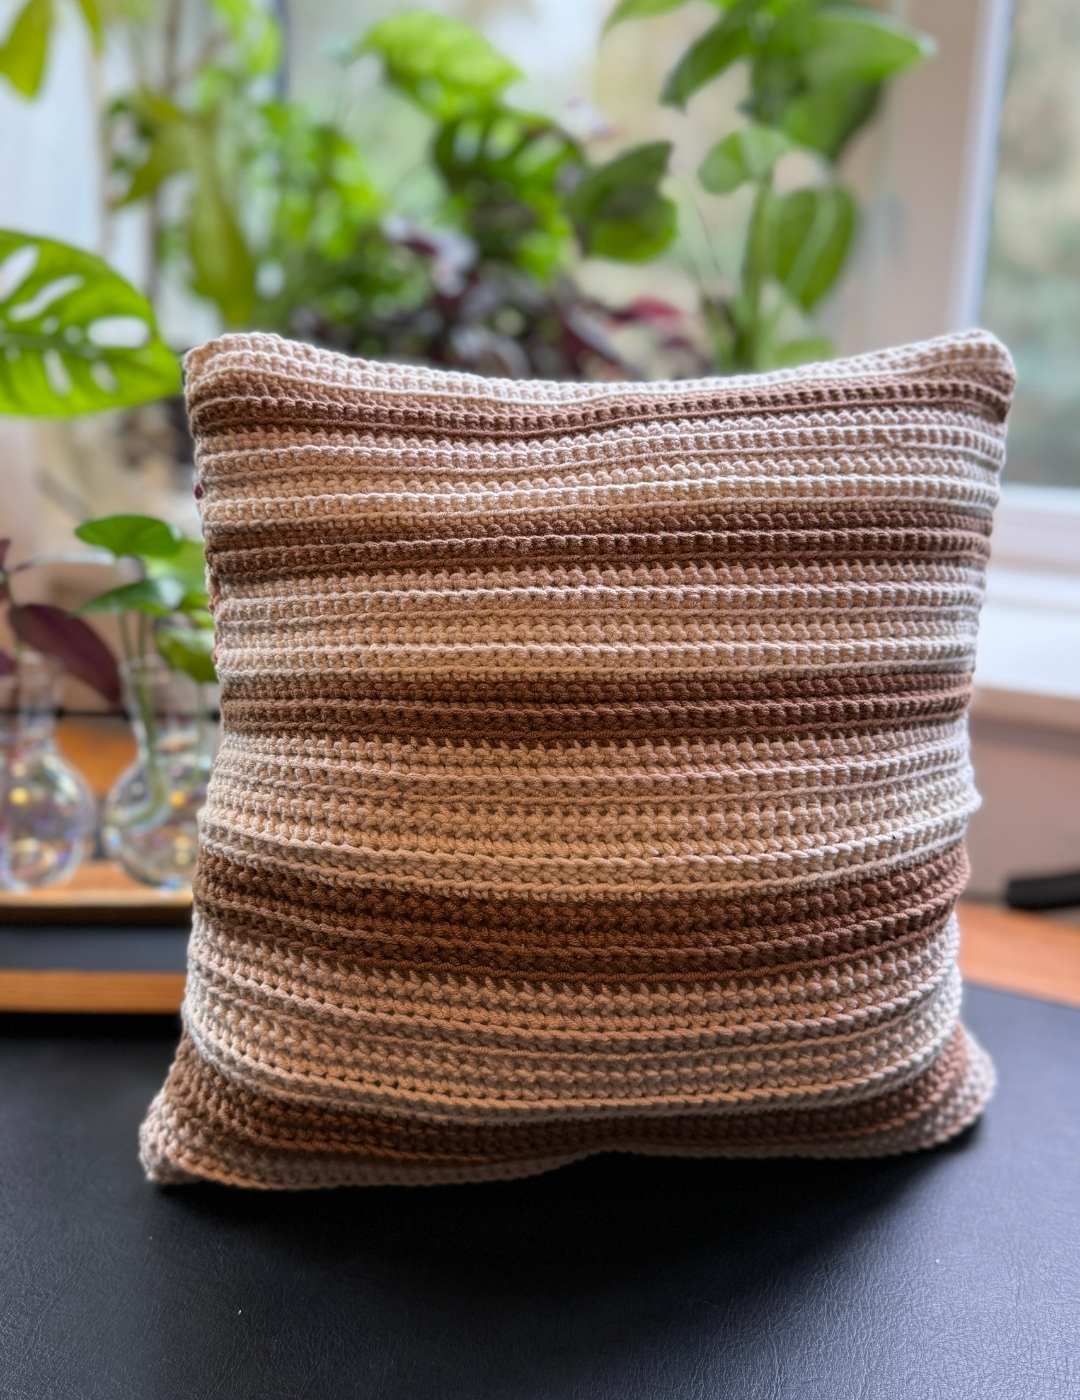
Front Loop Only Crochet Pillow Pattern
So now let’s practice working into the front and back loops, with a crochet pillow pattern I created recently. It will really highlight how different these stitches are, and keep your interest as you switch back and forth.
What you’ll need
- 5mm crochet hook
- 100g cream DK yarn
- 50g dark pink DK yarn
- 50g light pink DK yarn
- 50g white DK yarn
- 50g oat DK yarn
- 50g brown DK yarn
- 30 inch cushion pad
- Yarn needle
The Stitches
- ch – chain
- sc – single crochet
- hdc – half double crochet
- dc – double crochet
- FLO – front loop only
- BLO – back loop only
- cc – change color
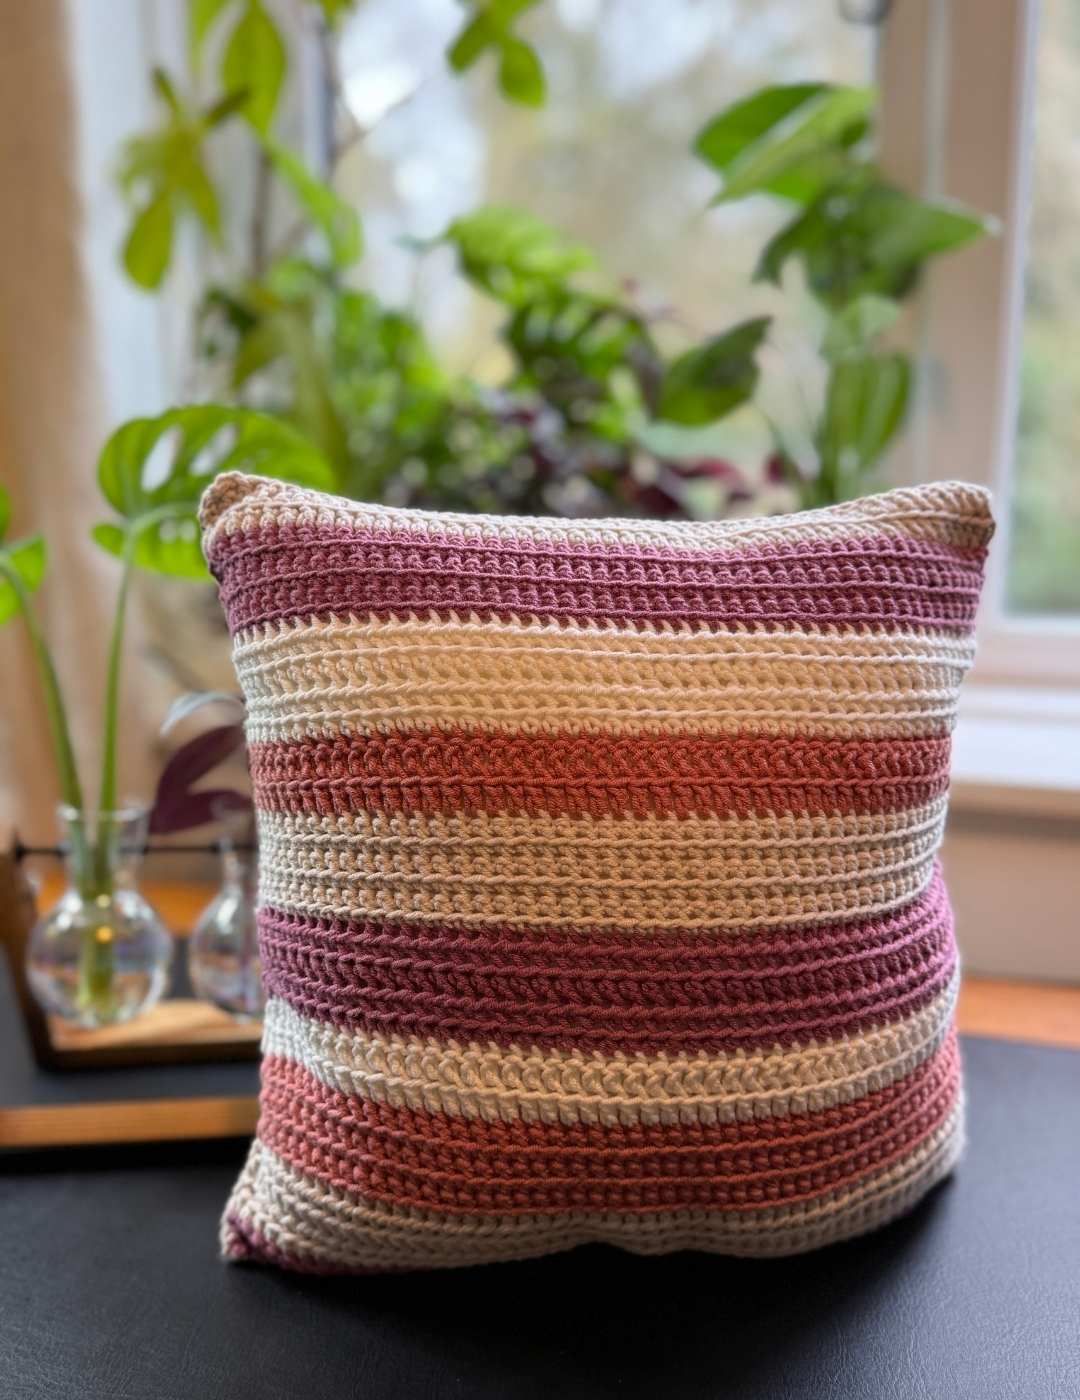
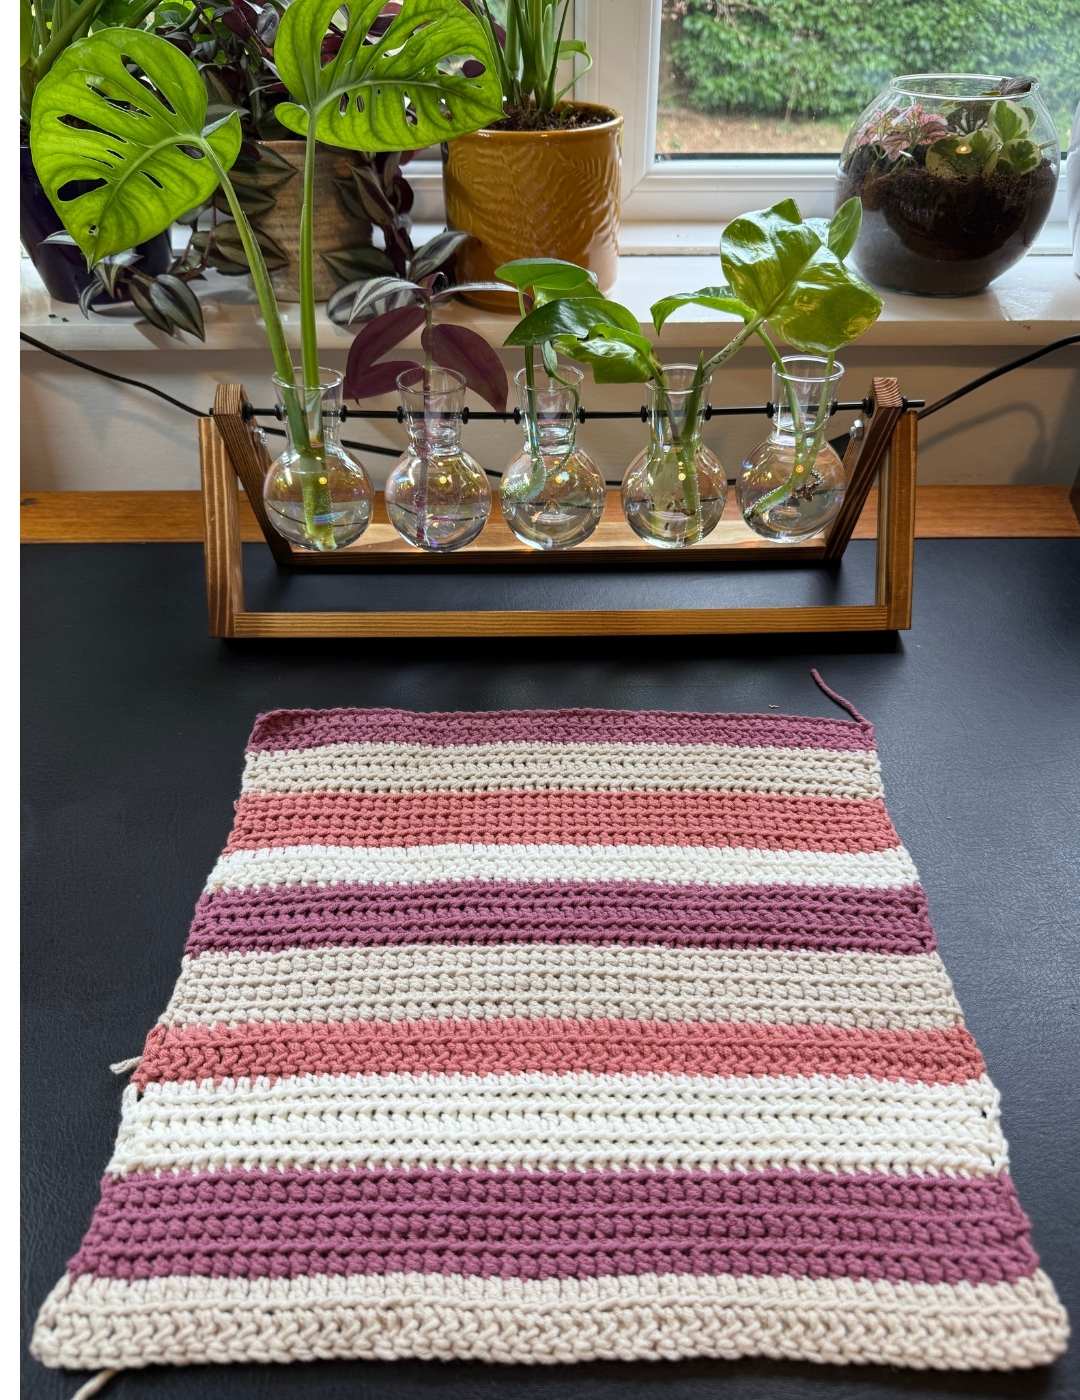
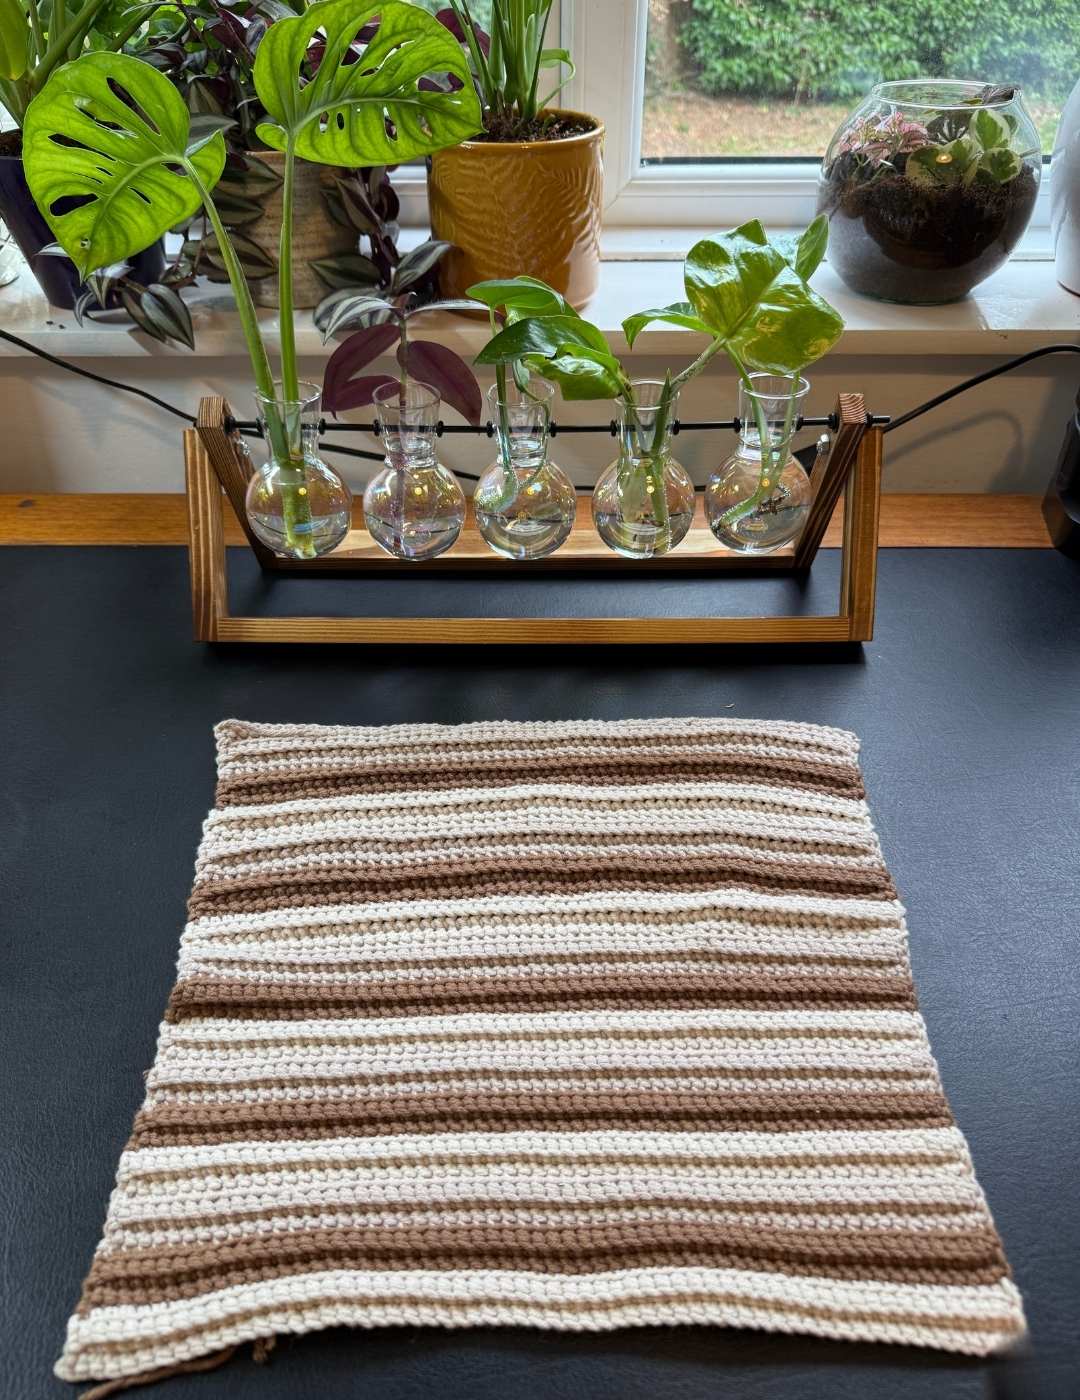
The front panel is just front loop only, so we’ll start there.
Front Panel
Begin in your dark pink yarn.
Row 1
ch52
Row 2
sk2, 1dc x 50
Row 3
ch2, 1dc FLO x 50
cc cream
Row 4 – 7
ch2, 1hdc FLO x 50
cc light pink
Row 8 – 13
ch1, 1sc FLO x 50
cc white
Row 14 – 15
ch2, 1dc FLO x 50
cc dark pink
Row 16 – 19
ch2, 1hdc FLO x 50
cc cream
Row 20 – 25
ch1, 1sc FLO x 50
cc light pink
Row 26 – 27
ch2, 1dc FLO x 50
cc white
Row 28 – 31
ch2, 1hdc FLO x 50
cc dark pink
Row 32 – 37
ch1, 1sc FLO x 50
cc cream
Row 38 – 39
ch2, 1dc FLO x 50
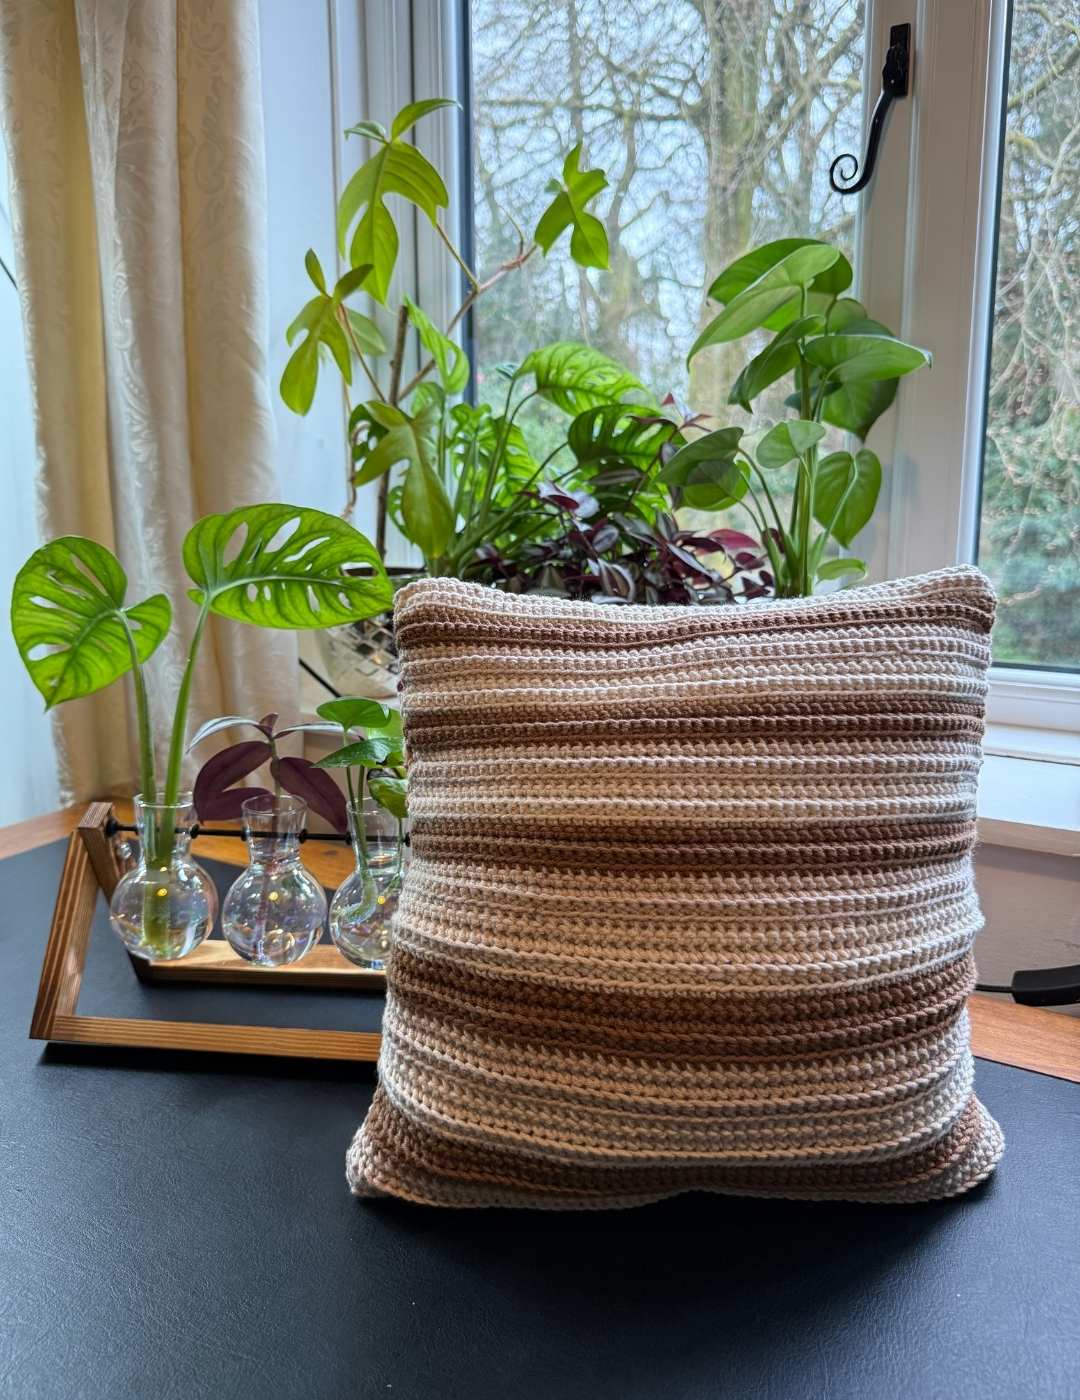
Back Panel
Begin in the oat yarn
Row 1
ch52
Row 2
sk2, 1dc x 50
Row 3 – 4
ch2, 1dc FLO x 50
Row 5 – 6
ch2, 1dc BLO x 50
cc brown
Row 7 – 8
ch2, 1dc FLO x 50
Row 9 – 10
ch2, 1dc BLO x 50
cc cream
Row 11 – 12
ch2, 1dc FLO x 50
Row 13 – 14
ch2, 1dc BLO x 50
cc oat
Row 15 – 16
ch2, 1dc FLO x 50
Row 17 – 18
ch2, 1dc BLO x 50
cc brown
Row 19 – 20
ch2, 1dc FLO x 50
Row 21 – 22
ch2, 1dc BLO x 50
cc cream
Row 23 – 24
ch2, 1dc FLO x 50
Row 25 – 26
ch2, 1dc BLO x 50
cc oat
Row 27 – 28
ch2, 1dc FLO x 50
Row 29 – 30
ch2, 1dc BLO x 50
cc brown
Row 31 – 32
ch2, 1dc FLO x 50
Row 33 – 34
ch2, 1dc BLO x 50
cc cream
Row 35 – 36
ch2, 1dc FLO x 50
Row 27 – 38
ch2, 1dc BLO x 50
cc oat
Row 39 – 40
ch2, 1dc FLO x 50
Row 41 – 42
ch2, 1dc BLO x 50
cc brown
Row 43 – 44
ch2, 1dc FLO x 50
Row 45 – 46
ch2, 1dc BLO x 50
cc cream
Row 47 – 48
ch2, 1dc FLO x 50
Row 49 – 50
ch2, 1dc BLO x 50
cc oat
Row 51 – 52
ch2, 1dc FLO x 50
Row 53 – 54
ch2, 1dc BLO x 50
cc brown
Row 55 – 56
ch2, 1dc FLO x 50
Row 57 – 58
ch2, 1dc BLO x 50
cc cream
Row 59 – 60
ch2, 1dc FLO x 50
Row 61 – 62
ch2, 1dc BLO x 50
Joining the Sides
You’ll notice the back panel has a lot more rows than the front. This is because the back loop only stitches create texture by sticking forward in ridges. To maintain these ridges rather than pull the fabric flat, you therefore need more rows.
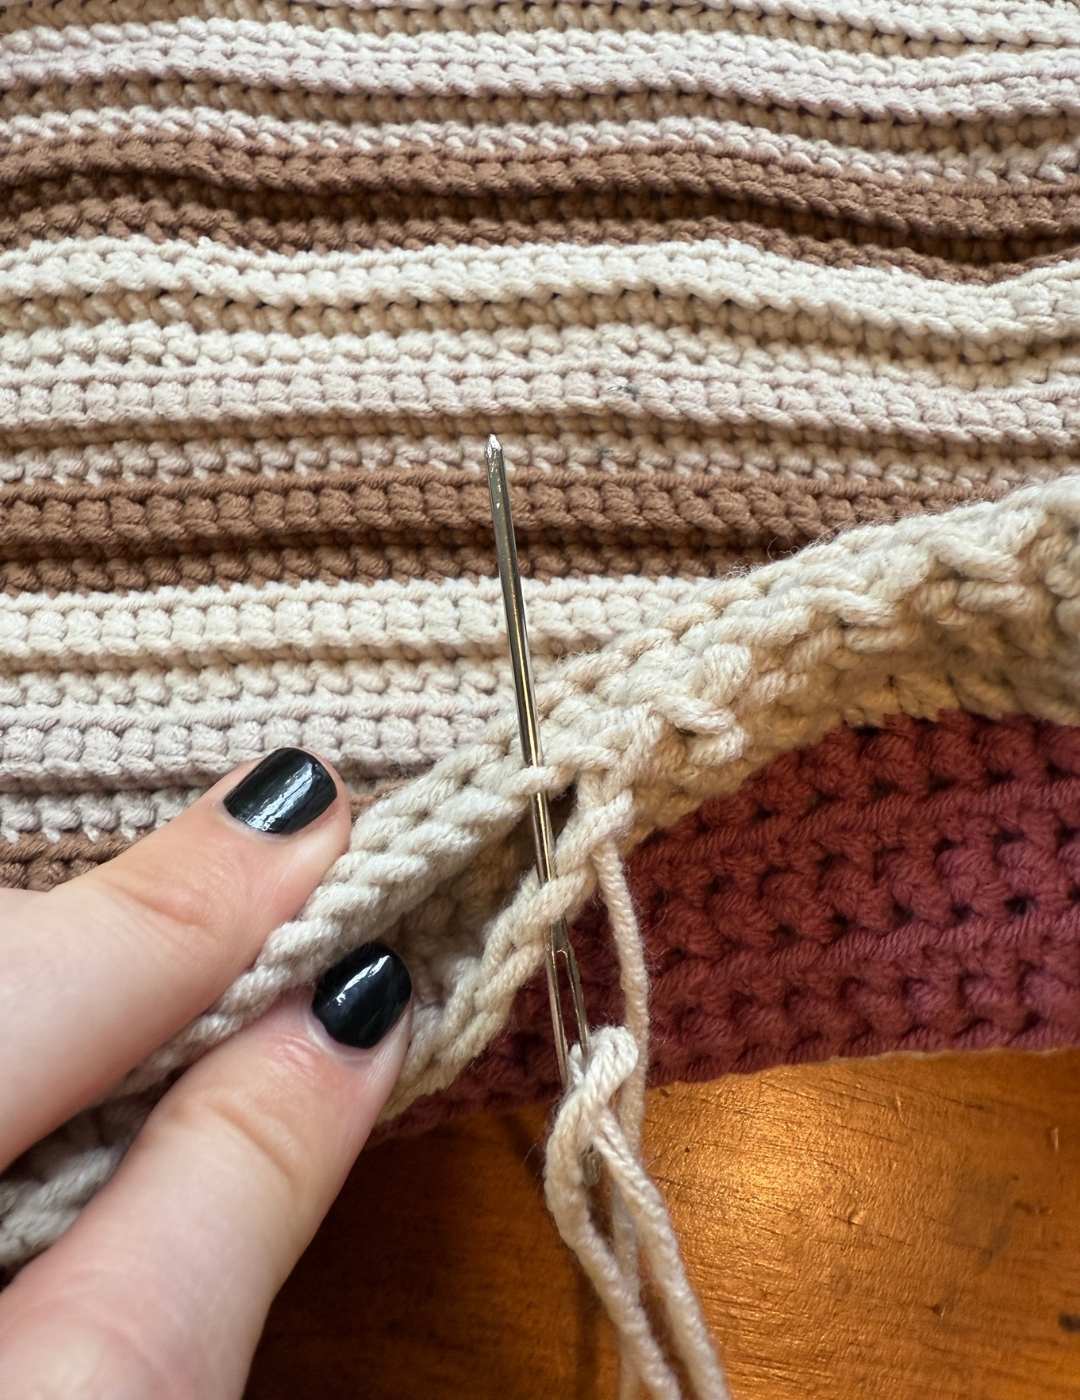
Lay them together and sew around the edges using your yarn needle and cream yarn. Sew three sides, then insert the cushion pad and then sew the final side.
I recommend that you compress the pad with your hands and make sure to even out the filling beforehand, as they can be a little uneven otherwise.
Do not sew row by row, because your stitches on each side are different heights. If you find this hard to do by eye, use stitch markers to join it together before you begin.