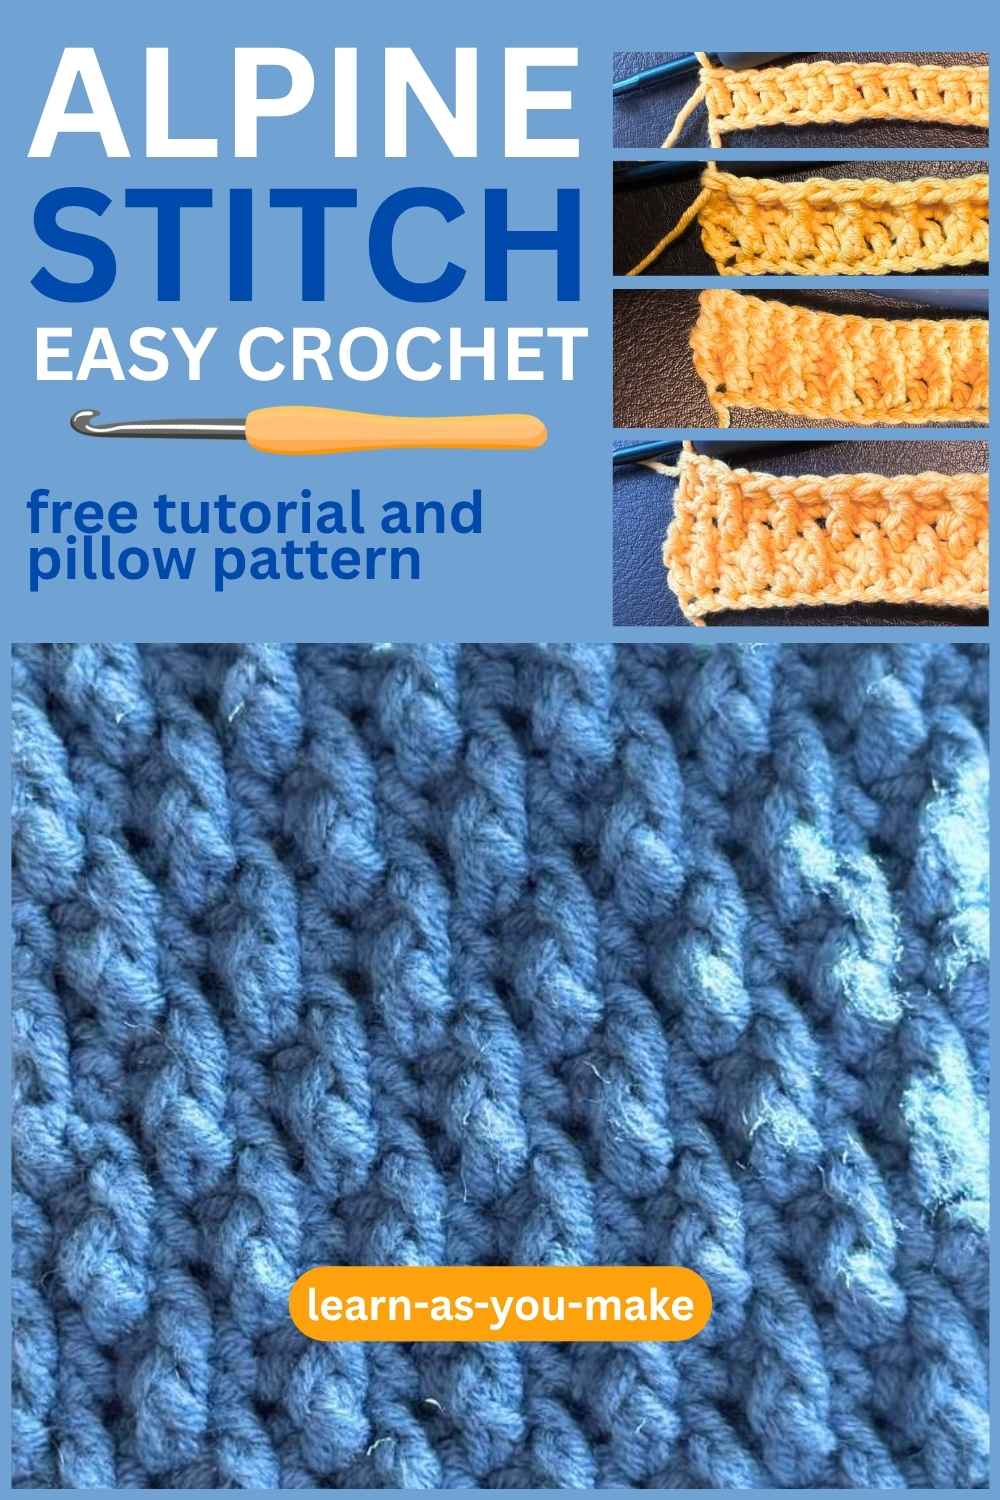
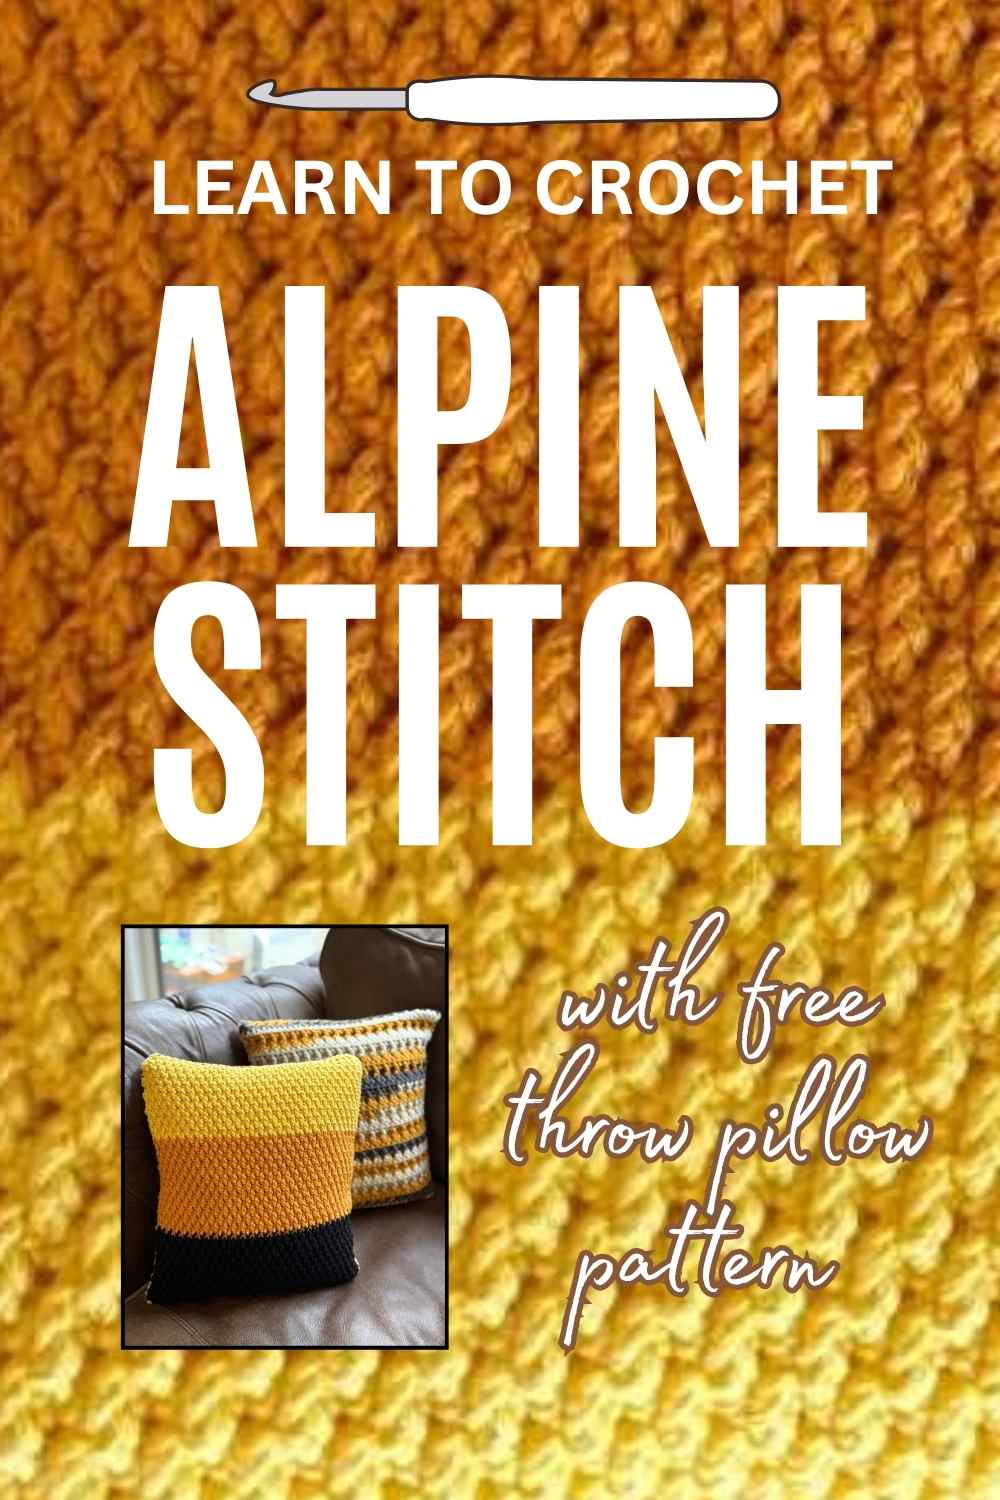
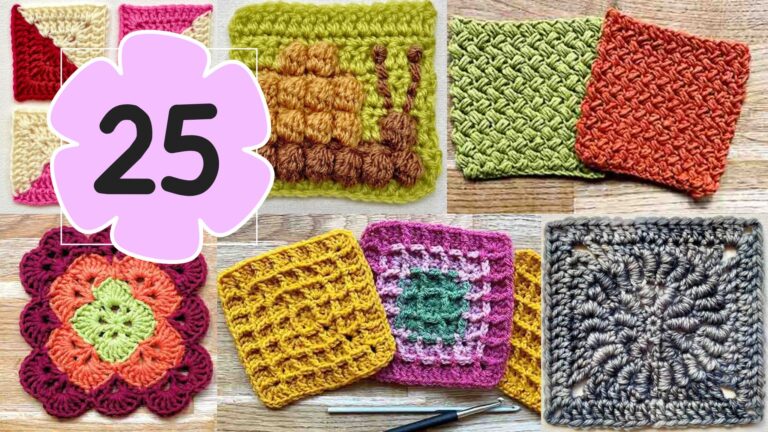
How To Crochet Alpine Stitch (With Free Pillow Pattern)
I am a big fan of crocheting with the alpine stitch now, but the first few times I tried it, this stitch went seriously wrong. I hope that with the detailed steps below, and important bullet pointed notes, you’ll avoid the pitfalls I slipped into on my first few tries.

Once you’ve got the hang of these simple steps, just scroll down the page to find my free crochet alpine stitch throw pillow pattern. It’s a really fun one and works up faster than you’d think.

Things To Remember
This is a repetitive stitch that is worked in sets of four, and involves working into the front posts of stitches that are two rows below your current working row. It differs from other stitches in a few ways that you need to keep in mind whilst working on it:
- Your first stitch always goes into the base of the starting chain. The chain is not the first stitch of the row.
- The front post stitches are made into every other dc, two rows below your current row.

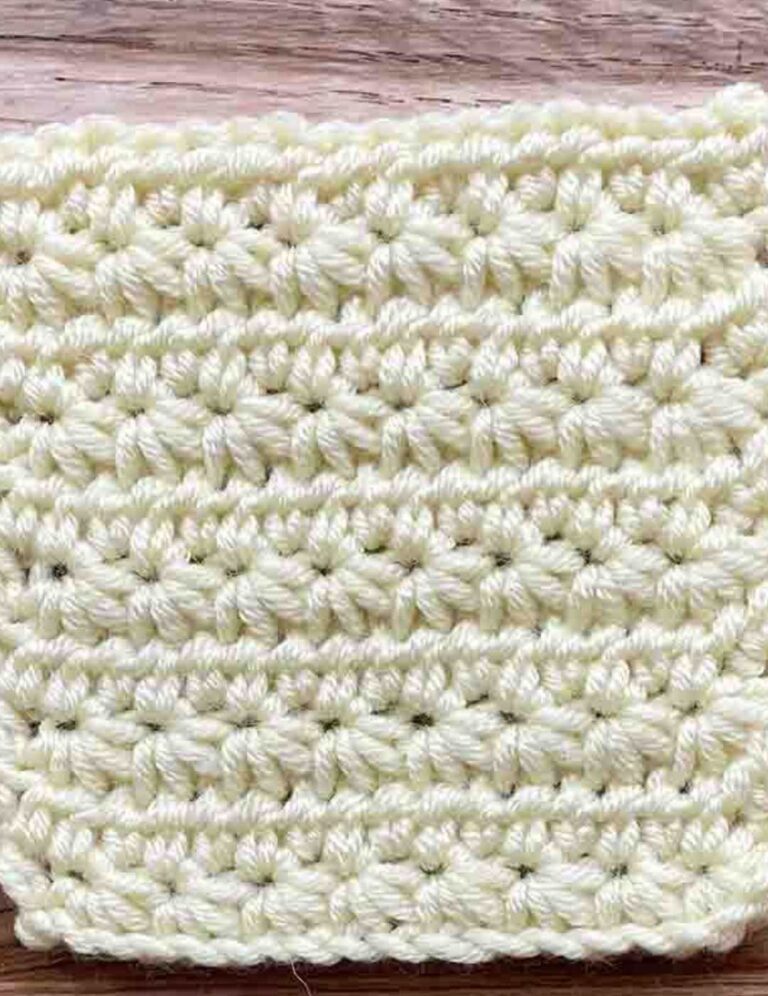
Alpine Stitch In Simple Steps
The alpine stitch is a beautiful technique that has a lot of people, understandably, scratching their heads. I think it’s one of those techniques that is best practiced in small samples, to make sure you are following it correctly before moving onto a bigger project.

Row 1
Make a chain with an odd number of stitches + 2. My example is a chain of 17.
Row 2
sk2, then 1dc for the length of the row

Row 3
ch1, 1sc into each stitch
Row 4
ch2, dc into first stitch, sk the next sc, instead making a fpdc into the dc stitch two rows down. dc into the next sc. *sk, fpdc into the next but one dc two rows below, dc into the next stitch. Repeat from * until the end of the row.

Row 5
ch1, 1sc in every stitch of the row
Row 6
ch2, dc x 2, then sk the next stitch and fpdc around the dc two rows down between the raised stitches. *dc into the next stitch, sk1 and fpdc two rows below in the same manner. Repeat from * for the rest of the round, ending with dc x 2.

Row 7 onwards
Work as a four row repeat, repeating rows 3 – 6 as many times as your project requires.
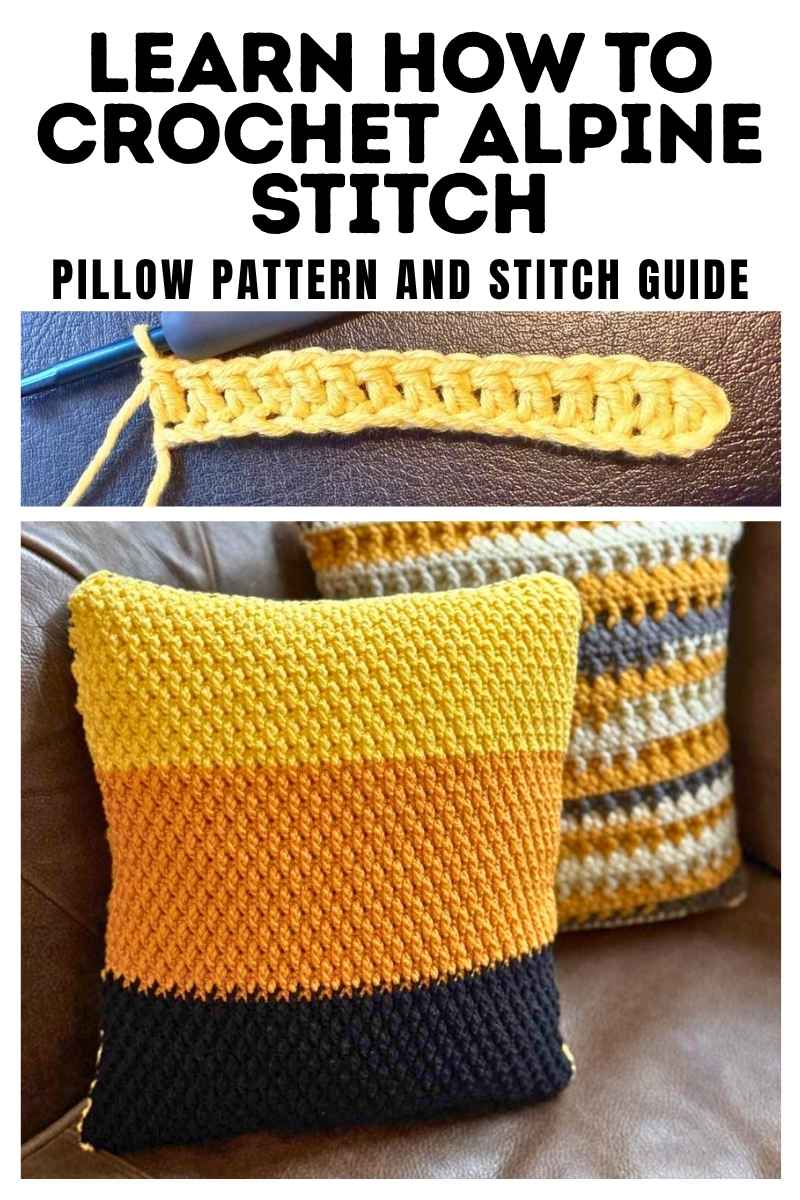
My Alpine Stitch Throw Pillow Pattern
To make this cushion I used:
- 150g yellow DK cotton blend yarn
- 150g orange DK cotton blend yarn
- 150g black DK cotton blend yarn
- 4mm crochet hook
- 30 x 30 inch cushion pad
- Yarn needle

Begin working with your yellow yarn.
Row 1
ch61
Row 2
sk2, 1dc x 59
Row 3
ch1, 1sc x 59
Row 4
ch2, dc into first stitch, sk the next sc, instead making a fpdc into the dc stitch two rows down. dc into the next sc. *sk, fpdc into the next but one dc two rows below, dc into the next stitch. Repeat from * until the end of the row.
Row 5
ch1, 1sc in every stitch of the row
Row 6
ch2, dc x 2, then sk the next stitch and fpdc around the dc two rows down between the raised stitches. *dc into the next stitch, sk1 and fpdc two rows below in the same manner. Repeat from * for the rest of the round, ending with dc x 2.

Row 7 – 24
Repeat repeating rows 3 – 6
cc orange
Row 25 – 48
Repeat repeating rows 3 – 6
cc black
Row 49 – 72
Repeat repeating rows 3 – 6
cc yellow
Row 73 – 96
Repeat repeating rows 3 – 6
cc orange

Row 97 – 120
Repeat repeating rows 3 – 6
cc black
Row 121 – 141
Repeat repeating rows 3 – 6
Row 142
ch1, sc in every stitch of the row
Joining
Fold your crocheted fabric in half, and using a yarn needle and your yellow yarn sew down two sides. Insert your pillow, and sew down the final side to close.