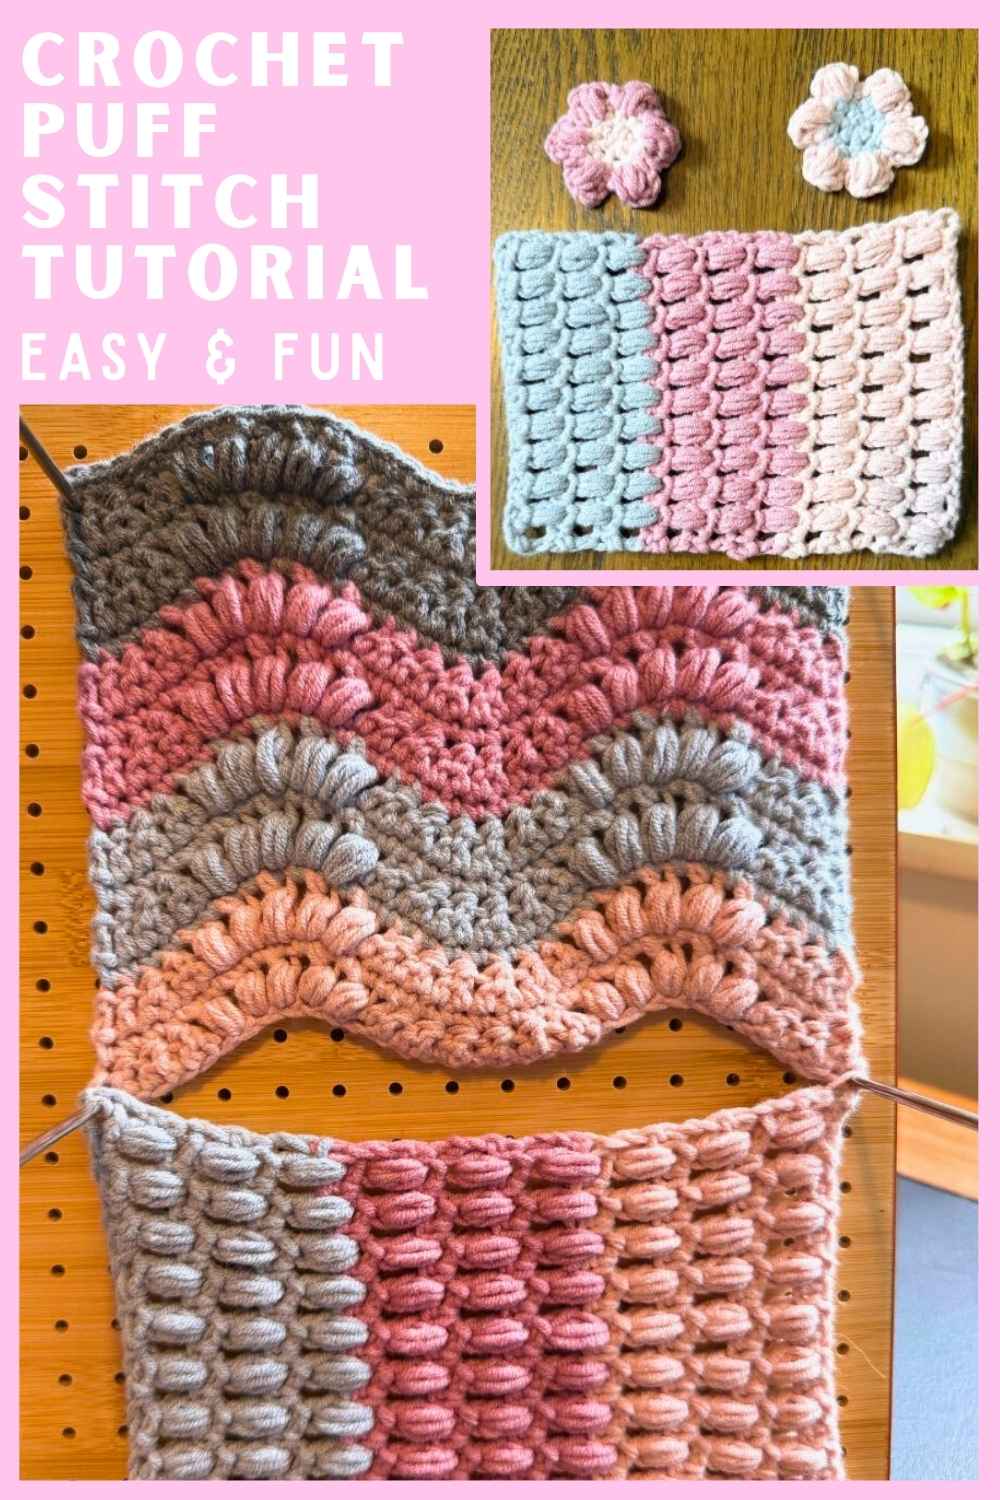
Crocheting Puff Stitches in Rows
Puff stitches are one of the most fun ways to make a bulky, padded stitch when crocheting. They can be used for all kinds of fun projects from individual flowers to being incorporated into bigger designs.

Today I’ll give you some simple steps to make the puff stitch itself, then look at a way you can incorporate it into rows to allow you to make a bigger project like a scarf or blanket.
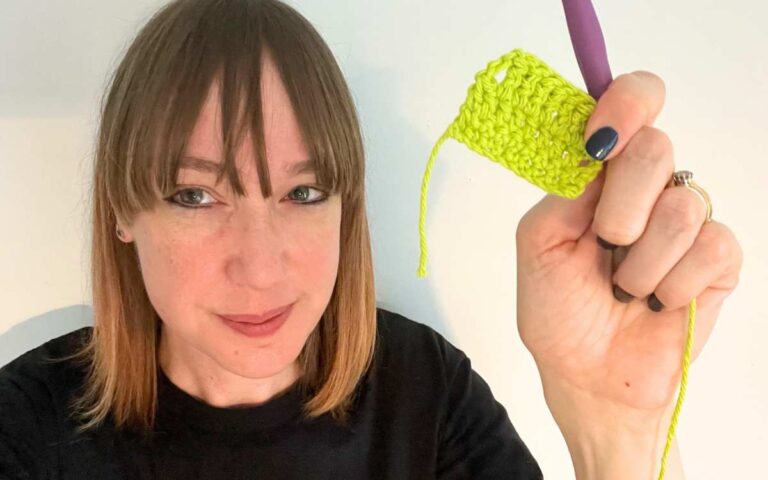
A Step By Step Puff Stitch
To make a puff stitch you will need to follow these steps:
Step 1
Yarn over, insert your hook into the next stitch, yarn over again. You should have three loops on the hook.

Step 2
Repeat step one two more times, so that you end up with seven loops on your hook.

Step 3
Yarn over, and pull through all seven loops on the hook.

Step 4
Make a single chain to close the stitch

Other Stitches
The instructions I’ll give below use a few other stitches. If you aren’t familiar with them follow the links here for instructions:
ch – chain
sc – single crochet
hdc – half double crochet
PS – puff stitch
Puff Stitch Rows
Your foundation row can be any even number, plus two chains. In the example sample I’ve made up today, I used a chain of 22 (so 20 + 2).
Foundation row
Chain 22
Sc into second chain from the hook, *chain 1, sk, 1sc, repeat from *

Row 1
Ch2 (as first hdc)
*PS into next ch space, ch1, sk next sc
Repeat from * to final chain space
PS into next ch space
1hdc into last stitch, then turn

Row 2
Ch1, 1sc into the hdc,
*ch1, sk, 1sc into chain space,
Repeat from * until the end of the row. Turn.

Row 3 onwards
Repeat rows 1 and 2 until you’ve reached the desired length, and make sure you finish on row 2 for the best look.