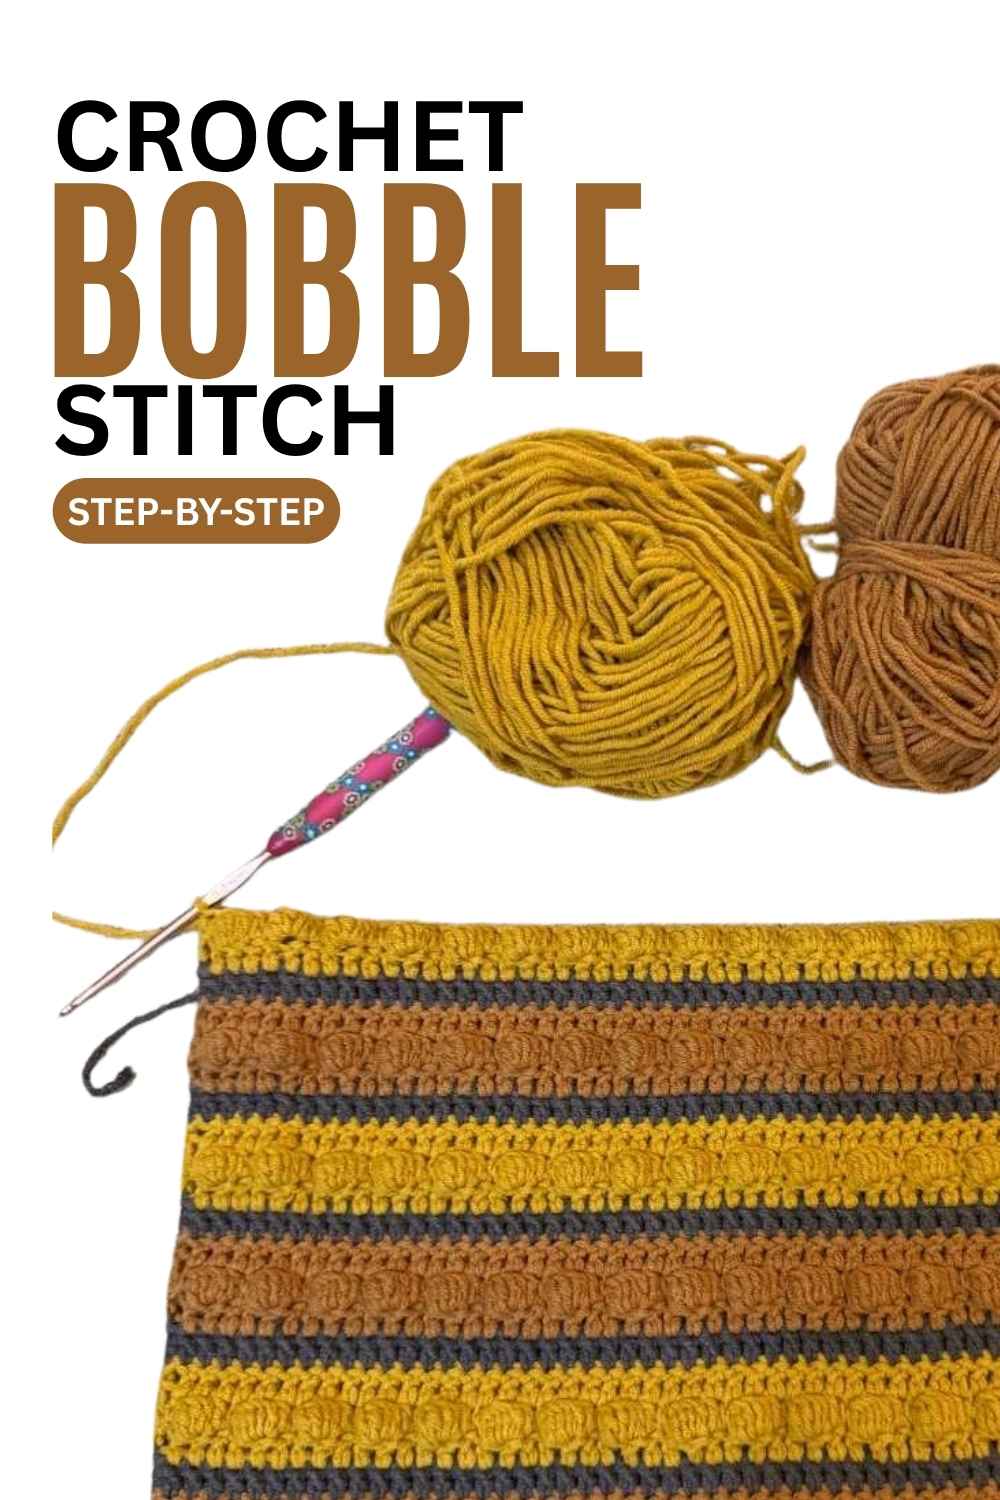
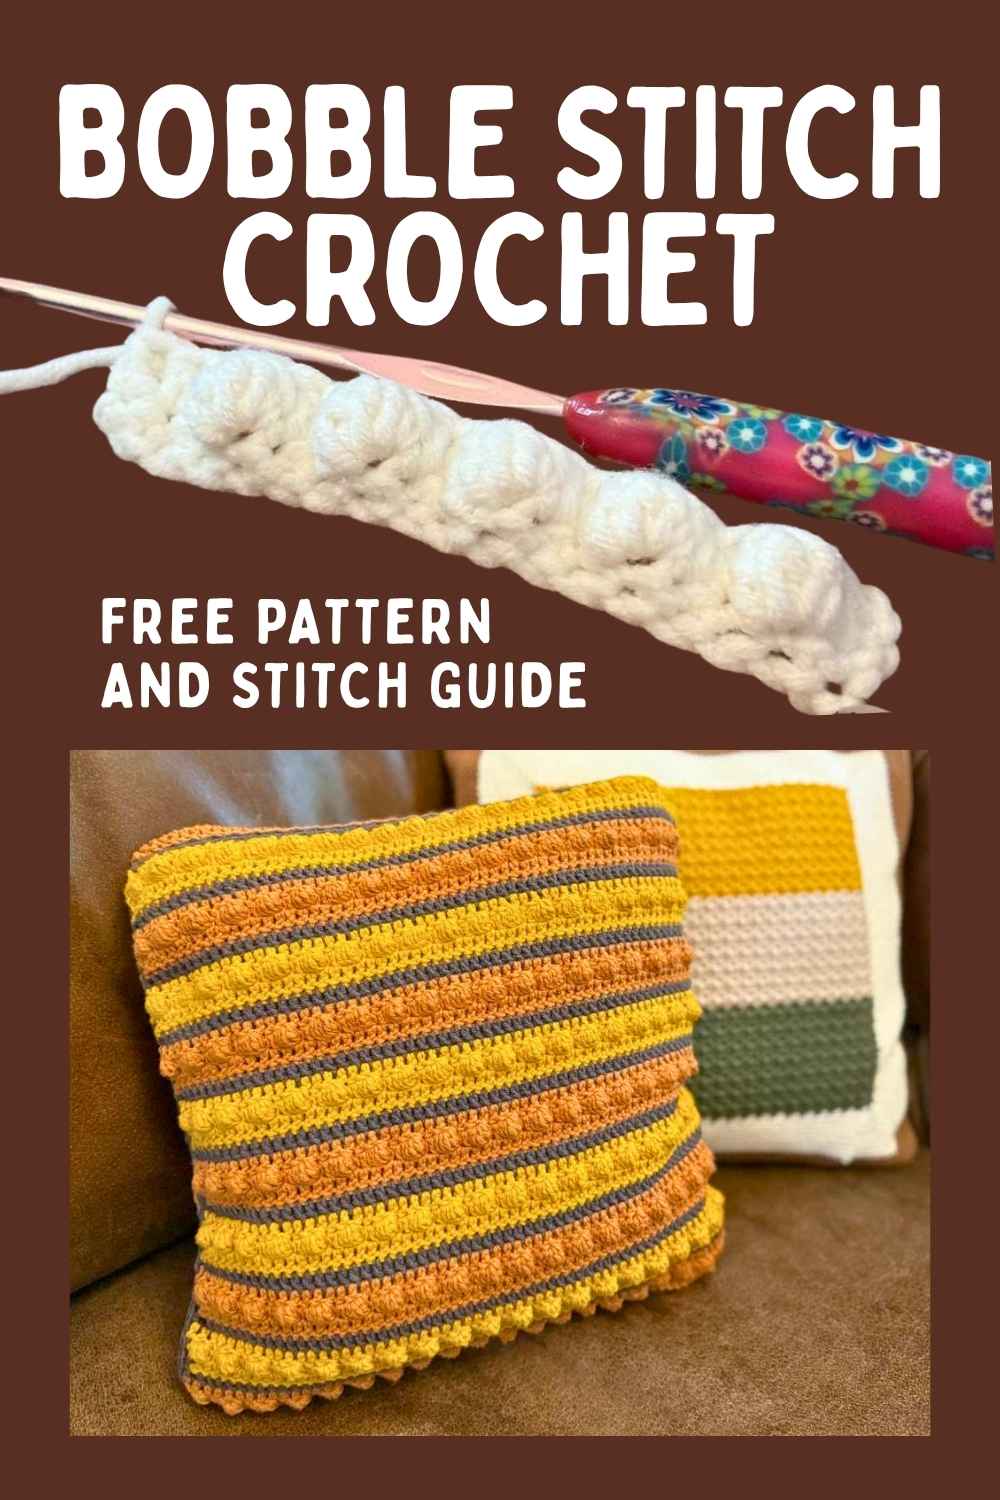
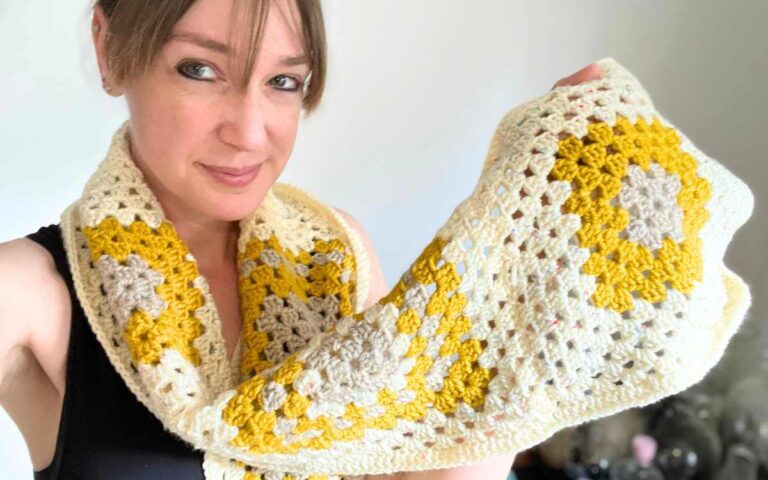
How To Crochet Bobble Stitch
I absolutely love bobble stitch crochet patterns. This defined stitch is a great way to add texture to a huge variety of projects. I’ll talk you how to make the individual bobble stitches, and then give you a gorgeous free crochet pattern that makes use of them!

Bobble stitches are crocheted by repeatedly almost making a double crochet, but returning into the stitch a few times before you complete it. Building up loops on the hook and then pulling through numerous loops at the end of the stitch. (Don’t worry, we’ll explain that in simple steps in a moment). But the end result is a stitch that is about as wide as a pair of standard double crochets, and that protrudes well away from the fabric you are crocheting.
The way in which bobble stitches are crocheted also means that they are very definitely single sided, so you will always need to make at least alternate rows in a standard stitch that isn’t raised in the same way.

How To Crochet Bobble Stitch – Step By Step
I recommend that you practice this stitch by making some sample rows, but first let’s look at the individual steps that make up one solitary bobble stitch (BS). Begin by making a short chain, then double crochet into each stitch, and crochet your practice bobble stitches into that row. Start with a dc or two to clearly mark the beginning of your row, and i recommend making 1 or 2 dc between your bobbles to help you clearly see how you’re progressing.

Step 1
Yarn over. Insert the hook through the stitch, yarn over and pull through

Step 2
Yarn over and draw through two loops on your hook

Step 3
Repeat steps 1 – 3 four times

Step 4
Yarn over and draw through all six loops on your hook

Step 5
1sc into the next stitch

Crochet Bobble Stitch Throw Pillow
To crochet your bobble stitch throw pillow you’ll need:
- 100g yellow DK yarn
- 100g gray DK yarn
- 100g orange DK yarn
- 3.5mm crochet hook
- Yarn needle
- Cushion pad
I used Hobbi’s Cosy Go Handmade yarn, but any cotton/acrylic blend with approximately a 50/50 balance should work just fine if it’s DK weight.

Front Side 1
Begin working in your yellow yarn

Row 1
Make a chain of 64 stitches
Row 2
Skip three, then make 1dc into every stitch
Row 3
ch2, 1BS (which takes up two stitches), 1dc, *1BS, 1dc. Repeat from * until the end of the row.
Row 4
ch2, 1dc x 60
cc to gray
Row 5
ch2, 1dc x 60
cc to orange
Row 6
ch2, 1dc x 60

Row 7
ch2, *1BS, 1dc. Repeat from * until the end of the row.
Row 8
ch2, 1dc x 60
**cc gray
Row 9
ch2, 1dc x 60
cc yellow
Row 10
ch2, 1dc x 60
Row 11
ch2, *1BS, 1dc. Repeat from * until the end of the row.

Row 12
ch2, 1dc x 60
cc gray
Row 13
ch2, 1dc x 60
cc orange
Row 14
ch2, 1dc x 60
Row 15
ch2, *1BS, 1dc. Repeat from * until the end of the row.
Row 16
ch2, 1dc x 60
Row 17 – 40
Repeat from **
Back Cover
Begin in your gray yarn

Row 1
Chain 64
Row 2
Sk3, 1dc x 60
Row 3 – 5
ch2, 1dc x 60
cc to orange
Row 6 – 9
ch2, 1dc x 60
cc to gray
Row 10 – 13
ch2, 1dc x 60
cc to orange
Row 14 – 17
ch2, 1dc x 60
cc to gray
Row 18 – 21
ch2, 1dc x 60
cc to orange

Row 22 – 25
ch2, 1dc x 60
cc to gray
Row 26 – 29
ch2, 1dc x 60
cc to orange
Row 30 – 33
ch2, 1dc x 60
cc to gray
Row 34 – 37
ch2, 1dc x 60
cc to orange
Row 38 – 41
ch2, 1dc x 60

Joining Together
You are now going to sew your front and back sides together. Use a blanket stitch and work in and out of each aligned stitch, where possible sewing through the front loop only to get a tight join. When you have sewn three sides, insert the cushion pad before sewing the final side closed.