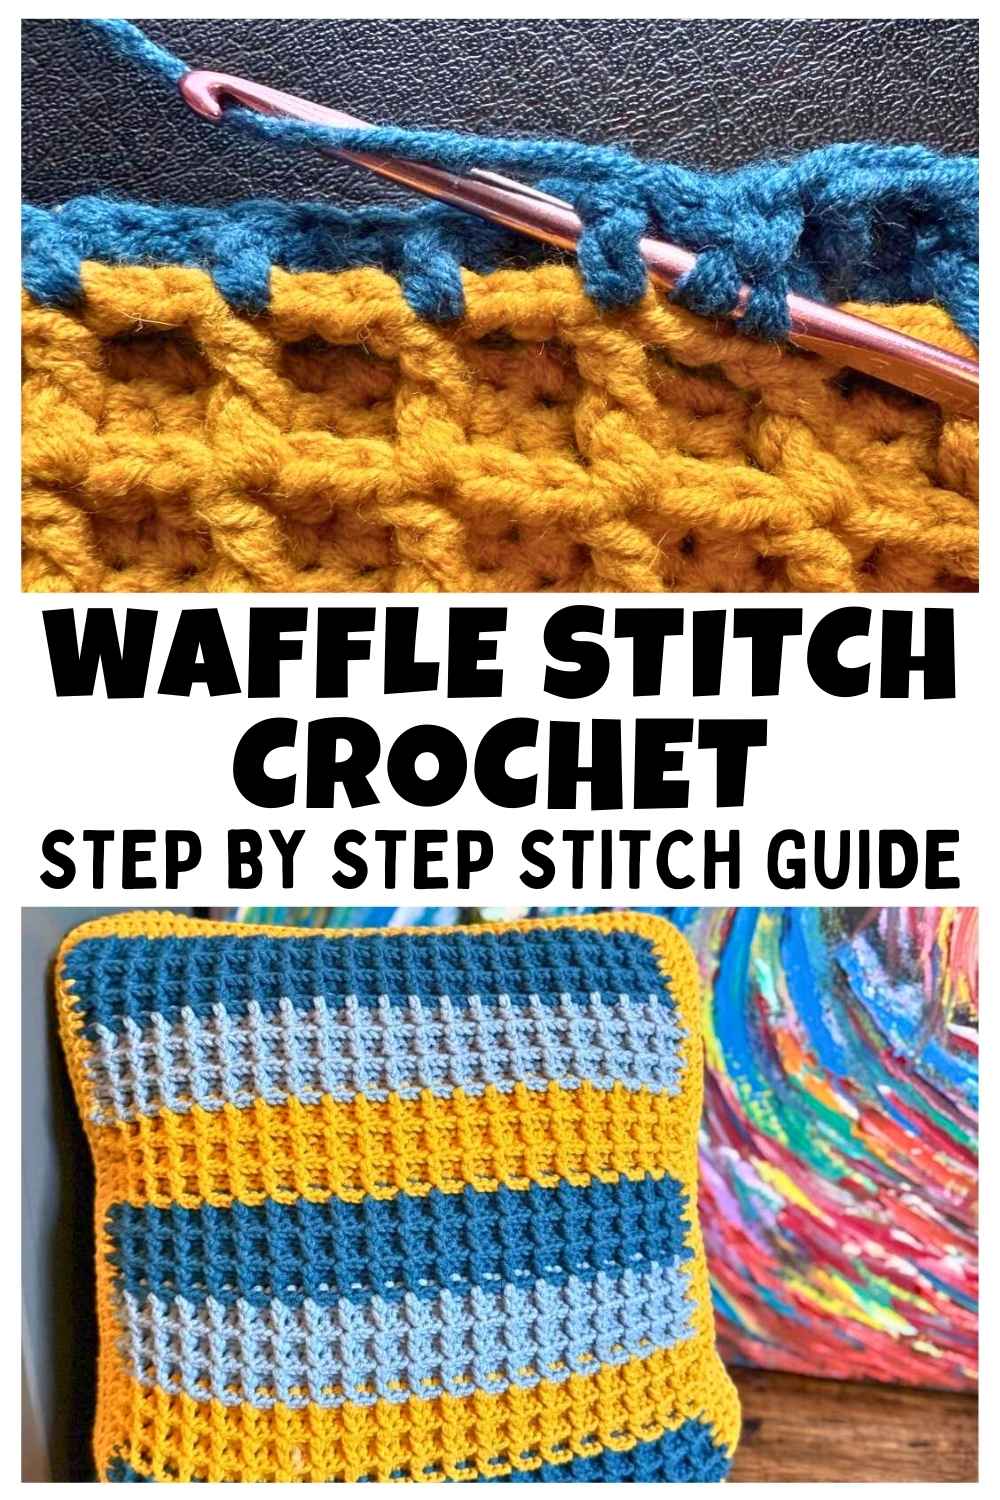
Waffle Stitch Crochet Tutorial & Free Pillow Pattern
Of all the intermediate to advanced stitches, the crochet waffle stitch is right up there with my favorites. It’s got amazing texture to it, which creates some stunning blankets. So recently I thought, why not use it for my current throw pillow project too!
Today I’ll walk you through crocheting the waffle stitch in simple steps, and then share my lastest home decor pattern that fully embraces this stunning stitch.

How To Crochet Waffle Stitch
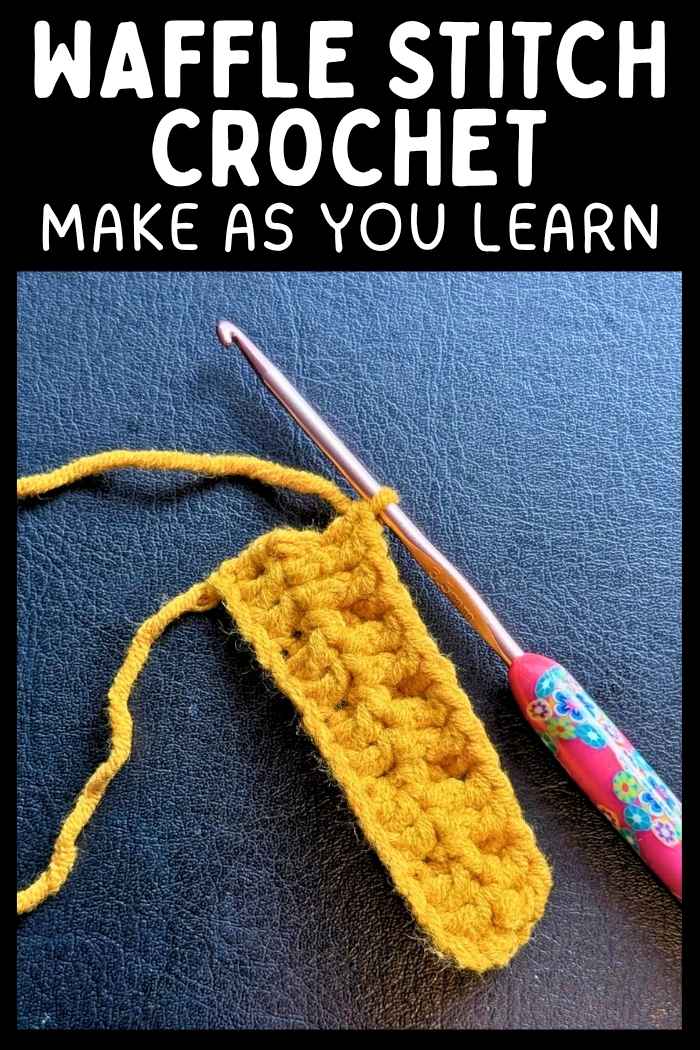
Let’s begin with a short tutorial, showing how to make the waffle stitch in simple steps. But before we get into it, you need to make sure you are familiar with the stitches we’ll be using to crochet a waffle.
The Stitches
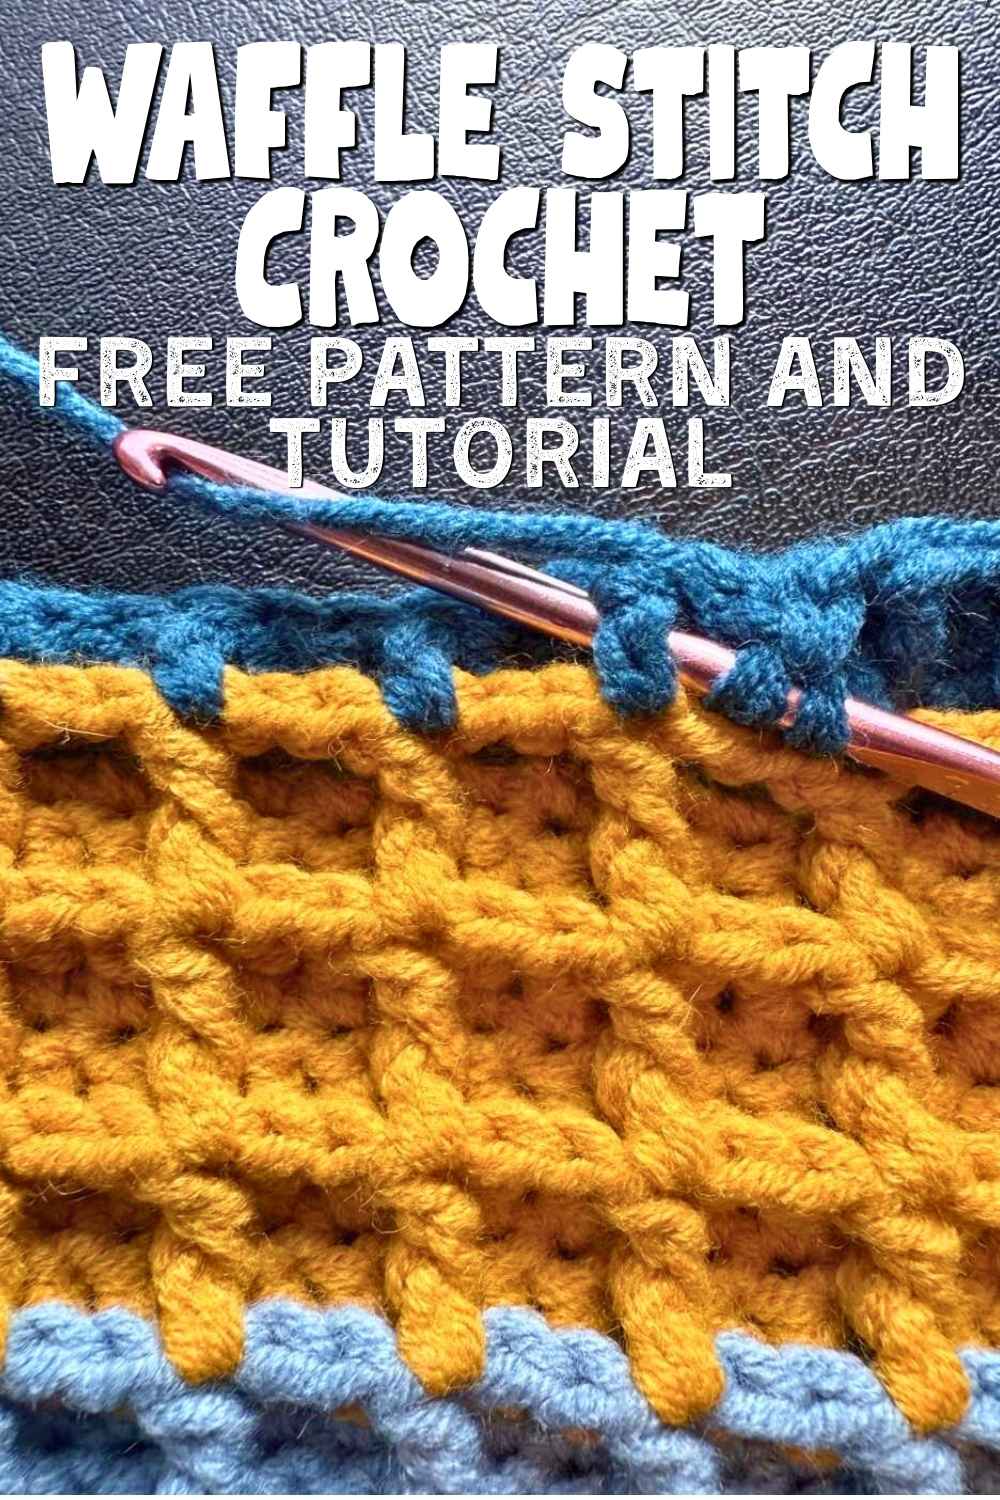
The waffle stitch is a combination of double crochet, front post double crochets and chains.

So to create a waffle stitch you need to be familiar with making front post double crochets. This stitch is exactly the same as a standard double crochet, but instead of working through the top of the next stitch, you need to insert the hook around the body of the stitch instead, from front to back to front.

Waffle stitch crochet tutorial
Waffle stitches break down into steps really nicely.
Foundation Row
Make a chain that is a multiple of 3 + 2.

Row 1
sk2, 1dc in every stitch of the row

Row 2
*1fpdc, 1dc x 2. Repeat from * until the end of the row and make 1fpdc into the final stitch.

Row 3
Ch2, *1fpdc x 2, 1dc. Repeat from * until the end of the row.

Row 4 onwards
Repeat rows 2 and 3 until the desired length is achieved.

Waffle Stitch Crochet Throw Pillow Pattern
I am so pleased with how this throw pillow has turned out. The texture of waffle stitch is famously thick and fabulous, but even so I was still thrilled with how it feels and how sturdy it seems.

To make this pattern you will need
- 100g light blue DK cotton blend yarn
- 100g yellow DK cotton blend yarn
- 100g dark blue DK cotton blend yarn
- 3.5mm crochet hook
- 30 x 30 inch cushion pad
The Front

Begin with your dark blue yarn
Row 1
ch62
Row 2
sk2, 1dc x 59
Row 3
*1fpdc, 2 x dc. Repeat from * until the end of the row.
Row 4
ch2, *fpdc x 2, 1dc. Repeat from * until the end of the row.
Row 5
1fpdc, 2 x dc. Repeat from * until the end of the row
Row 6 – 7
Repeat row 4 and 5
cc to light blue
Row 8 – 13
Repeat rows 4 and 5 three times
cc to yellow
Row 14 – 19
Repeat rows 4 and 5 three times
cc to dark blue
Row 20 – 25
Repeat rows 4 and 5 three times
cc to light blue
Row 26 – 31
Repeat rows 4 and 5 three times
cc to yellow
Row 32 – 37
Repeat rows 4 and 5 three times
cc to dark blue
Row 38 – 43
Repeat rows 4 and 5 three times
The Border

Begin your border in the yellow yarn.
Round 1 – 4
ch2 as the first dc, then work all the way around the square of crocheted fabric making 1dc into each stitch and 3dc into each of the four corners. slst into the top of the chain at the end of each round.
cc to dark blue
Round 5 – 6
ch2, then make 1dc into every stitch. slst into the top of the chain at the end of each round.
The Back Panel

Begin your back panel in the dark blue yarn
Row 1
ch62
Row 2
sk2, then make 1dc x 60
Row 3
ch2, then make 1dc into each stitch
Row 4 – 12
ch2, then make 1dc into each stitch
cc to yellow
Row 13 – 23
ch2, then make 1dc into each stitch
cc to light blue
Row 24 – 34
ch2, then make 1dc into each stitch
Sewing the Sides Together
I hand sewed my cushion cover together around the pad, using a long tail of the yellow yarn. Line up the sides and weave in and out the front side only of each of the stitches around the perimeter of the cushion cover.
Please do be aware that because waffle stitches impact the stitch height, the stitches will not line up perfectly, and you’ll have to adjust the pieces to line them up. Don’t worry, it will still look neat!