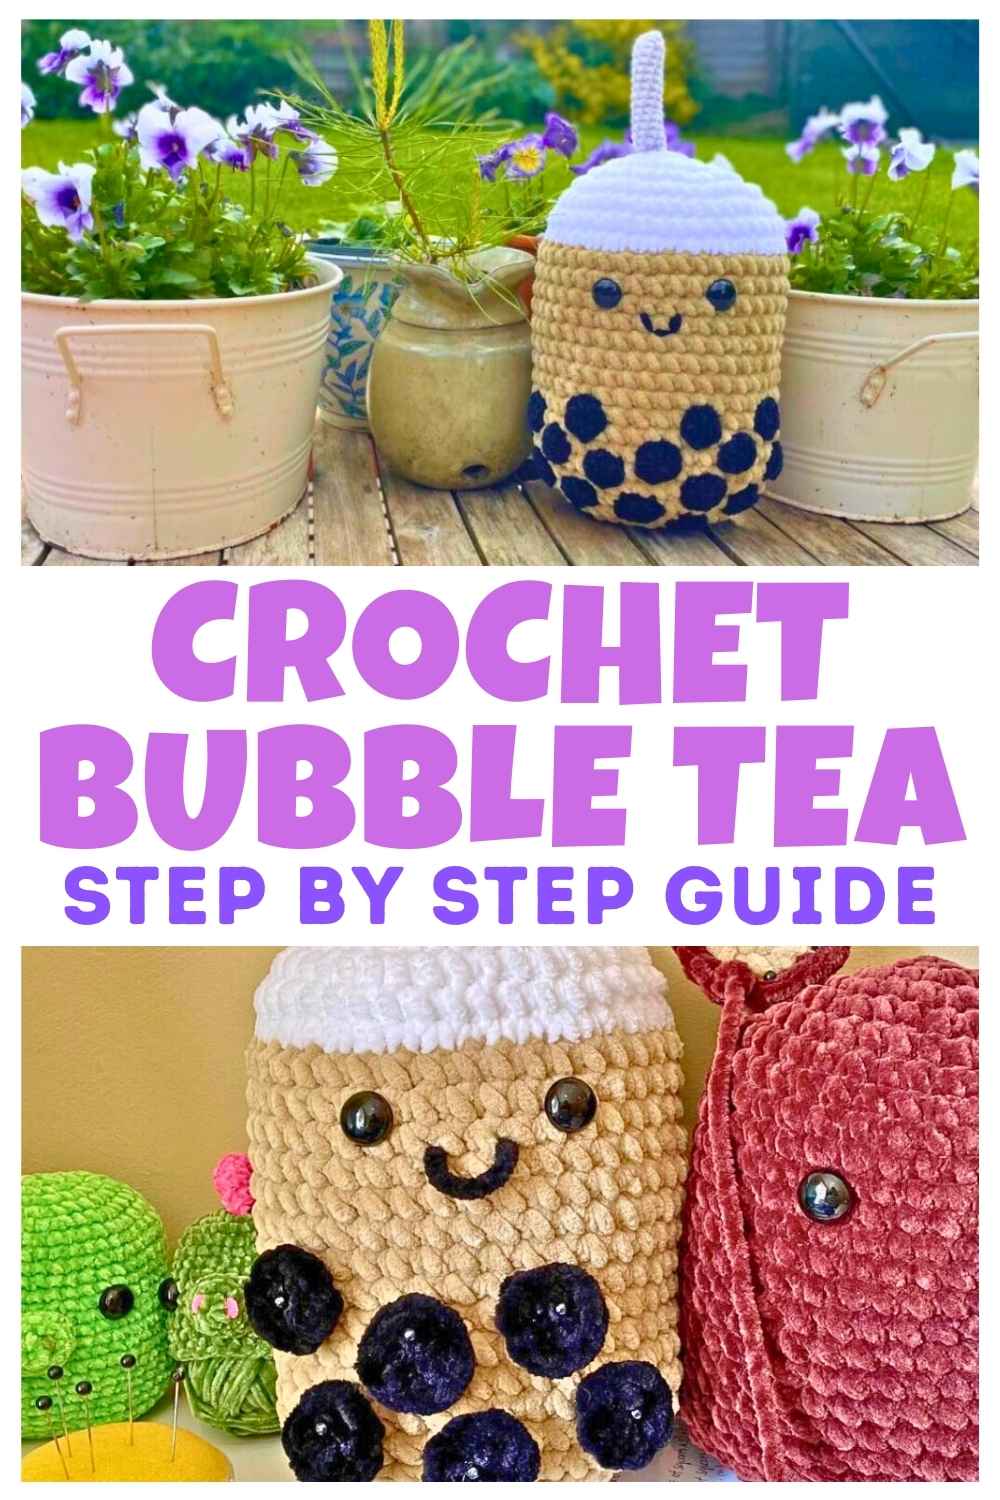
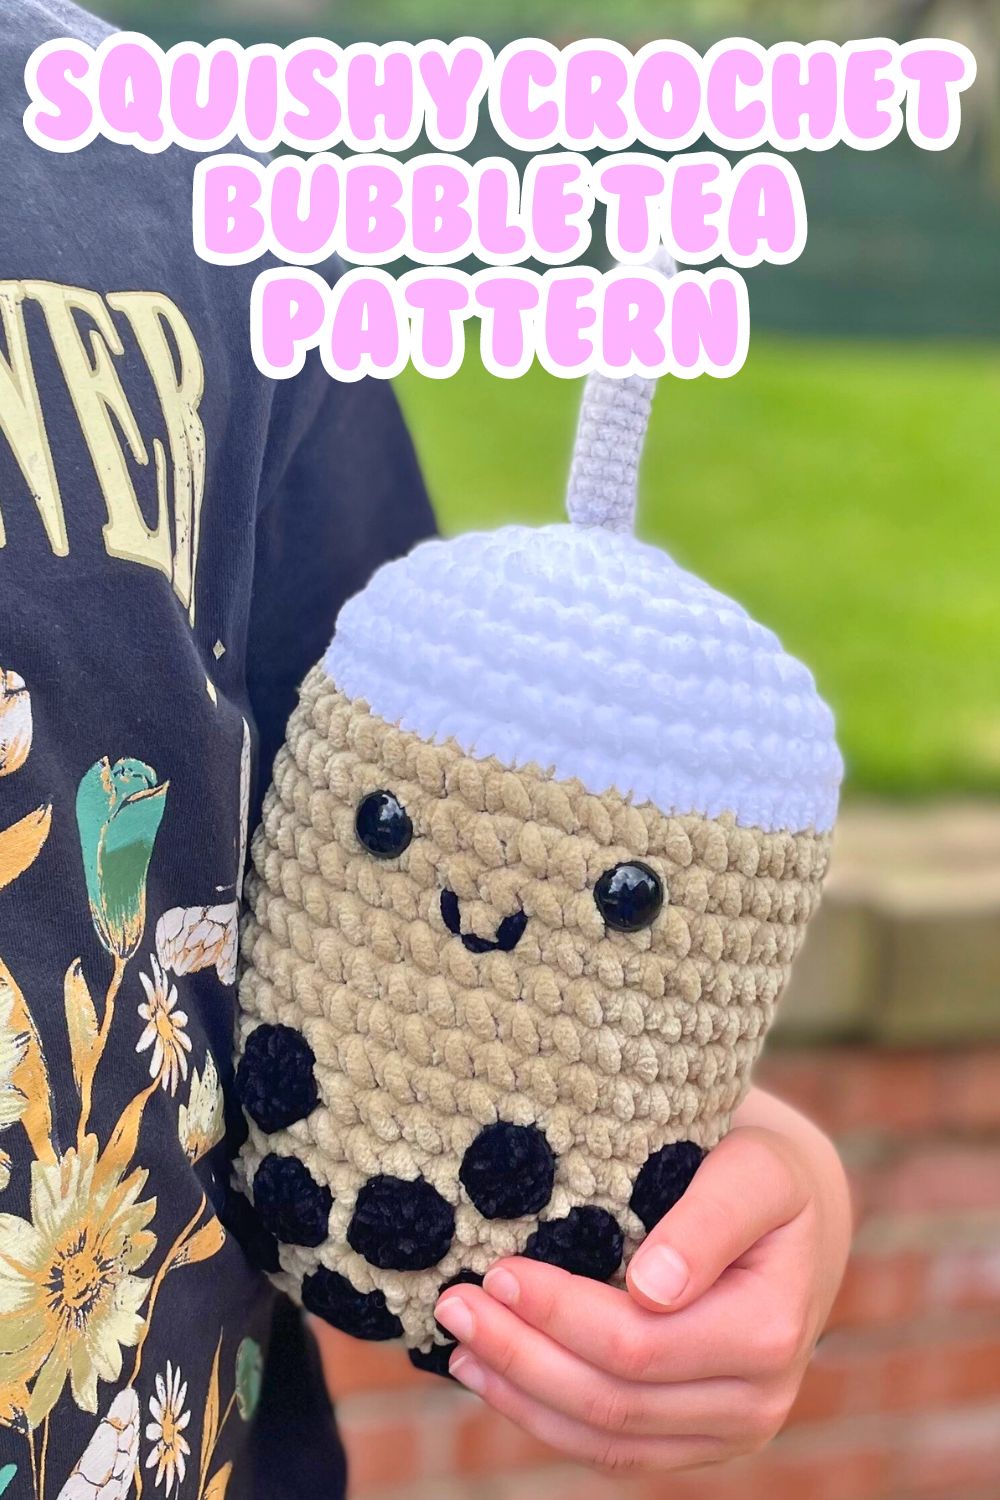
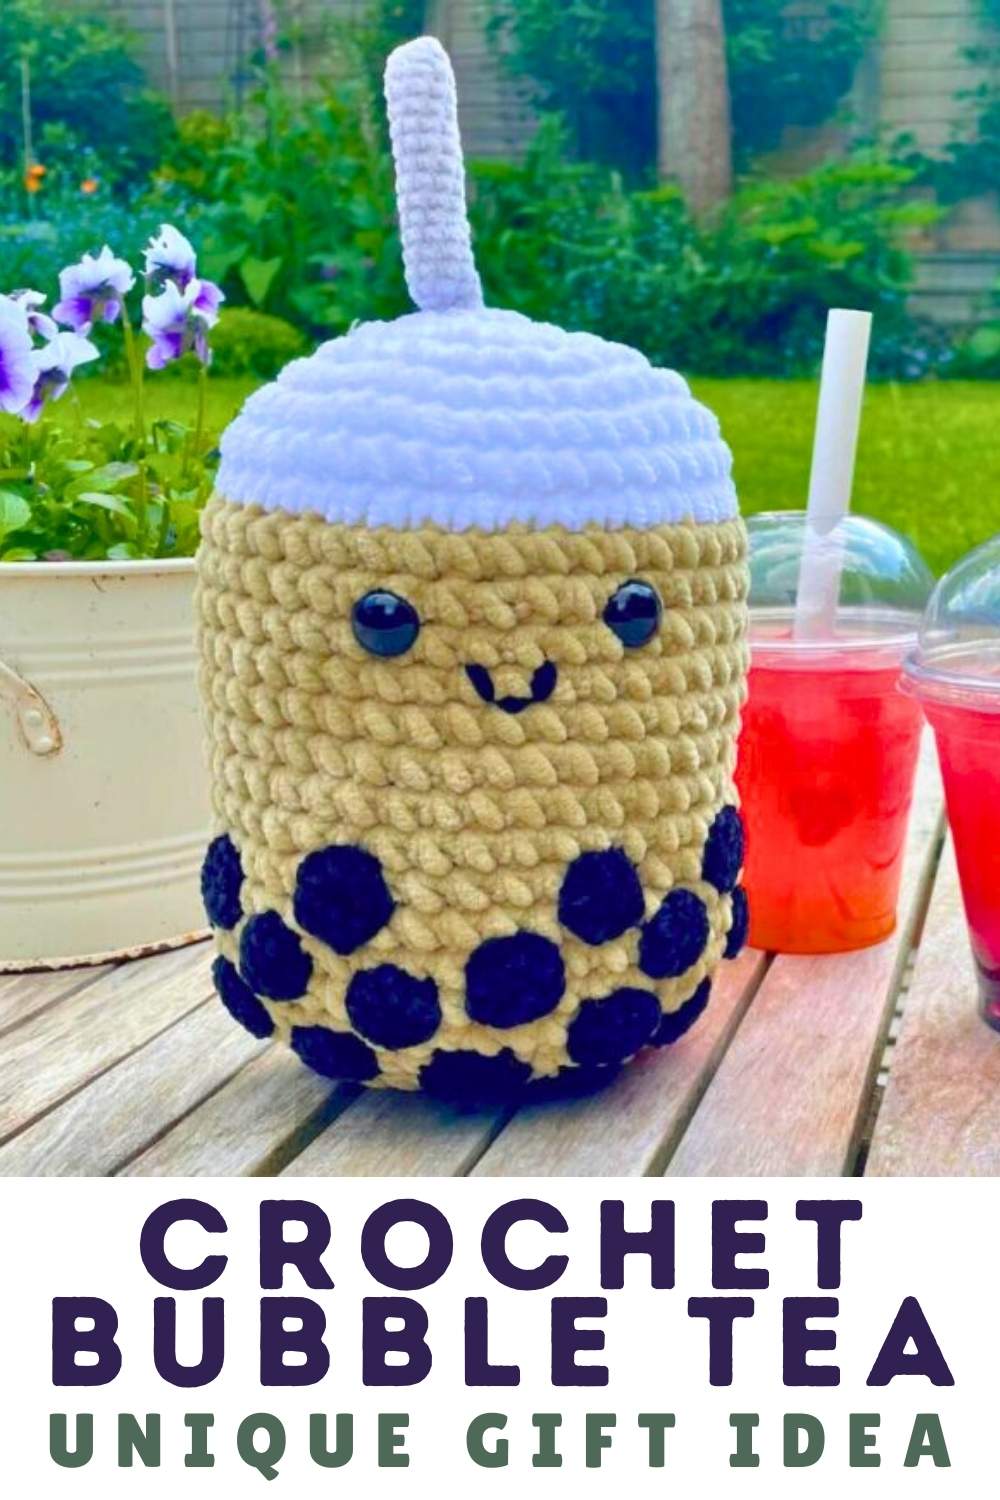
Squishy Crochet Bubble Tea Pattern
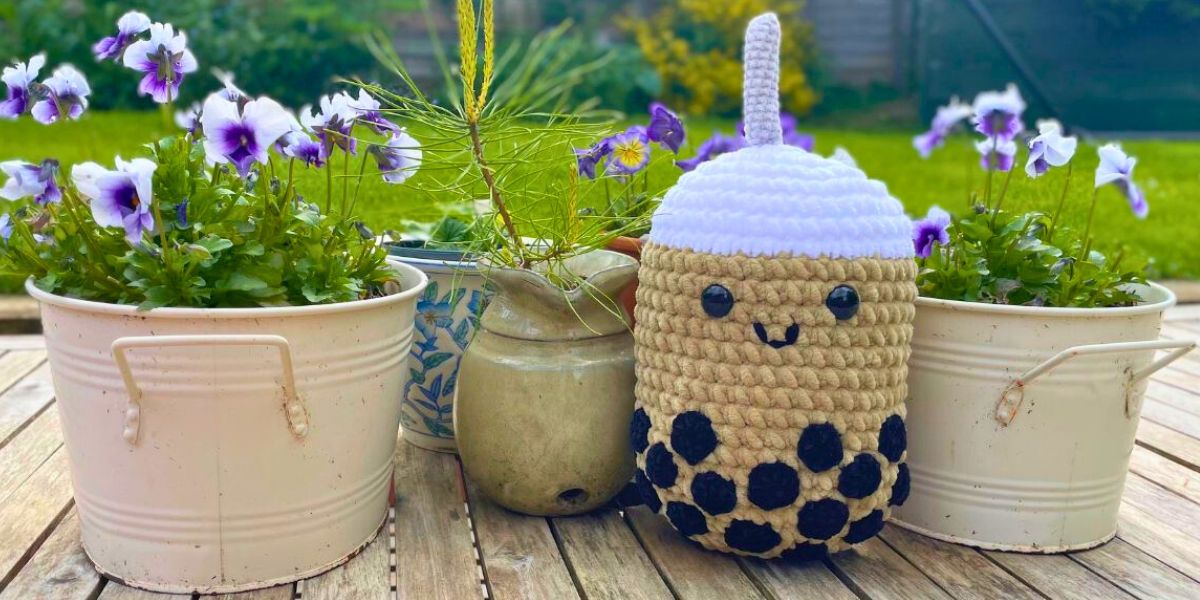
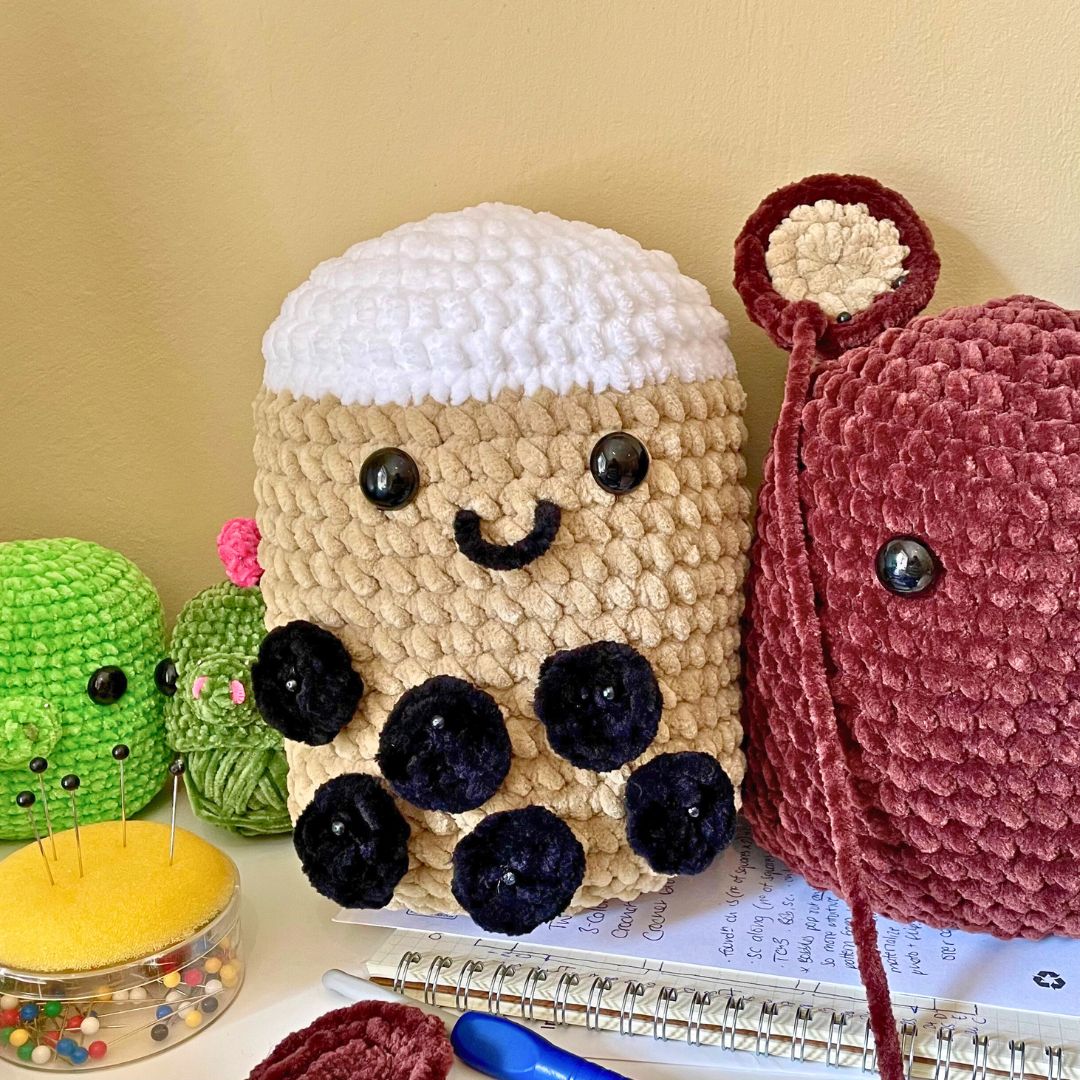
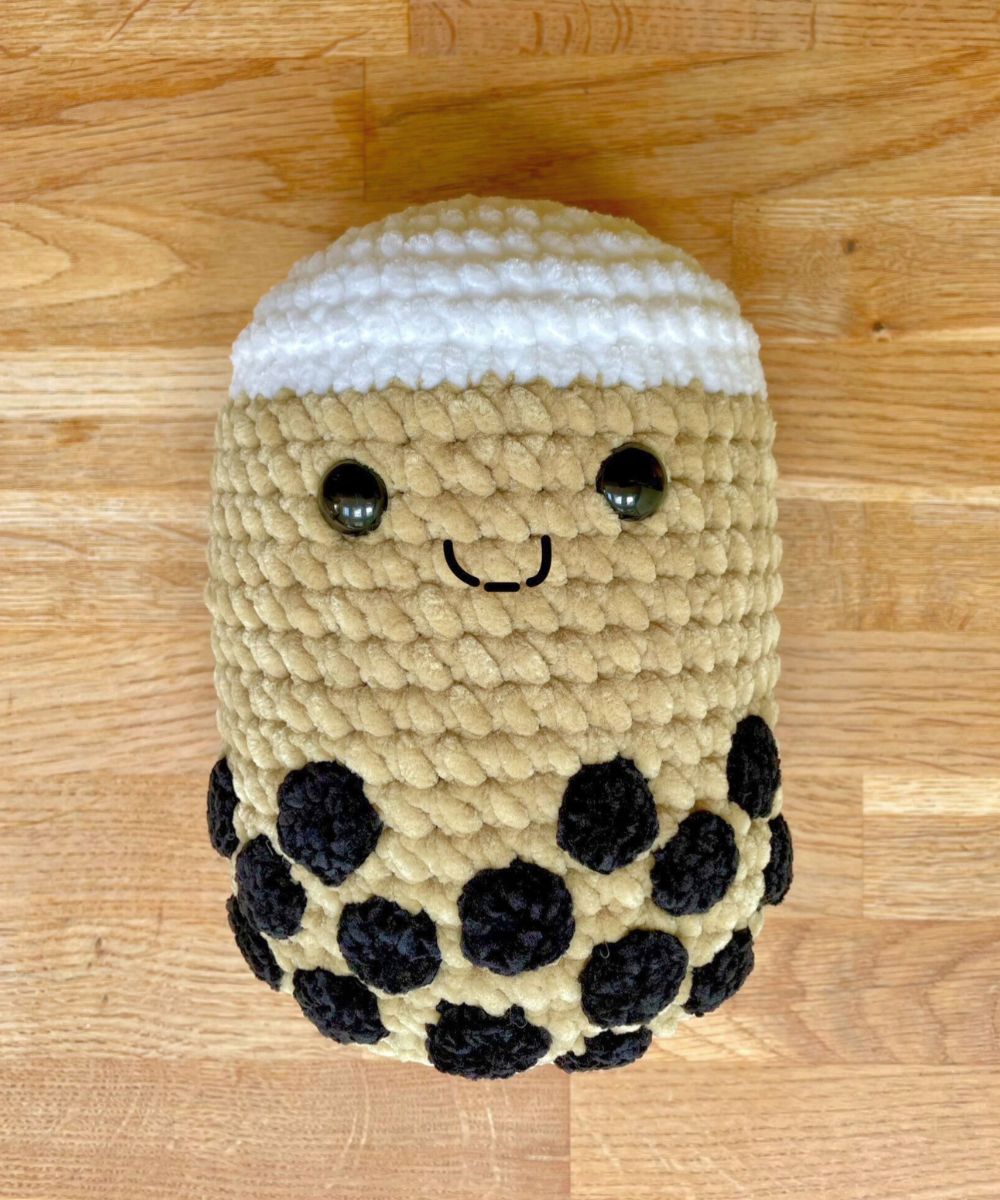
Hi! Meet Boba, my cuddly, squishy crochet bubble tea pattern. When I was pregnant with my daughter, I met a friend at her local mall and the first thing she wanted to show me was a newly-opened drink stand, selling bubble tea. That daughter is 10 years old now, and in that time it’s safe to say that bubble tea has become a beverage phenomenon.
In fact, none of my crochet ideas have made my daughter or her friends as excited as when I mentioned I was going to design an amigurumi bubble tea. Oh the squeals! Happily, the result hasn’t disappointed her, and I hope you’ll love it too. So let’s dive right in!
Materials
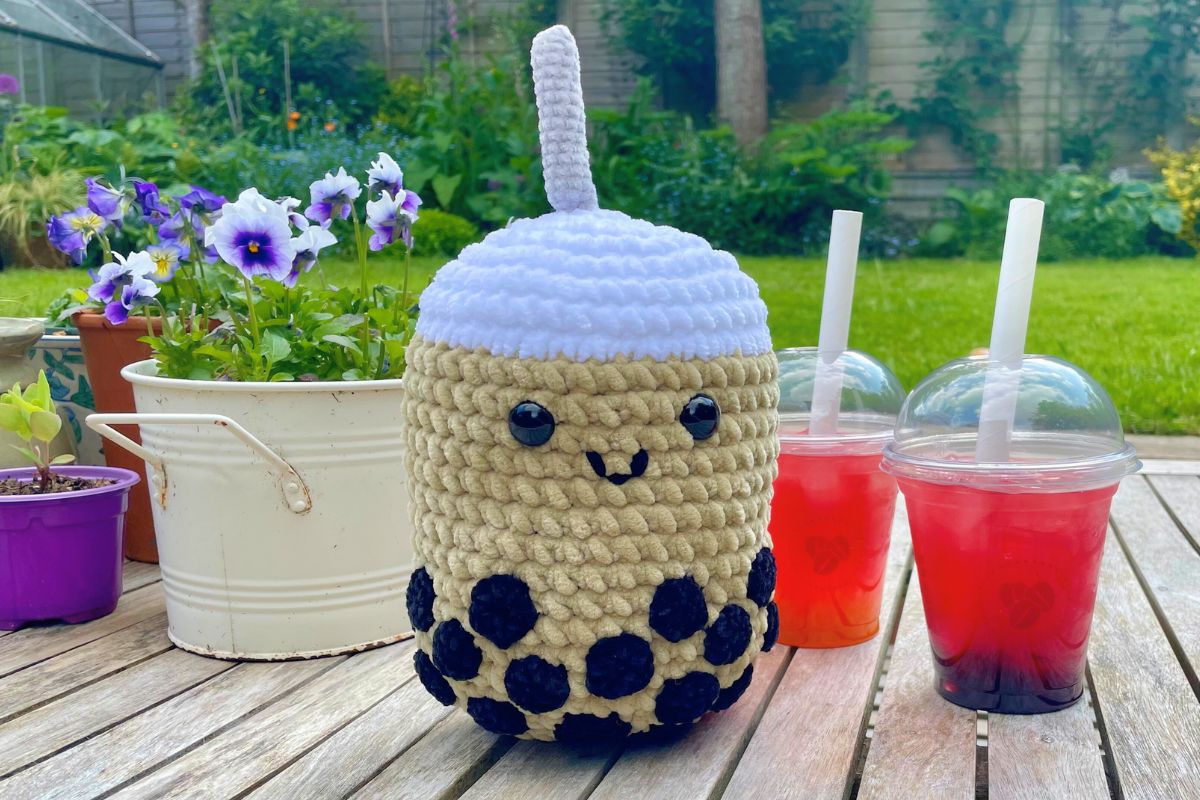
My bubble tea squishy is a traditional milky tea with black tapioca pearls, like the first one I tried 10 years ago. But bubble teas come in hundreds of flavors and recipes, and obviously you can make your squishy to match whichever one is your favorite. My daughter loves the fruity teas below with popping boba in them, and they would look amazing in a two-tone ombre yarn.
To make a squishy crochet bubble tea the same size as mine, you’ll need:
- Super bulky yarns in white, and the color of your tea. I used King Cole’s Yummy yarn* in white, and Paintbox’s Chenille yarn* in latte.
- DK yarns for the bubbles (or ‘boba’) and straw, and embroidering the mouth. I used Rico Ricorumi’s Nilli Nilli yarn in black and silver gray.
- Corresponding crochet hooks. It’s a good idea to use a size smaller than the yarn wrapper recommends for any amigurumi parts which are going to be stuffed, so that the filling doesn’t peek out between the stitches. I used a size J (6mm) hook with the super bulky yarns, and a size D (3mm) hook with the DK yarns.
- Safety eyes. I used 16mm (⅝”) diameter eyes*.
- Stitch markers or yarn scraps for keeping track of your progress.
- Toy stuffing*, such as Polyfil.
- Darning needle
- Scissors
In a moment I’ll quickly explain how to make bigger, or smaller, cups of bubble tea.
Pattern notes
This pattern is written in basic American crochet terms including:
Ch chain
Sl st slip stitch
Sc single crochet
Inc increase (make 2 sc in the same place)
Dec decrease
For amigurumi projects like this, I prefer to use the invisible decrease:
- Insert the crochet hook into the front loops only of the next two stitches (fig. 1).
- Yarn over and draw through a loop.
- Yarn over and draw through both remaining loops (fig. 2).

This technique is very discreet and gap-free on the right side. But the name is a bit inaccurate – it’s very visible indeed on the wrong side! Which is why it’s perfect for amigurumi, and other stuffed toys.
How big will your squishy turn out?
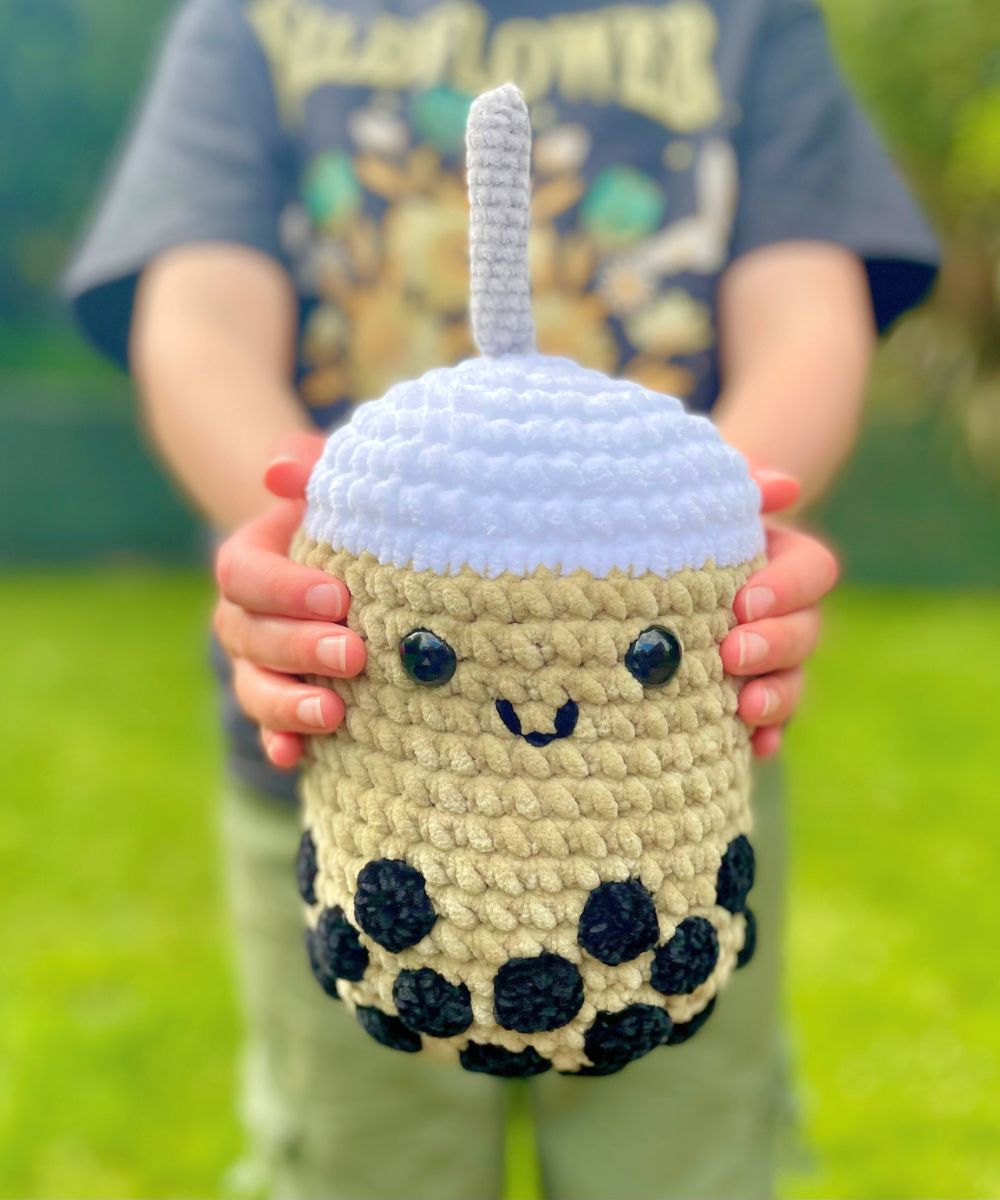
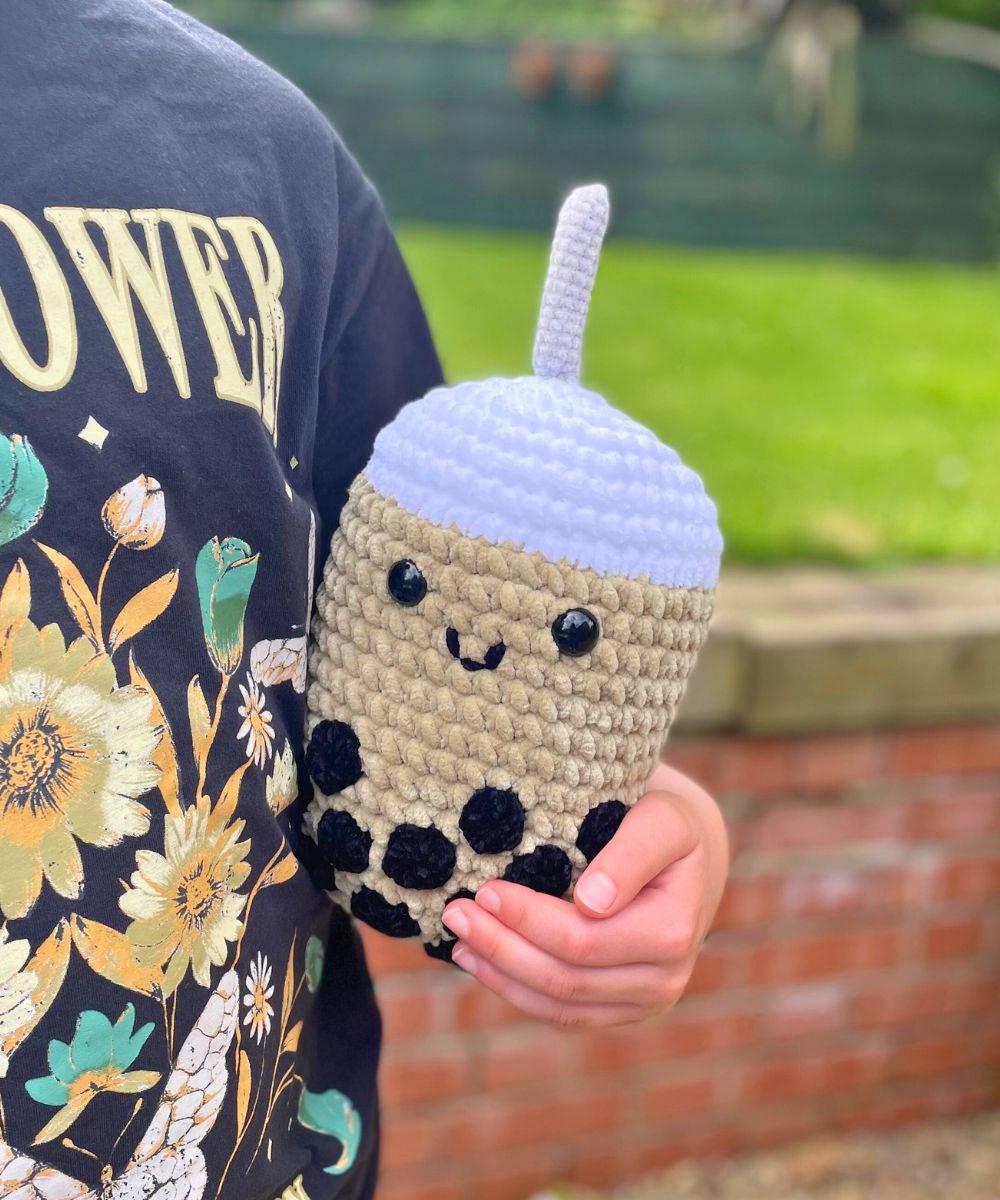
If you use a super bulky yarn like me, your bubble tea cup will stand about 7” tall, not including the straw.
The pattern can easily be adapted by using heavier or lighter yarns to make a bigger or smaller tea.
- Jumbo yarns will make a cup 8-9” tall. You’ll need to use bulky yarns for the boba and the straw, and 18 or 20mm safety eyes. Crochet bubble teas this big are fun scatter pillows for beds and sofas!
- Worsted yarns will make a cup 5” tall. You’ll need to use a sport or sock weight yarn for the boba and straw, and 12mm safety eyes.
- If you’re confident working at such a small scale, you could even make a 4” cup using DK yarn, and superfine yarn or even embroidery floss for the boba and straw. You’d need 10 or 12mm safety eyes. The result would be a very cute addition to any kitchen shelf.
Squishy crochet bubble tea pattern
Make the body first, and attach the eyes before stuffing and closing it. Sew on the boba and straw after the body is closed, to help get the positioning just right.
The body
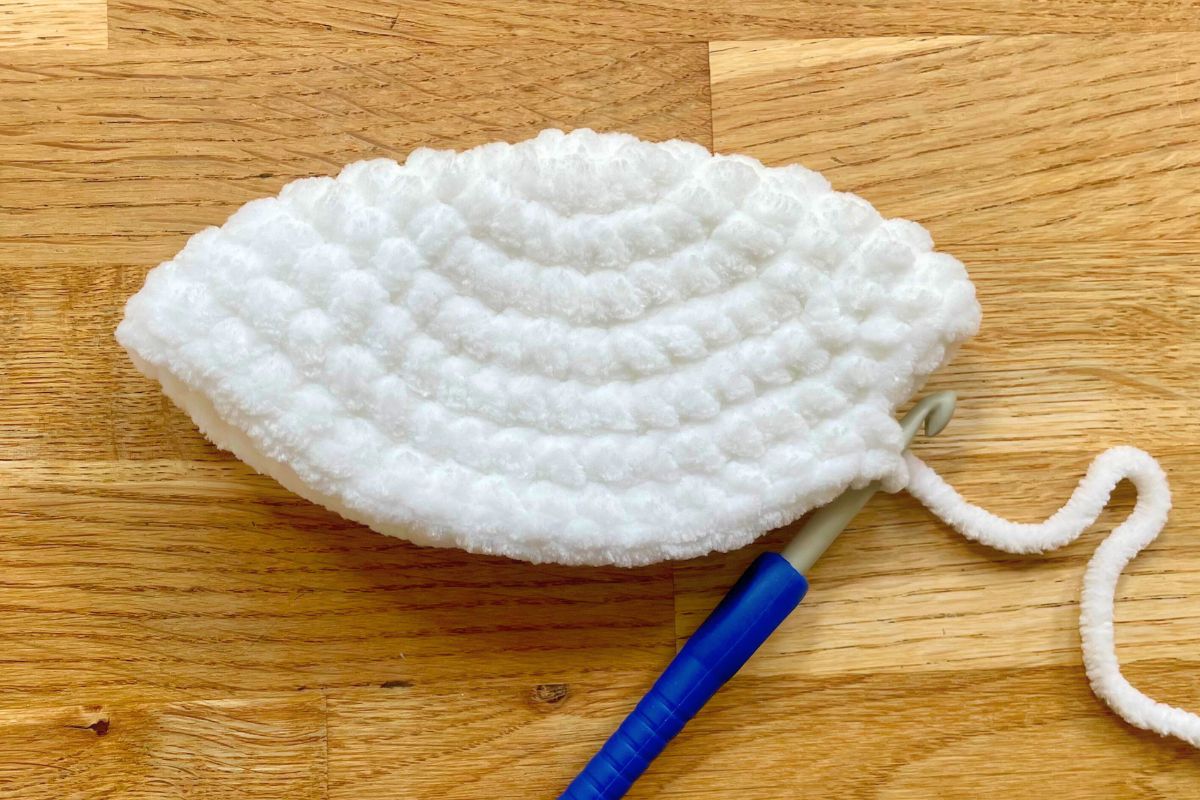
Starting with white yarn:
Magic circle or ch 4 and sl st into the furthest chain from the hook (4-chain loop) to start. I usually prefer a magic circle, but the 4-chain loop method works better with fluffy yarns like I’ve chosen here.
1st round: Ch 1, 8 into the center of the magic circle or 4-chain loop (8 sts)
2nd round: 8 inc (16 sts)
3rd round: *1 sc, inc* 8 times (24 sts)
4th round: *2 sc, inc* 8 times (32 sts)
5th round: *3 sc, inc* 8 times (40 sts)
6th & 7th round: Sc all the way round
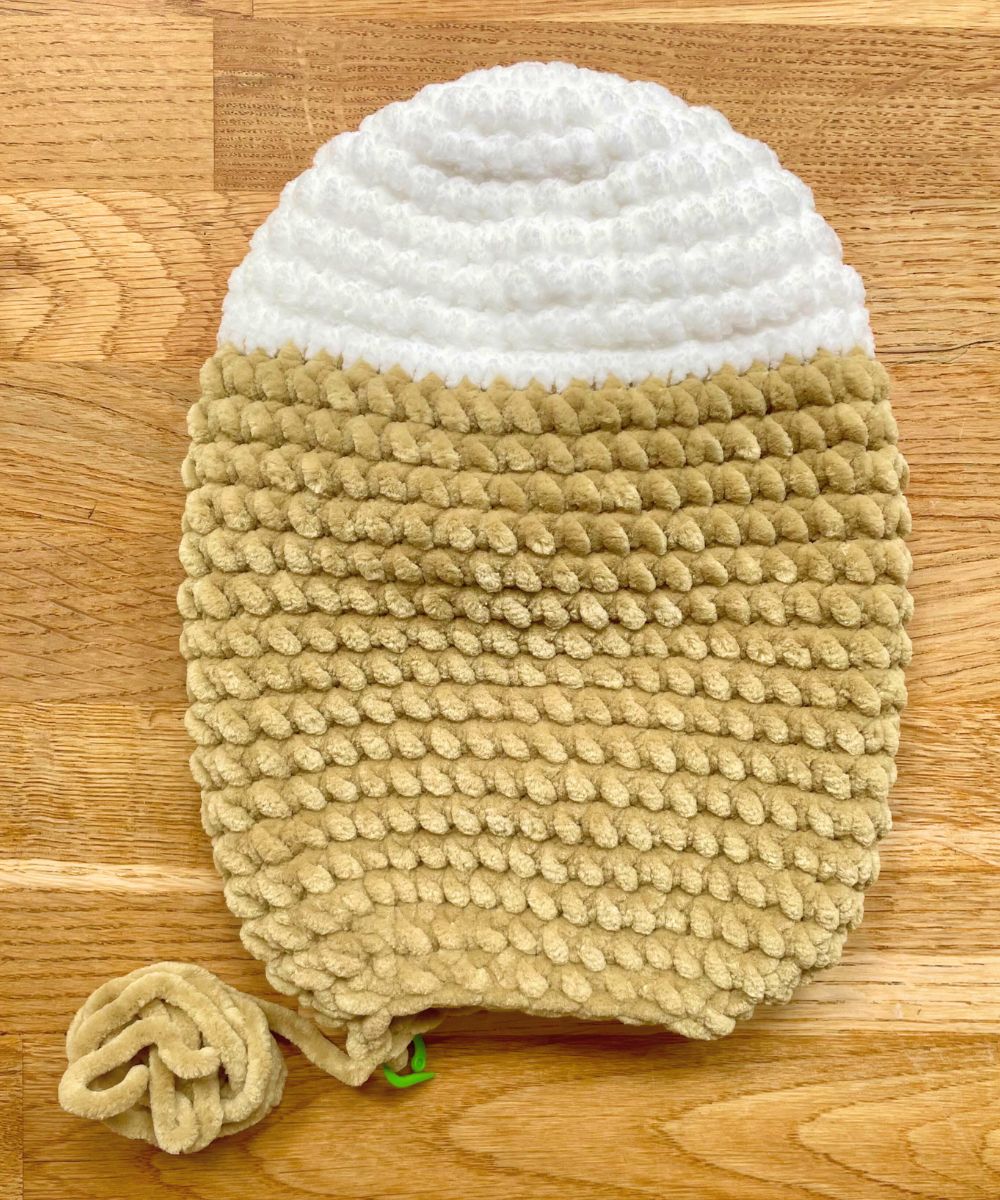
8th round: Change yarn to the color your want the tea to be. You can make a simple color change by just dropping the white yarn and continuing with the new yarn. Or you can change color like I have, which produces a smoother line:
- Insert the hook into the first stitch and draw through a loop of white (two white loops on hook).
- Loop your new color over the hook, and draw it through both white loops (one loop in the new color remaining on hook).
- Repeat steps 1 and 2 for every stitch in round 8.
In other words, every stitch is still a single crochet, but the first time you put the yarn over the hook you use the white yarn, and the second time you use the new yarn. At the end of the round, cut the white yarn leaving a short tail. Knot the end of the white yarn and the beginning of the new yarn together gently.
If you’d like to see an illustrated guide to changing color like this, there’s one in my squishy crochet ice pop pattern.
Continuing the body
The rest of the body is worked in the color of your tea:
9th – 23rd rounds: Sc all the way round.
Before starting round 24: Sc 10. We’re going to decrease the base into an oval shape so the finished squishy has a distinct front and back. These 10 sc make sure the color change earlier is at the back of your squishy, not on the side. I find it helpful to mark my new position with a stitch marker – this is the new start/end point for the final 3 rounds.
24th round: 3 dec, sc 8, 6 dec, 8 sc, 3 dec (28 sts).
25th round: 3 dec, sc 2, 6 dec, 2 sc, 3 dec (16 sts). Put a stitch marker into the loop on your hook, and cut your yarn leaving a 24” tail.
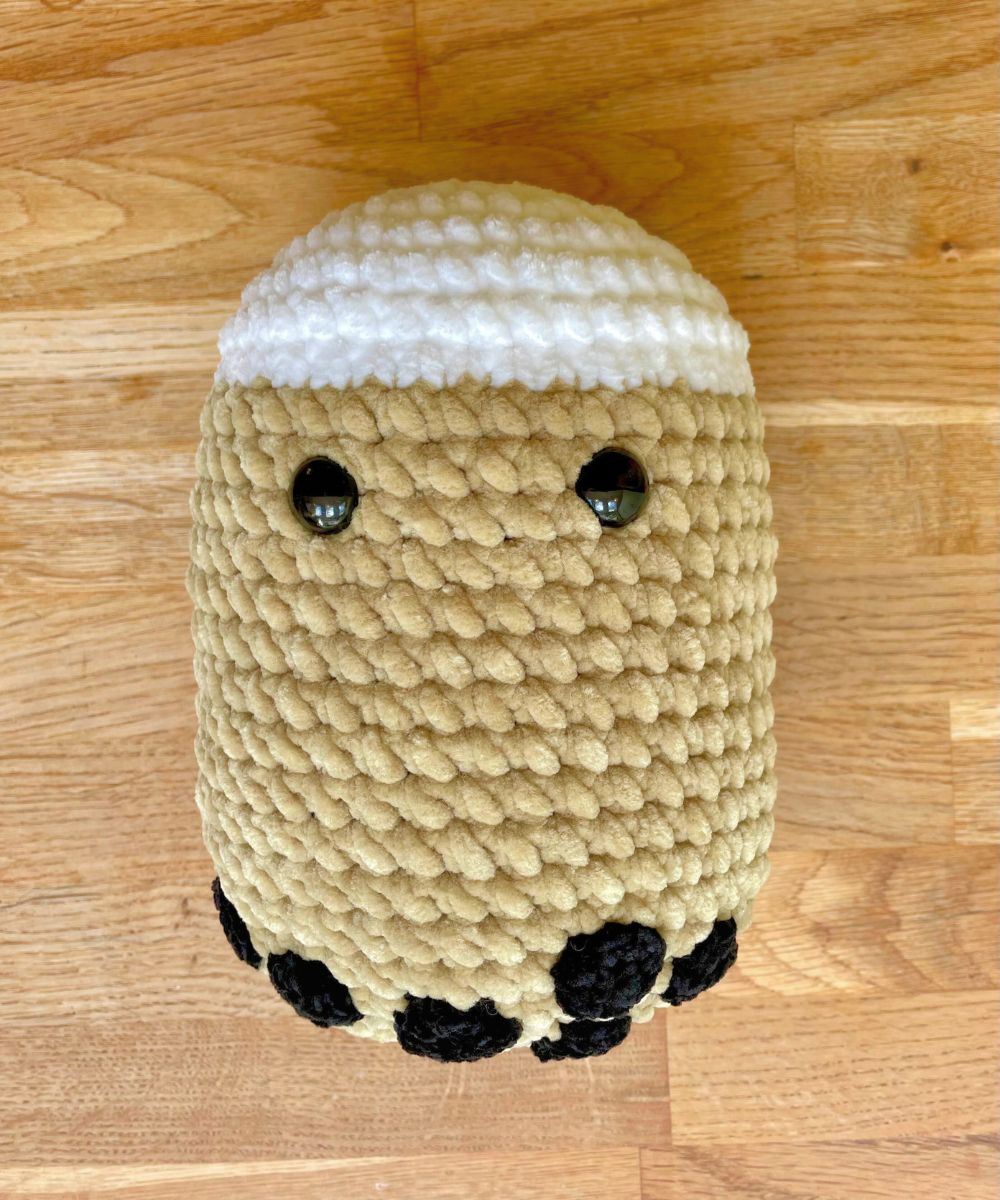
Adding the eyes and closing the body
Spread the body of your bubble tea out flat in front of you, with the color change at the back. Position the eyes between rows 10 and 11, and 6 sts apart. Press the backs on firmly.
You can also embroider on the mouth at this stage if you prefer, but I like to leave it until nearer the end.
Now stuff the body firmly, and crochet the final round:
26th round: 8 dec (8 sts).
Picture the remaining stitches as two rows of four, running from left to right on the bottom of your squishy, and join them using mattress stitch through the front loops only. Here’s an illustration of where the stitches go (the needle is already in the place of the first stitch):
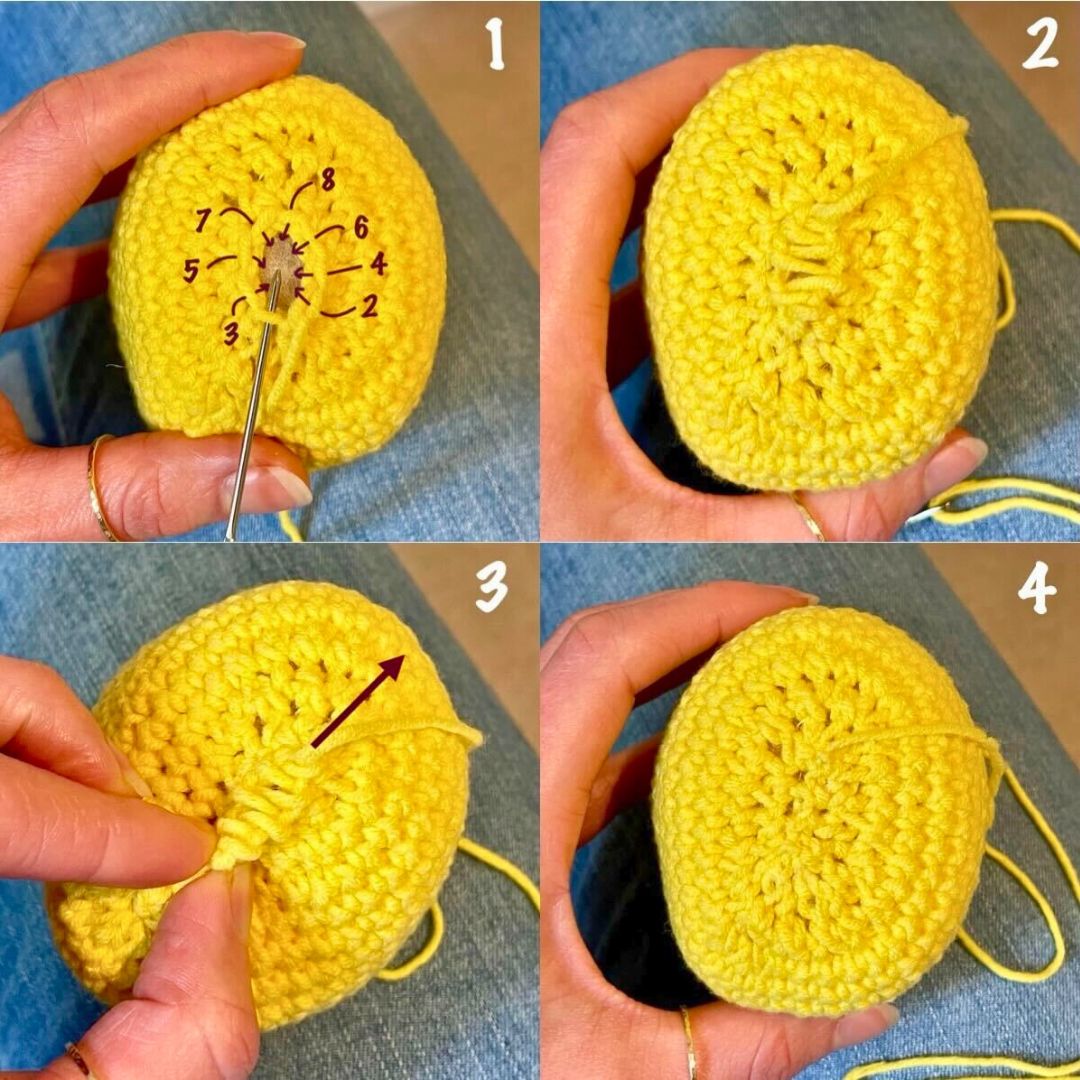
Make the stitches loosely at first so you can see clearly where to put each one, then tighten them either one at a time, or by pinching the start point firmly and pulling the yarn tail in the other direction. Tie off the yarn, and poke the end inside the body.
Now make the boba, and the straw.
The boba
Using DK yarn:
Magic circle or 4-chain loop to start.
Round 1: Ch 1, 8 sc into the center of the circle or loop.
Round 2: 8 inc (16 sts). Sl st once, cut the yarn with a long tail for sewing, and pull the yarn tail all the way through the sl st.
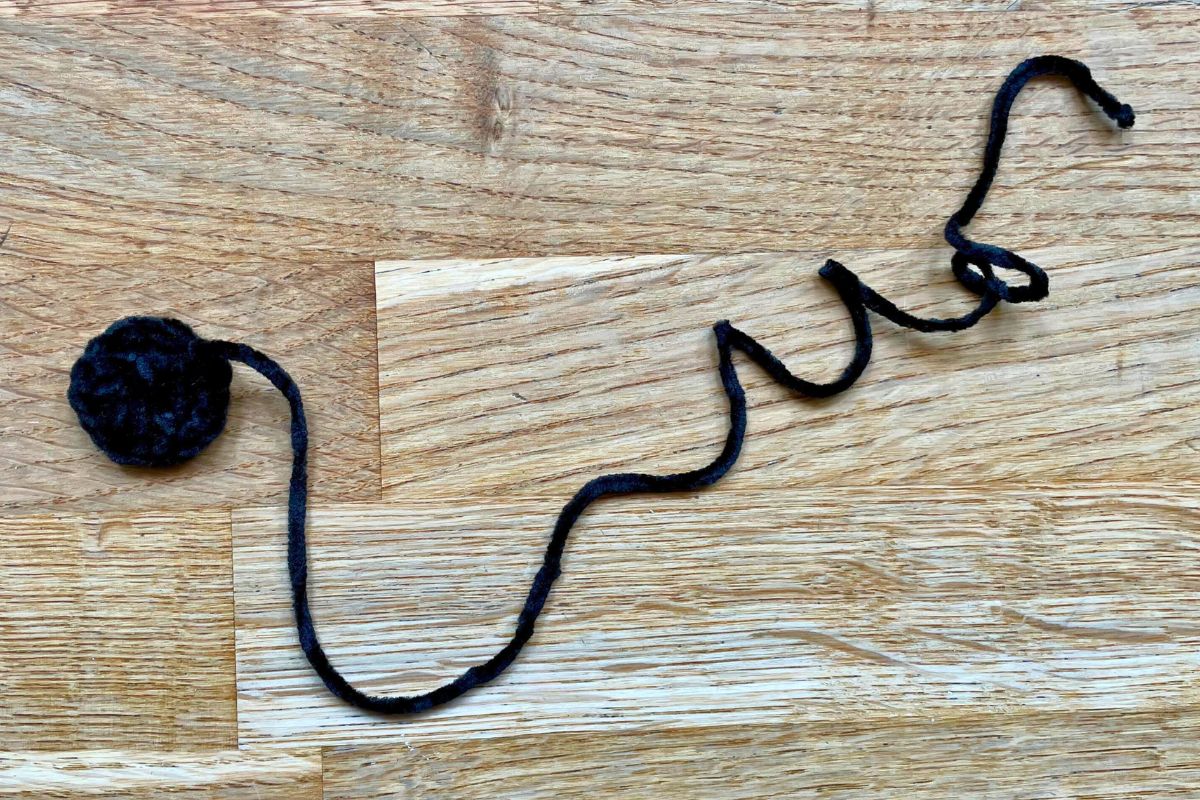
Make 25 – 30. I made and positioned the first 25, then worked out what gaps I had, and made 4 more to fill them. That way, you won’t be left with spares.
Bigger boba?
When I started developing this pattern, my intention was to make the boba from the same super bulky fluffy yarn I used to make the body. In the end, I didn’t like how it looked. I felt they stuck out too much for something that’s supposed to be inside the cup, and I couldn’t fit many in. But I thought I’d share a photo of how they were looking before I ditched them and switched to DK yarn. You might feel differently about them!
They would certainly have been quicker. Using super bulky yarn, follow the same pattern as above, but skip round 2 completely!
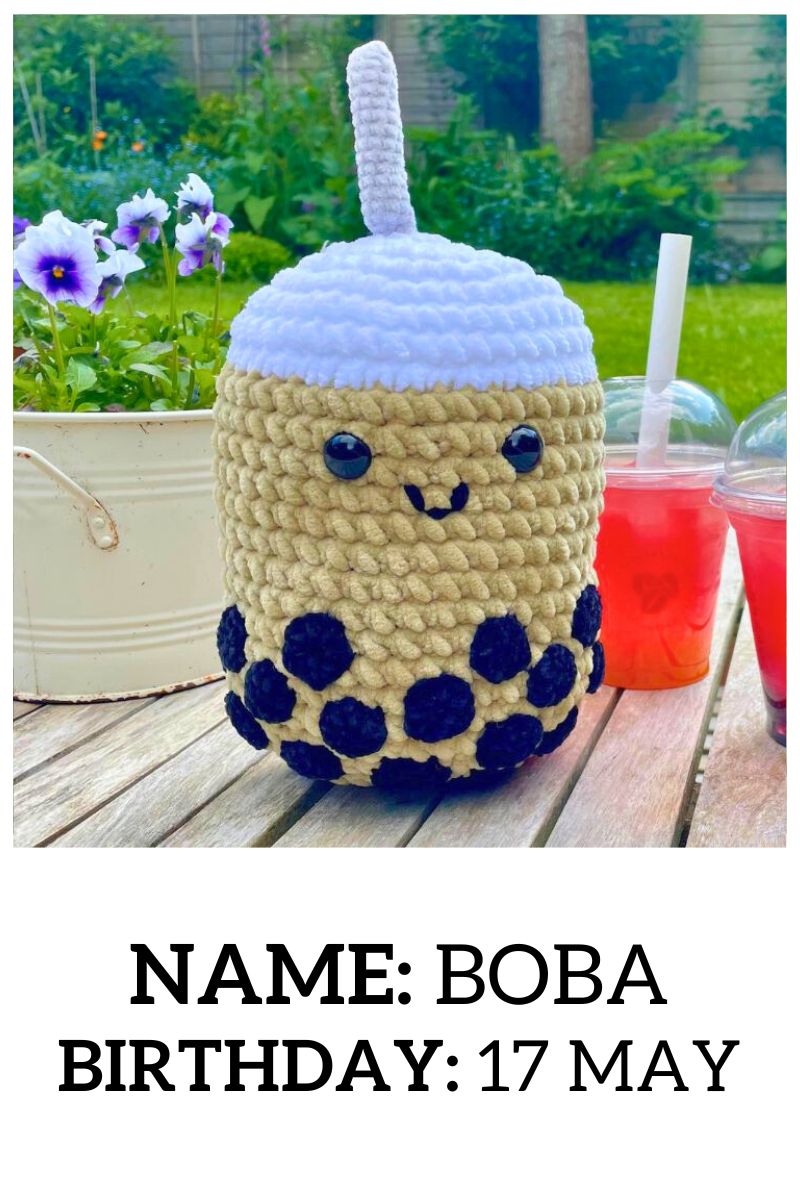
The straw
Using DK yarn:
Magic circle or 4-chain loop to start.
Round 1: Ch 1, 8 sc into the center of the circle or loop.
Round 2 onwards: Sc round until your straw measures 2” to 3” long. My straw has 14 rows and measures 2.5”. Sl st once, cut the yarn with a long tail for sewing, and pull the yarn tail all the way through the sl st.
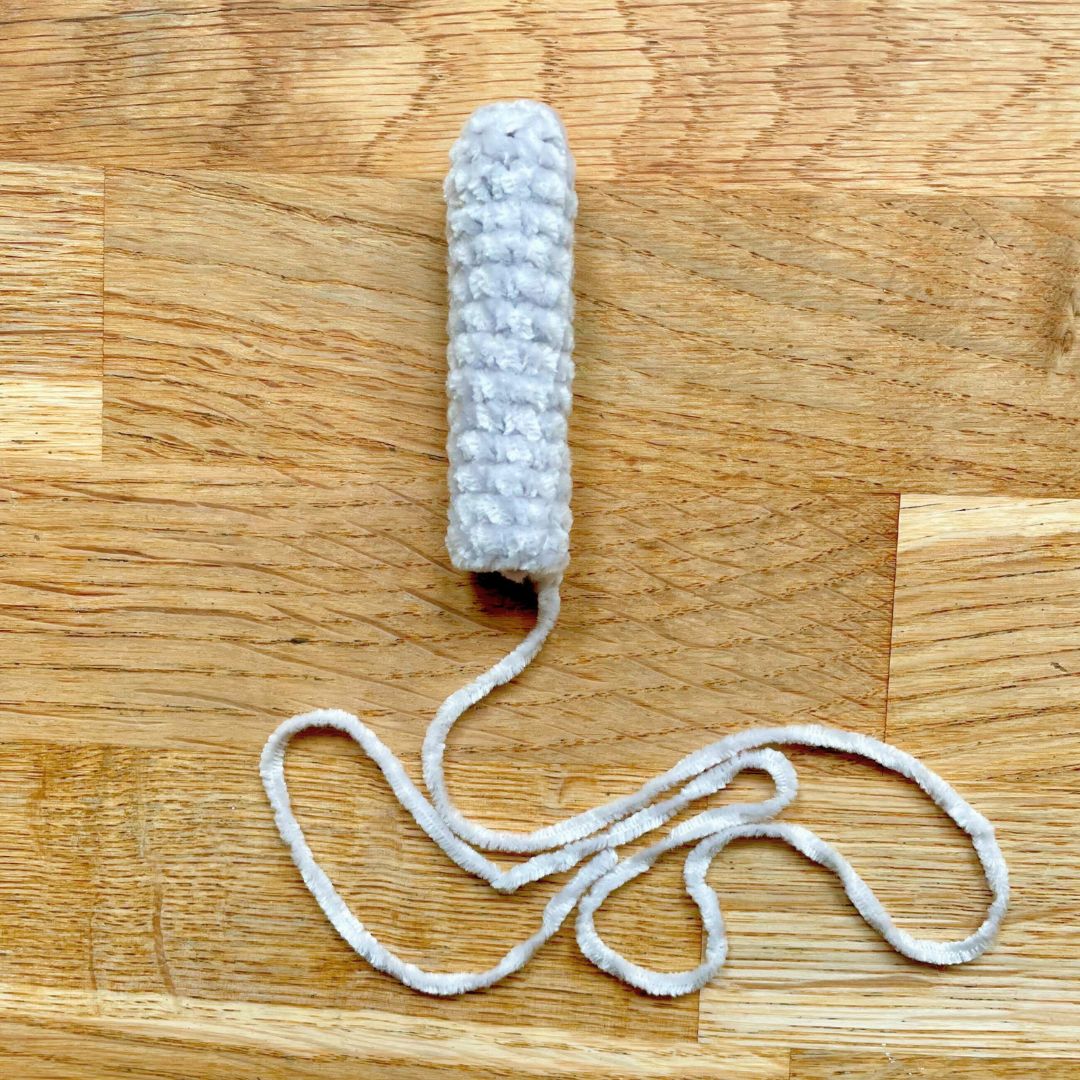
Stuff firmly with toy stuffing or yarn scraps. I like using yarn scraps because they have less bounce (and it’s a little bit thrifty!)
Assembling your squishy
You’re nearly there – it’s time to sew the boba and straw onto the body. Here are some tips for positioning the boba:
- Start from the bottom and work upwards.
- Remember boba sink, so tuck some almost underneath your squishy. If you have a gap at the bottom, it looks like they’re floating in a rather improbable way.
- Try to avoid stacking them in neat offset rows. You don’t want them to look stiff, so embrace wobbly lines and uneven gaps!
- You don’t need to sew them down through every stitch around the edge – 7 or 8 stitches per boba is plenty.

Add the straw at the top of the cup, and ever so slightly off center.
Finishing touch – the smile
Embroider the smile with a double thickness of the yarn you used for the boba. Push the darning needle in through the back of the body, and out at the front where your first stitch will begin. Make sure the tail of the yarn stays sticking out from the back of the body. Make the smile with three stitches:
At the end of the last stitch, push the needle out through the back of the body in the same place it went in. Knot the yarn tails together, and poke them inside the body. The stuffing will keep them anchored in place.
Project complete!
It’s time to give your bubble tea squishy a name, and show it off to every tweenager you know!
Squishy crochet bubble tea pattern – summary
I had a lot of fun developing this pattern. It’s made from very straightforward shapes, and I’m confident that even beginners will enjoy it. The only bit which demanded some patience was making and sewing on all the boba. It probably helps if you enjoy making projects like granny square blankets, because it’s the same kind of methodical, repetitive work.
I’d love to see how your finished bubble tea squishy turns out. Please tag Lucy on Instagram or Facebook to show us your boba!
*The products linked in this pattern were carefully selected by Lucy Kate Crochet. If you decide to purchase using the links provided, we may earn a small commission on that sale. This is at no extra cost to you.
