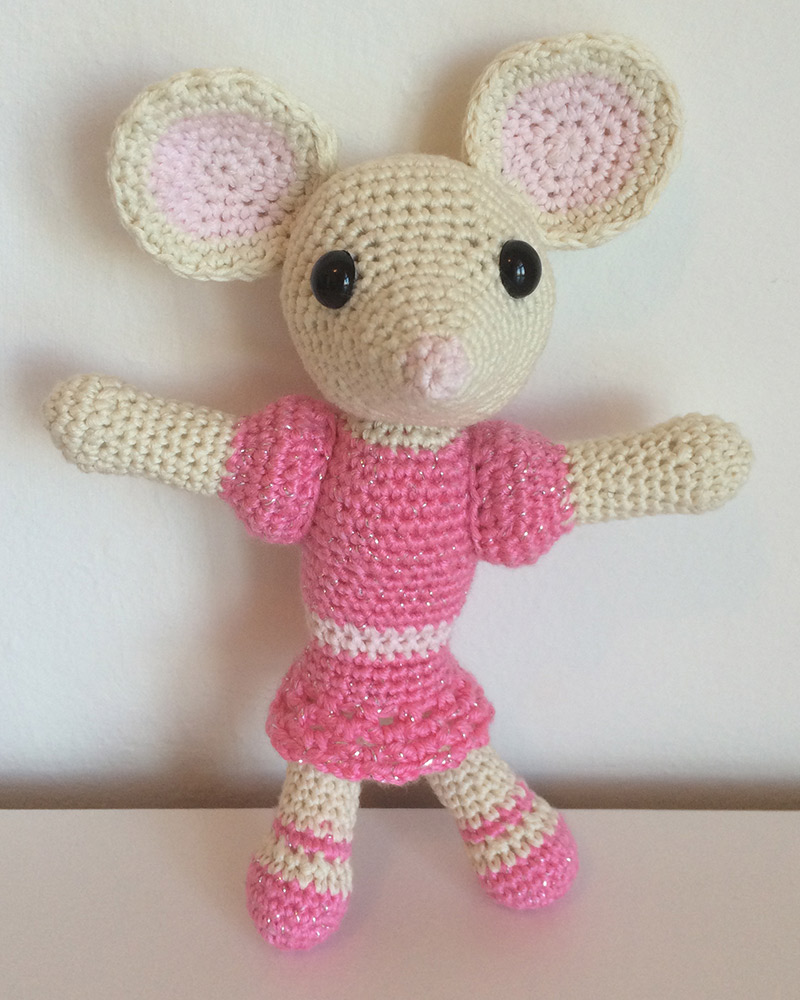
Free Cute Crochet Mouse Pattern

This crochet mouse pattern is beginner friendly, quick to work up, and has a fun detailed finished that makes her a cute amigurumi toy or gorgeous shelf ornament. My free tutorial will walk you through each step of the pattern, but if you have any questions just let me know in the comments section and I’ll be happy to help.
Crochet Mouse Techniques
This crochet pattern involves working in a circular round, building body parts individually from magic circles. To crochet your mouse, you will need to use the following crochet techniques:
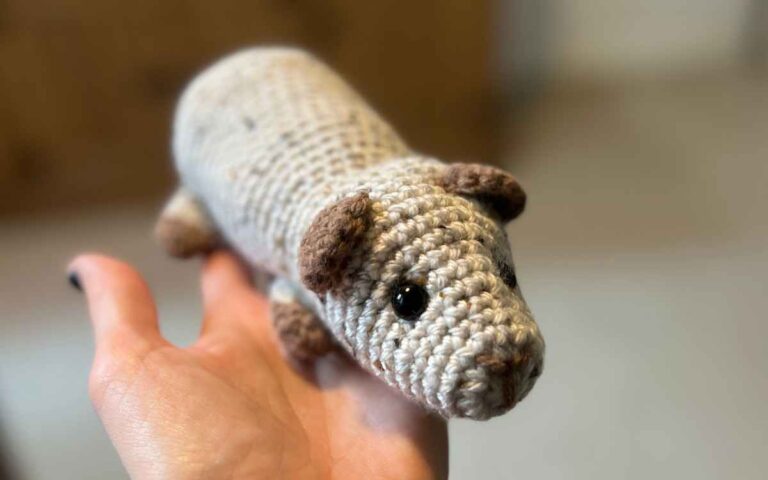
Not sure about crocheted mice? Check out the similar but more realistic crochet sugar glider pattern.

Crochet Mouse Equipment

To create this crochet mouse pattern you will need the following:
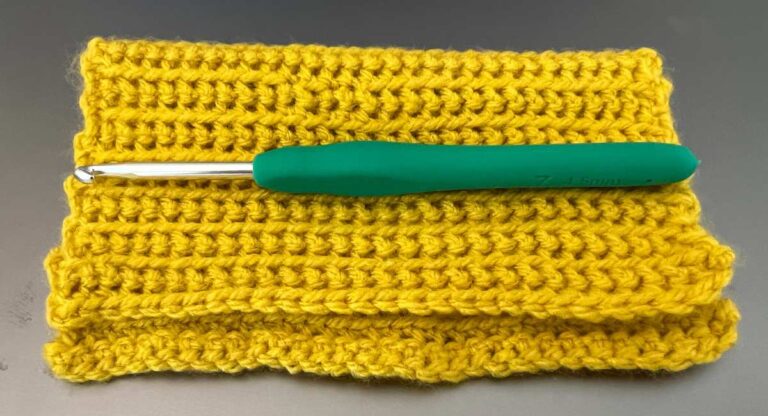
- Size D / 3mm crochet hookPaid Link
- steel yarn needlePaid Link
- sharp scissors
- toy stuffingPaid Link
- safety eyesPaid Link
- 100g Baby Sparkle DKPaid Link (dark pink with sparkles)
- 50g DMC Rose Layette Natura Cotton YarnPaid Link (pale pink)
- 50g DMC Nacar Natura Cotton YarnPaid Link (white)
Unusually, I have used two different types of yarn in this pattern. This gives the dress a very different texture and look to the rest of the toy. It also enabled me to include the bright, sparkly yarn my daughter picked out recently!
The quantities are those which the balls of yarn are available in. You will find that you have plenty left over for future projects.

Crochet Mouse Head Pattern
Begin using your 3mm crochet hook and the pale pink yarn.
Round 1
Make a magic circle of six stitches (6)
Round 2
Make one single crochet (1sc) into each stitch. At the final stitch color change (cc) to white.
Round 3
Put 2sc into each stitch (12)
Round 4
Make 1sc into each stitch (12)
Round 5
Make 1sc into the first stitch, and 2sc into the next (1sc, 2sc). Repeat five more times. (18)
Round 6 – 7
Make 1sc into each stitch (18)
Round 8
(1sc x 2, 2sc) 6 times (24)
Round 9 – 10
Make 1sc into each stitch (24)
Round 11
(1sc x 3, 2sc) 6 times (30)
Round 12
(1sc x 4, 2sc) 6 times (36)
Round 13
(1sc x 5, 2sc) 6 times (42)
Round 14
(1sc x 6, 2sc) 6 times (48)
Round 15-16
Make 1sc into each stitch (48)
Round 17
Make 1sc in the first two stitches, then single crochet the next two stitches together (1sc x 6, sc2tog). 6 times (42)
Round 18
Make 1sc into each stitch (42)
Round 19
(1sc x 5, sc2tog) 6 times (36)
Round 20
Make 1sc into each stitch (36)
Round 21
(1sc x 4, sc2tog) 6 times (30)
Round 22
Make 1sc into each stitch (30)
Round 23
(1sc x 3, sc2tog) 6 times (24)
Insert your safety eyes into your chosen position on the crochet mouse head.
Round 24
(1sc x 2, sc2tog) 6 times (18)
Round 25
(1sc, sc2tog) 6 times (12)
Insert toy stuffing into the head. Fill completely, making sure to push the stuffing down into the nose as well as the main cavity.
Round 26
Finally sc2tog around the opening until it is closed.
Tie off and cut a long loose thread. Set the crochet mouse head to one side for sewing together later.
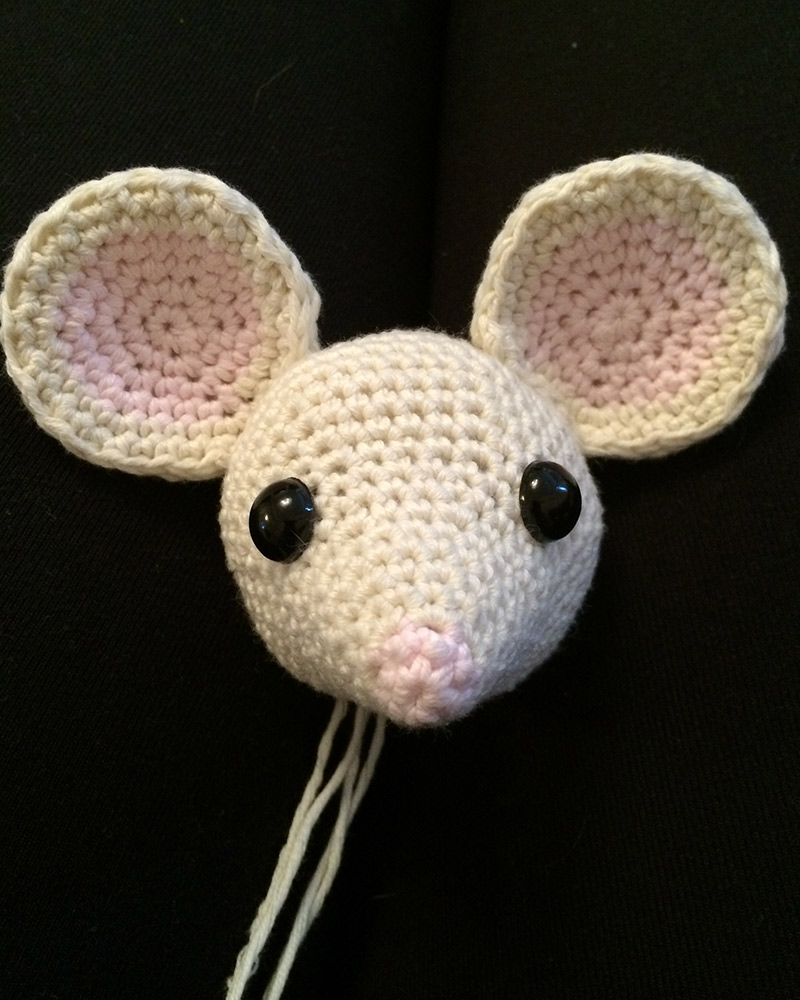
Crochet Mouse Ears
We will make the inside and outside of the ears separately, then sew them together.
Make two of the following:
Begin using your 3mm crochet hook and the pale pink yarn.
Round 1
Make a magic circle of six stitches (6)
Round 2
Put 2sc into each stitch (12)
Round 3
(1sc, 2sc) 6 times (18)
Round 4
(1sc x 2, 2sc) 6 times. In the final stitch, cc to white (24)
Round 5
(1sc x 3, 2sc) 6 times (30)
Round 6
Make 1sc into each stitch (30)
Make two of the following:
Begin using your 3mm crochet hook and the white yarn.
Round 1
Make a magic circle of six stitches (6)
Round 2
Put 2sc into each stitch (12)
Round 3
(1sc, 2sc) 6 times (18)
Round 4
(1sc x 2, 2sc) 6 times. (24)
Round 5
(1sc x 3, 2sc) 6 times (30)
Round 6
(1sc x 3, 2sc) 6 times (36)
Joining the crochet mouse ears:
Hold an inside and outside ear piece together, and sew around the edge putting the needle through adjacent stitches. Leave approximately 12 stitches clear with an opening.
The outer ear section is slightly larger than the inner section, so the opening will be wider for the back panel.
Sew this opening onto your mouse head, clearly positioning them behind the eyes.
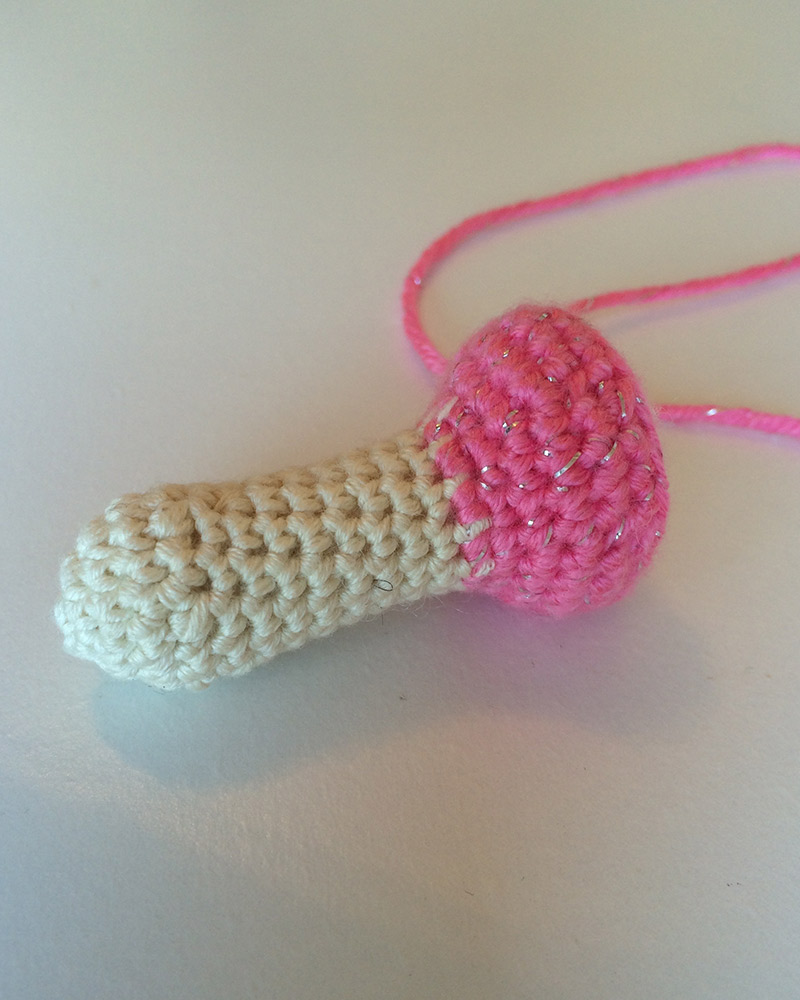
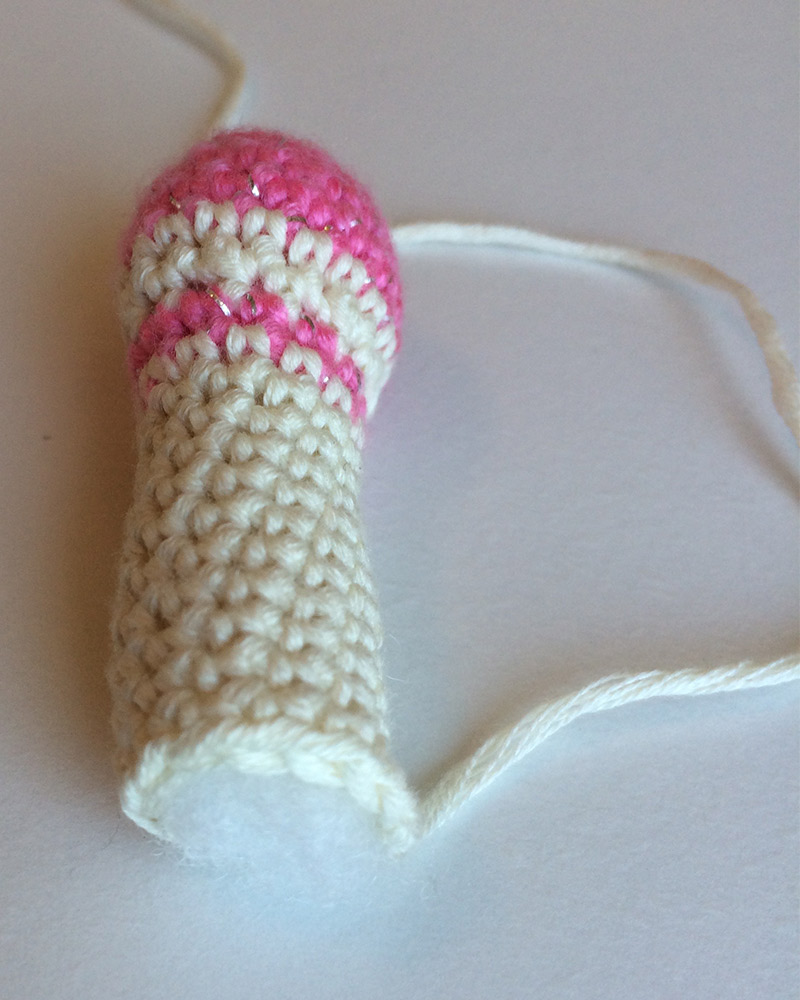
Crochet Mouse Body Pattern
Begin using your 3mm crochet hook and the white yarn.
Round 1
Make a magic circle of six stitches (6)
Round 2
Put 2sc into each stitch (12)
Round 3
(1sc, 2sc) 6 times (18)
Round 4
Make 1sc into each stitch. In the final stitch of the round, cc to DK pink (18)
Round 5
(1sc x 2, 2sc) 6 times (24)
Round 6
(1sc x 3, 2sc) 6 times (30)
Round 7 – 11
Make 1sc into each stitch (30)
Round 12
(1sc x 3, sc2tog) 6 times (24)
Round 13 – 16
Make 1sc into each stitch. In the final stitch of Round 16, cc to pale pink (24)

Round 17
Make 1sc into each stitch (24)
Round 18
Make 1sc into the front loop only (FLO) of each stitch. cc to DK pink in the final stitch of the round (24)
Round 19
Make 1sc into each stitch (24)
Round 20 – 21
Make 1sc into the FLO of each stitch (24)
Round 22 – 23
Make a chain of three stitches (ch3). Skip one (sk1), then sc into the next stitch. *ch3, sk1, sc. Repeat of the duration of the rounds. Tie off and cut the loose end. Weave it back into the skirt.
Round 24
Attach your yarn to the back loop of Round 18. Ch2 then make an sc into each st of the round.
Round 25
(1sc x 2, sc2tog) 6 times (18)
Round 26
(1sc, sc2tog) 6 times (12)
Round 27
Finally sc2tog around the opening until it is closed.
Tie off and cut a long loose thread. Set the crochet mouse body to one side for sewing together later.
Crochet Mouse Arms
You will need to make two identical arms for your crochet mouse.
Begin using your 3mm crochet hook and the white yarn.
Round 1
Make a magic circle of six stitches (6)
Round 2
Put 2sc into each stitch (12)
Round 3
(1sc, 2sc) 6 times (18)
Round 4
Make 1sc into each stitch (18)
Round 5
(1sc, sc2tog) 6 times (12)
Round 6 – 13
Make 1sc into each stitch. In the final stitch cc to DK pink (12)
Round 14
Make 1sc into each stitch (12)
Round 15
(1sc, 2sc) 6 times. (18)
Round 16
(1sc x 2, 2sc) 6 times (24)
Round 17
(1sc x 3, 2sc) 6 times (30)
Round 18
(1sc x 3, sc2tog) 6 times (24)
Round 19
(1sc x 2, sc2tog) 6 times (18)
Tie off and cut a long loose end. Stuff almost full for a rigid arm structure, leave a gap if you want a loose joint. Then set to one side for sewing together later.
Crochet Mouse Legs
You will need to make two identical arms for your crochet mouse.
Begin using your 3mm crochet hook and the DK pink yarn.
Round 1
Make a magic circle of six stitches (6)
Round 2
Put 2sc into each stitch (12)
Round 3
(1sc, 2sc) 6 times (18)
Round 4 – 5
1sc into each stitch. Then cc to white in the final stitch of Round 5 (18)
Round 6
Make 1sc into each stitch.
Round 7
(1sc, sc2tog) 6 times, then cc to DK pink (12)
Round 8
1sc into each stitch, then cc back to white yarn (12)
Round 9 – 19
Make 1sc into each stitch (12)
Tie off and cut a long loose end. Stuff almost full for a rigid arm structure, leave a gap if you want a loose joint. Then set to one side for sewing together later.
Crochet Mouse Tail
Make a chain of twenty three stitches. From the 3rd stitch along the chain, make a single sc in each chain.
At the end of the row, tie off and cut a long loose end.
Joining Your Crochet Mouse
You are now ready to sew all of the pieces of your crochet mouse together.
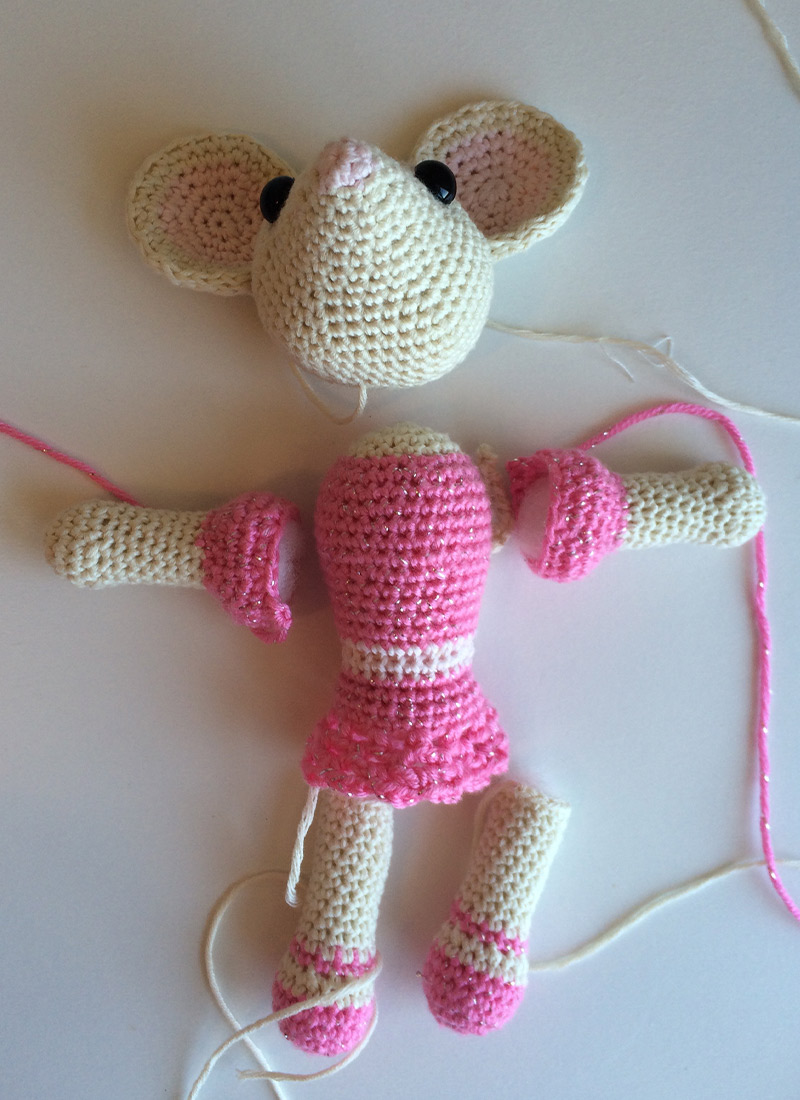
Use a fine steel yarn needle, take the loose unwoven ends from each piece and use them to neatly stitch them together as shown above.
When all of the pieces are securely attached, weave the loose ends into the body of the crochet mouse.
New to crochet but have down wee hats scarf never done a toy so I am going to have a go at this little mouse it so cute
That’s great, Janet. I hope you enjoy it!
If you have any questions as you go along just drop me a comment here, or on my Lucy Kate Crochet Facebook page.
I’m new to crochet too Janet but am giving this mouse my best shot. Thanks for the pattern Lucy Kate.
Hi Shirley, The first toy I ever made was a mouse too – you can see a photo of him in this blog post 🙂 I hope you enjoy my mouse pattern, and please do message here or on my Facebook page if you would like any guidance. Best wishes, Lucy.