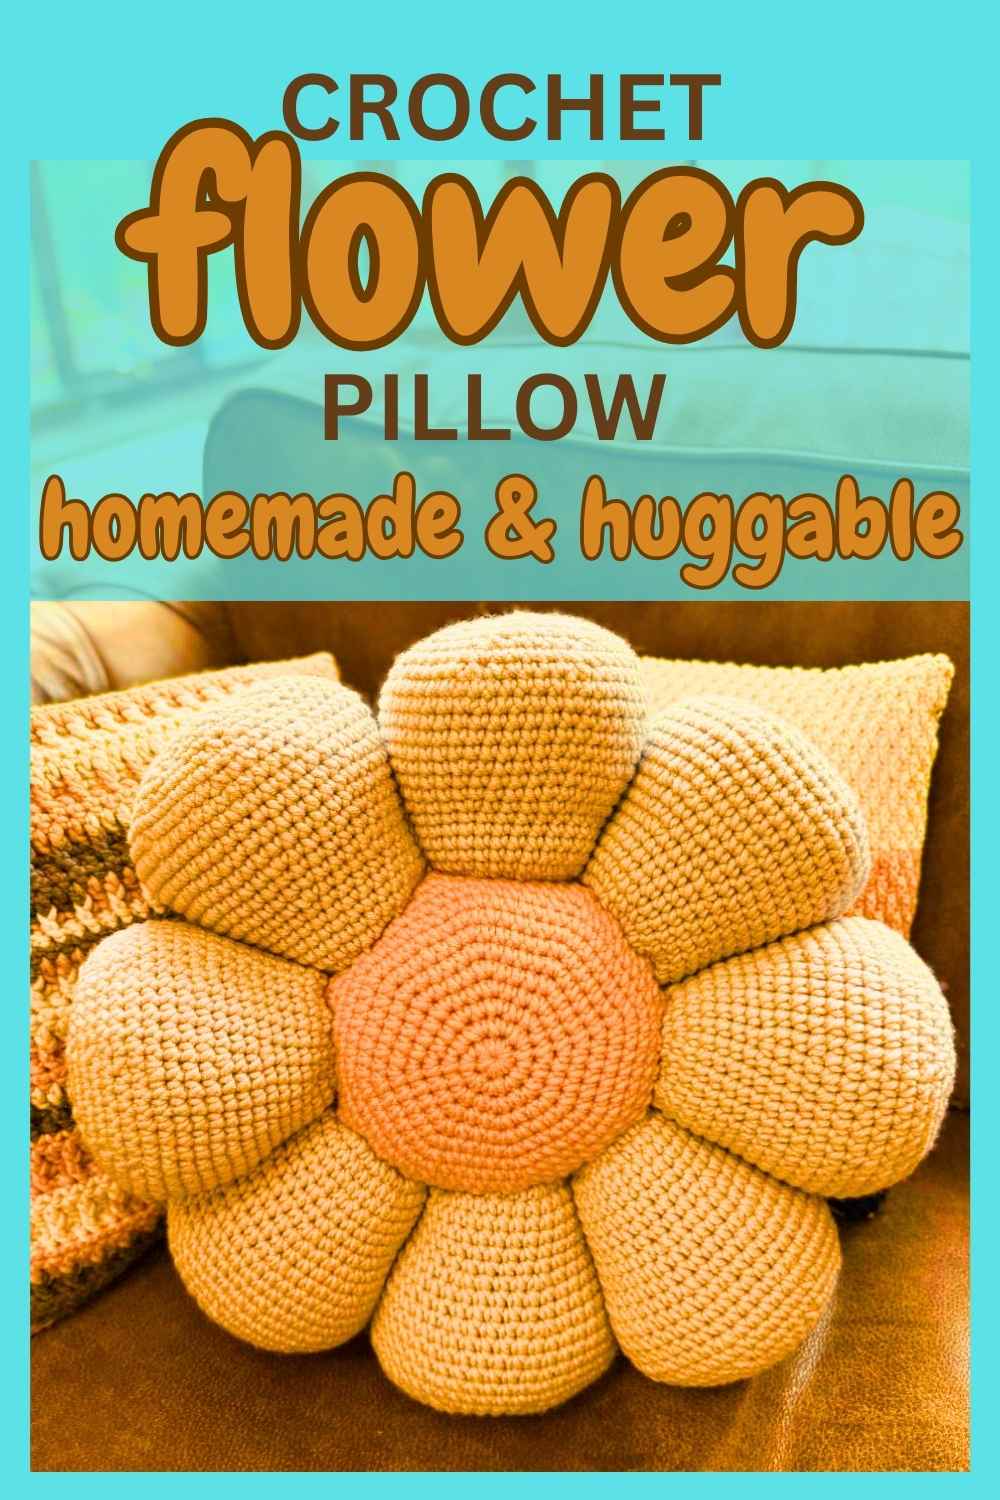
Crochet Flower Pillow
I have been making a lot of more traditional crochet cushions recently, but I wanted to try something a bit different with this crochet flower pillow. It’s not just covered with flowers, it IS a flower.
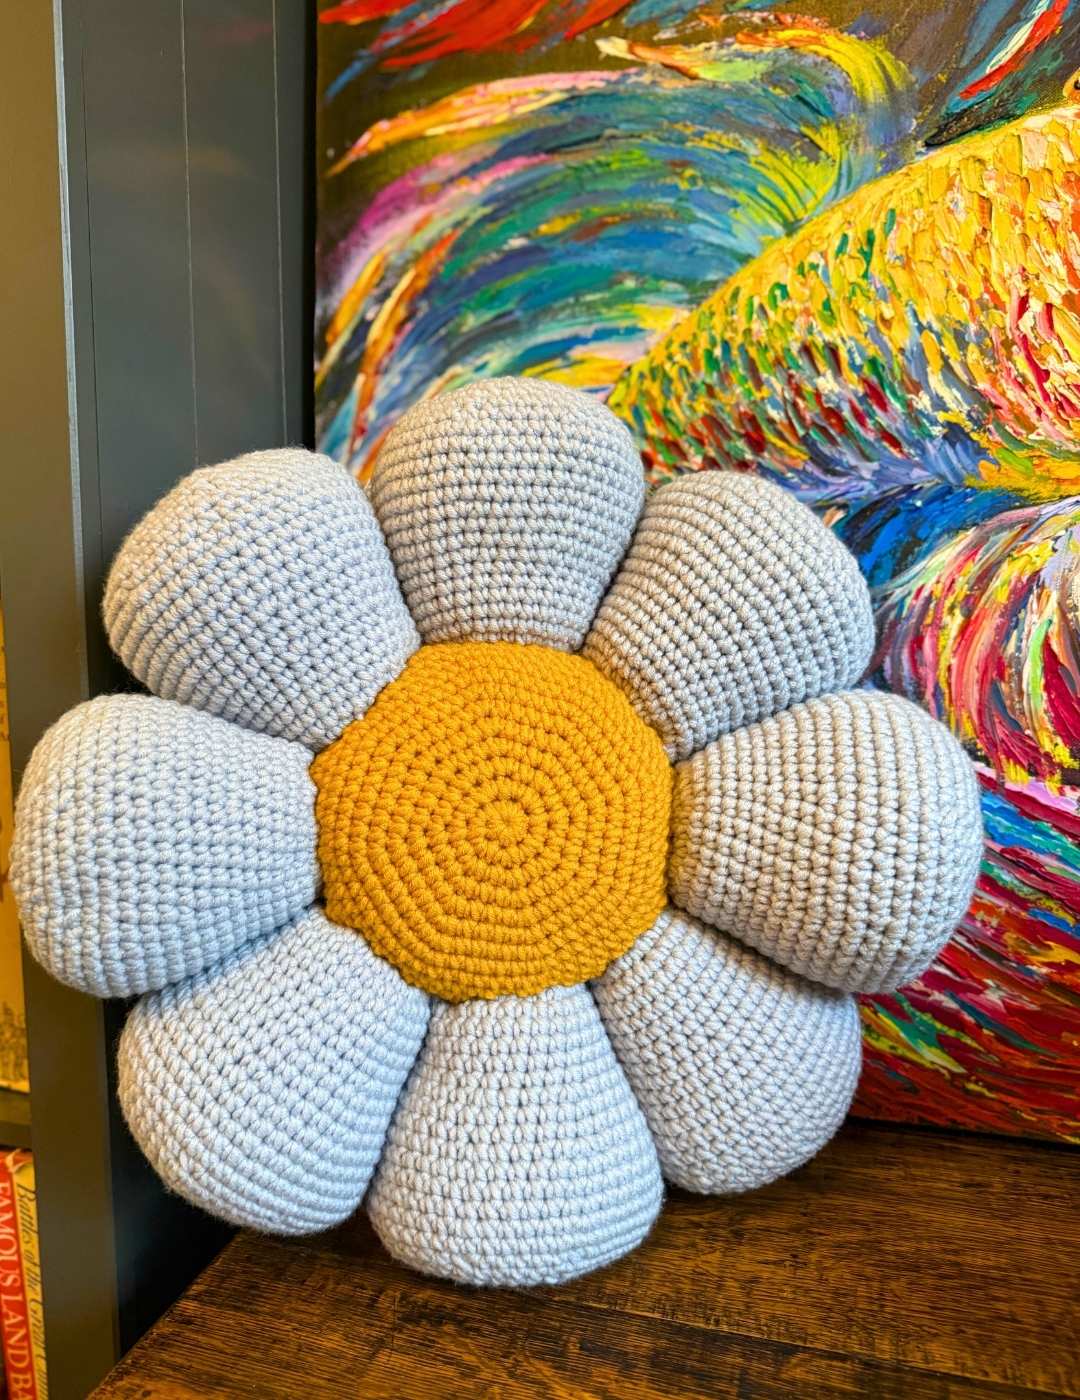
And when I’d finished, I realised I could add a really cute twist. So I gave it a face, which we’ll make separately so that if you just want the plain flower throw pillow that you don’t have to add it on.
The Stitches
This pattern is worked in the round in separate sections, with a small amount of hand sewing to attach them together and give your flower a cute little face if you want to!
Kit List
- 4 x 100g skeins of chunky blue yarn
- 2 x 16mm diameter safety eyes
- 2 x 100g skeins of chunky yellow yarn
- 6mm crochet hook
- Yarn needle
- Scissors
- Toy safe stuffing
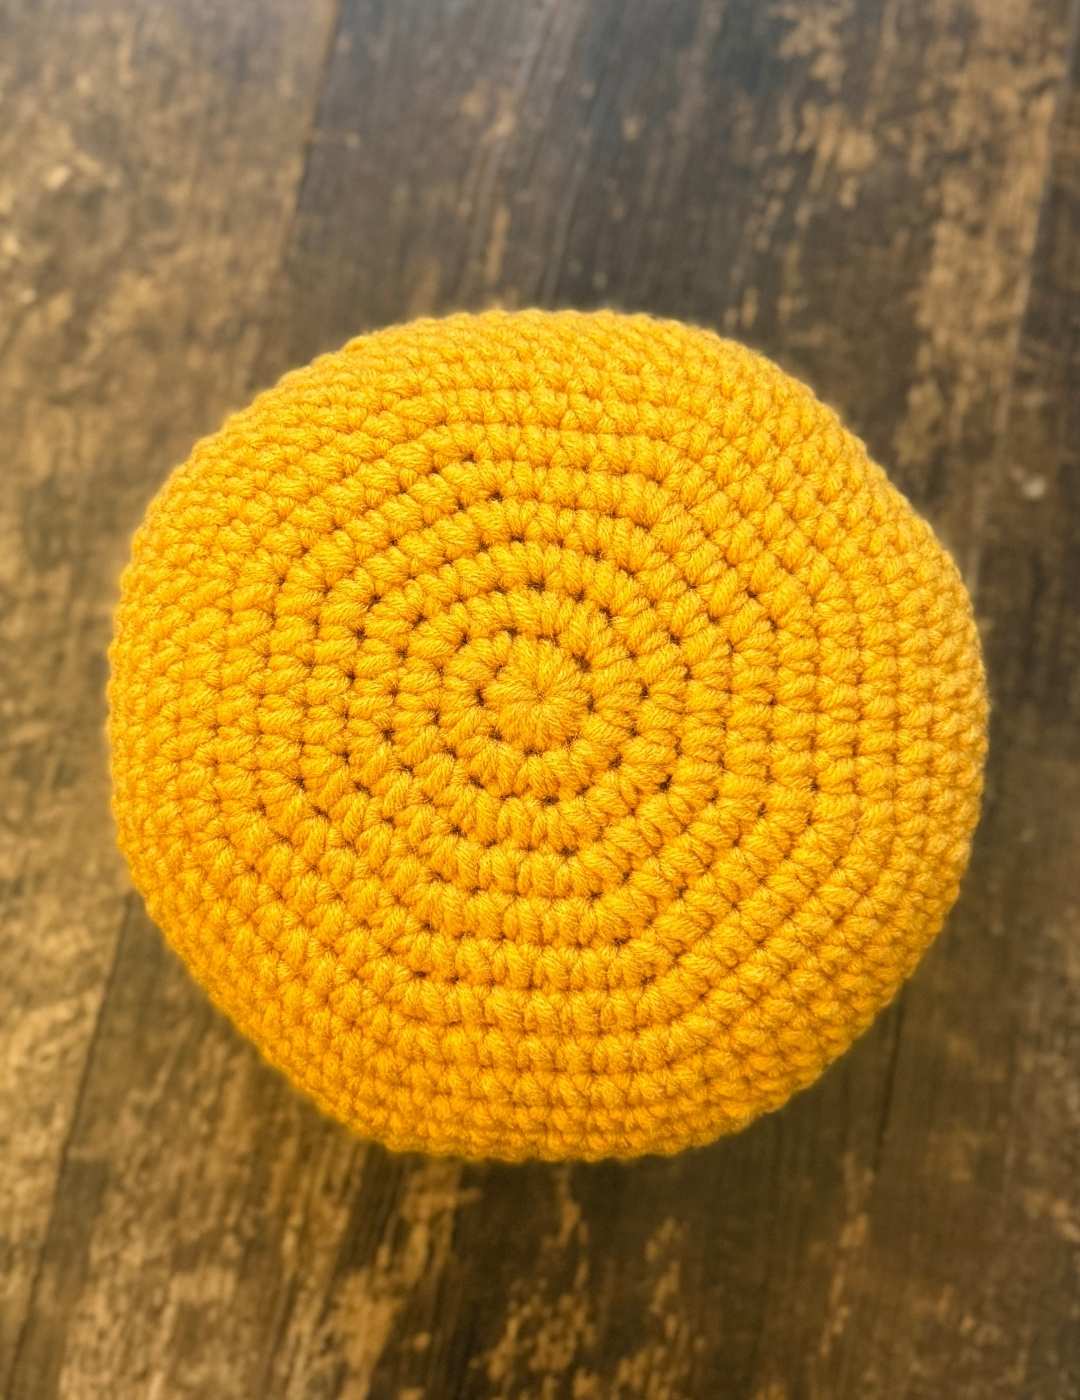
Central Section
I worked this pattern from the middle outwards, so that’s where we’ll begin. Use your yellow yarn for this part, and make sure to keep your stitches nice and tight as you decrease – it’s often a problem area.
Round 1
Make a magic circle of 8 stitches
Round 2
2sc x 8 (16)
Round 3
(1sc, 2sc) x 8 (24)
Round 4
(1sc x 2, 2sc) x 8 (32)
Round 5
(1sc x 3, 2sc) x 8 (40)
Round 6
(1sc x 4, 2sc) x 8 (48)
Round 7
(1sc x 5, 2sc) x 8 (56)
Round 8
(1sc x 6, 2xc) x 8 (64)
Round 9 – 10
1sc x 64
Round 11
(1sc x 7, 2sc) x 8 (72)
Round 12 – 15
1sc x 72
Round 16
(1sc x 7, sc2tog) x 8 (64)
Round 17 – 18
1sc x 64
Round 19
(1sc x 6, sc2tog) x 8 (56)
Round 20
(1sc x 5, sc2tog) x 8 (48)
Round 21
(1sc x 4, sc2tog) x 8 (40)
Round 22
(1sc x 3, sc2tog) x 8 (32)
Round 23
(1sc x 2, sc2tog) x 8 (24)
Round 24
(1sc, sc2tog) x 8 (16)
Fill with stuffing
Round 25
sc2tog x 8
Now sew closed.
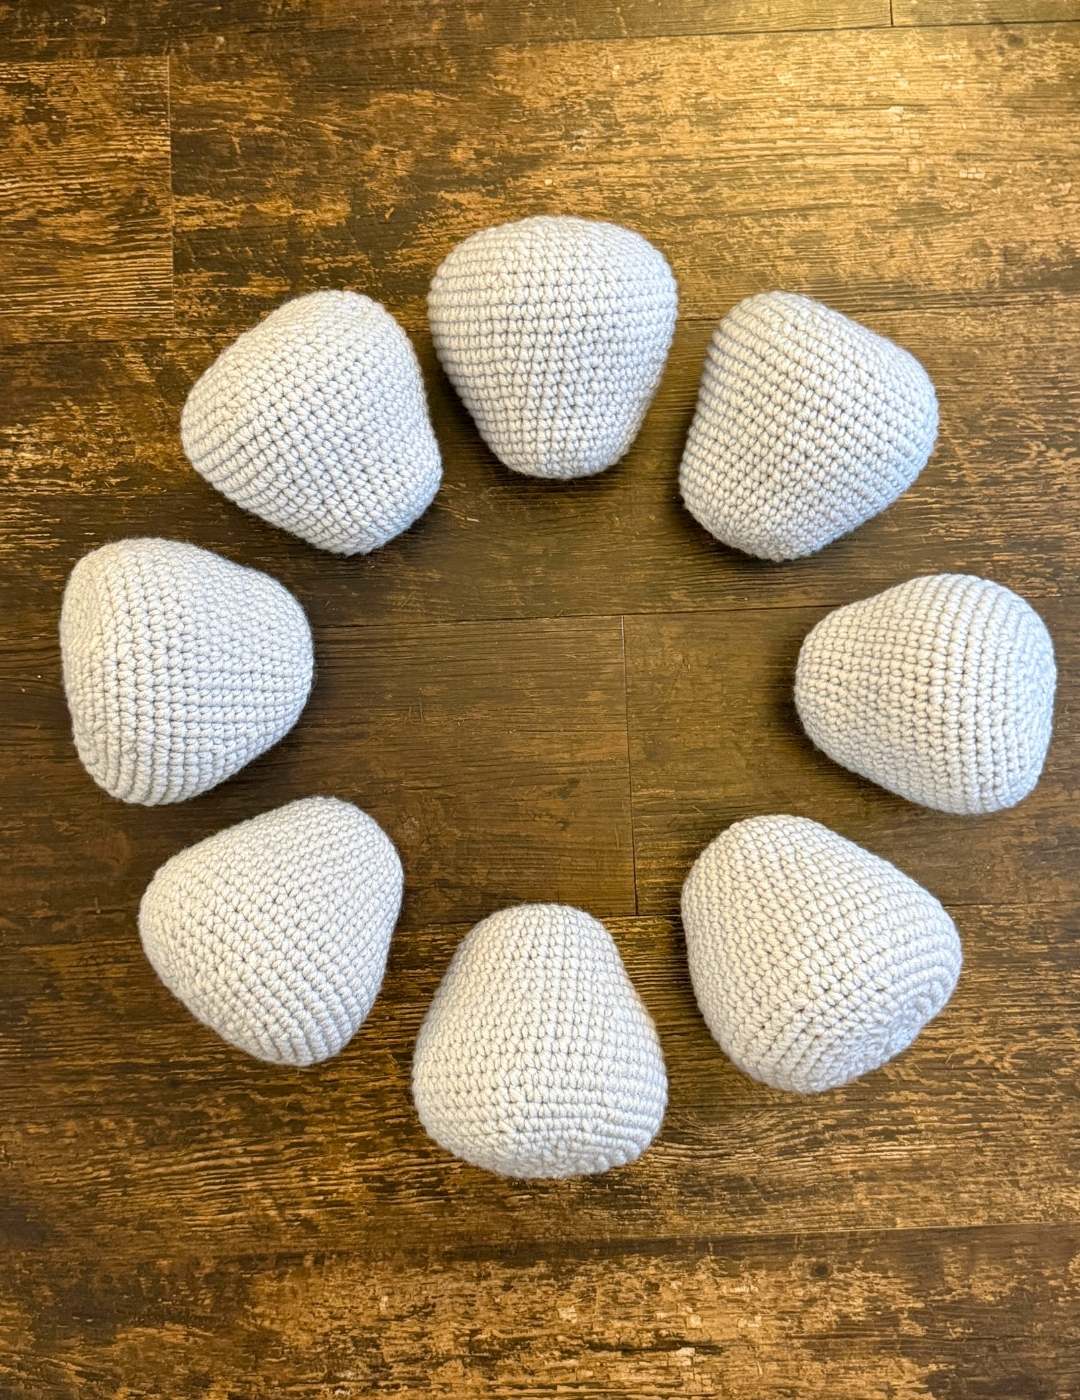
Petals – Make 8
Round 1
Magic circle of 8 stitches
Round 2
2sc x 8 (16)
Round 3
(1sc, 2sc) x 8 (24)
Round 4
(1sc x 2, 2sc) x 8 (32)
Round 5 – 9
1sc x 32
Round 10
(1sc x 3, 2sc) x 8 (40)
Round 11 – 12
1sc x 40
Round 13
(1sc x 4, 2sc) x 8 (48)
Round 14 – 16
1sc x 48
Round 17
(1sc x 5, 2sc) x 8 (56)
Round 18
1sc x 56
Round 19
(1sc x 5, sc2tog) x 8 (48)
Round 20
1sc x 48
Round 21
(1sc x 4, sc2tog) x 8 (40)
Round 22
1sc x 40
Round 23
(1sc x 3, sc2tog) x 8 (32)
Round 24
(1sc x 2, sc2tog) x 8 (24)
Round 25
(1sc, sc2tog) x 8 (16)
Round 26
sc2tog x 8
then sew to close
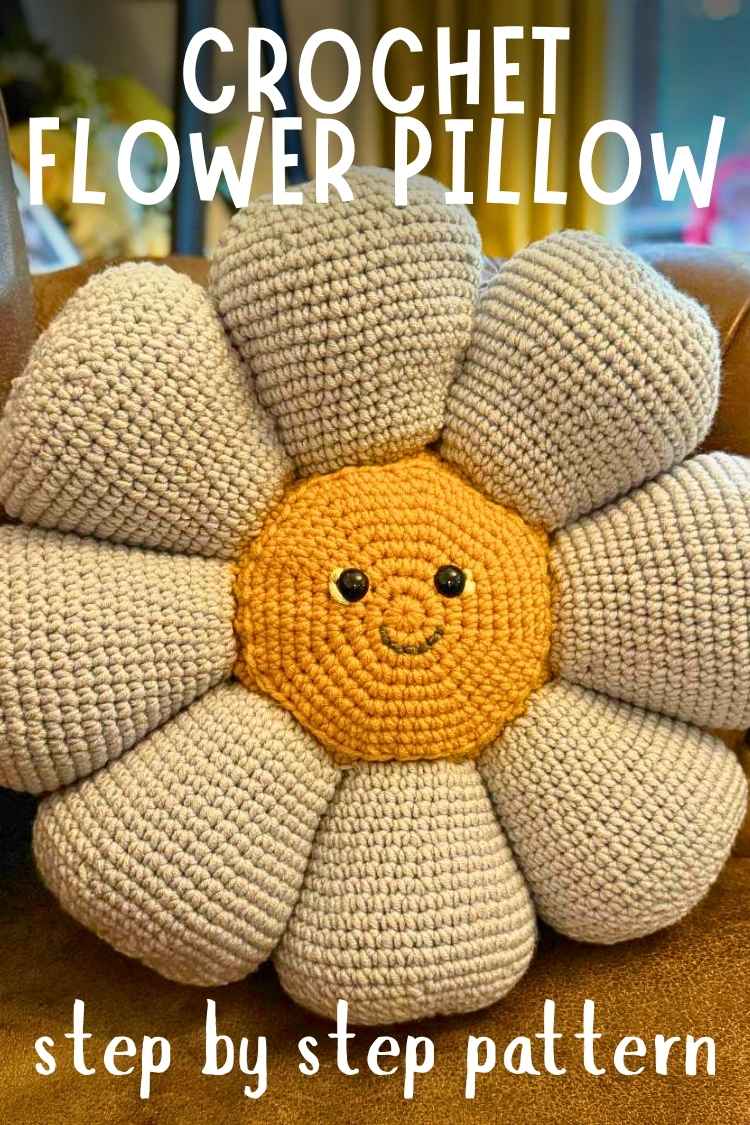
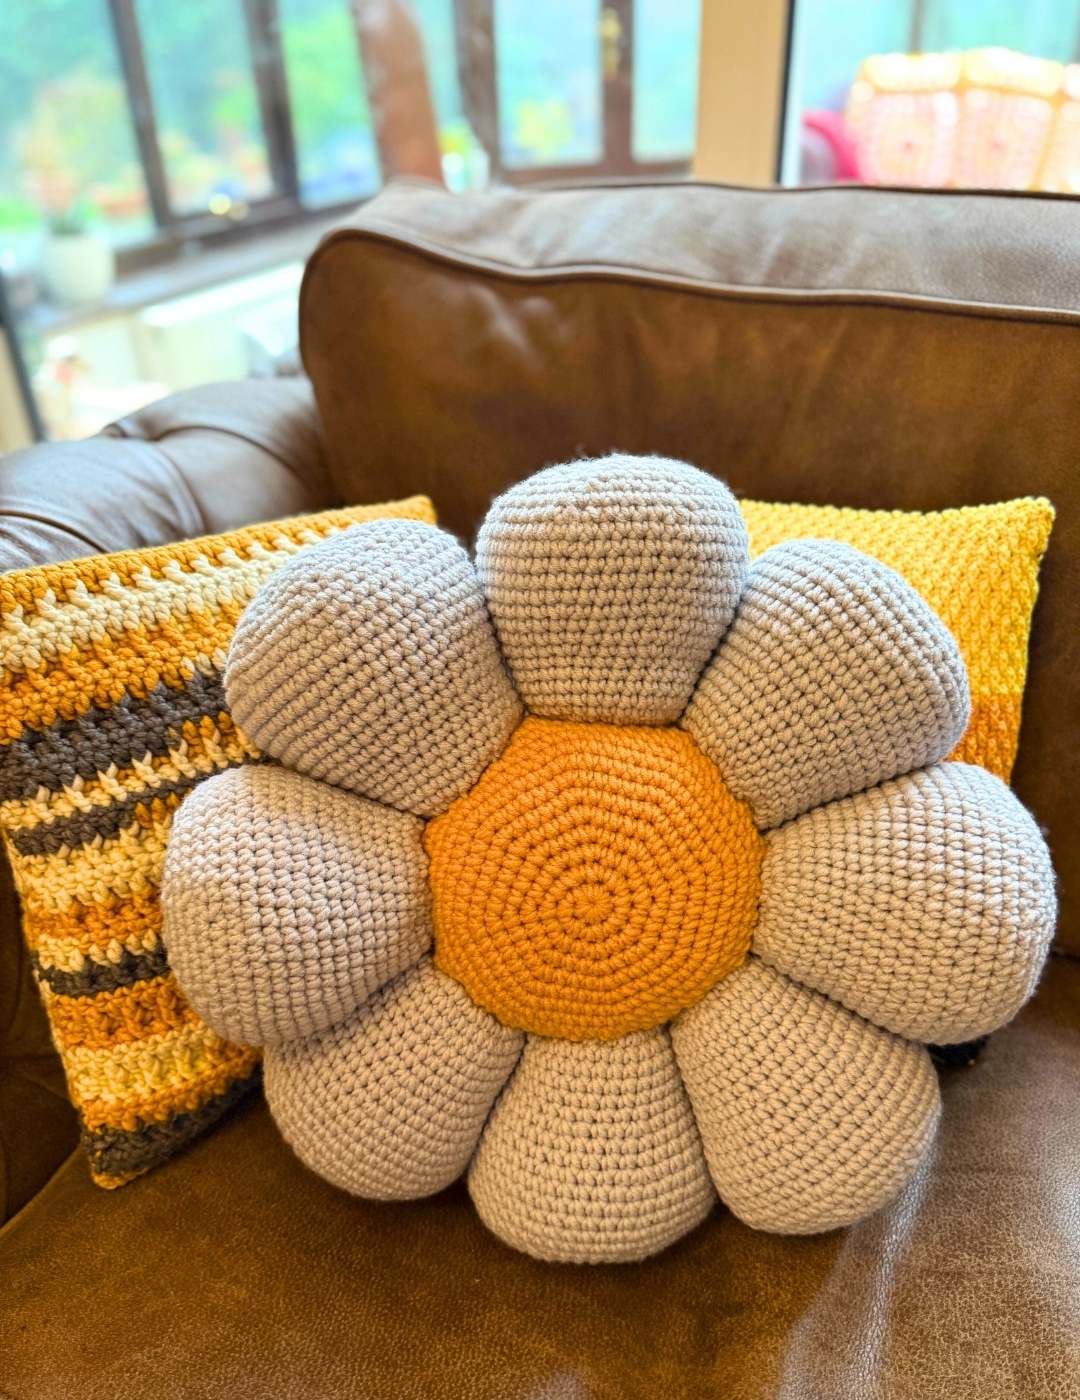
Sewing the Cushion Together

Lay out all the pieces in front of you, and one by one sew the base of each petal to the central section. Take really good care here to make sure that they are all level, and use stitch markers to guide you if you are finding this tricky.
The sewing will get more fiddly as you go, because you will have less space to move your needle. So take your time!
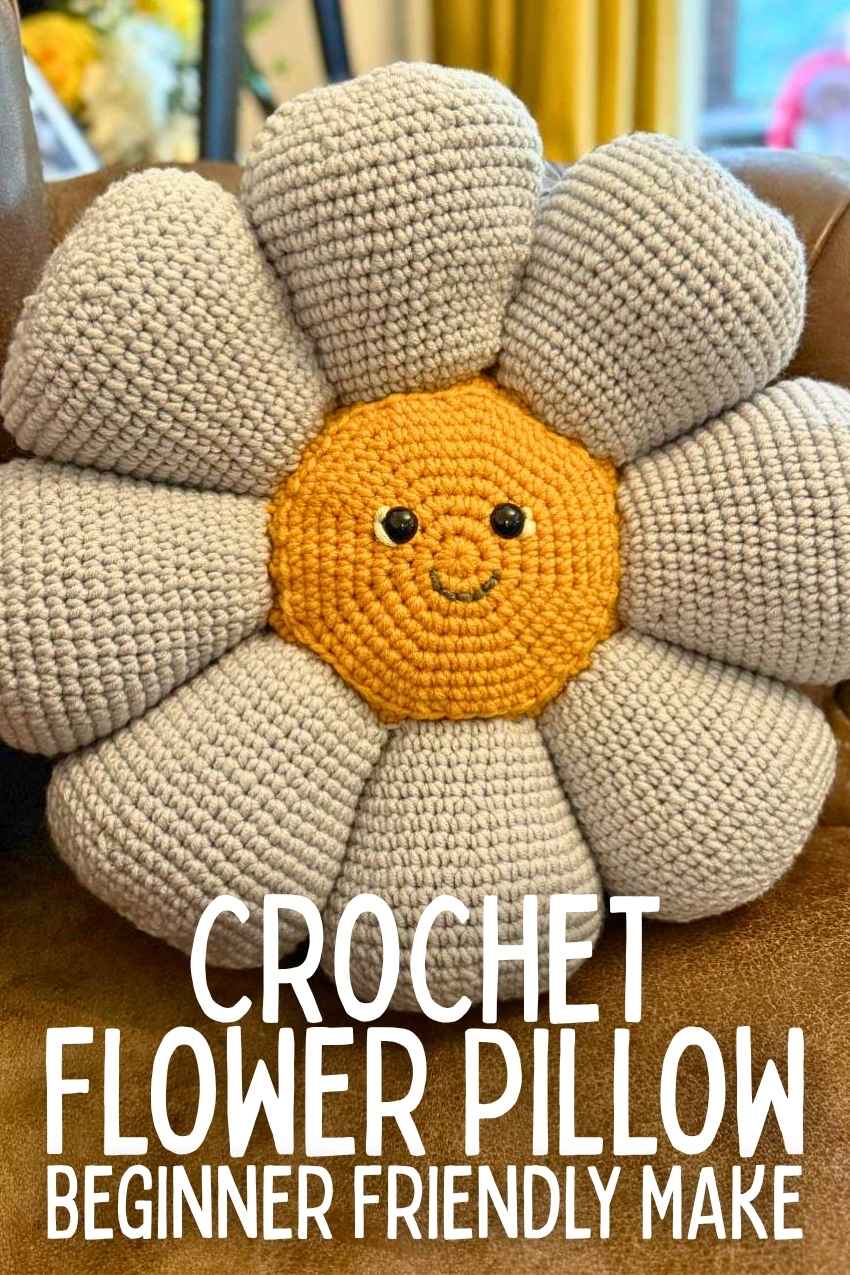
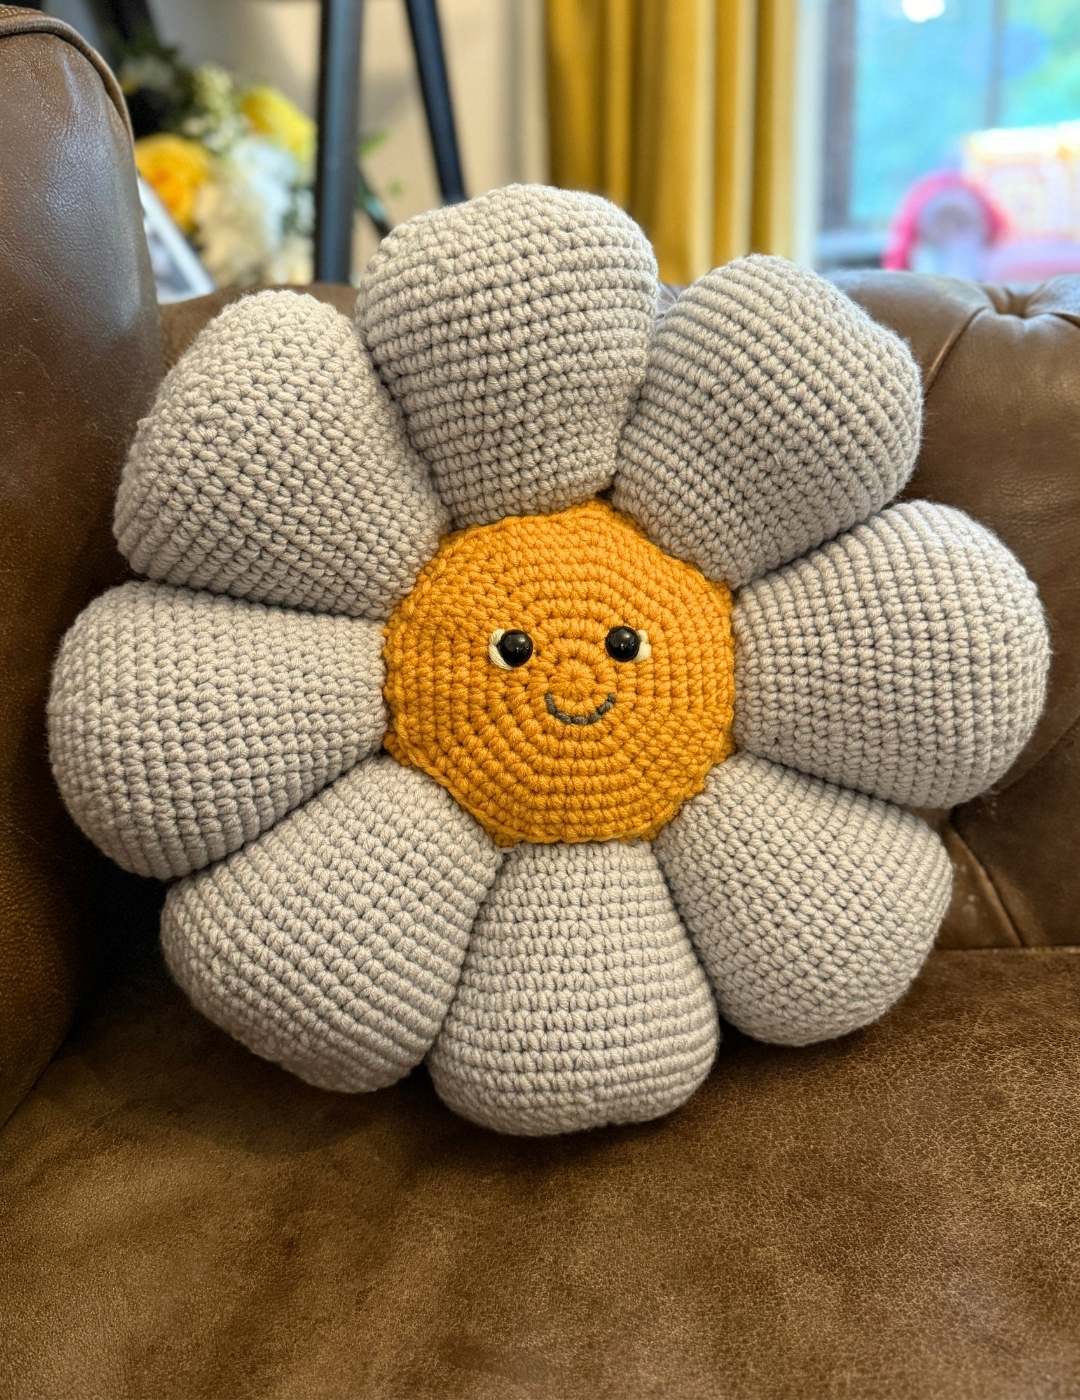
The Flower’s Face
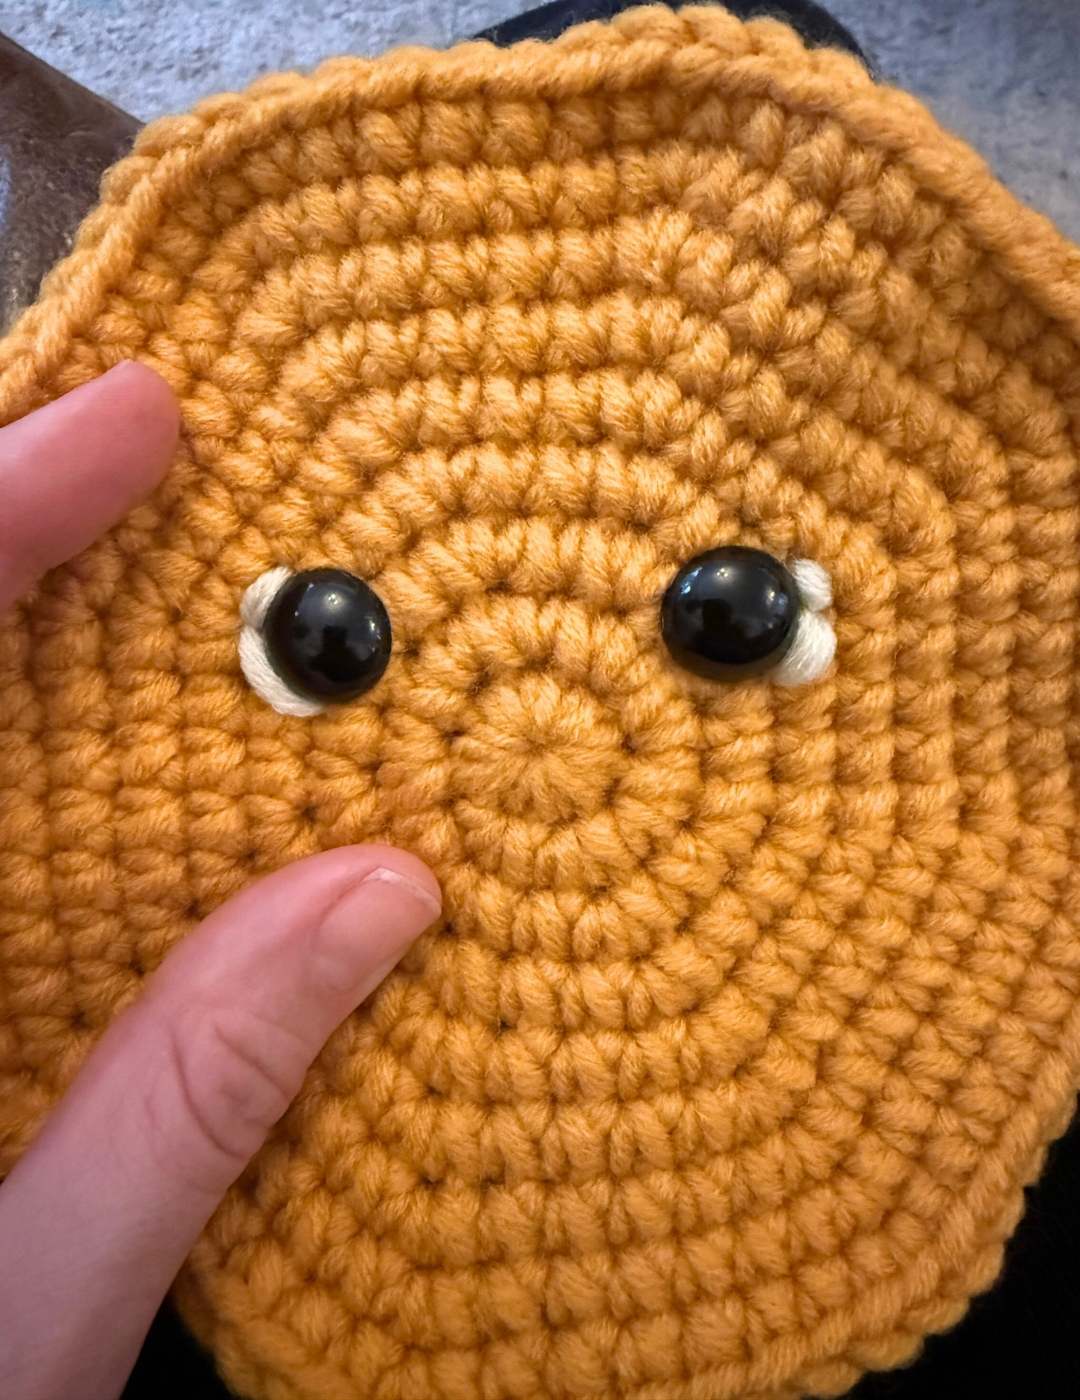
To crochet the face you will need to work in the round using your yellow yarn.
Round 1
Make a magic circle of 8 stitches
Round 2
2sc x 8 (16)
Round 3
(1sc, 2sc) x 8 (24)
Round 4
(1sc x 2, 2sc) x 8 (32)
Round 5
(1sc x 3, 2sc) x 8 (40)
Round 6
(1sc x 4, 2sc) x 8 (48)
Round 7
(1sc x 5, 2sc) x 8 (56)
Round 8
(1sc x 6, 2xc) x 8 (64)
Round 9
(1sc x 7, 2sc) x 8 (72)
Now you can hide the loose end, and attach safety eyes about eight stitches apart at round three/four level. Sew in little eye markings with some chunky white yarn, and use a scrap of gray or black yarn to sew the mouth.
You can now sew this panel onto your middle section. I recommend attaching it at the back, as due to the decreases this is always slightly less neat than the front!