Easy Crochet Teddy Bear Pattern
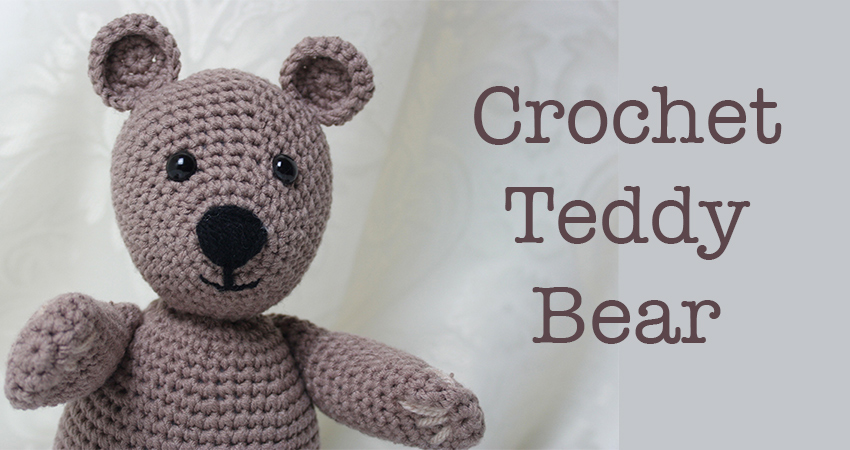
My free crochet teddy bear pattern is totally beginner friendly, but still plenty of fun for an experienced crocheter to hook together! Today I’ll show you how to crochet your own teddy bear with easy stitches and simple techniques. This durable crochet bear will really last the test of time, and provide a cute toy or adorable ornamental plushie.
- What you’ll need to crochet a teddy bear
- Pattern notes
- How to crochet a teddy bear
- Sewing your toy together
Equipment For Your Crochet Bear Pattern
To make your own crochet teddy bear you will need the following equipment:
- Size G / 4mm Crochet HookPaid Link
- 100g Sirdar Cotton Rich Aran Brown Yarn (Nutmeg 0008) Paid Link
- Steel Yarn NeedlePaid Link
- 2 x Safety EyesPaid Link
- Toy StuffingPaid Link
- 10g Black DK Yarn Paid Link
- Stitch Markers Paid Link
- Yarn CutterPaid Link or Sharp Scissors
Stitch markers are not essential, but will help you to keep your place as you crochet.
Easy Crochet Teddy Bear Pattern Instructions
This crochet teddy bear pattern is created in separate pieces, which are sewn together upon completion. The techniques you will need to use include magic circles, single crochets and simple increases and decreases. If you are new to crochet, then check out the tutorials below for details of how to produce these stitches.
I will give each instruction in full initially, showing the abbreviated pattern instructions alongside them. I will then move on to just using the abbreviations once each one has been introduced. You can find a simple Crochet Abbreviations Chart here, if you need help with translating the pattern as you go.

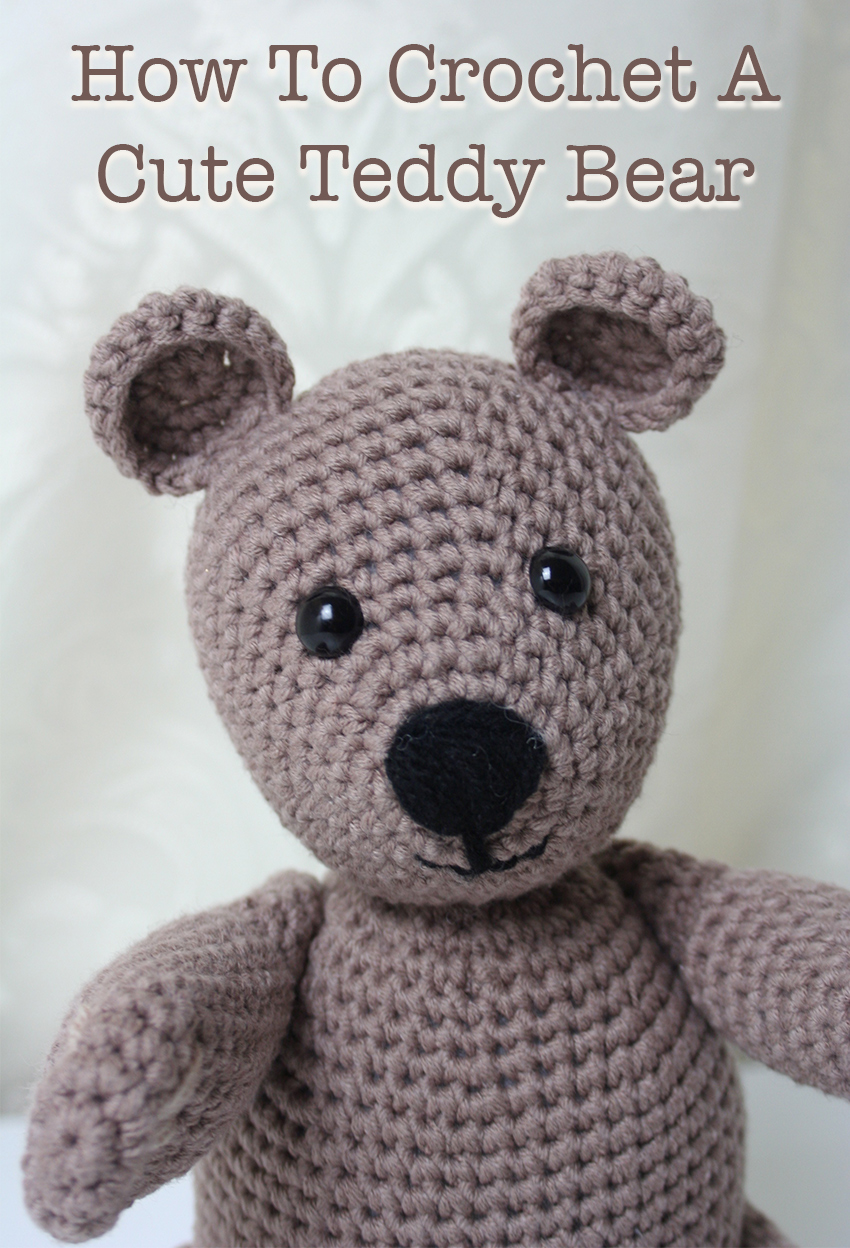
How To Crochet A Teddy Bear
Got your kit ready? It’s time to crochet your own teddy with the pattern instructions below. Remember to refer back to the conversion charts where you need, or message me in the comments section below for an extra hand.
The Crochet Bear Head Pattern

Begin by crocheting your teddy bear’s head. You will need to use your G / 4mm crochet hook and brown yarn to crochet the bear’s head.
Round 1
Make a magic circle of six stitches. (6)
Round 2
Put two single crochets into each of the six stitches in the round.
2sc x 6 (12)
Round 3
Make one single crochet in the first stitch, then two in the next. Repeat for the length of the round.
(1sc, 2sc) x 6 (18)
Round 4
(1sc x 2, 2sc) x 6 (24)
Round 5 – 6
1sc x 24 (24)
Round 7
(1sc x 3, 2sc) x 6 (30)
Round 8
(1sc x 4, 2sc) x 6 (36)
Round 9
1sc x 18, (1sc x 5, 2sc) x 3 (39)
Round 10
1sc x 18, (1sc x 6, 2sc) x 3 (42)
Round 11
1sc x 18, (1sc x 7, 2sc) x 3 (45)
Round 12
1sc x 18, (1sc x 8, 2sc) x 3 (48)
Round 13 – 15
1sc x 48 (48)
Round 16
(1sc x 6, sc2tog) x 6 (42)
Round 17
(1sc x 5, sc2tog) x 6 (36)
Attach two safety eyes above the increase line of the muzzle
Round 18
(1sc x 4, sc2tog) x 6 (30)
Round 19
(1sc x 3, sc2tog) x 6 (24)
Round 20
(1sc x 2, sc2tog) x 6 (18)
Round 21
(1sc, sc2tog) x 6 (12)
Fill with toy stuffing
Round 22
Sc2tog to close. At the end of the round tie off and leave a long tail of yarn for sewing the crochet teddy bear together later.
Crochet Teddy Bear Face
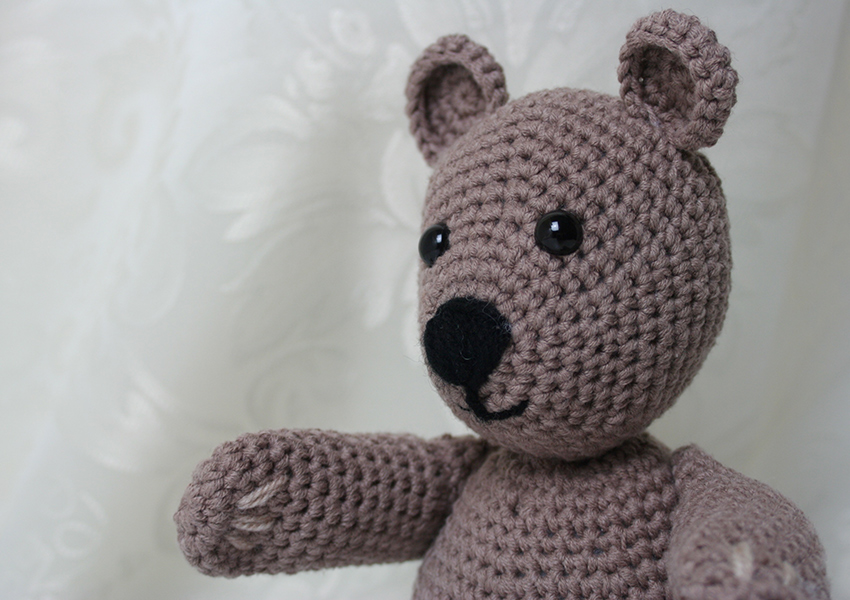
You can now sew the nose and mouth into the first two rounds of the muzzle with your yarn needle and black yarn.
The side with the greater increase will be your crochet bear’s forehead, so put this at the top.
Make the top of the nose wider than the base. Extend a line down from the centre of the nose, and create a smile by sewing stitches at equal lengths from either side of the end of this line.
How To Crochet Teddy Bear Ears
You can now make your crochet teddy bear’s ears. Start using your G / 4mm crochet hook and brown yarn.
Round 1
Make a magic circle of six stitches. (6)
Round 2
2sc x 6 (12)
Round 3
(1sc, 2sc) x 6 (18)
Round 4
1sc x 12
Slip stitch and cut off a long tail for sewing.
Sew the ears along the top of your bear’s head, with the round of single crochets facing forwards as the brims of the ears.
Put your crochet teddy bear’s complete head to one side, whilst you finish the rest of him.
The Body
To make your crochet teddy bear body, begin using your brown yarn and 4mm crochet hook.
Round 1
Magic circle of eight stitches. (8)
Round 2
2sc x 8 (16)
Round 3
(1sc, 2sc) x 8 (24)
Round 4
(1sc x 2, 2sc) x 8 (32)
Round 5 – 7
1sc x 32 (32)
Round 8
(1sc x 3, 2sc) x 8 (40)
Round 9
(1sc x 4, 2sc) x 8 (48)
Round 10 – 27
1sc x 48 (48)
Round 28
(1sc x 4, sc2tog) x 8 (40)
Round 29
(1sc x 3, sc2tog) x 8 (32)
Round 30
(1sc x 2, sc2tog) x 8 (24)
Fill with toy stuffing
Round 31
(1sc, sc2tog) x 8 (16)
Round 32
sc2tog to close.
At the end of the round tie off and leave a long tail of yarn for sewing the crochet teddy bear together later.
Crochet Teddy Bear Arms
You will need to make two bear arms. Begin using your brown yarn and G / 4mm crochet hook.
Round 1
Make a magic circle of eight stitches. (8)
Round 2
2sc x 8 (16)
Round 3 – 14
1sc x 16 (16)
Round 15 – 16
1sc x 8, slip stitch x 8 (16)
Round 17 -21
1sc x 16 (16)
Fill with toy stuffing
Round 22
Sc2tog to close.
At the end of the round tie off and leave a long tail of yarn for sewing the crochet teddy bear together later.
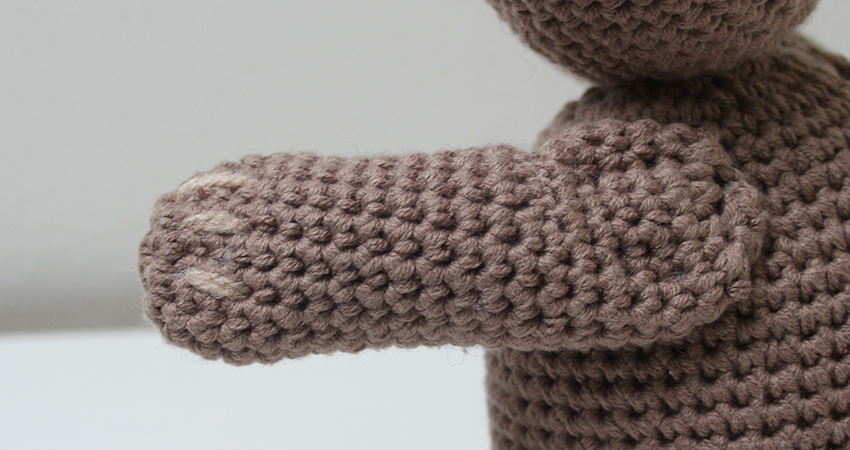
Sewing The Paws
To finish off your crochet teddy bear paws, sew three lines of stitches onto each of the paws as shown here.
Crochet Teddy Bear Legs
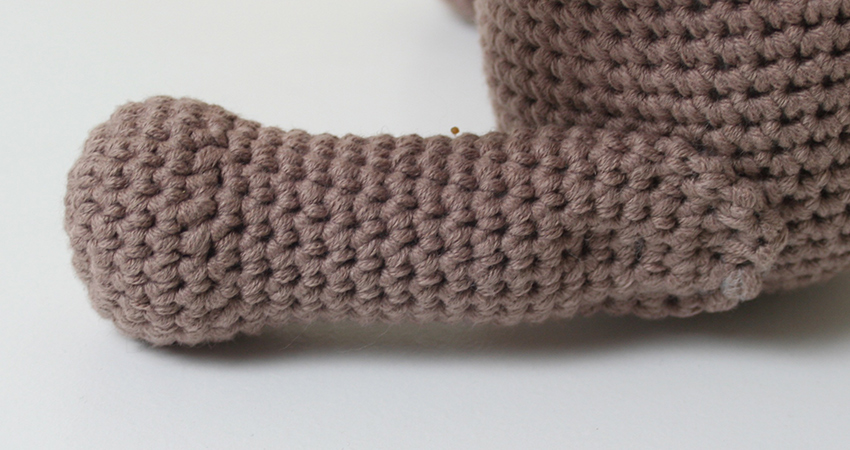
You will need to make two crochet teddy bear legs. Begin using your G / 4mm crochet hook and brown yarn.
Round 1
Make a magic circle of eight stitches. (8)
Round 2
2sc x 8 (16)
Round 3
(1sc, 2sc) x 8 (24)
Round 4 – 6
1sc x 24 (24)
Round 7
(1sc, sc2tog) x 8 (16)
Round 8 – 25
1sc x 16 (16)
Round 26
Sc2tog to close.
At the end of the round tie off and leave a long tail of yarn for sewing the crochet bear together later.
Sewing Your Crochet Bear Together
You are now ready to sew your crochet teddy bear together. You should have the following components ready now:
- 1 head
- 1 body
- 2 arms
- 2 legs
Attach the head to the body first, using the tail of yarn from the head. Thread the yarn needle and sew through the back of the head and out of the chin. Then sew from the magic circle of the body outwards to secure the head tightly.
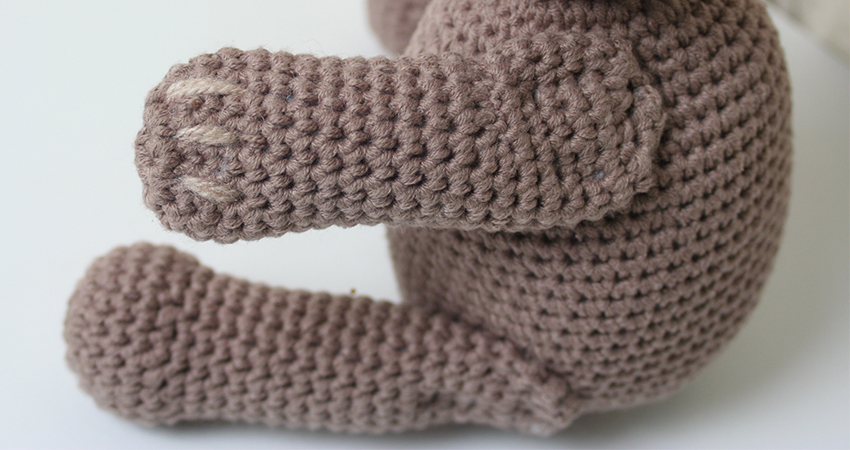
The arms should be attached next, lining them up so that they stretch forward the same amount to each side.
Sew through the shoulder into the ’neck’ portion of the body, leaving the bend in the arm facing upwards. Finally sew through the tops of the legs into the lower portion of the bear’s body. Again making sure that they are extended the same amount at each side.
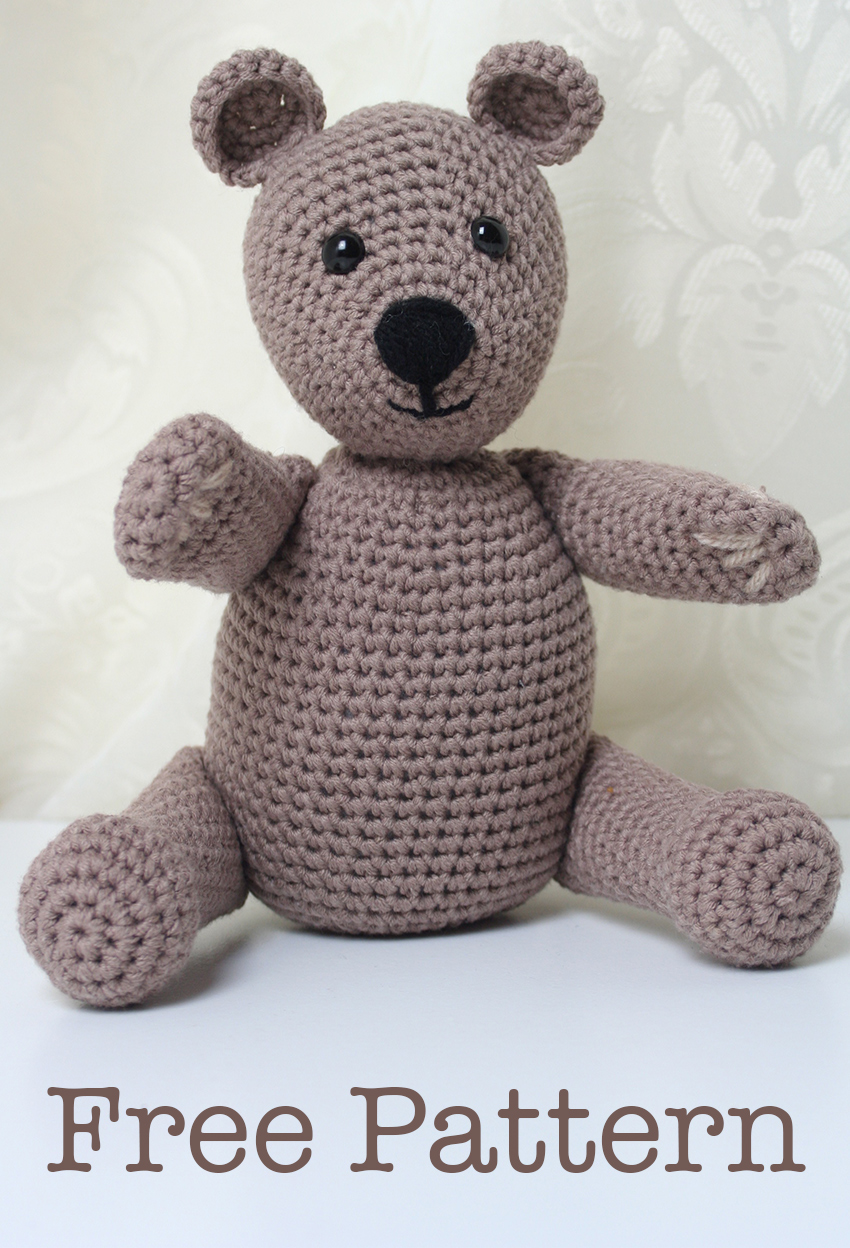
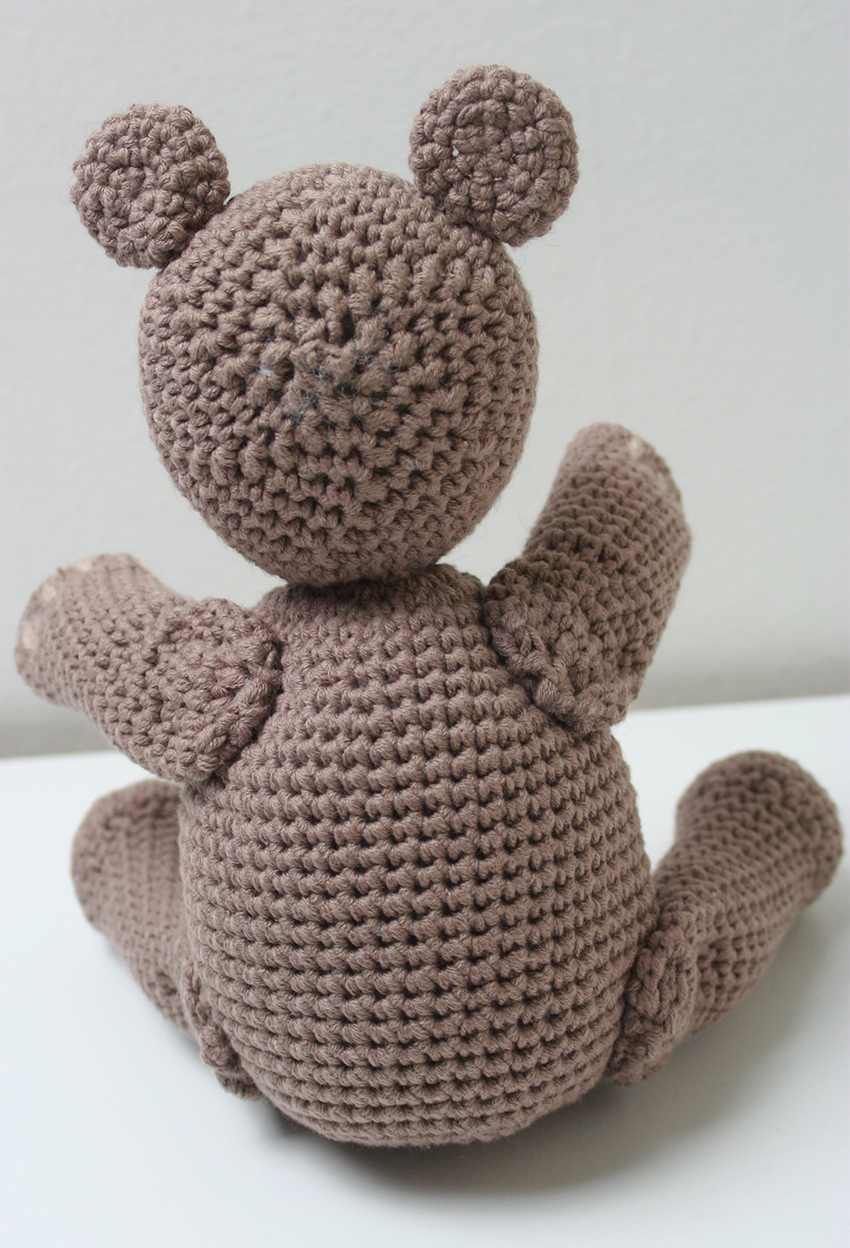
How To Make A Crochet Teddy Bear
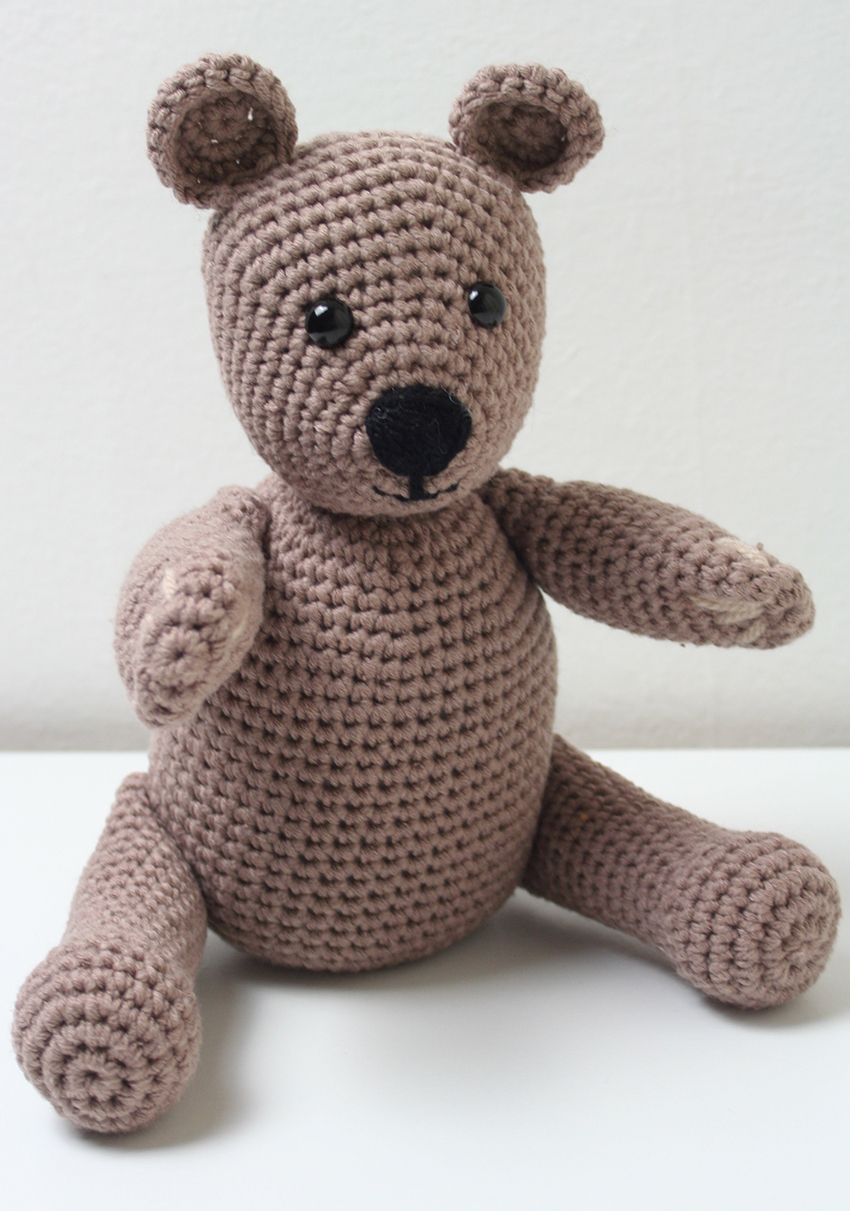
Your bear is now complete! After finishing the crochet bear shown in the photographs, I have begun work on another following the same pattern but in different yarn for my daughter.
This pattern will look most like the one pictured if you use the exact same brand of yarn, but any cotton yarn should give very similar results.
I hope you enjoyed my easy crochet bear pattern. Why not let us know how you got along in the comments section below, or share a photograph of your finished toy on my Facebook Page.
Check Out More Of My Crochet Toy Patterns Here – All Free!
- How to crochet a unicorn
- Cat crochet instructions
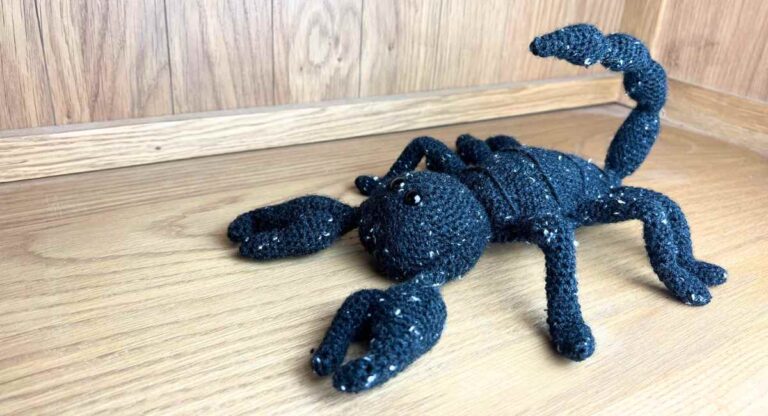
- Free crochet tarantula pattern
- Crochet your own dragon
Happy Crocheting! Lucy Kate, x


Thank you so much for sharing this lovely pattern I really appreciate it xx
Thanks Coreen, I’m so pleased that you like it 🙂 x
I like your pattern but having difficulty with the arms and legs im confused about the 8 slpsts
Hi Laura,
Instead of making a single crochet into each stitch, you slip stitch into each one a single time. It gives the impression of a bend to the arm.
The slip stitches do make the following round a bit fiddly in terms of getting your hook through, but you should manage to push it through each one with a bit of brute force!
If you are finding it hard to do, you can swap to a smaller hook just for those stitches in the following row to insert it more easily. Alternatively substitute the slip stitches for single crochets. The arm won’t have a bend in it, but I am sure it will still look lovely 🙂
Hope this helps!
Best wishes,
Lucy x
so cute – thanks for sharing! 🙂
Thanks Kathy, I’m so pleased you like it 🙂
Thank you, I have been looking for a teddy bear pattern like this.
Thanks for your comment Deborah, that’s lovely to hear 🙂
it doesn’t tell me to stuff the legs? are the stuffed
The directions say I need 100 grams of this yarn. I googled the yarn and 100 grams is one skein. That’s all I need for the whole teddy bear? I doesn’t seem like it’s enough.
Hi Ellen, I only used one skein for the bear, but I can see it doesn’t seem a lot 🙂 I hope you enjoy making my bear! Best wishes, Lucy
Is this pattern available to purchase in PDF form please?
Hi Gill, I don’t have any paid PDFs for the patterns, but you’re welcome to print screen when you’re on the page if you find it easier to follow printed out. Hope that helps! Lucy Kate, x