How To Crochet A Bow
Is it just me that finds bows fundamentally confusing. Watching someone tie a bow-tie is a mystery in itself, but getting a good bow shape from a ribbon ends before it’s ever begun. So I was excited to come up with a crochet bow pattern that was both easy to make, and had that traditional neat but cute bow look.
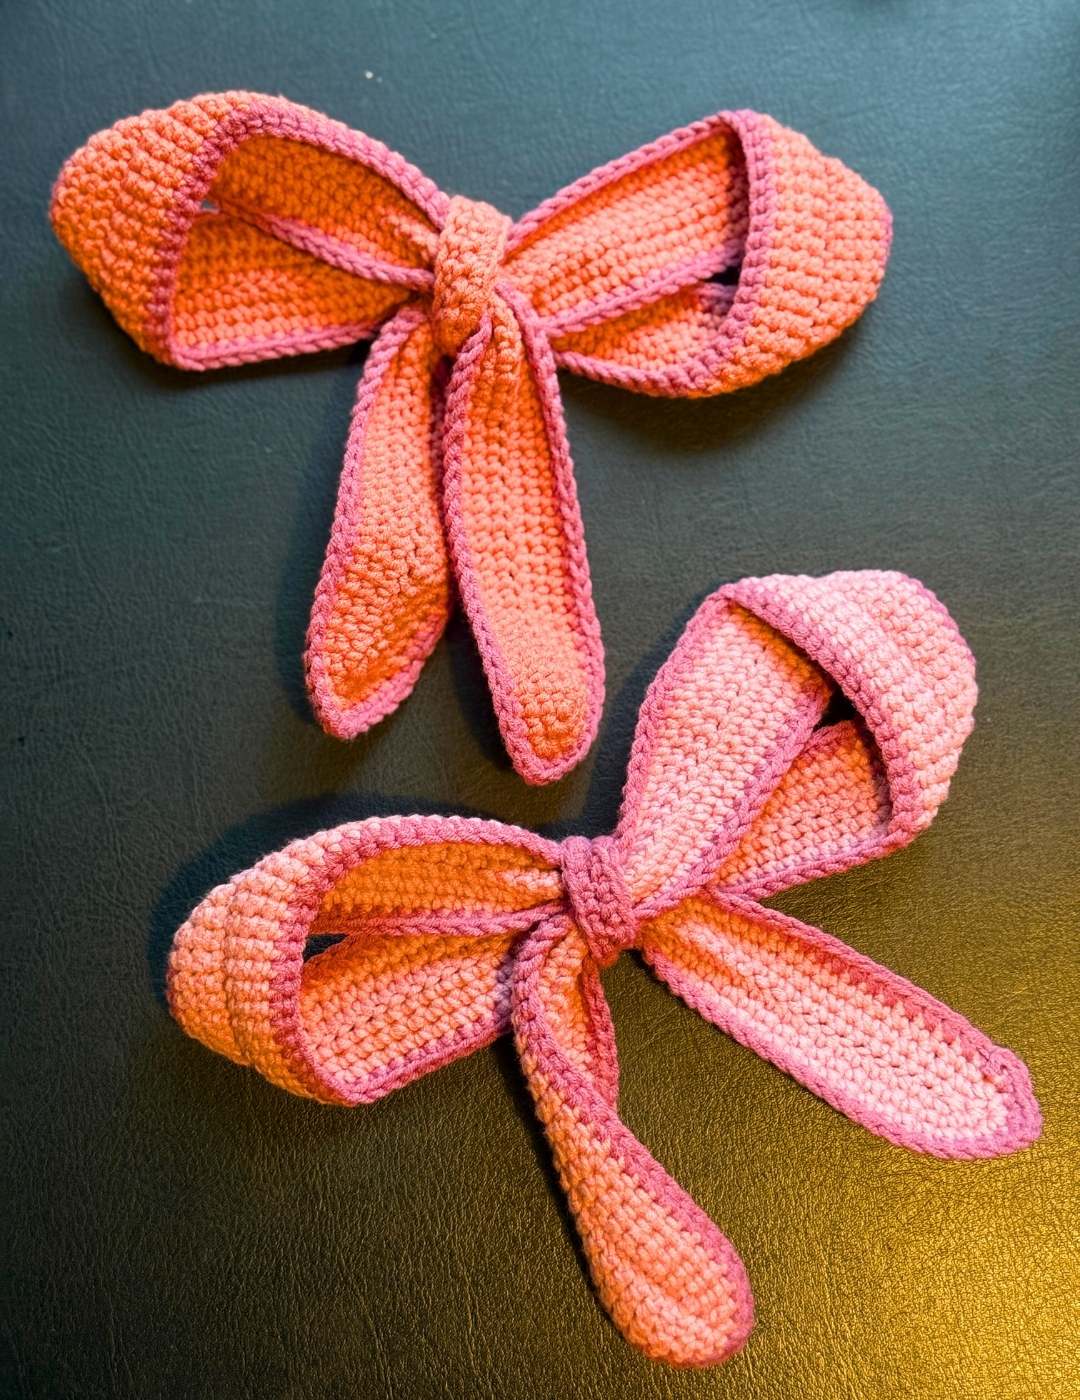
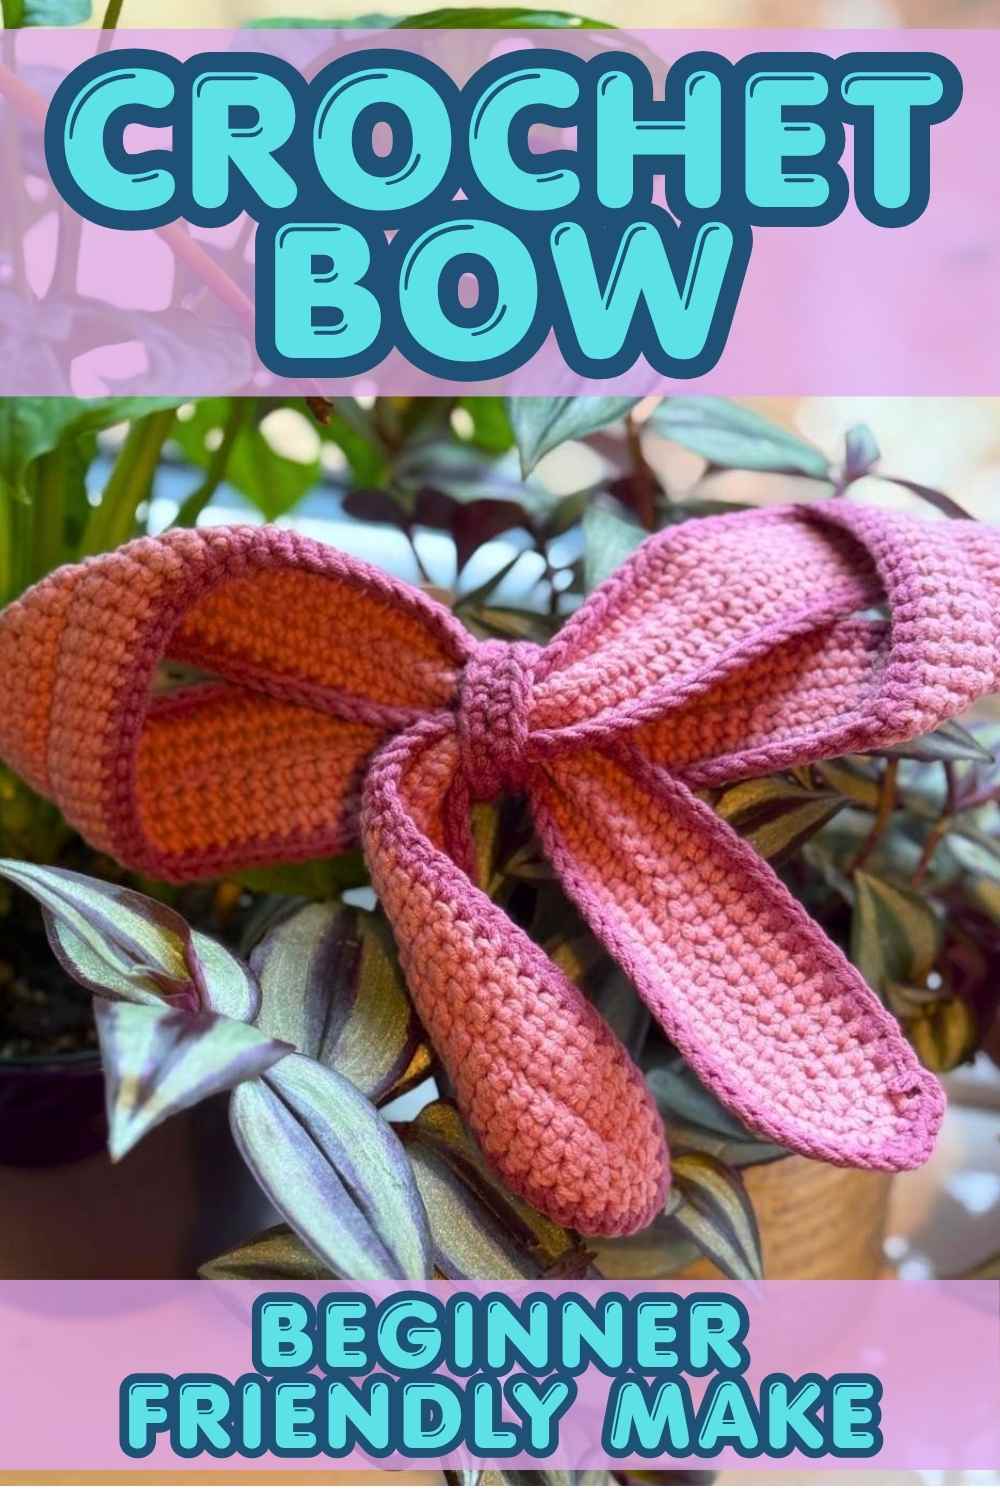
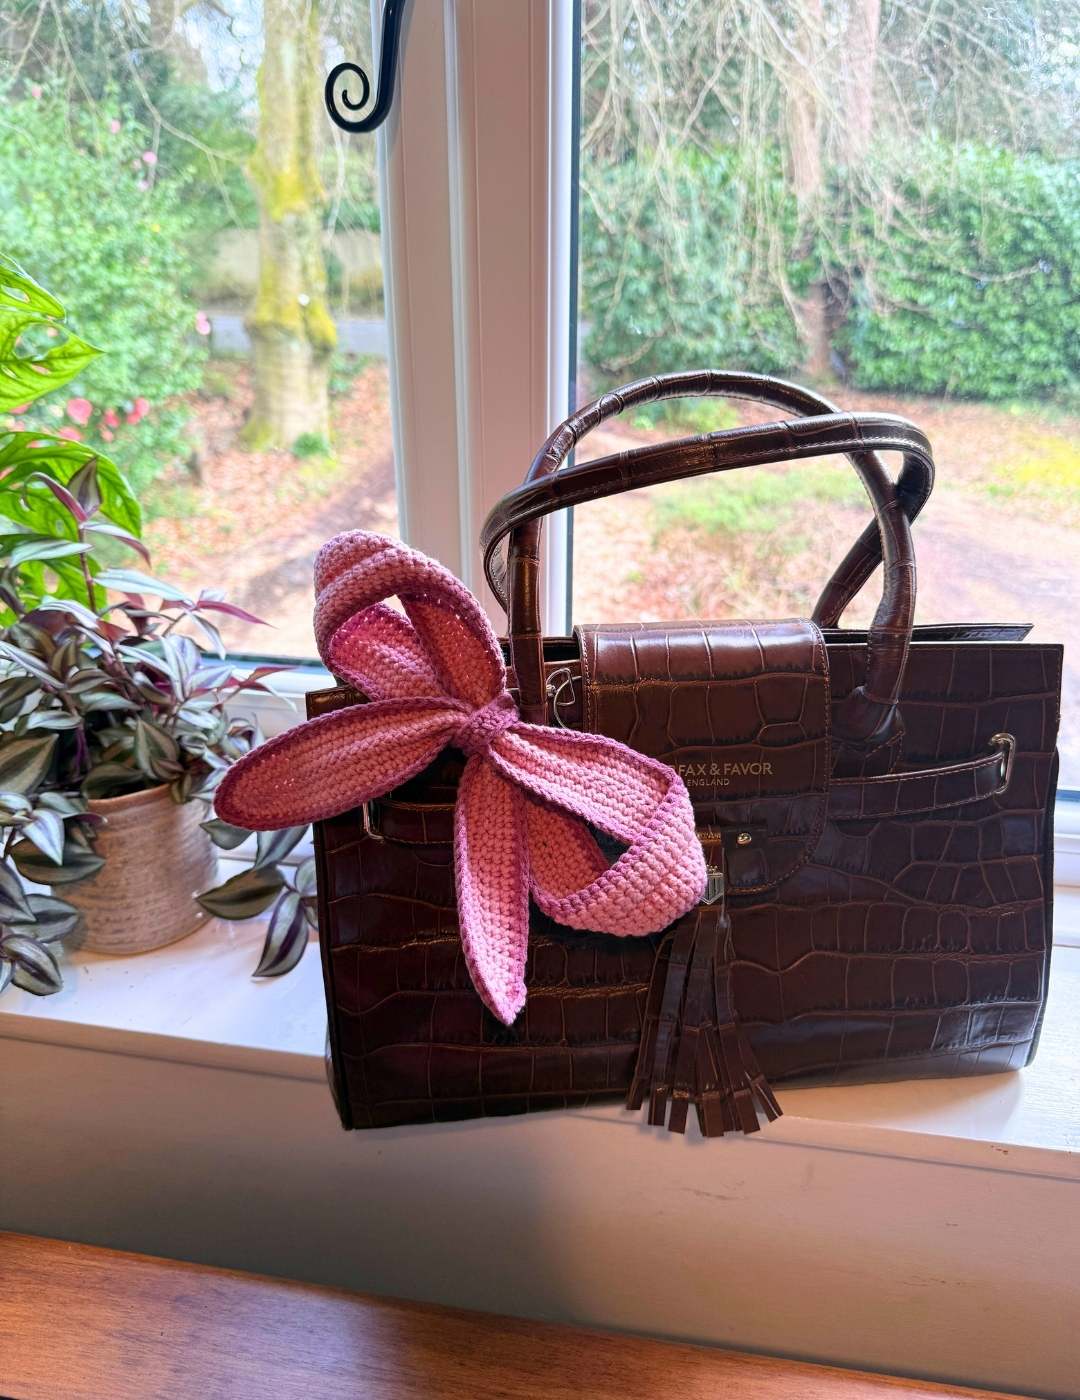
This crochet bow is oversized and makes an adorable hair accessory or bag charm! I’ve attached mine to my favorite purse, and I think it looks really good against the shiny leather! To use it in your hair, I recommend sewing it onto a simple hair clasp or hair band, which will make it easy to attach without loosing the bow’s shape.
What You Will Need
The yarn I used were from Hobbii’s Cosy line but honestly any cotton blend yarn should look just as good. I do recommend you stick with that fiber blend however, as acrylic tends to have less structure to the strands and is more likely to flop over and therefore not give such a strong impact through that traditional bow shape when it’s used.
- 50g light pink cotton blend DK yarn
- 20g dark pink cotton blend DK yarn
- 4mm crochet hook
- Scissors
- Yarn needle

The Stitches
For this pattern I used some nice simple stitches including:
- sk – skip the next stitch
- ch – chain
- slst – slip stitch
- sc – single crochet
- 3sc – three single crochets into one stitch
If you are new to crochet then please do check out the tutorials linked here, they walk you through each technique step by step with clear illustrations.
Free Crochet Bow Pattern
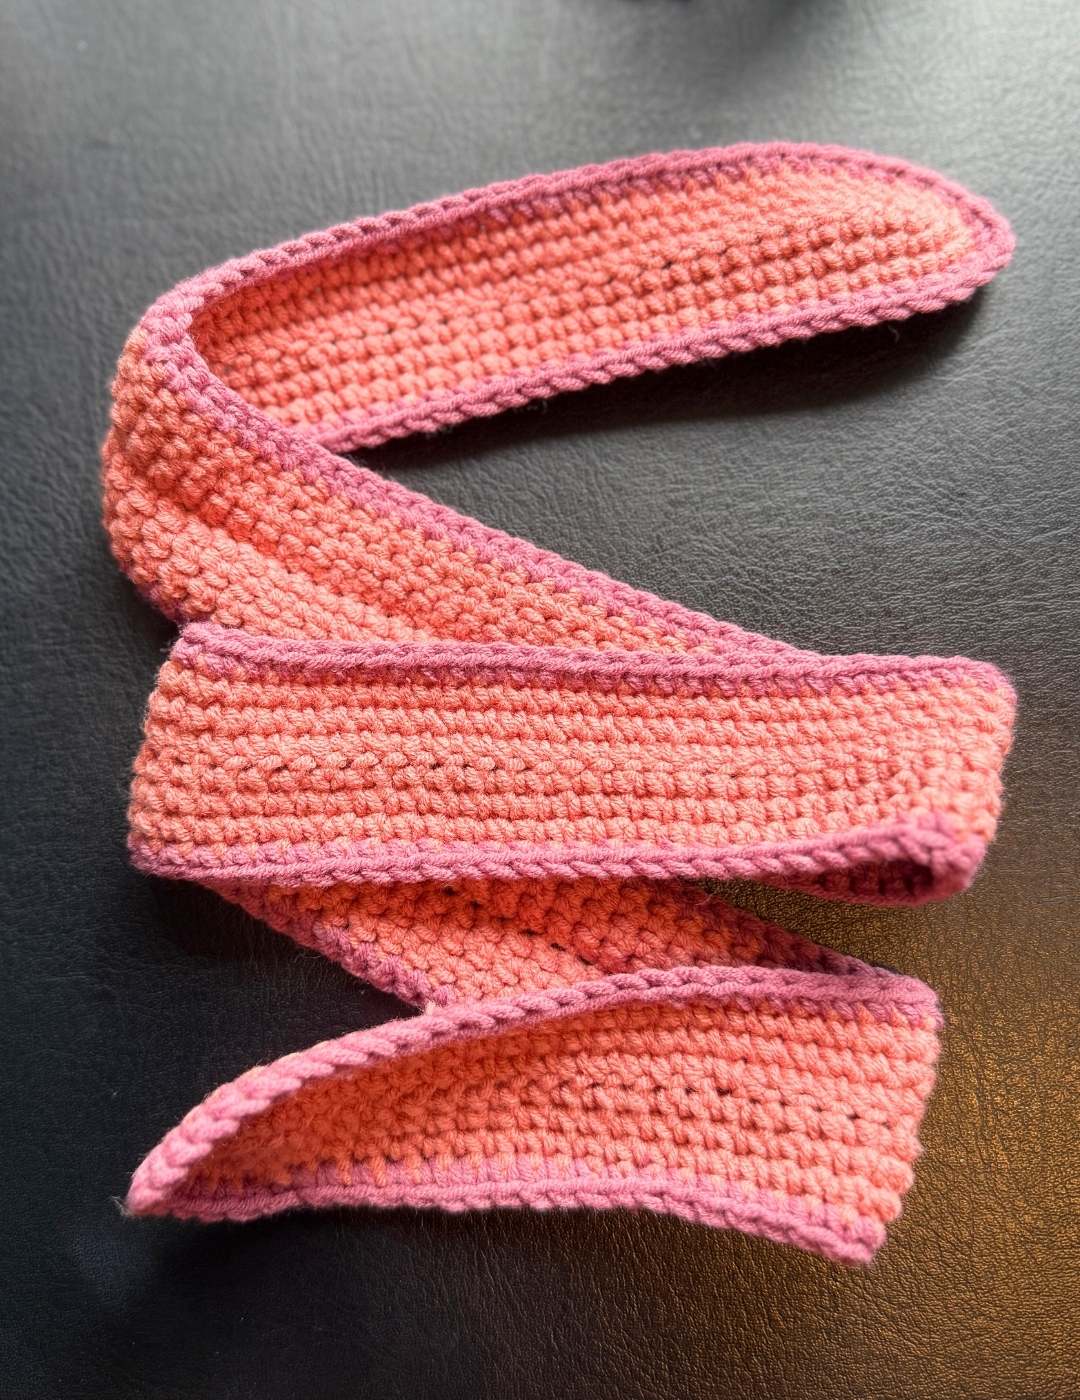
Begin working in your light pink yarn. You are going to make essentially a long flat crochet worm to start with, which you’ll shape once the basic outline is complete.
Round 1
Make a chain of 141 stitches
Round 2
The pattern is going to be worked around the chain in circular rounds from here onwards.
sk1, 1sc x 139, 3sc, 1sc x 139, 2sc, slst
Round 3
ch1, 1sc x 140, 3sc, 1sc x 141, 3sc, 1sc, slst
Round 4
ch1, 1sc x 141, 3sc, 1sc x 143, 3sc, 1sc x 2, slst
cc to dark pink
Round 5
ch1, 1sc x 142, 3sc, 1sc x 144, 4sc, 1sc x 3, slst
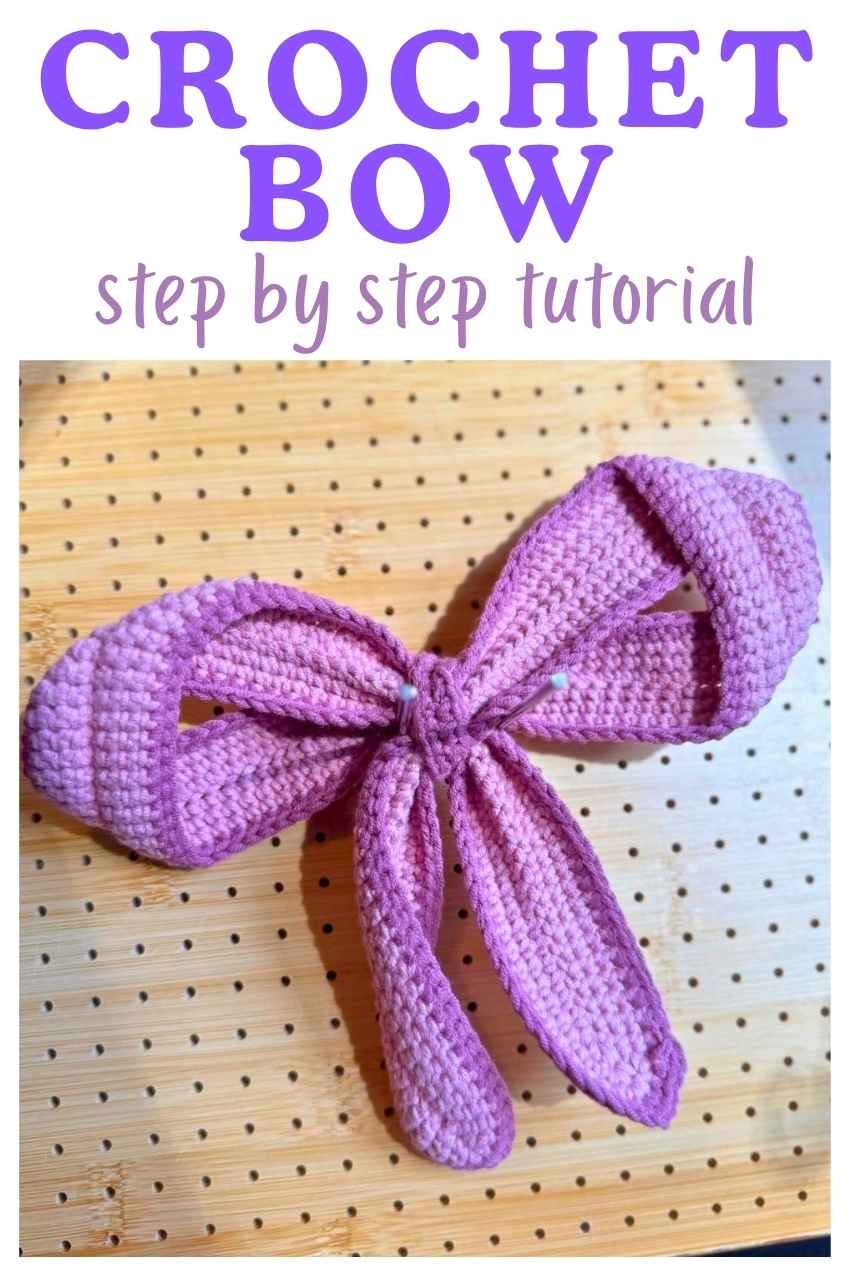
Separating Sections
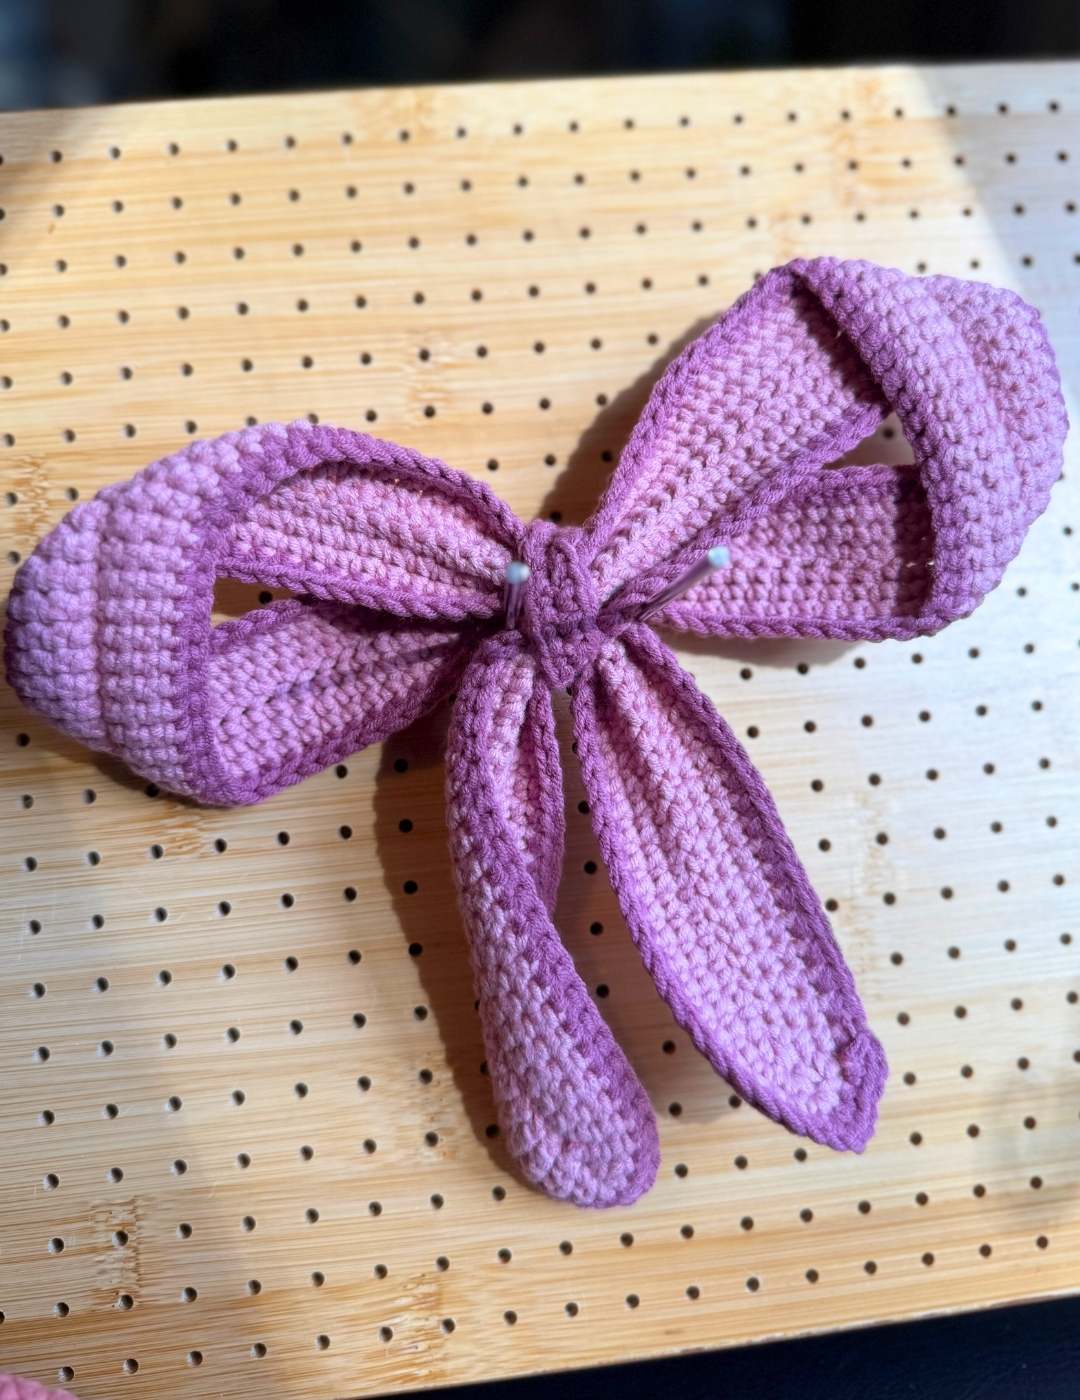
To create the nicest look from this bow, you will now want to separate out three sections. First wrap some yarn around the middle of the tie. Then fold each side into three parts, and wrap at the furthest end third of each side.
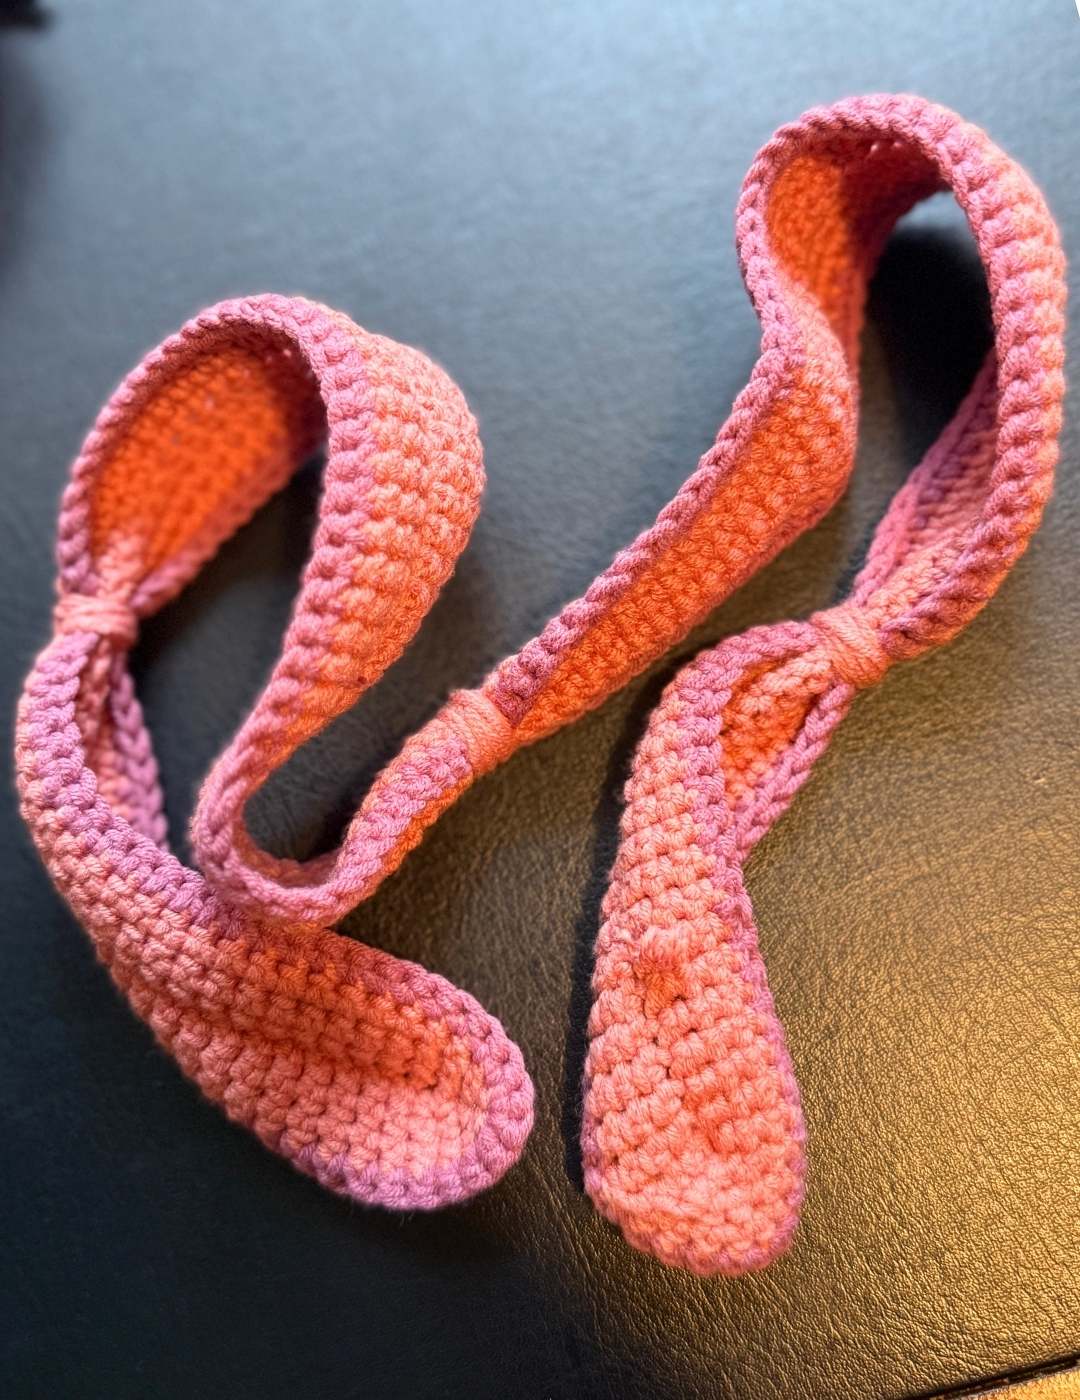
The little ends will be your bow’s tails, the rest will make up the bulk of the bow.
Fold each side and using stitch markers pin it into the shape that looks the best.
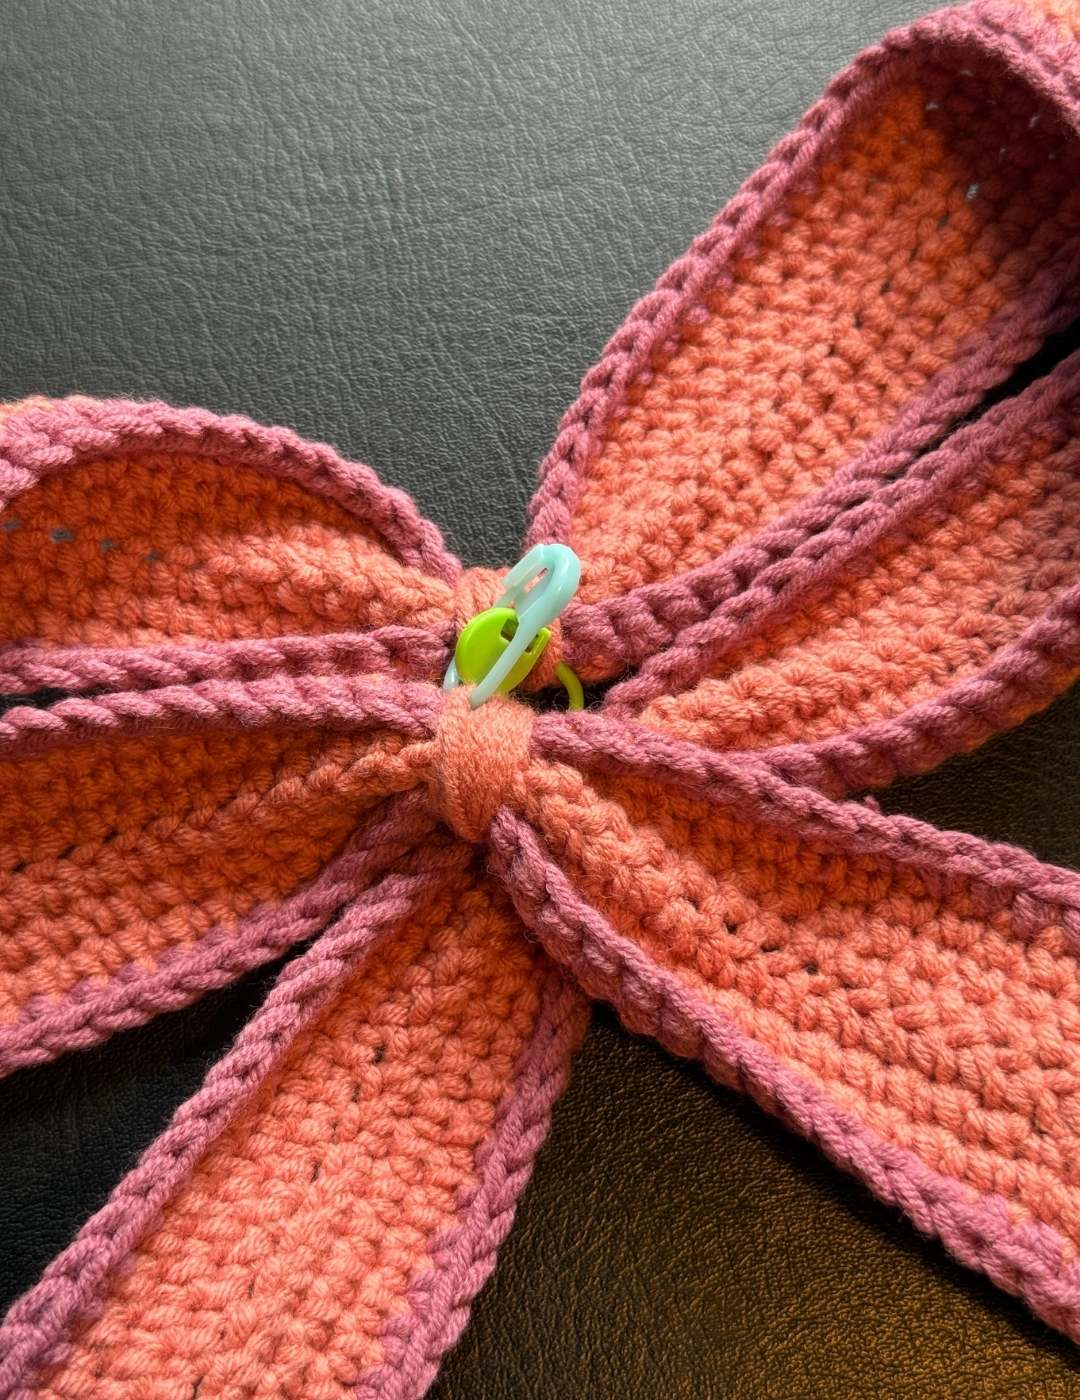
The Tie
To join your bow you’ll make one final section.
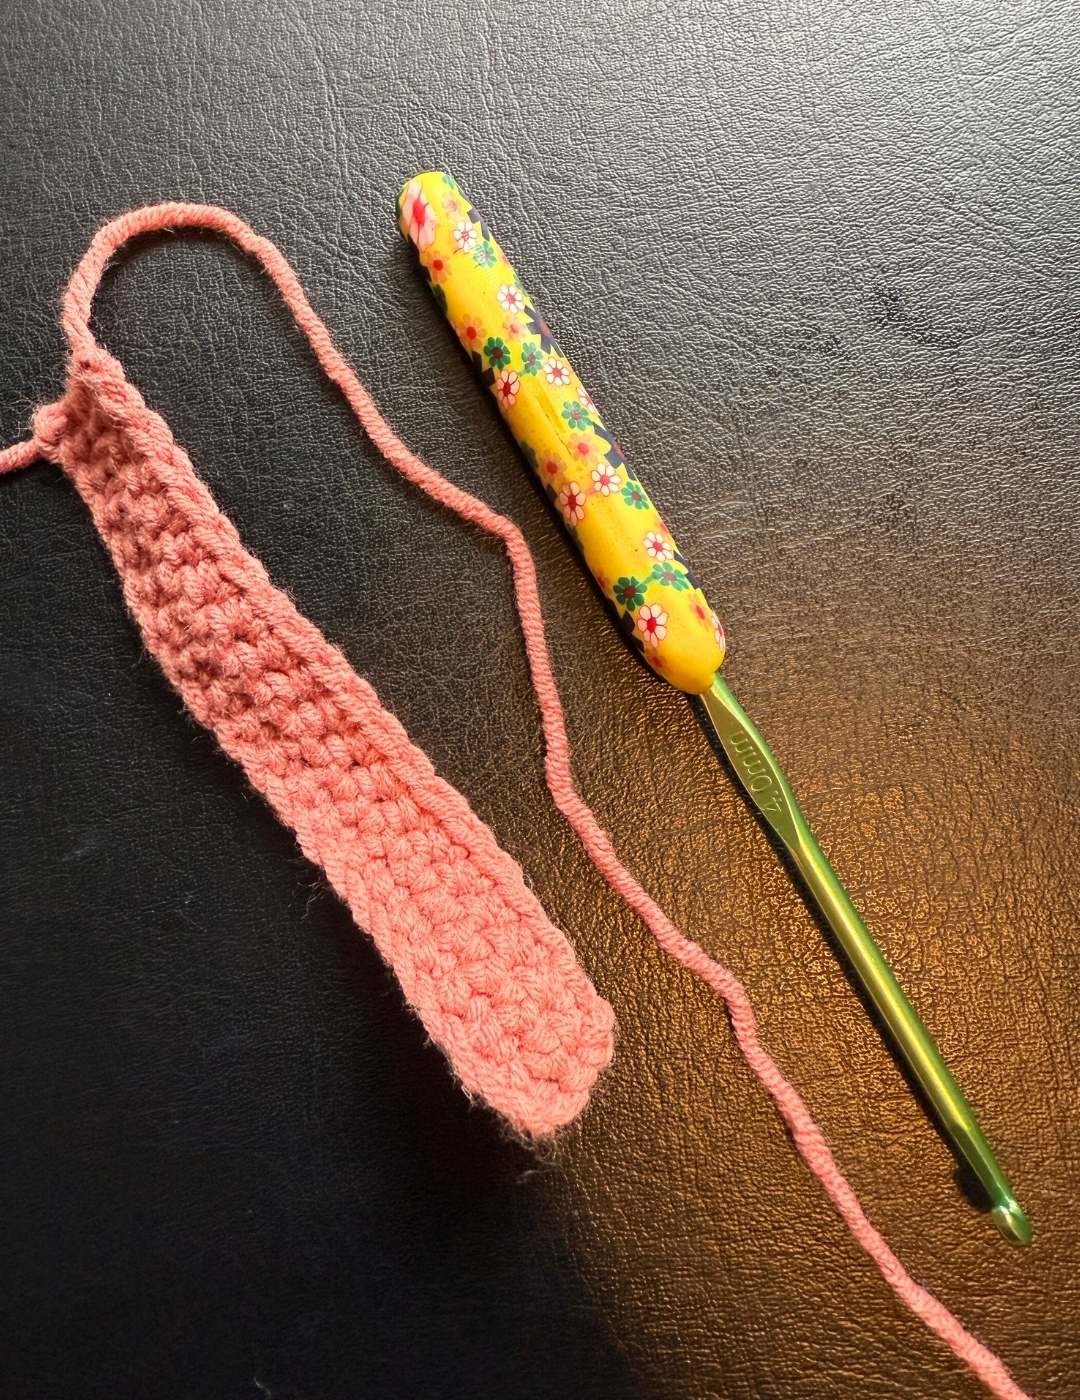
Row 1
ch21
Row 2
sk1, 1sc x 20
Row 3 – 4
ch1, 1sc x 19
Options
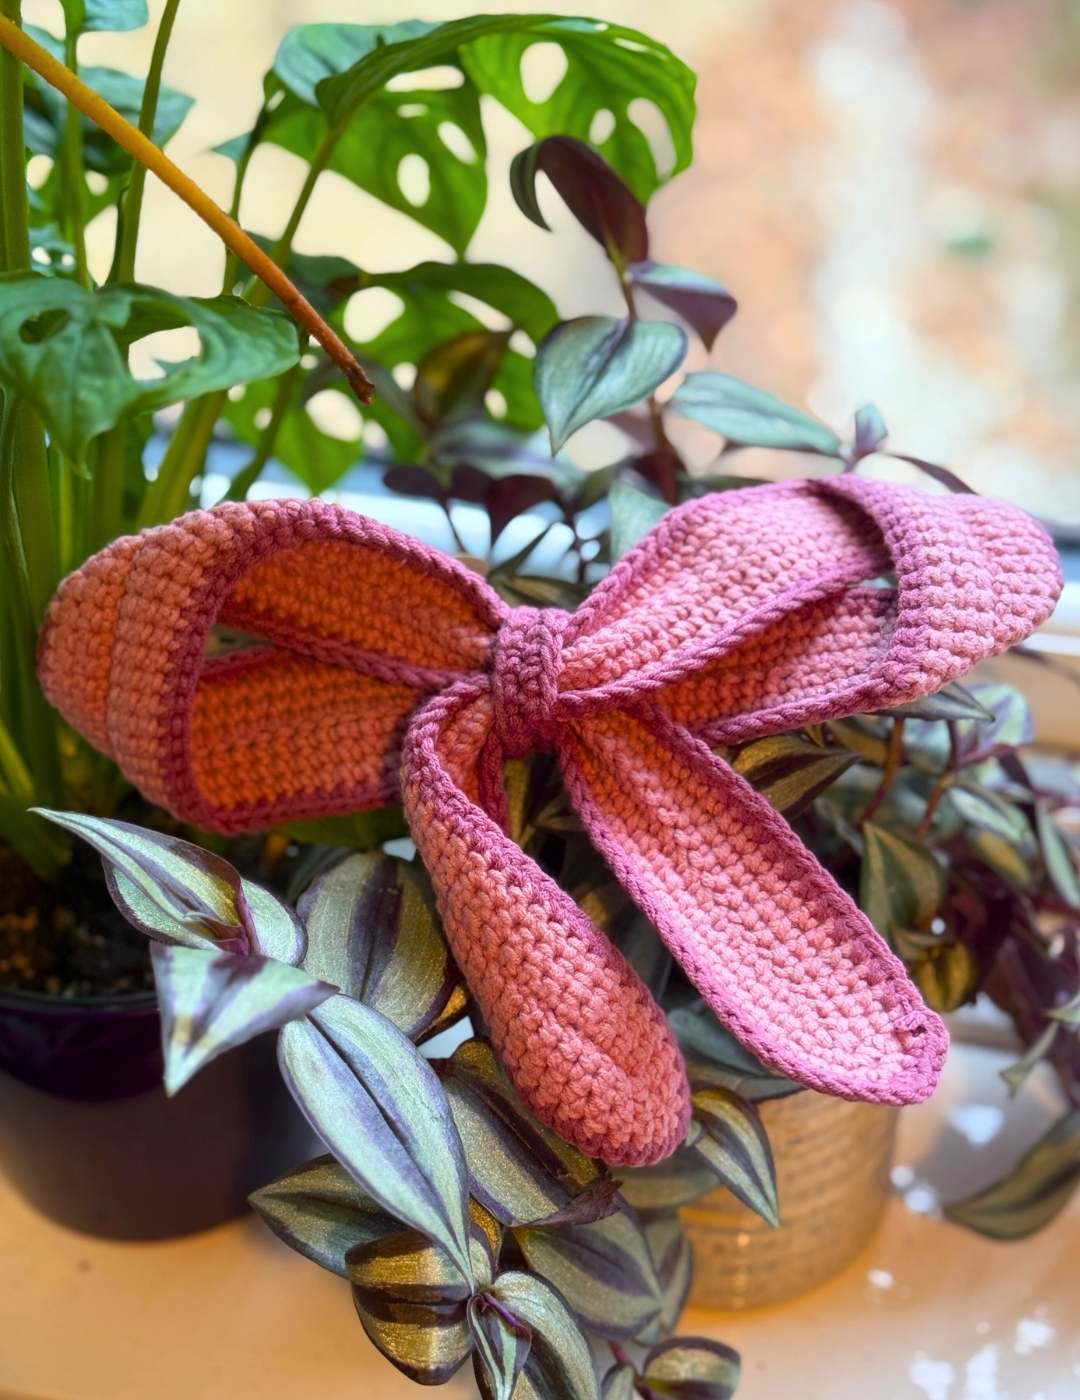
You’ll notice that my three crochet bows pictured have different central strips. When I was testing this pattern I went back and forth with the tie width, if you prefer the look of the thinner tie than just finish on row 2 for that section instead.
I am not sure which style I prefer, and it’s been quite nice to have the variation so that I’ve been able to use them for different projects.
I also think this would look really bold if you swapped the light pink yarn out for red, and made the edging in white yarn. I might give that a go!
Let me know what you think in the comments section below, and as always, happy crocheting,
Lucy Kate, x