Front Post Double Crochet – Tutorial and Free Pillow Pattern
Double crochets are one of the very first crochet stitches that any beginner crocheter learns. You spend ages working that hook through those top two loops, getting your tension just so, and creating neat stitches you can be proud of. Then you read ‘FPDC’ in a pattern. Front Post Double Crochet. And you have no idea where to put your hook anymore.
Don’t let it throw you, because it’s actually quite simple once you understand how and where your stitches can be made.

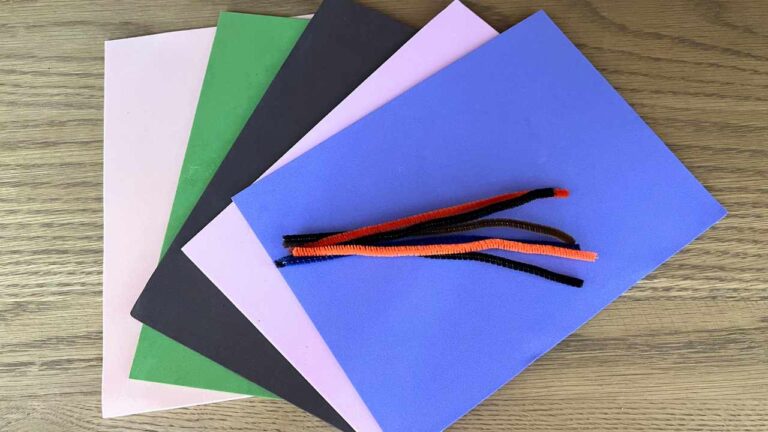
I’m going to walk you through making a front post double crochet, and then to help you practice, I’ll share my absolute favorite crochet pillow pattern. Which you might be a little bit pleased to hear, came into existence due to me getting confused about yet another crochet technique – the alpine stitch. But more on that in a moment!

How To Make A Front Post Double Crochet
Traditionally, crochet stitches are worked into the top of the stitch. The two most prominent loops from the stitches of the previous round. Front post crochet works into the front of the stitch from the previous row, around the long body of the stitch.

This image shows a needle marking where I am going to insert my hook to make the front post double crochet.
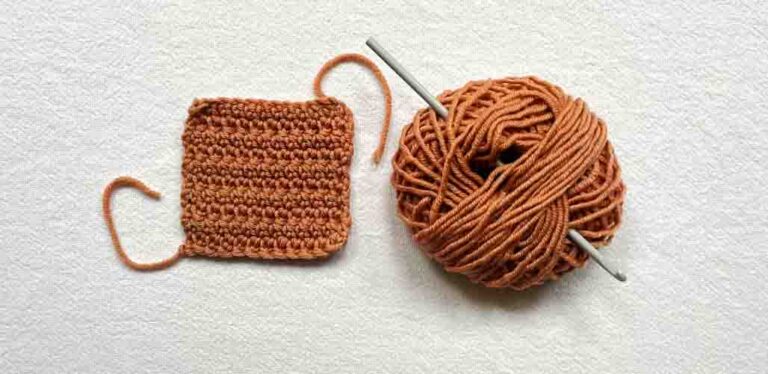
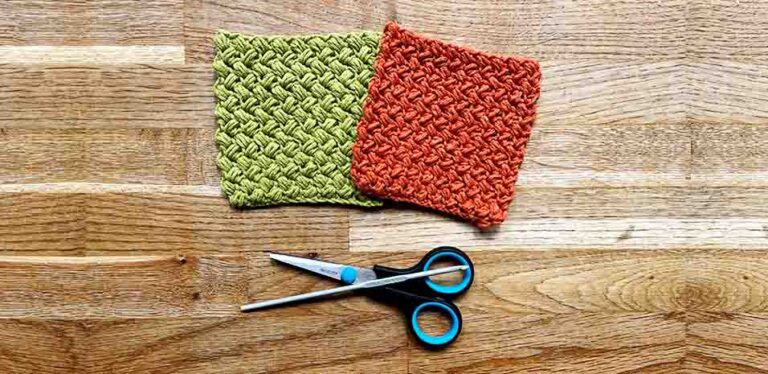
Let’s practice by making a little sample.
- ch – chain
- sk – skip
- dc – double crochet
- fpdc – front post double crochet
Row 1
chain 14
Row 2
sk2, dc x 12
Row 3
ch2, *(fpdc x 1, dc x 1). Repeat from * until the end of the row.

Row 4
ch2, 1dc x 12
Row 5 – 10
Repeat rows 3 and 4
Dropped Front Post Crochet Pillow Pattern
This pillow pattern is going to use a front post crochet, but instead of working it into the stitch from the previous round, you are going to jump down to the row below that. This is a great way to continue practicing the front post double crochet, because it helps you to really understand where the body of each stitch lies.


The Pillow Pattern
This pillow is worked in one long strip, which you will fold and then sew down the final three sides to join. For those who aren’t such big fans of hand sewing, it will have a very similar effect if you decide to crochet the sides together instead.

Row 1
ch61
Row 2
sk2, 1dc x 59
Row 3
ch1, 1sc x 59
Row 4
ch2, dc into first stitch, sk the next sc, instead making a fpdc into the dc stitch two rows down. dc into the next sc. *sk, fpdc into the next but one dc two rows below, dc into the next stitch. Repeat from * until the end of the row.
Row 5
ch1, 1sc in every stitch of the row
Row 6
ch2, dc in every stitch of the row
Row 7
ch1, 1sc in every stitch of the row
Row 8 – 69
Repeat rows 4 – 7

Sewing Your Cushion Together
Lay out the strip of crocheted fabric. Fold it on half and using your yarn needle sew down two of the sides.
Insert the cushion pad, and then sew down the final side.