Easy Triangle Granny Square Pattern
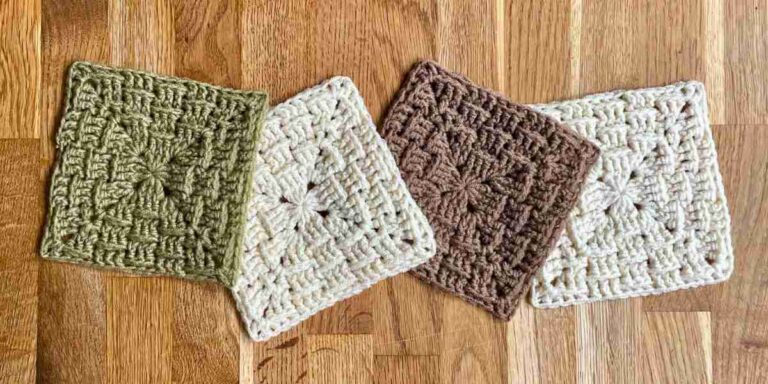
The traditional granny square is, well, square. It’s got four evenly matched sides, which makes it ideal for producing the eternally growing classic crochet afghan. But what if I square just won’t cut it for your project? Enter, the triangle granny square.

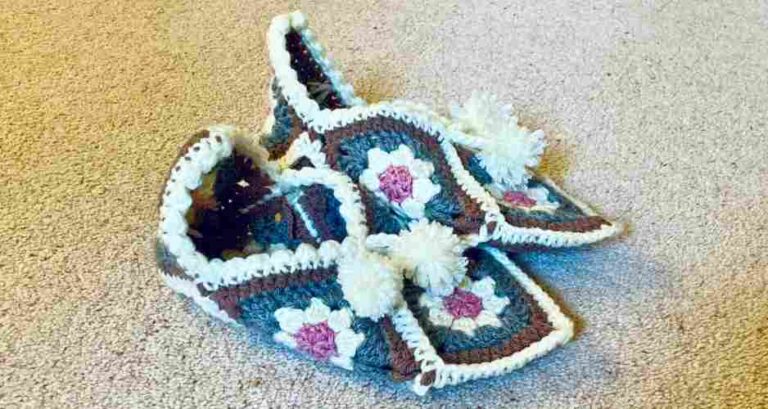
This super simple adjustment to the classic shape gives you a huge amount more possibilities to play with when it comes to your finished project. I use triangle granny squares as shawls, but I also love making multiples up and joining them together to create a blanket with a more interesting pattern.
What Do I Need?
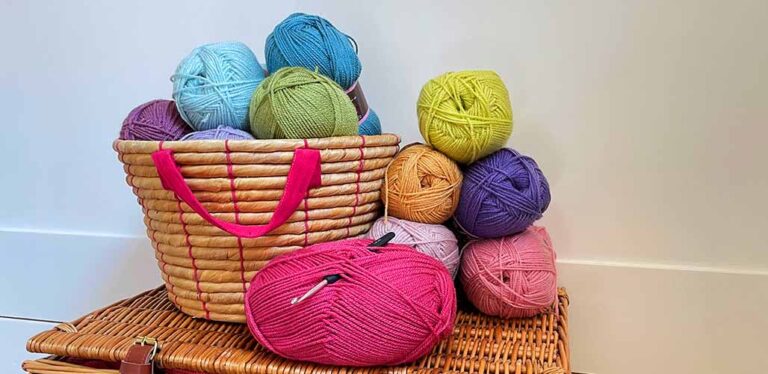
There is no fixed kit list for making a triangular granny square. You need a crochet hook and the appropriately weighted yarn for that hook, and ideally some scissors, then you’re good to go.
The triangle granny square I’ve used as an example was created with a DK cotton blend yarn by Hobbii (Happy Place Yarn, if you want to give it a go) and a 3.5mm crochet hook. But this style of granny square looks great in a variety of weights and fibers of yarn, so you can have fun experimenting.

Granny Triangle Pattern
Got your kit ready? Great, then we’re off! If you are familiar with granny squares, the trick here is just thinking in groups of three instead of four.
I’m going to write the instructions in full with the abbreviated terms in brackets to begin with, then we’ll switch to just abbreviations once you get going.
Round 1
Make a chain (ch) of four stitches, then slip stitch (slst) into the first loop to join as a circle.
Chain 3 (ch3) as your first double crochet (dc), now working into the circle make two double crochets (dc x 2), then ch2, then make three double crochets (dc x 3), chain 2 again, then make a final set of three double crochets, chain 2 and slip stitch into the top of the starting chain 3.
Tie off and snip off a tail of yarn, and remember to work that tail into your next round if you can. Don’t worry if you can forget, you can always hide the tails with a yarn needle or hook at the end if necessary.

Round 2
Insert your hook into one of the corner spaces, and make a chain of 3 stitches (ch3) as your first double crochet.
Into the same corner, dc x 2, ch2, dc x 3
Ch1 to cross the side of your triangle, then working into the next corner
*dc x 3, ch2, dc x 3, then ch1
Repeat from * for the final corner, then slst into the top of your starting chain to join.
Cut off your yarn tail and tie off.

Round 3
Start in a corner, ch3, dc x 2, ch2, dc x 3, ch1
Into the next edge space dc x 3, ch1
*Into the next corner dc x 3, ch2, dc x 3, ch1
Into the next edge space dc x 3, ch1
Repeat once from *, then slst into the top of your starting chain to join.
Cut off your yarn tail and tie off.

Round 4
Start in a corner, ch3, dc x 2, ch2, dc x 3, ch1
Into the next edge space dc x 3, ch1, and into the following edge space do the same: dc x 3, ch1
*Into the next corner dc x 3, ch2, dc x 3, ch1
Into the next edge space dc x 3, ch1, and into the following edge space do the same: dc x 3, ch1
Repeat once from *, then slst into the top of your starting chain to join.
Cut off your yarn tail and tie off.
Round 5 and beyond
You can now follow this pattern to make your granny square triangle as big as you would like, just increasing the number of sets of three double crochets along the edges according to how many gaps there are.
You might also like to experiment with making the chain section for the corners three chains long instead of two if you prefer a more pointed finish. The one I’ve shared is my personal preference, but they look great both ways.

Finishing off
To get the best look from any two dimensional granny square project, blocking is a really good idea. You don’t need an official blocking board, a pin board works just as well, and I have also been known to flat my projects under heavy books when needs must.
For triangle granny squares in particular I recommend steaming them with a hand steamer if you have one, to really define the shape.