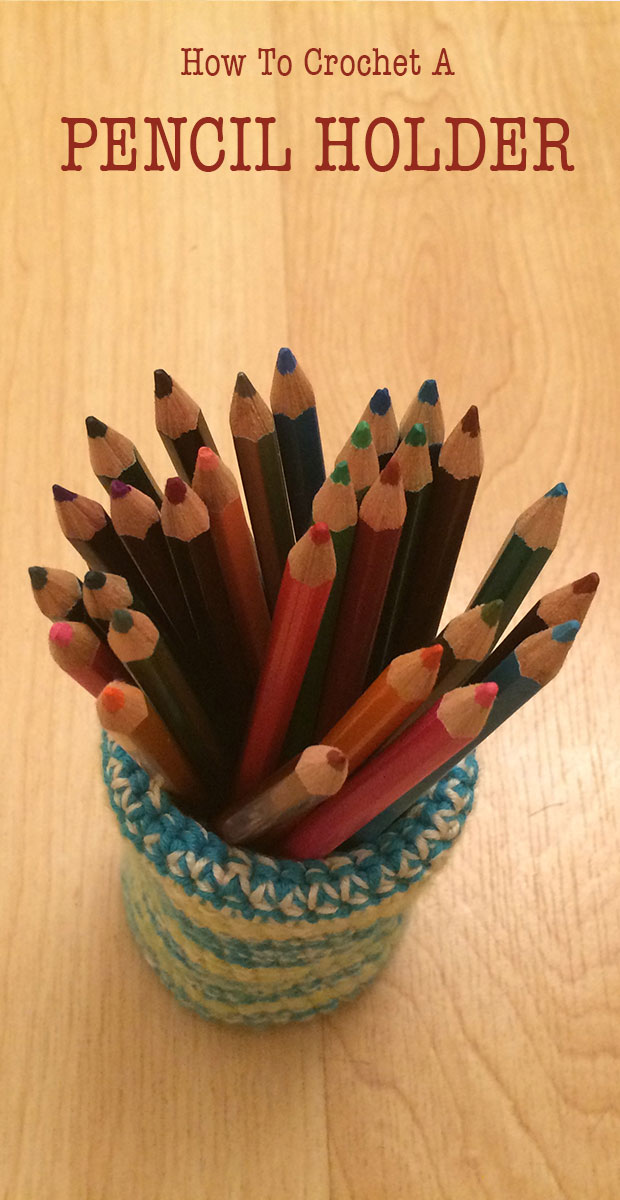
Free Crochet Pencil Holder Pattern
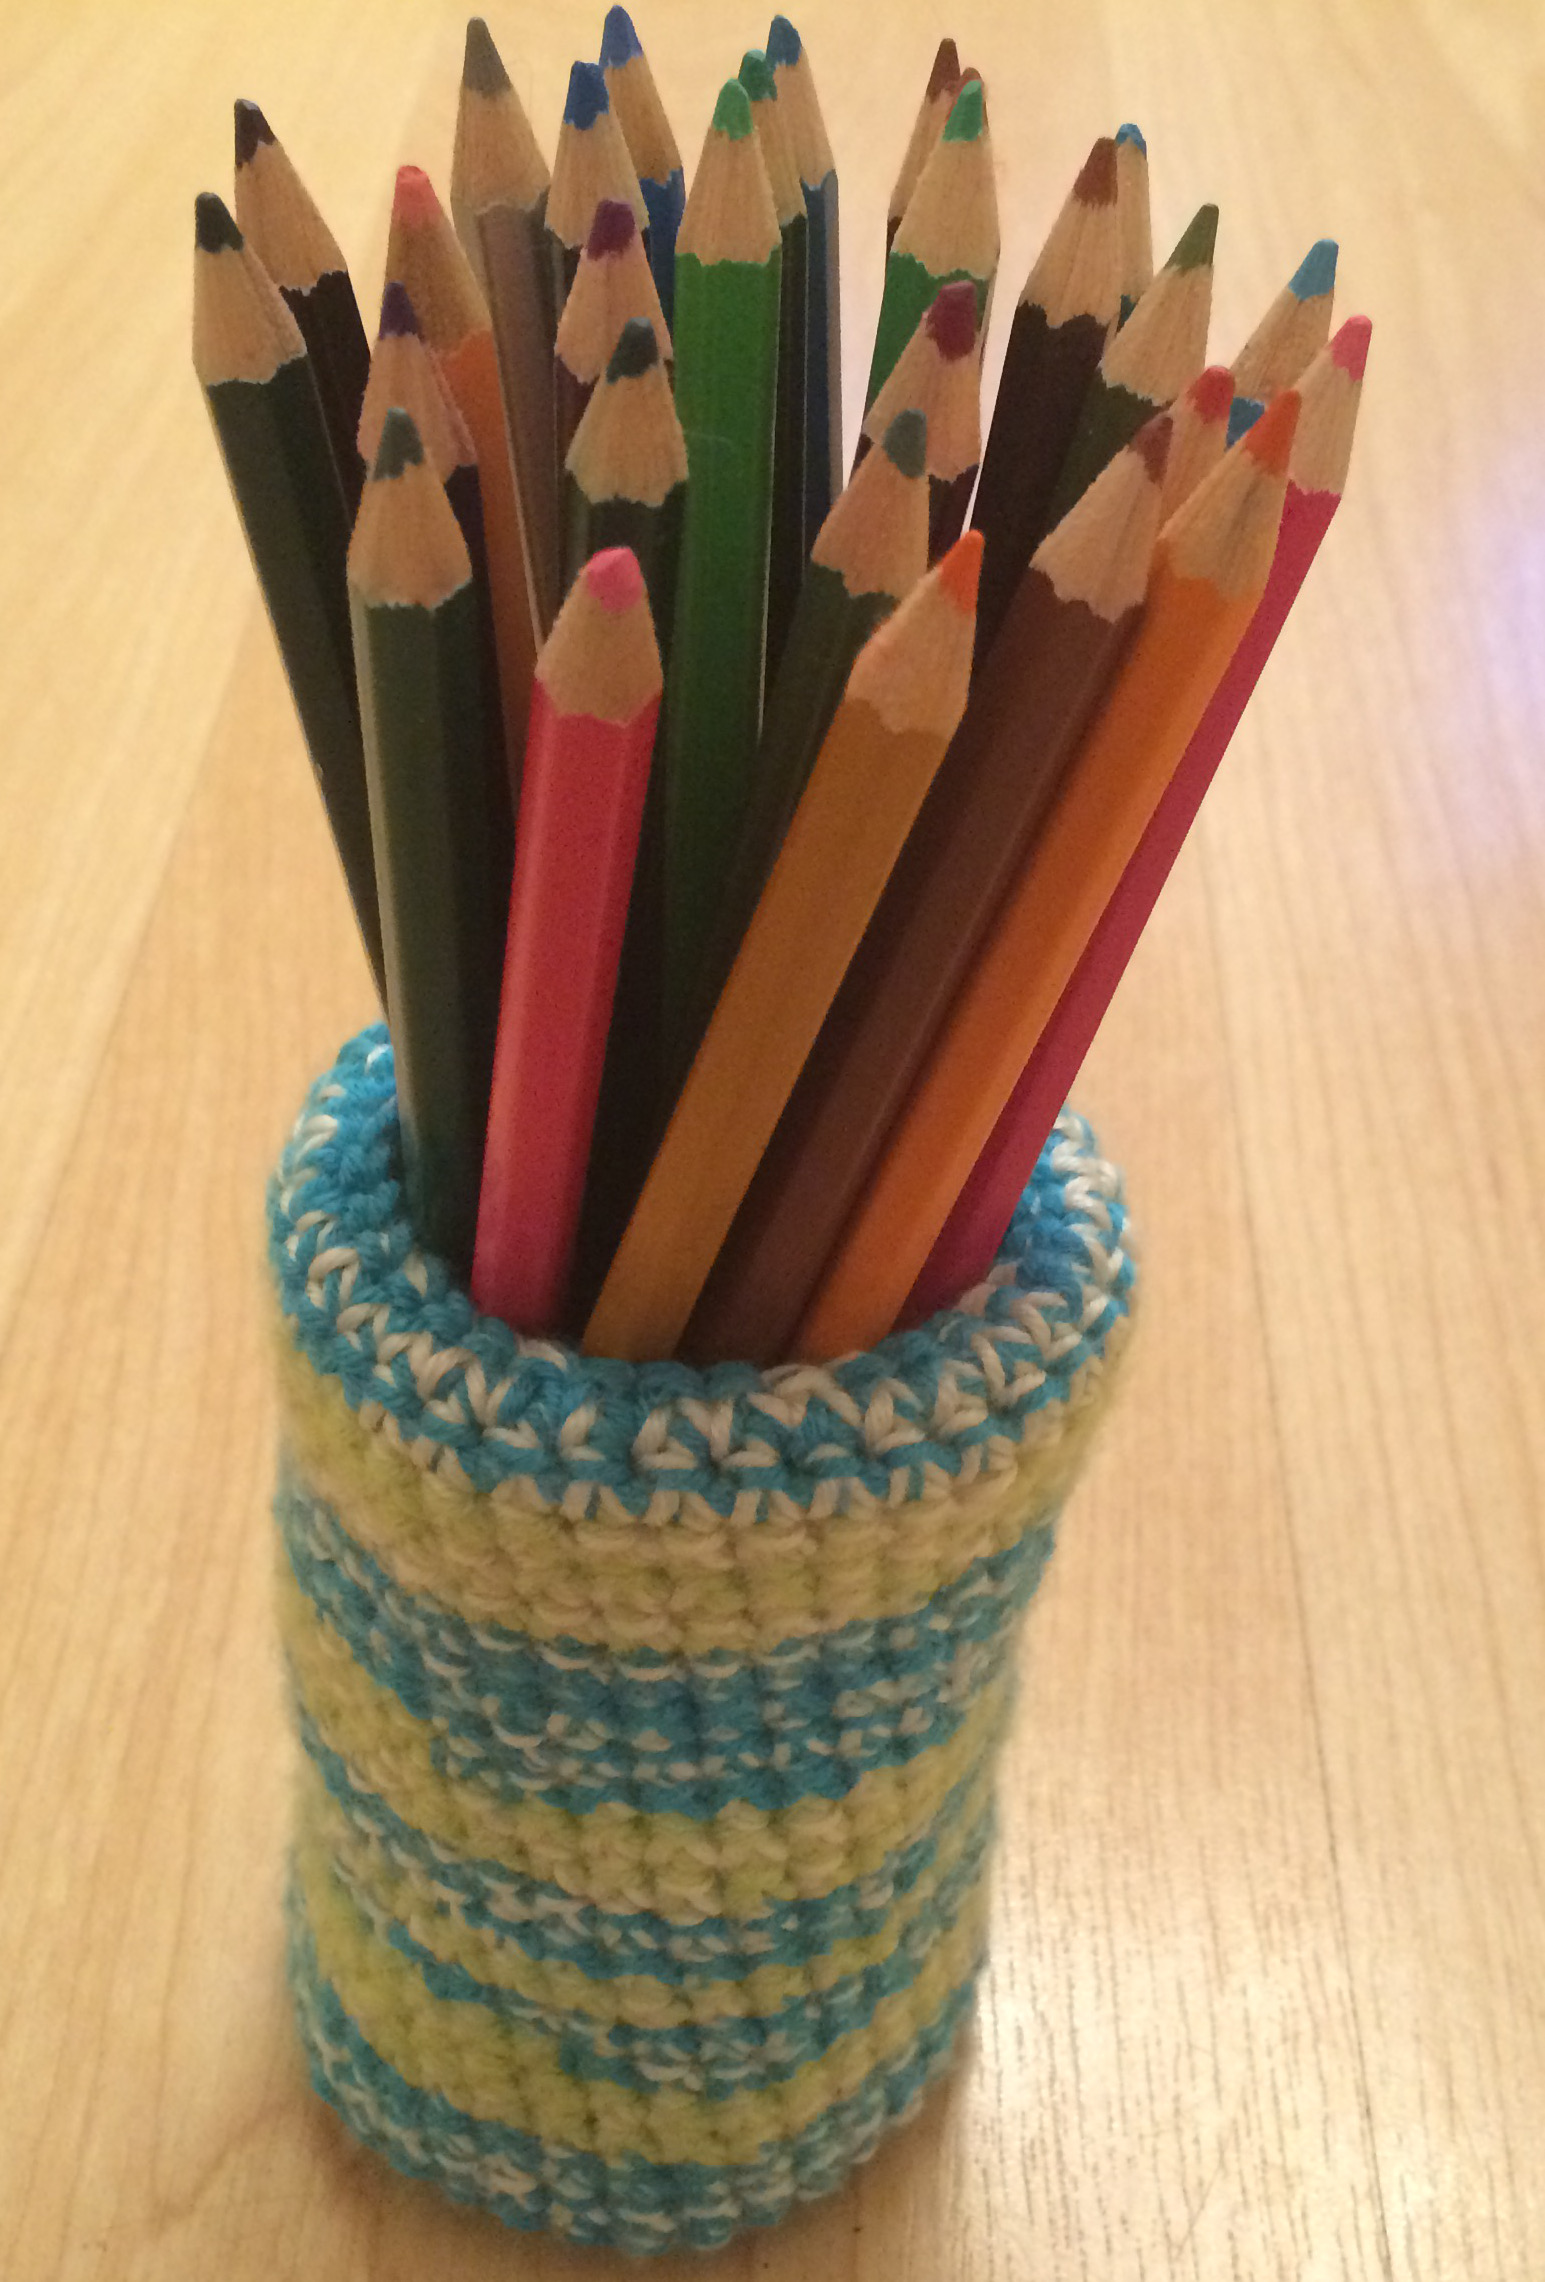
A crochet pencil holder is a great way to practice your crocheting skills and put then to practical use. My fist crochet pen holder was made in 2016, but here we are years later and it’s still holding my crochet hooks! The crochet pencil holder pattern below is designed to be very beginner friendly. When you think of crochet, you might associate it with soft and flexible items. Blankets, throws, bags and clothes immediately springing to mind. But if you get the pattern right you will end up with a basket that doesn’t just look amazing, it’s useful too! Don’t worry about floppy sides or uneven finishes. Just follow the simple instructions below and await success.
Contents
- New to crochet? Start here!
- Useful crochet pencil holder pattern notes
- My free crochet pencil holder pattern
- Step by step instructions with pictures
- Tips for crochet color changes
I love making crochet baskets. They are simple, fun and hugely practical. The look, the variety. They’re the full crochet packet. And pencil holders like this one really are just tall, skinny baskets!
Your First Crochet Pencil Holder
New to crochet? Then the first basket you make should be a nice straight forward one, and that’s what the patten below reflects.
If you can get it right on a small scale, then you should have no problem moving onto some seriously impressive and creative larger or more patterned baskets soon. If you follow the instructions below then the finished basket will be the ideal size and shape for a handy pencil holder to go on your desk at work!
Crochet Pencil Holder Equipment
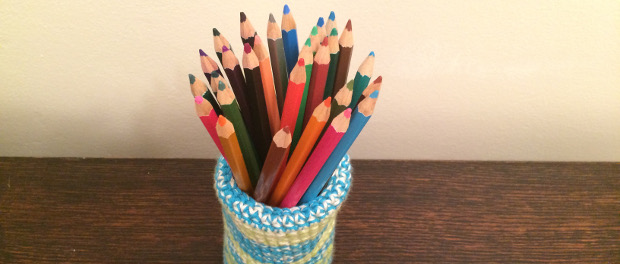
It’s crochet pencil holder time! In this article we are going to look at a pattern to crochet a pencil holder, to brighten up your desk. You will need the following crochet pencil holder equipment:
- Size G / 4mm crochet hookPaid Link
- 100g Women’s Institute Soft & Silky yarn in turquoise or Red Heart Blue yarnPaid Link
- 100g Women’s Institute Soft & Silky yarn in lime or Mary Maxim Starlette yarnPaid Link
- 100g of Cream Acrylic yarnPaid Link
- Stitch markerPaid Link
- Yarn cutterPaid Link
For preference your 4mm crochet hook should be aluminium with a soft grip, as some of these stitches can get fiddly and repetitive.
I used the Women’s Institute yarn, but you don’t have to use the same yarn I have. Sadly these are only available in the UK, but you can get some great similar yarns in the US.
Crochet Pencil Holder Pattern Notes
This crochet pencil holder requires the use of two main techniques, magic circles and single crochets. If you are unfamiliar with these, then check out the tutorials below:
The pattern is written in full form to begin with, with abbreviations underneath in italics. Instructions are then given using abbreviations once they have been established.
If you want to have some help with your crochet abbreviations, you can check out my chart here. Total stitches in the round are given in brackets at the end of the instruction.
Free Crochet Pencil Holder Pattern
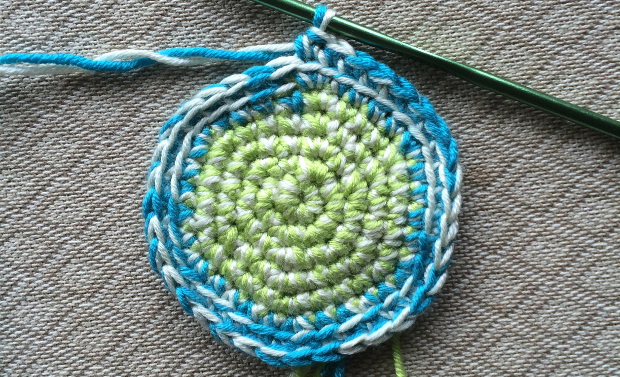
Getting the base of your basket right is key. If you don’t have a flat round bottom, then you won’t have a stable foundation for your sides. You form this base by making a circular increase as follows:
Round One
Make a magic circle of six stitches, with two strands of yarn. One strand of cream and another of green yarn. Hold both strands firmly together as you crochet, creating a thick and solid magic circle Continue onto subsequent rows using both strands. (6)
Round Two
Make two single crochets into each stitch
- 2sc x 6 (12)
Round Three
One single crochet into the first stitch, two into the next stitch. Repeat six times.
- (1sc, 2sc) x 6 (18)
Round Four
One single crochet into the first two stitches, two into the next stitch. Repeat six times.
- (1sc x 2, 2sc) x 6 (24)
Round Five
- (1sc x 3, 2sc) x 6 (30)
Round Six
Begin the round by swapping the green yarn strand to blue. Continue the pattern as before with two strands at once.
- (1sc x 4, 2sc) x 6 (36)
Round Seven
To finish the base put a single crochet into each stitch, but only pulling the hoop through the back loop. Make sure it goes through both strands of the back loop, so you will be picking through two strands rather than four.
You now have a complete base to build the sides of your basket onto. Now you will move on to building up the sides. You’ll be working in both loops again.
Round Eight to Twenty-Eight
Put a single crochet into each stitch for next twenty rows Approximately every 2.5 to 3.5 rows, color change your colored strand.
Keep the cream strand throughout. To finish off simply slip stitch into the next row, leaving a long tail that you can work back into the basket.
Crochet Color Changes
You could make your first basket all in one color, but I find that this can ruin the flow when you are new to basket weaving with crochet.
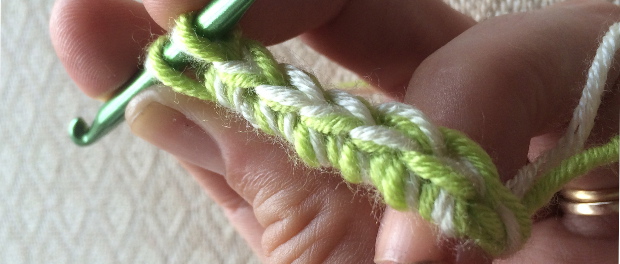
Two distinct threads makes it easier to be sure that you haven’t dropped part of the stitch somewhere, and to pick up and pull the yarn through each hoop. Using bright and contrasting colours makes this even easier.
To keep a fun and funky look to your finished basket, change crochet colours irregularly. I also think for these baskets having a random effect looks more fun too.
I’d love to hear how you get along, so why not let me know in the comments section below.
More Fun and Practical Crochet Patterns
- Rainbow scarf crochet pattern
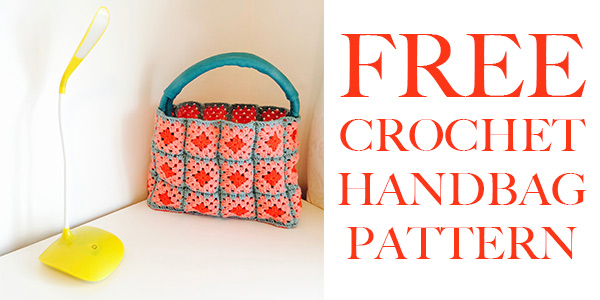
- Crochet your own handbag
- Vintage style crochet throw pillow pattern
- Crochet grocery shopping bag
Happy Crocheting! Lucy Kate, x