Free Crochet Laptop Sleeve Pattern
I am so happy with my new crochet laptop sleeve pattern, I cannot wait to share it with you! This is an intermediate pattern, but I’ve linked in the stitch guide section to tutorials for all of the more complicated stitches so even if you are a newer crocheter you can still give it a go.
Because I don’t know about you, but I could definitely be kinder to my laptop. Although I usually work from home, at least once a week I pop it in my backpack, and go out to work. The backpack has a laptop slot, but it’s hardly the safest way to transport the most expensive piece of equipment in my office! Fortunately, I’ve had a lovely idea for solving this problem in the cutest possible way by crocheting my own laptop sleeve.
What You’ll Need
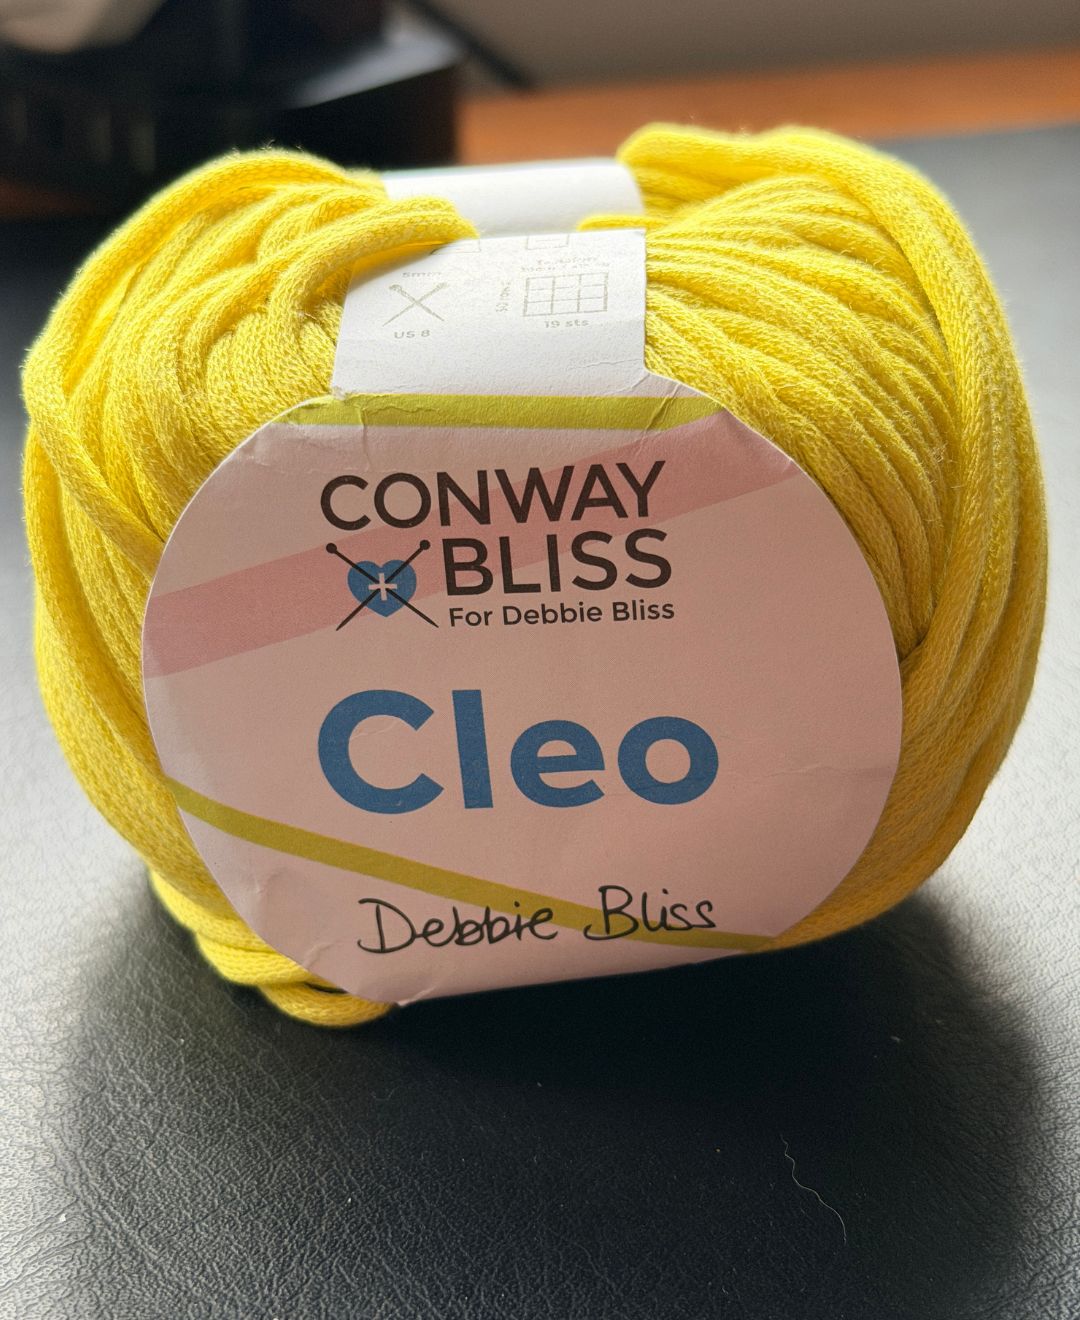
I used a cotton/polyamide blend t-shirt style yarn for my crochet laptop sleeve. I really like crocheting with this yarn, it’s got a bit of stretch and a lovely smooth texture. It’s also great as a protective layer as it’s fairly thick, particularly with the relatively small size of crochet hook that I used.
- 4 skeins of Debbie Bliss Cleo yarn, in a yellow color
- 3.5mm crochet hook
- scissors
- yarn needle
Adjusting the Pattern
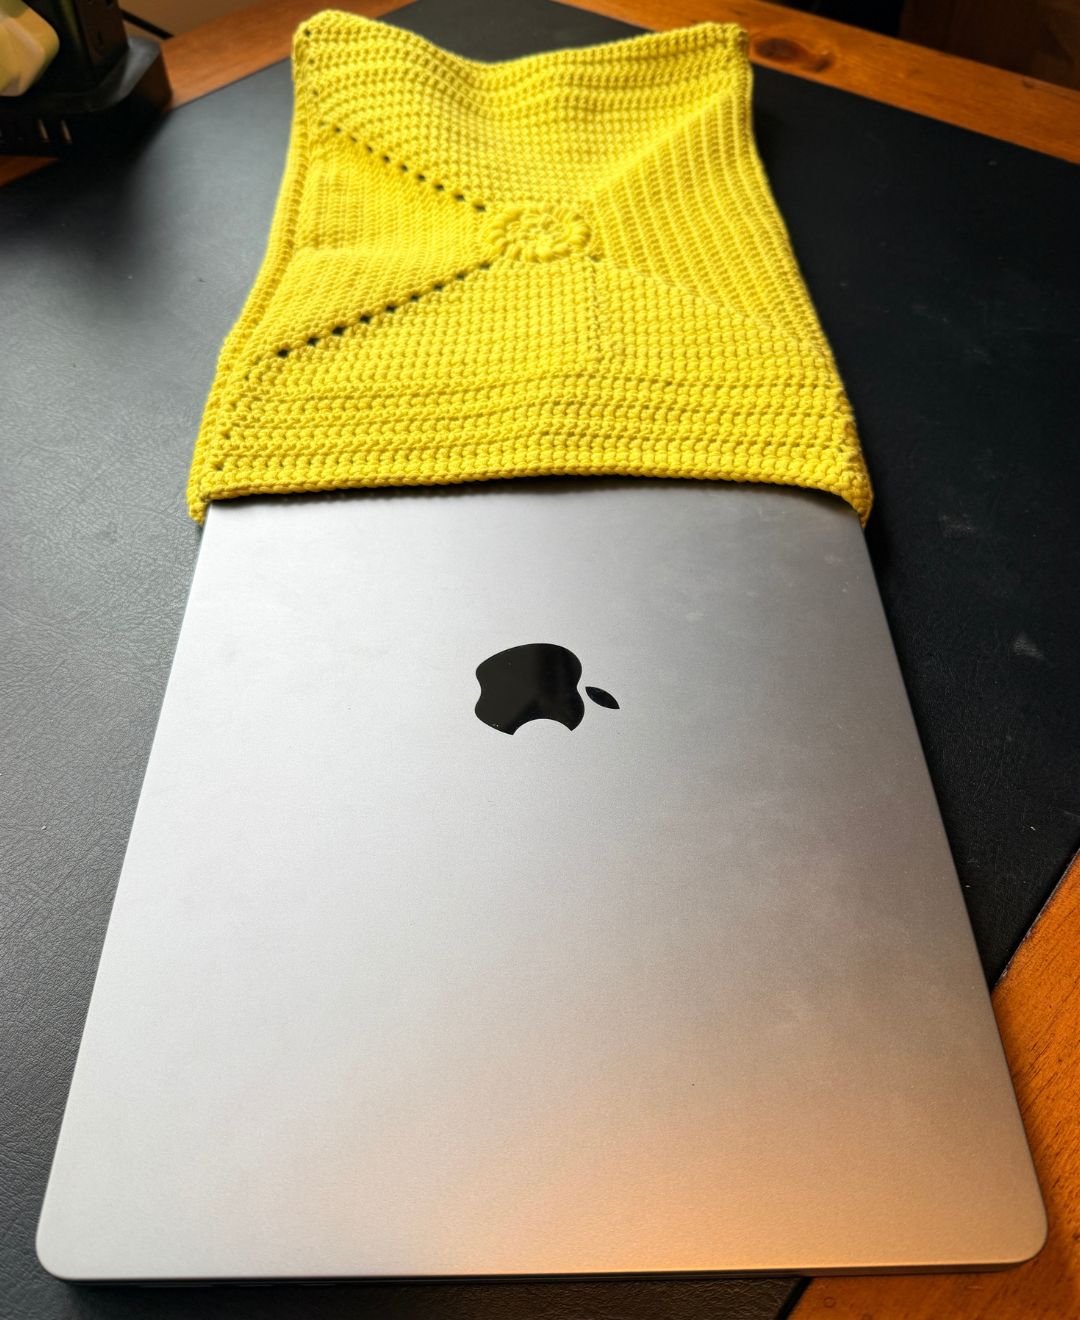
My laptop is 13.5 x 10 inches, if yours is larger or smaller you’ll want to adjust the rows sections of the pattern to make sure it’s a nice snug fit.
The Stitches
- Magic Circle
- sc – Single Crochet
- BS – Bobble Stitch
- PS – Puff Stitch
- slst- Slip Stitch
- ch – Chain
- hdc – Half Double Crochet
- dc – Double Crochet
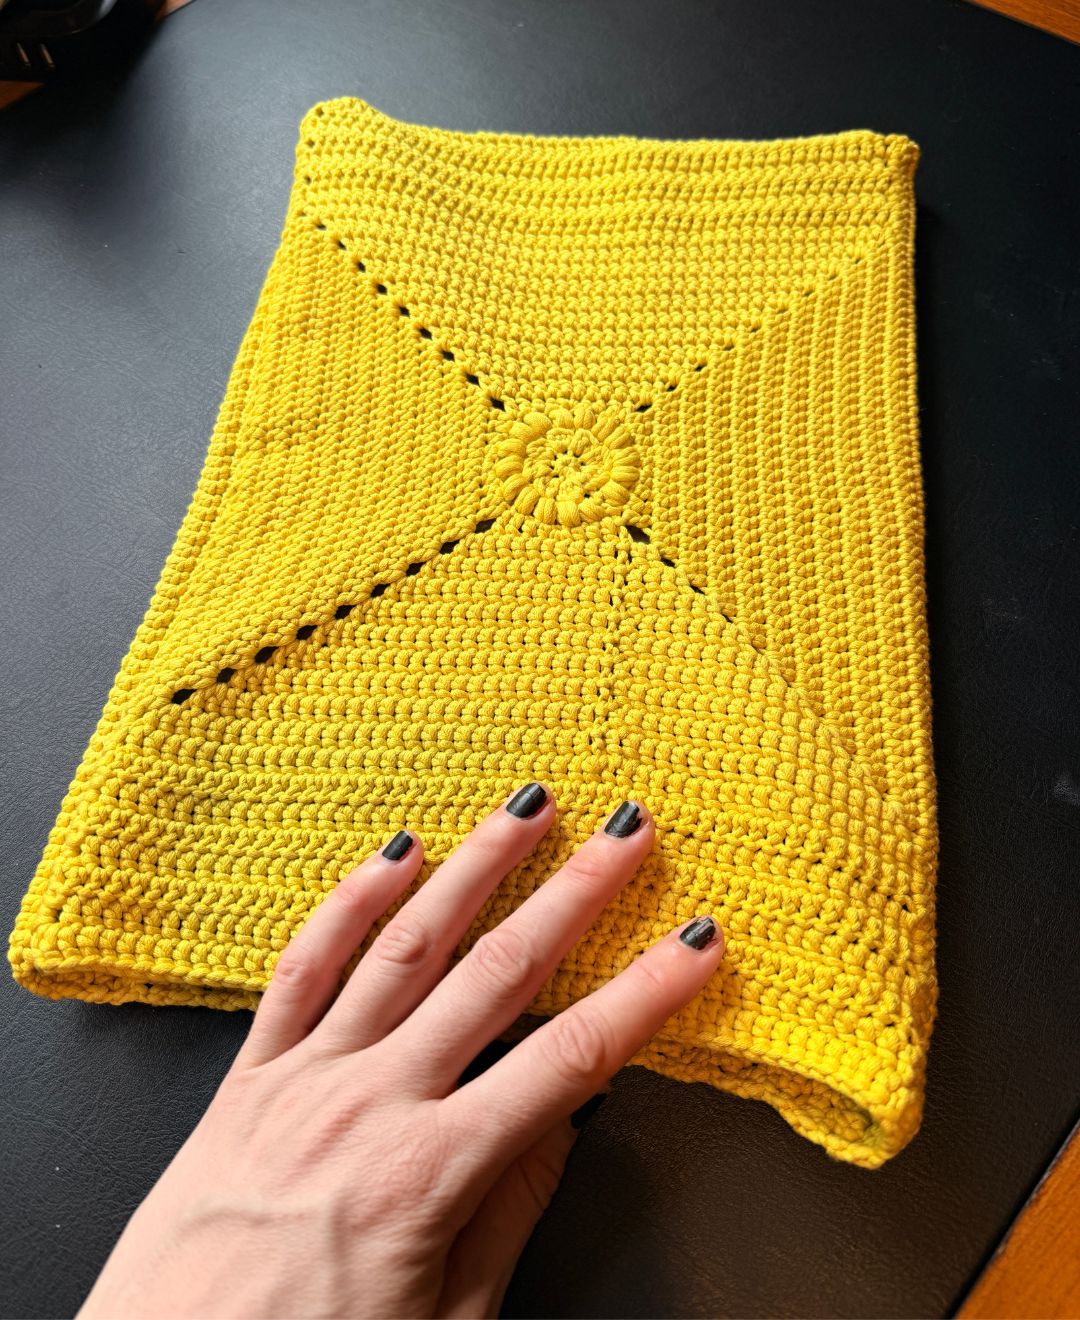
My Free Crochet Laptop Sleeve Pattern
This pattern is made in a combination of rows and rounds, so pay attention to when we switch.
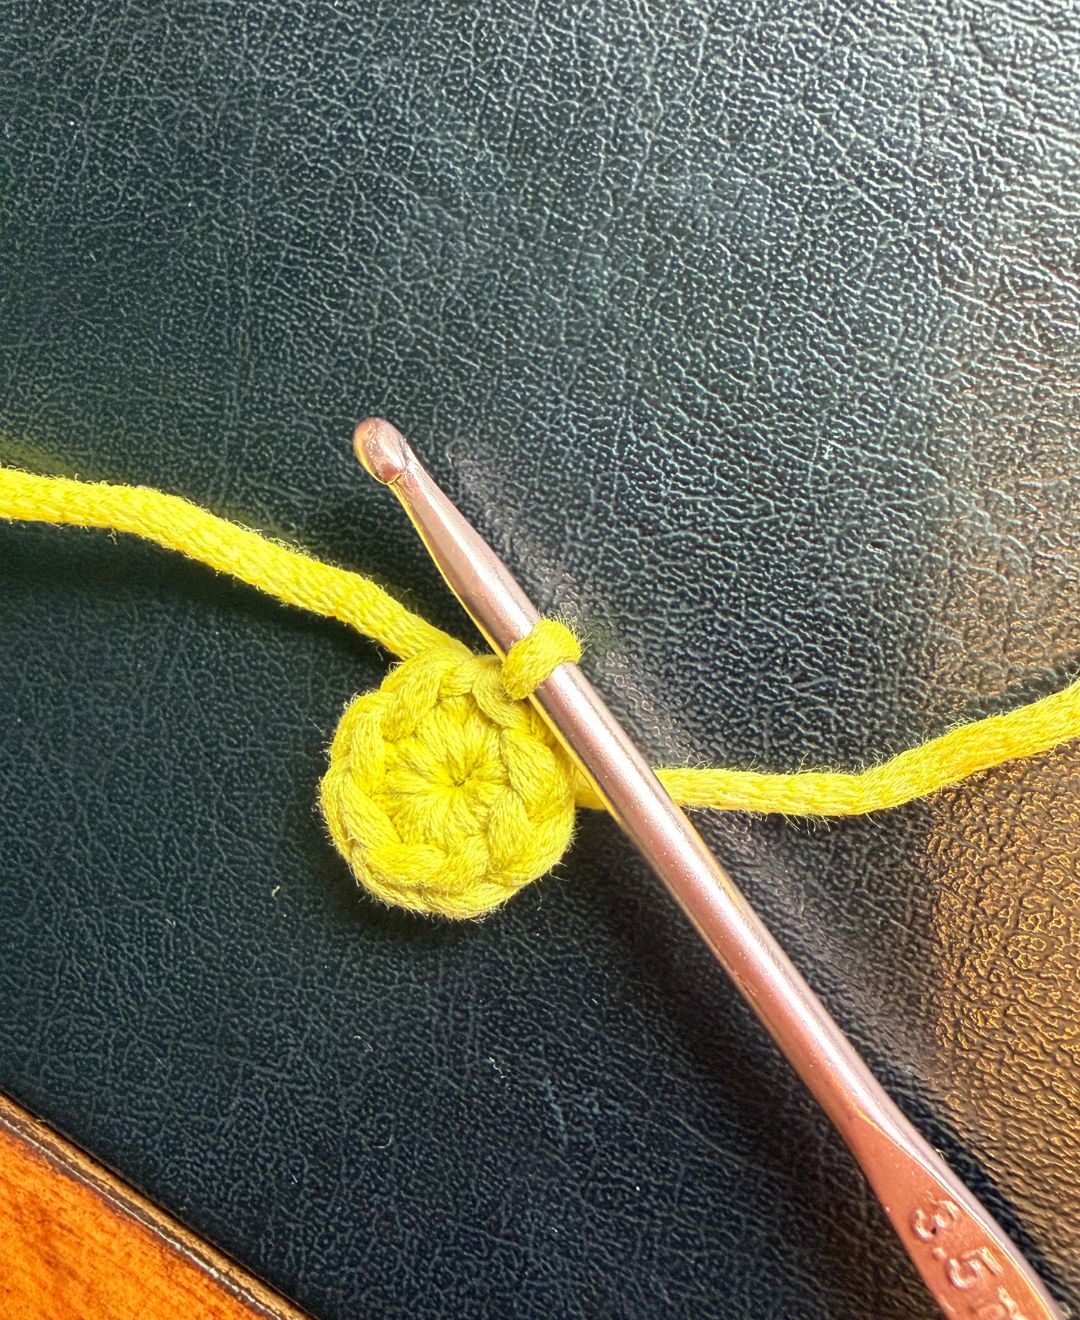
Round 1
Make a magic circle of 8 stitches, slst to join (8)
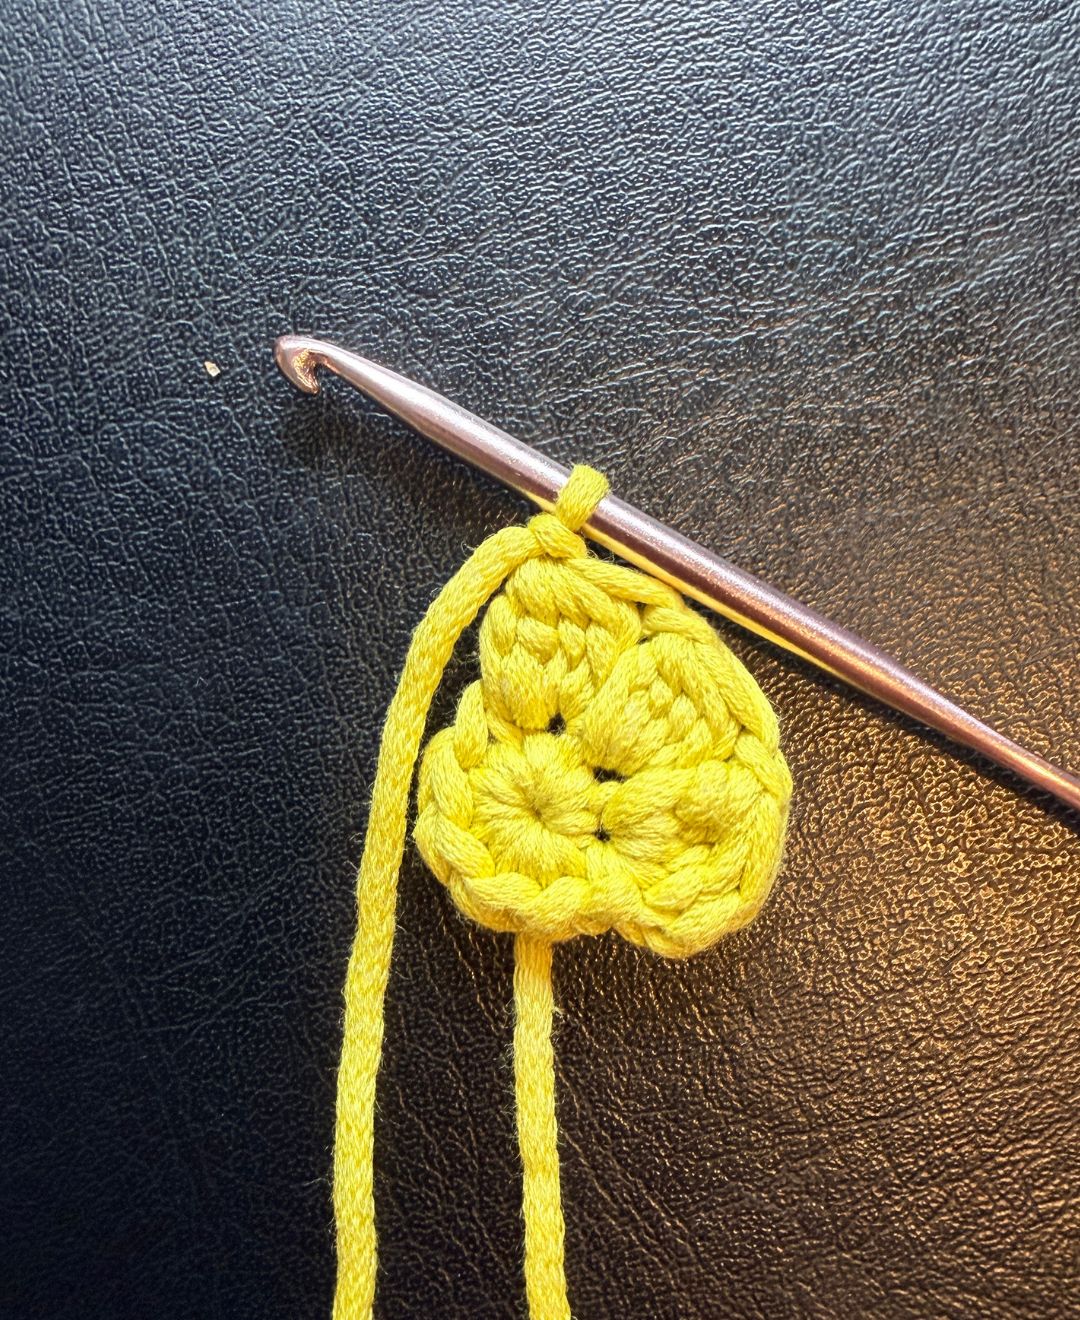
Round 2
Ch2, then make 1BS into each stitch (16)
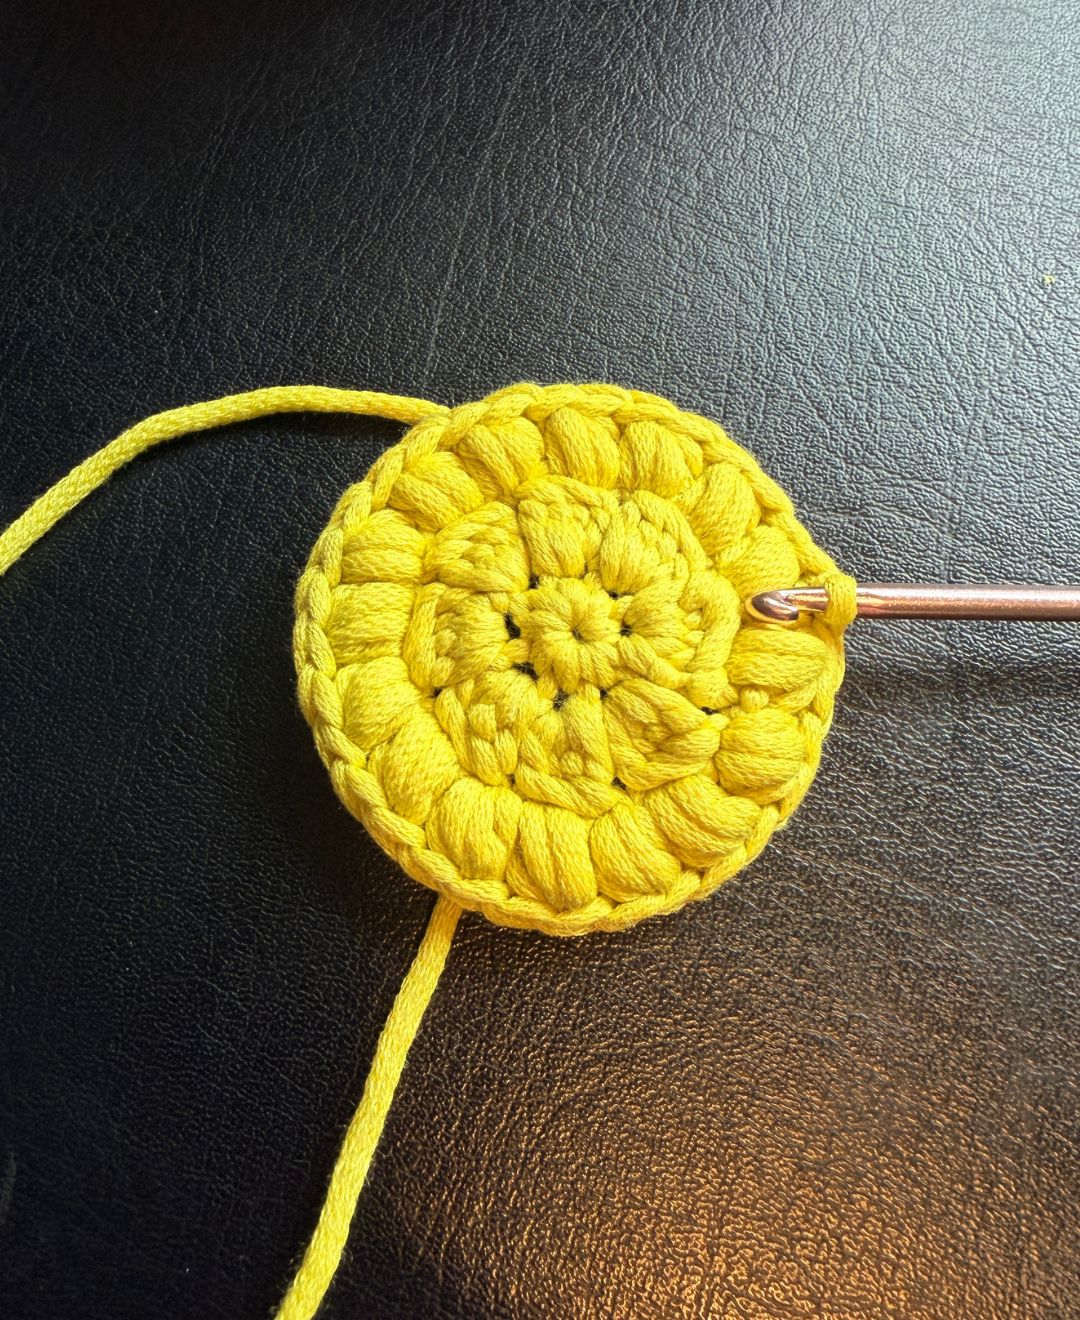
Round 3
ch2, then make 1PS into each BS and ch from the previous round (16)
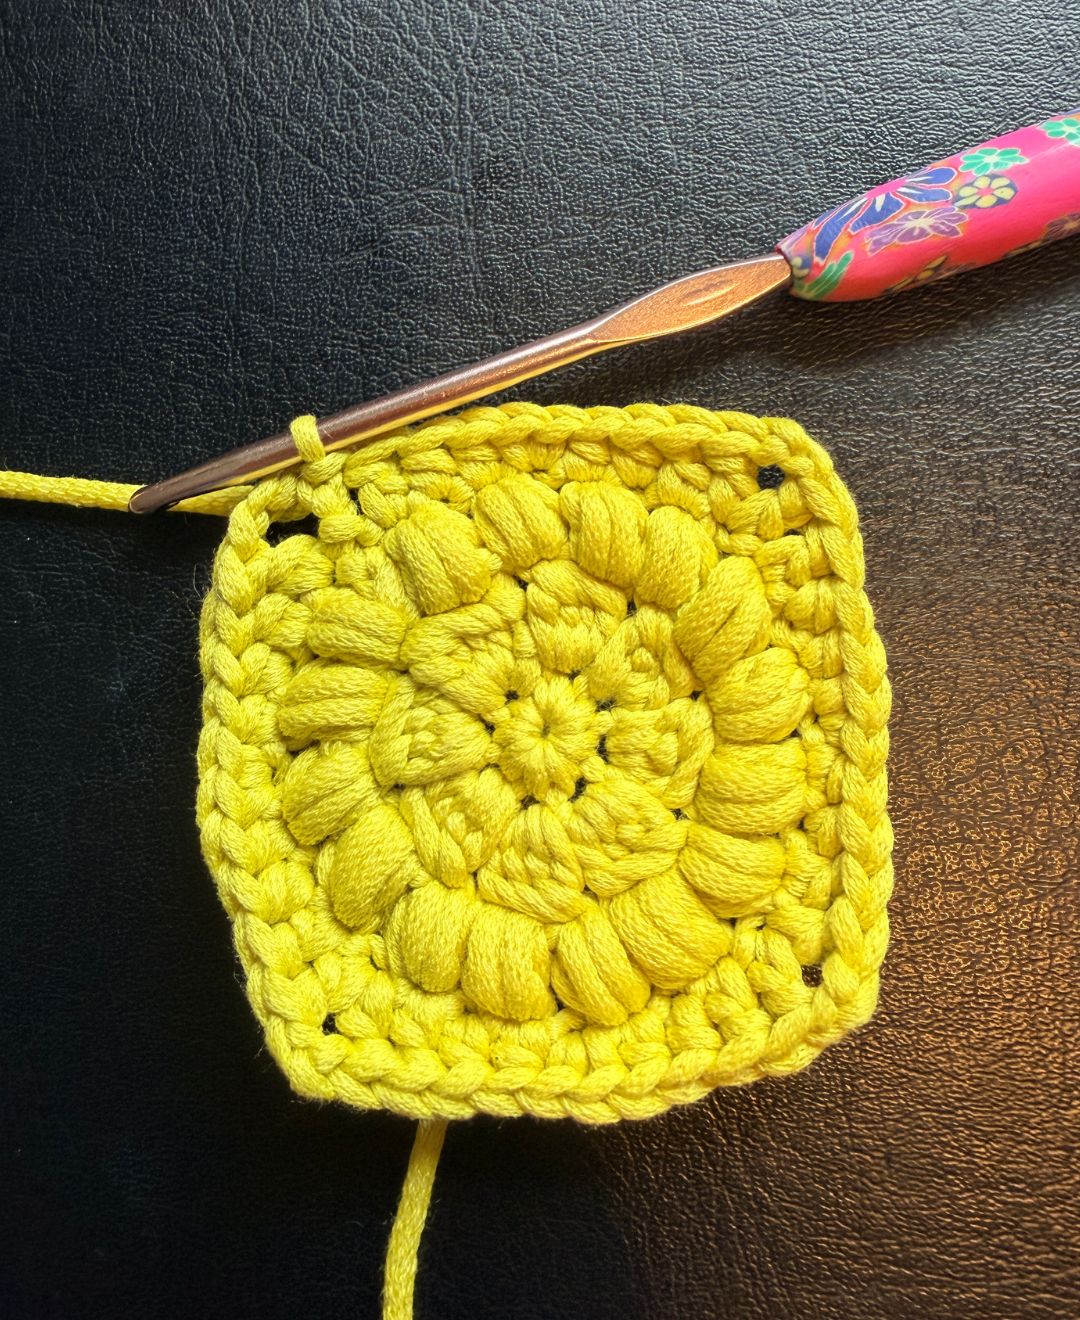
Round 4
ch4 then make 1dc into the same stitch, dc, hdc x 2, 2sc, hdc x 2, dc,
*(dc, ch2, dc), dc, hdc x 2, 2sc, hdc x 2, dc
Round 5 – 13
ch2, then make 1dc into each edge stitch and (2dc, ch2, 2dc) into each corner
At the end of round 13 cut off the yarn and secure it
I recommend now briefly blocking your square. You’ll notice that I over stretched it a little, that’s because this yarn fabric is quite forgiving. If you are using an acrylic make sure you don’t have that stretched look at the edges, as it will retain the misshape.
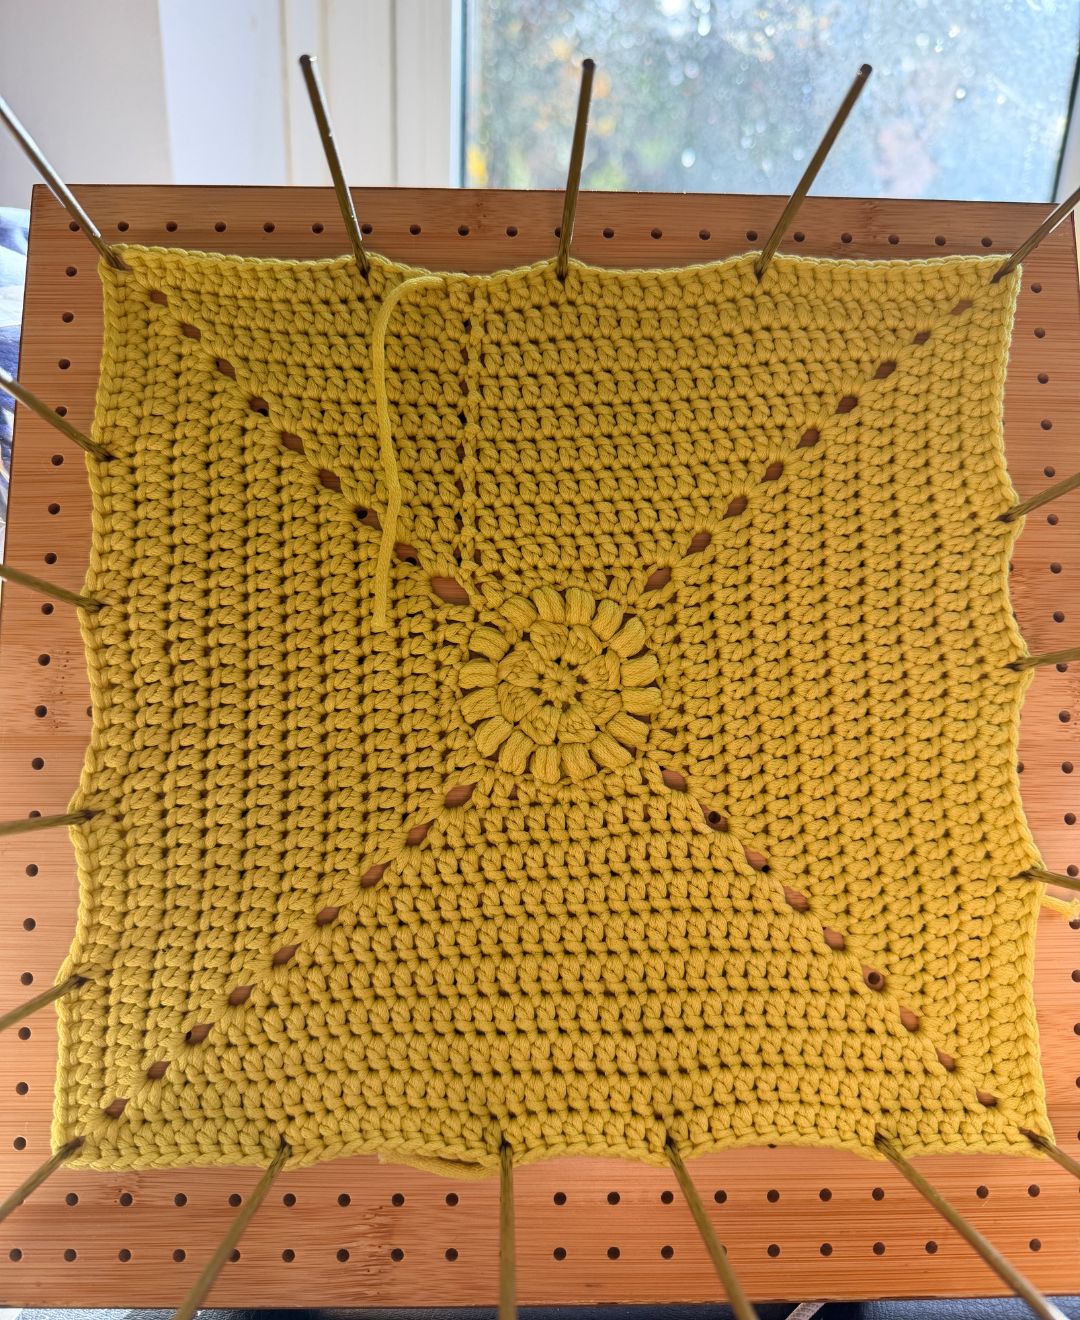
Row 14
You are now going to switch from rounds to rows, and each row needs to be constructed at opposite sides of your square. So you are growing two opposite sides outwards to give the rectangular shape of the laptop.
ch2 in a corner, make 1dc in each side along the edge, and a final dc in the next corner
Row 15 – 20
ch2, make 1dc into each stitch
Don’t forget to do rows 14 – 20 on two opposite sides of your square
Round 21
We’re now going to make a final round around the edge of the rectangle.
Make 1dc into each edge stitch, then into each corner make (2dc, ch2, 2dc)
Row 22
You’re now going to work along one of the long sides of the rectangle, to create the back panel.
Starting at one corner, ch2, then make 1dc into each stitch of the row.
Row 23 – 54
ch2, 1dc into each stitch
Turn
At the final row cut off the yarn and sew your loose ends into the fabric of the laptop sleeve.
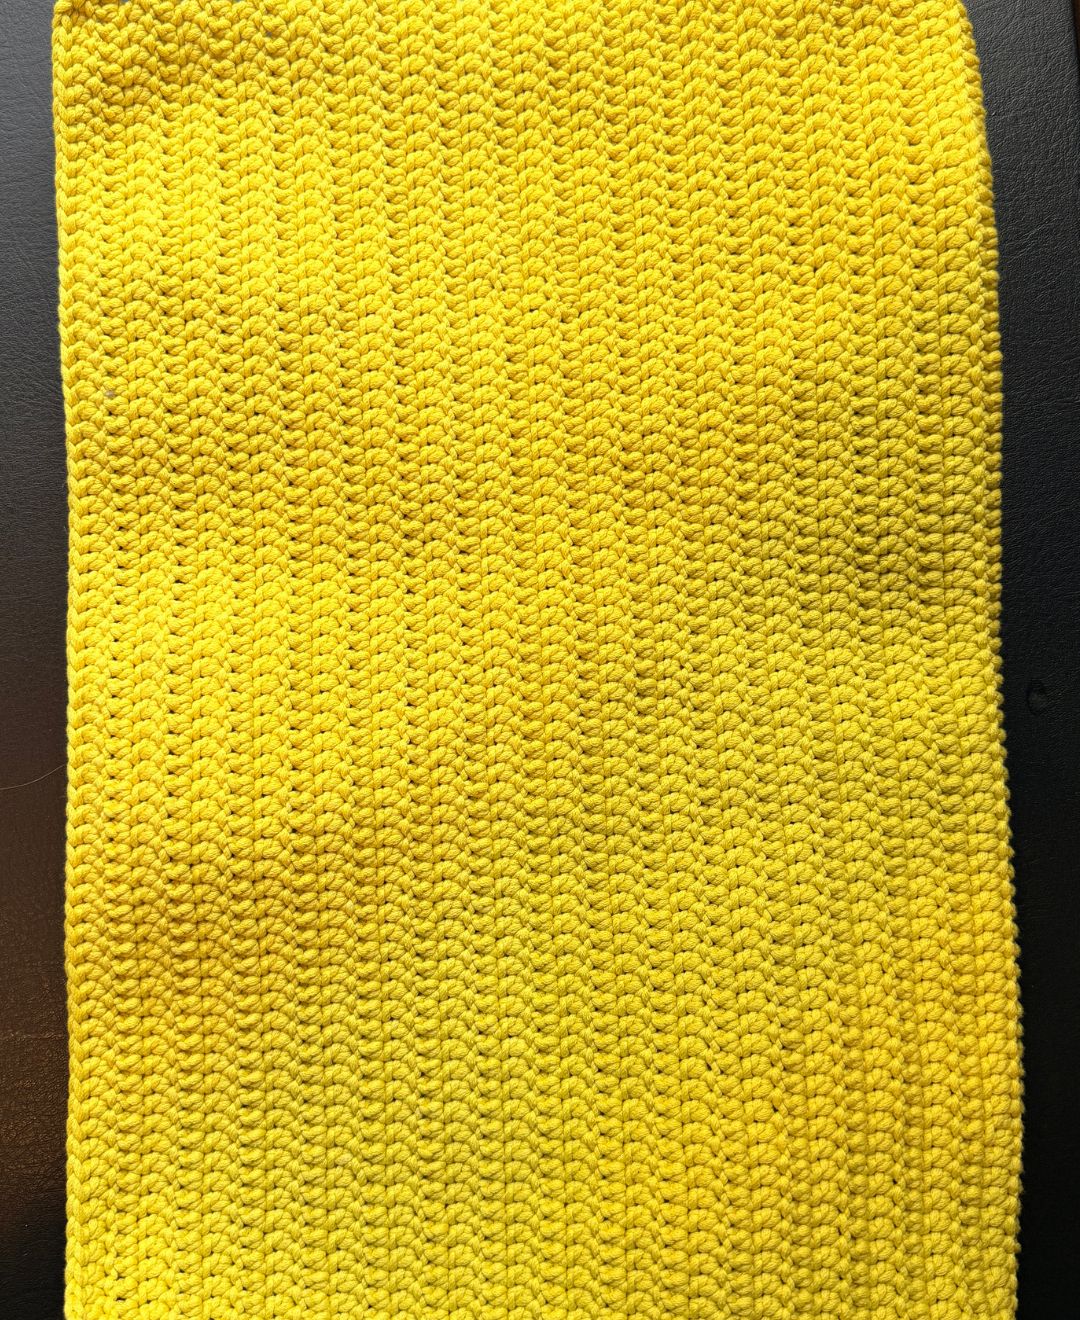
Sewing the Sides Together
Turn your sleeve inside out, fold it up and sew one short and one long side together.
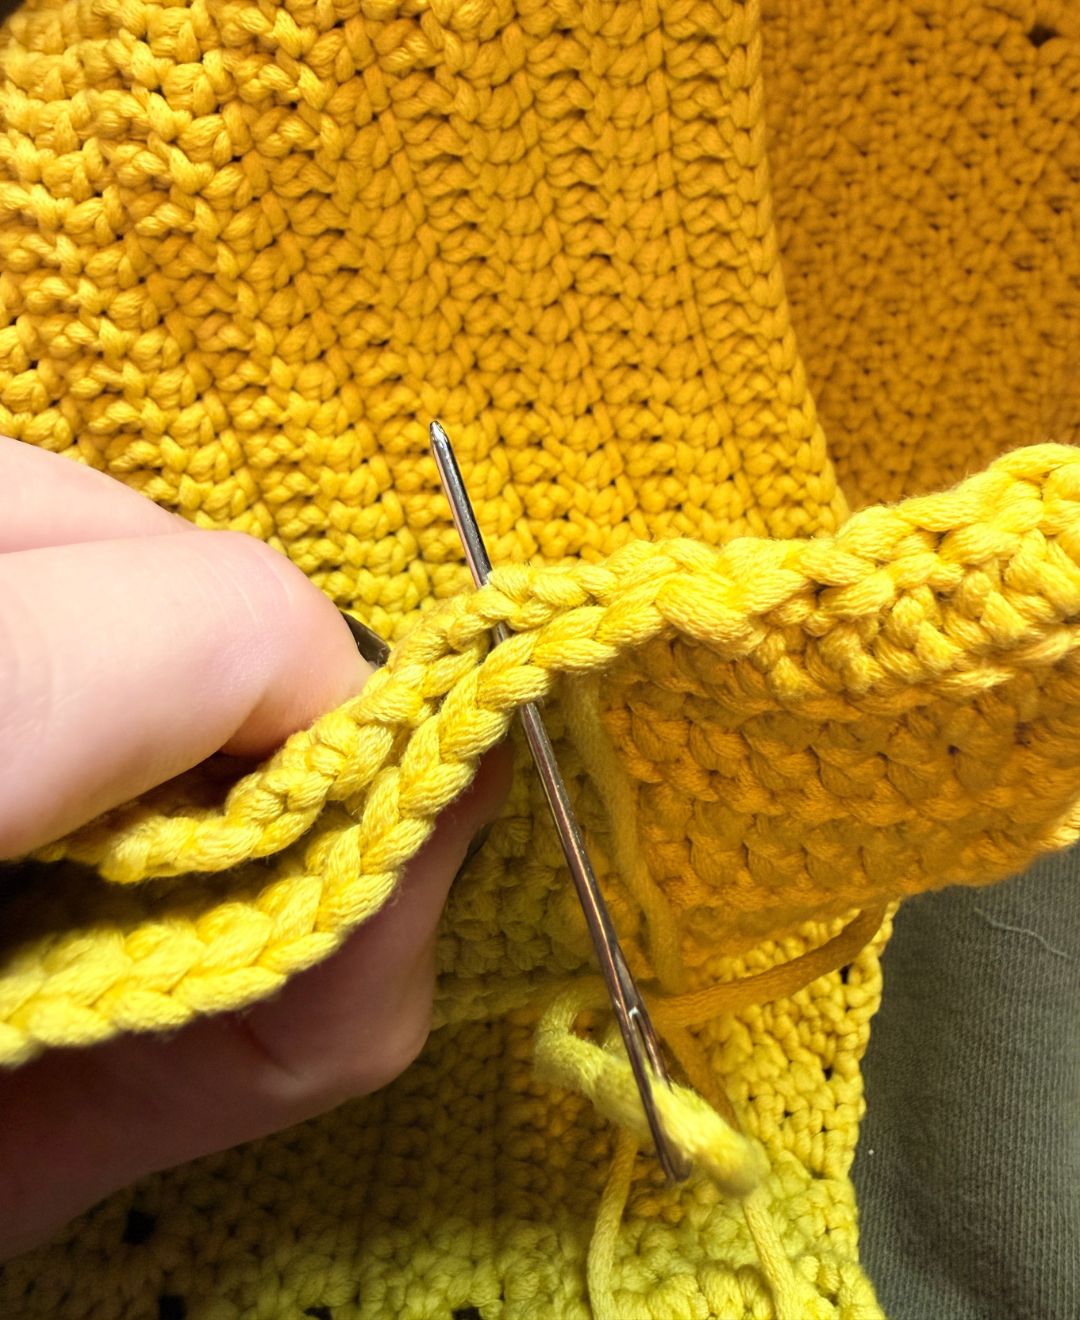
When the two sides are closed, turn it the correct way out and you are ready to insert your laptop!
Mine is already proving useful and I’m so glad I used that yarn fiber as it’s really holding up.