Free Crochet Snail Pattern
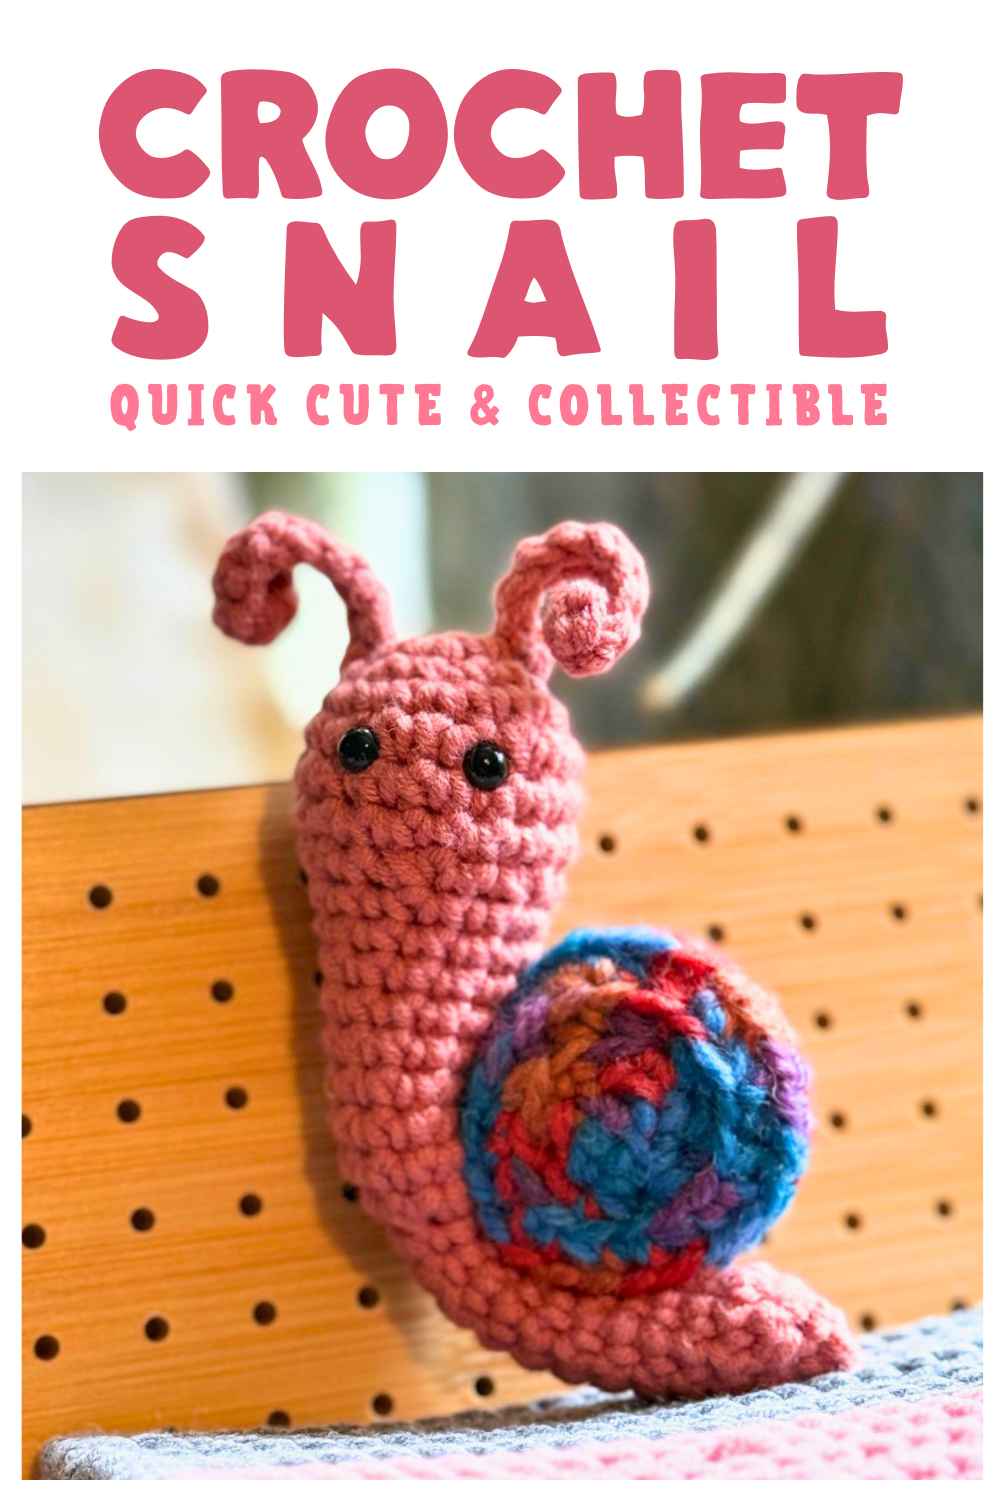
I am so happy with my new crochet snail pattern, and it’s been important to me because I designed it at the request of one of my best friends. He’s running a martial arts event soon, and the logo incorporates a snail and he wanted a few little mascots to hand out. I don’t do paid commissions these days (it’s a long story) but I do love making designs for my friends on occasions like this one.

The plan for this pattern was to focus on small, cute and colorful. And I could not be happier with how it turned out. I normally lean into the more natural, realistic look for my patterns, but this time it was fun all the way.
This pattern is ideal for advanced beginners with a few amigurumi projects under their belt.
What I Used
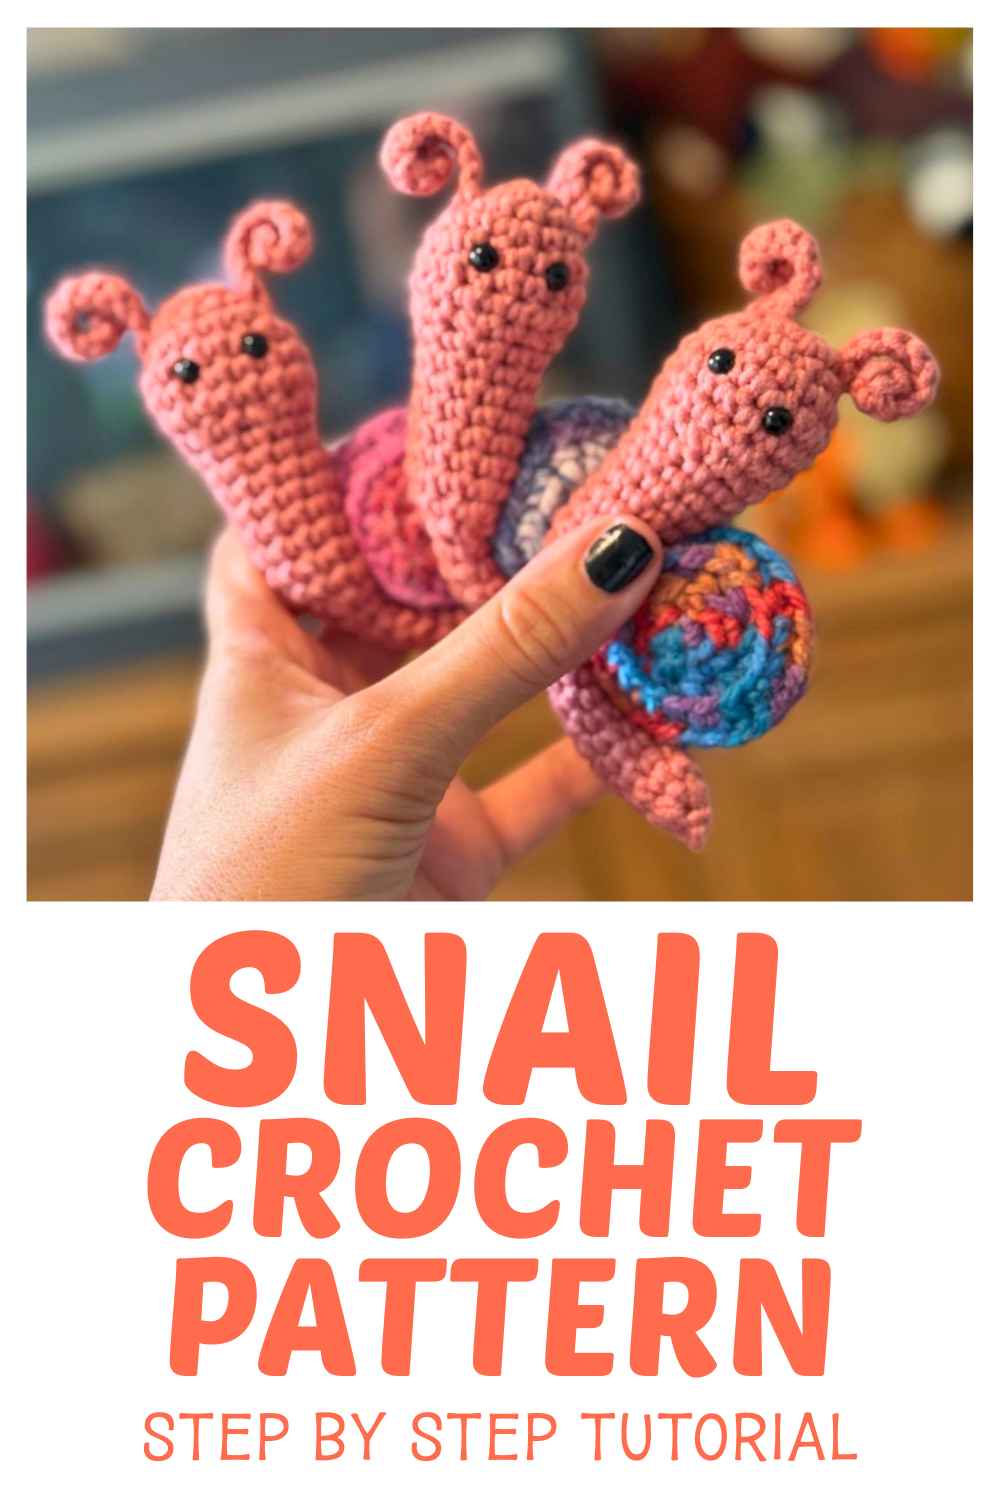
I created three different snails here, but they all used the same pattern and hook size.
- 25g variegated worsted weight yarn
- 25g worsted weight pink yarn
- 3.5mm crochet hook
- Toy safe stuffing
- A pair of 2mm safety eyes
- Steel yarn needle
The yarns I used were either acrylic or cotton/acrylic blends. For a neater more defined stitch, go with a cotton blend, but acrylics look absolutely fine for this style of pattern too. I’d steer away from the wools for this project as they tend to be less hardy and the texture isn’t as nice to work with. Unless it’s merino, which will work up nicely but is expensive for this type of project.

Techniques and Stitches
- Magic circle
- sc – single crochet
- 2sc – two single crochets in one stitch
- sc2tog – join two stitches together with one single crochet
- ch – chain
- sk – skip
- BLO – back loop only

My Mini Crochet Snail Pattern
I crocheted my snail in three parts, the shell, the body and the antenna.
The Shell
Working with your variegated yarn

Round 1
Make a magic circle of eight stitches (8)
Round 2
BLO 2sc x 8 (16)
Round 3
BLO (1sc, 2sc) x 8 (24)
Round 4 – 5
1sc x 24
Round 6
BLO (1sc, sc2tog) x 8 (16)
Round 7
BLO sc2tog x 8 (8)
Round 8
1sc x 4, then sew to close
The Body
Use your pink yarn

Round 1
Make a magic circle of 6
Round 2
2sc x 6 (12)
Round 3
1sc x 12
Round 4
(1sc, 2sc) x 6 (18)
Round 5 – 7
1sc x 18
Round 8
(1sc, sc2tog) x 6 (12)
Add your safety eyes in at around round 5, four stitches apart.

Round 9 – 16
1sc x 12
Fill with toy stuffing to about round 13 level.
Round 17
sc2tog x 4 (8)
Round 18 – 29
1sc x 8
Round 30
sc2tog then sew to close
Joining the body to the shell
Bend the body around the shell, and sew in and out of each section in a blanket stitch fashion to join them securely together. Try to make sure that there is limited movement between the pieces.

Two Antenna
Use your pink yarn for the antenna

Row 1
ch12
Row 2
sk, then 1sc x 11
Now sew each antenna onto the top of the snails head, one above each eye.

And you’re done!
I have made three of these snails so far, and they have been really fun little projects. I am going to ship these over to my friend for his event, and then make myself one more so that I can use as a seriously cute little keychain.