Blue Crochet Blanket Pattern
In a few short weeks my amazing niece is due to have her baby boy, and I could not be more excited for her. If you’ve been there, you know that having your first baby is an incredible time in your life. I wanted to make something for her and her new baby that was going to be unique but that I was still confident she was going to like, so I have come up with this new pattern based on the classic granny circle design.
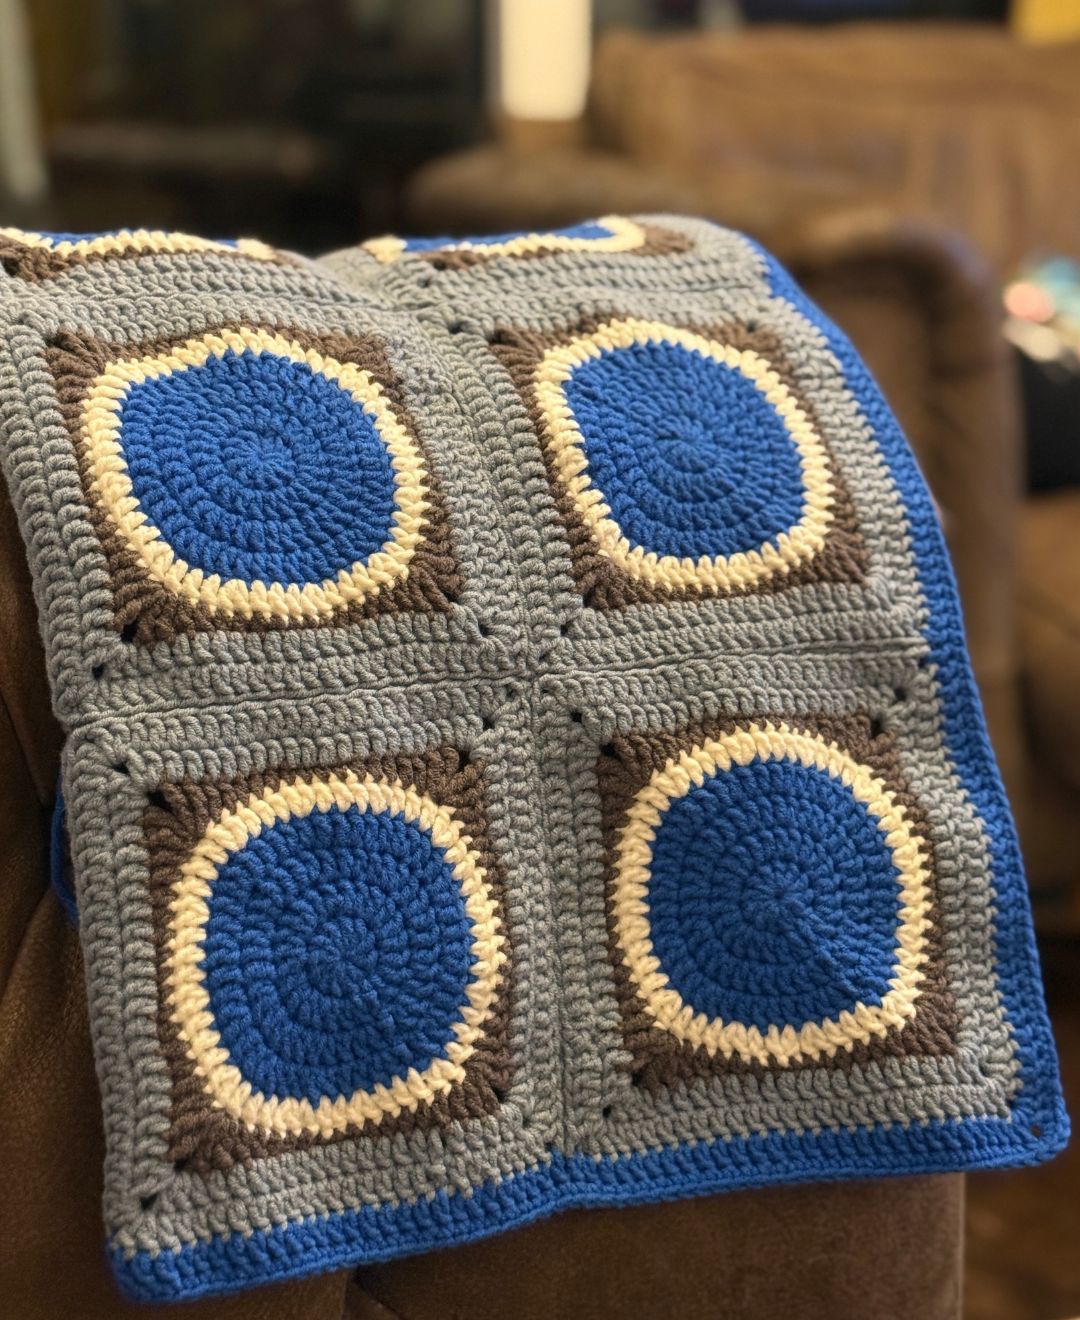
This is created as a baby blanket, but it is not cot safe for unsupervised use. (Don’t worry, I’ll let her know when I hand it over!). It’s designed to be used during the day under supervision, for example in the pram or stroller. The circular design is pretty, but it doesn’t have enough gaps to be considered breathable for unsupervised use at nap time.
If you want to make the same design as an adult bed or sofa blanket, just scale it up by between two and four times to the size you would like.
What You’ll Need
- 5 skeins royal blue yarn
- 4 skeins pale blue yarn
- 3 skeins brown yarn
- 3 skeins white yarn
- 3.5mm crochet hook
- yarn needle
The skeins I used were Hobbii’s Cosy yarn, that comes in 50g skeins and is an aran thickness. I used my 3.5mm hook, which is a little smaller than some would use for this yarn weight but I really like the finish it gives with the slightly tighter stitches.
Stitches and Skills
I used the following techniques and terms to make my blue crochet blanket pattern:
- magic circle
- ch – chain
- sc – single crochet
- hdc – half double crochet
- dc – double crochet
- tr – treble crochet
You’ll notice in this pattern that I don’t follow the convention for ch3 in place of a dc at the start of the round. This is because my personal view is that in this style of pattern a ch2 actually looks better matched. However, if you prefer the look of the chain three then go for that instead!
My Blue Crochet Blanket Pattern
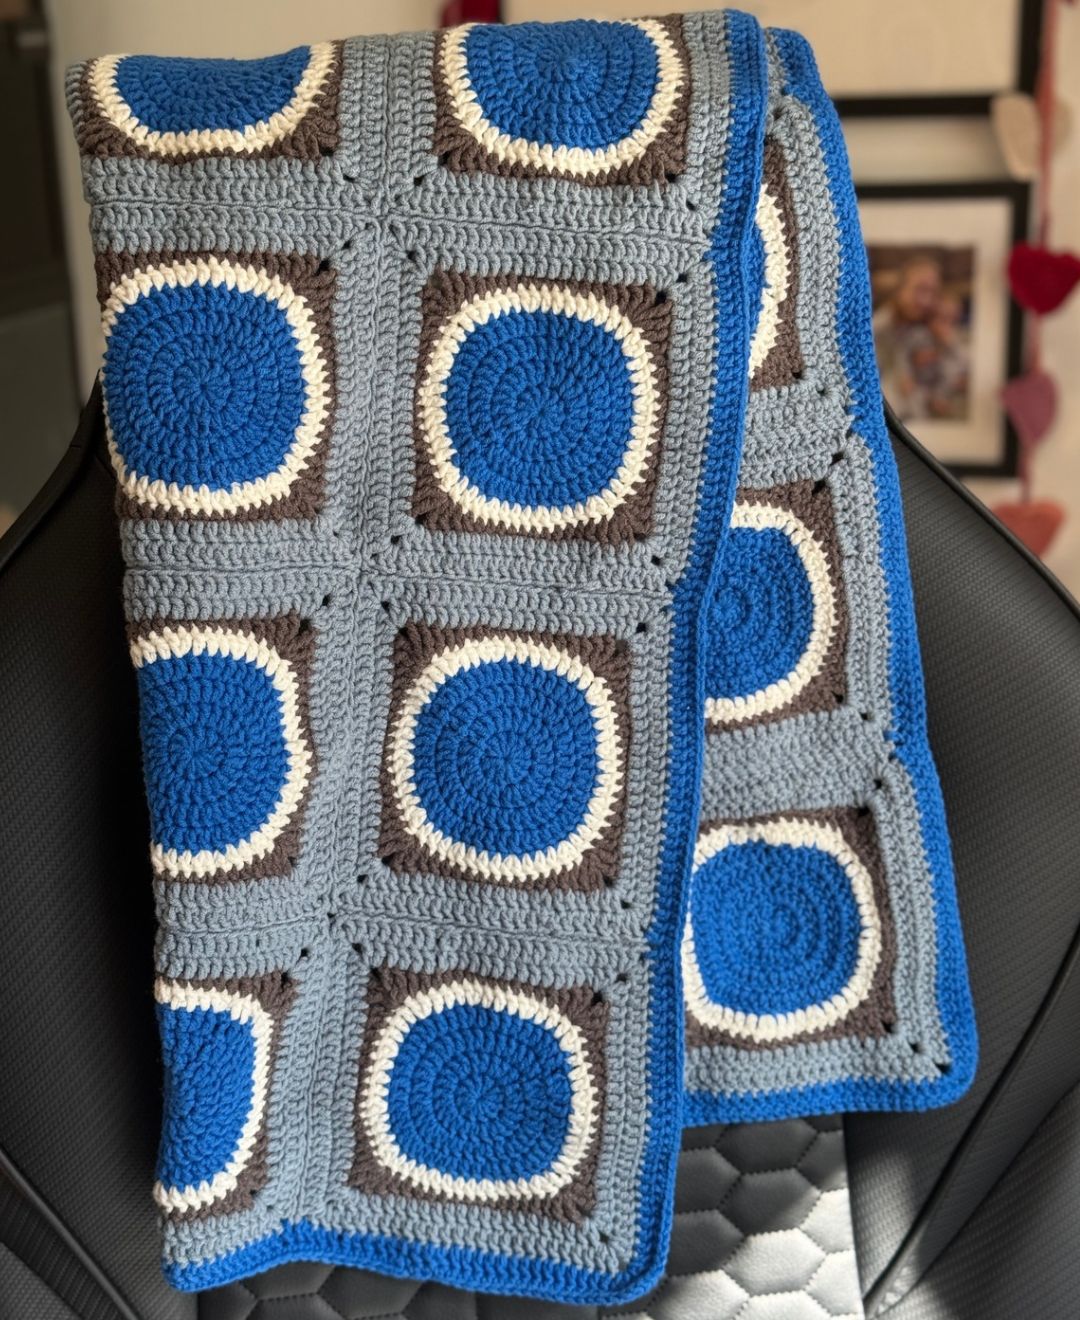
Make 24 squares using this pattern.
Begin in your bright blue yarn
Round 1
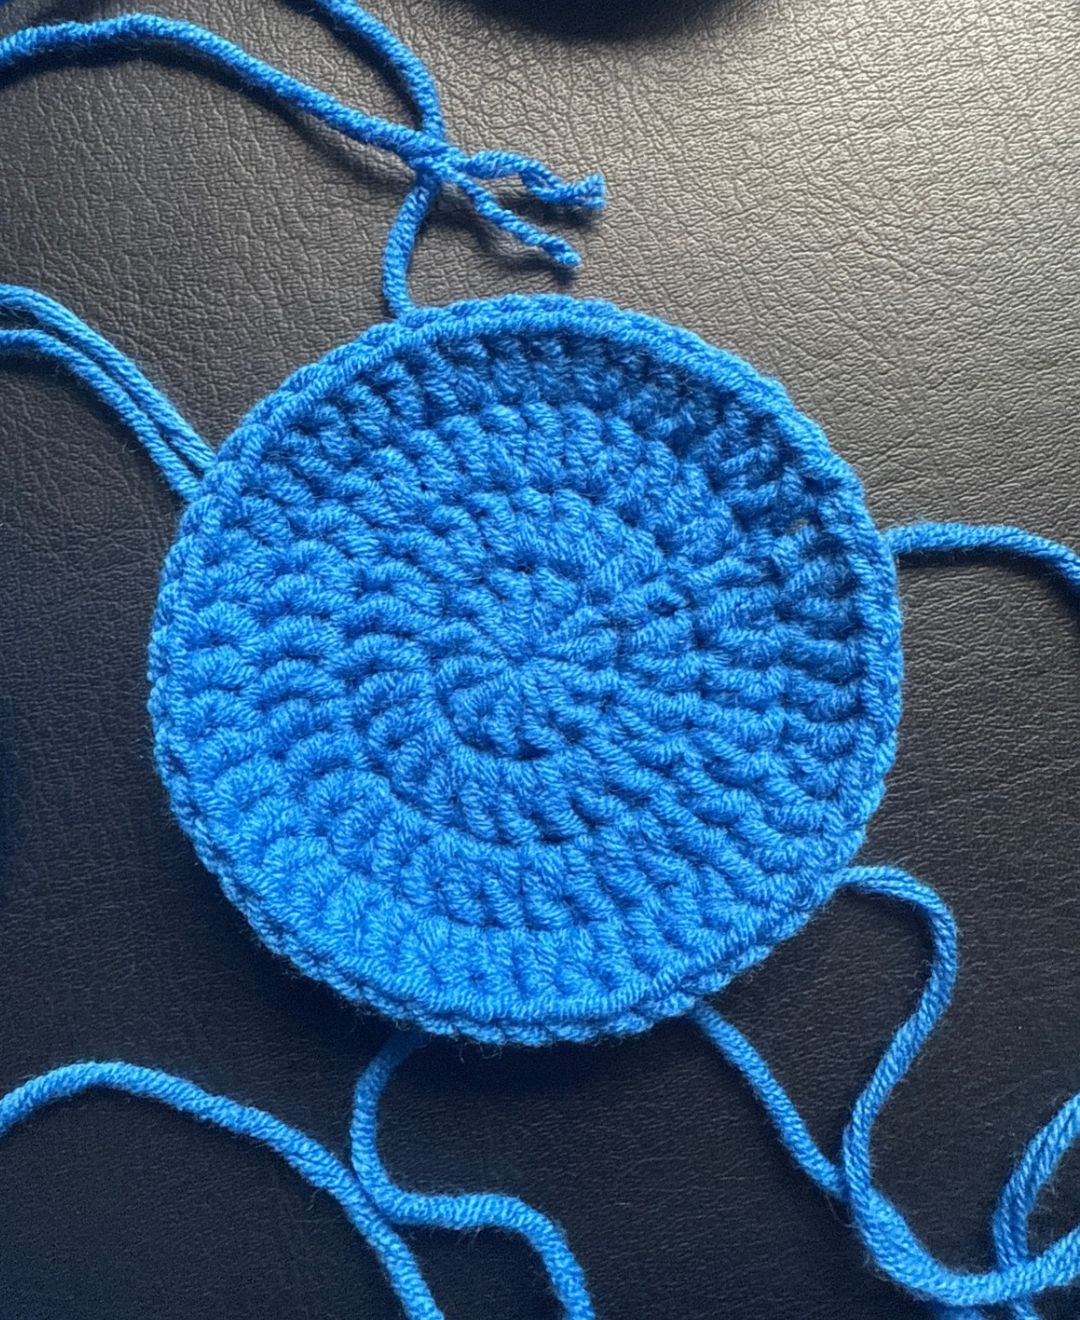
Working into a magic circle, make
ch2, dc x 11 into the magic circle, slst into the top of the ch2 and close the circle (12)
Round 2
ch2, 1dc into the same space. 2dc into the remaining spaces. slst into the top of the ch2 (24)
Round 3
ch2, 2dc, (1dc, 2dc) x 11. slst into the top of ch2 (36)
Round 4
ch2, 1dc, 2dc, (1dc x 2, 2dc) x 11. slst into the top of ch2 (48)
cc to white
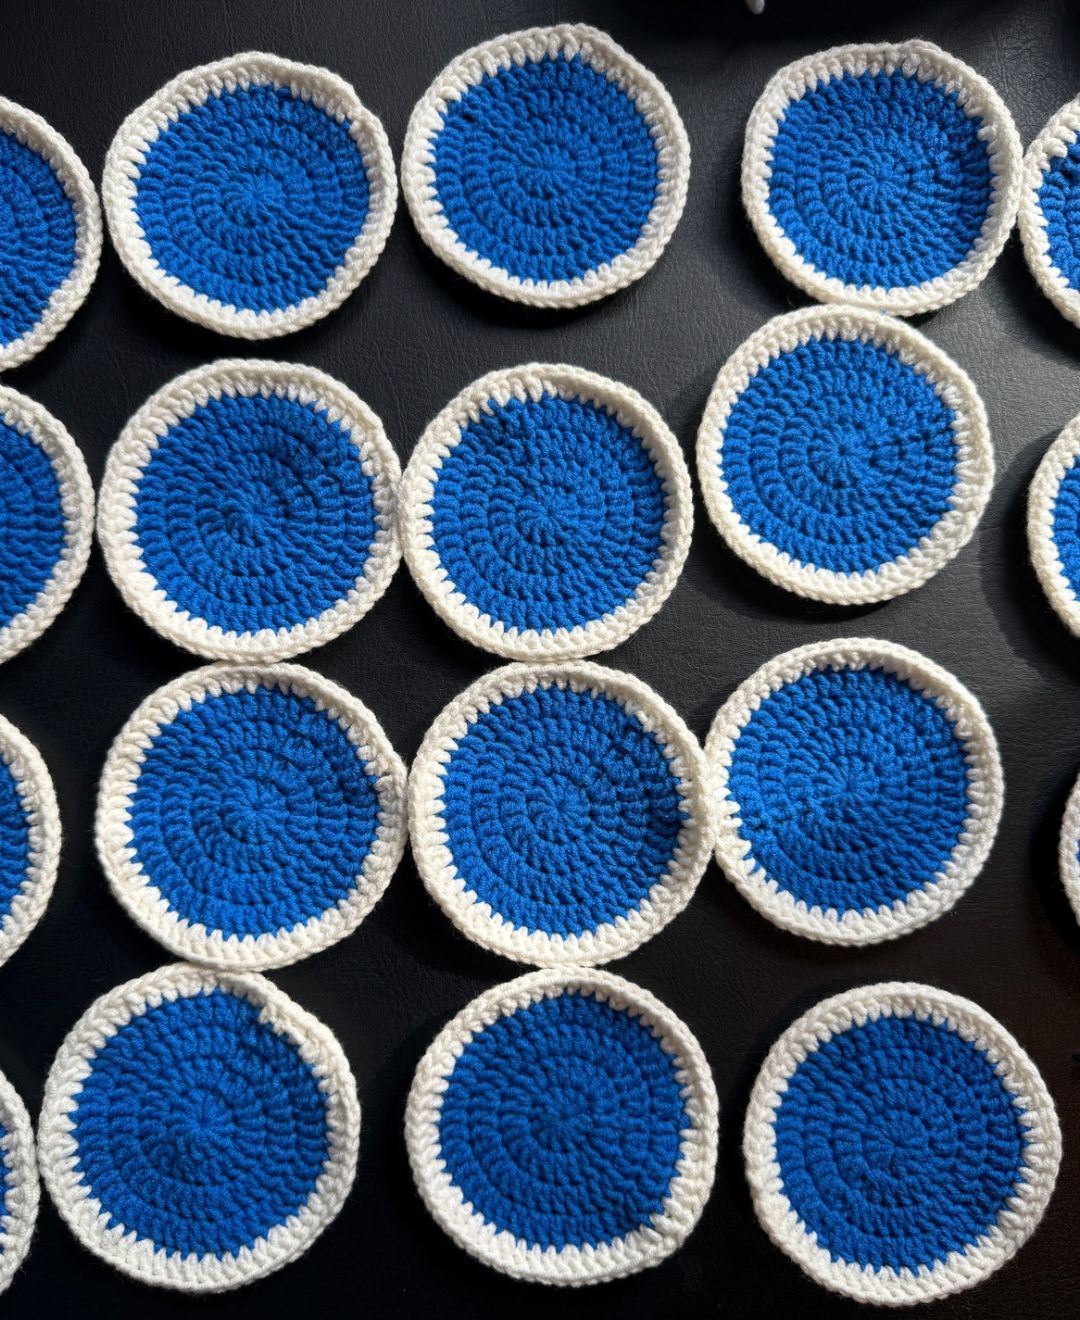
Round 5
ch2, 1dc x 2, 2dc, (1dc x 3, 2dc) x 11. slst into the top of ch2 (60)
cc to brown
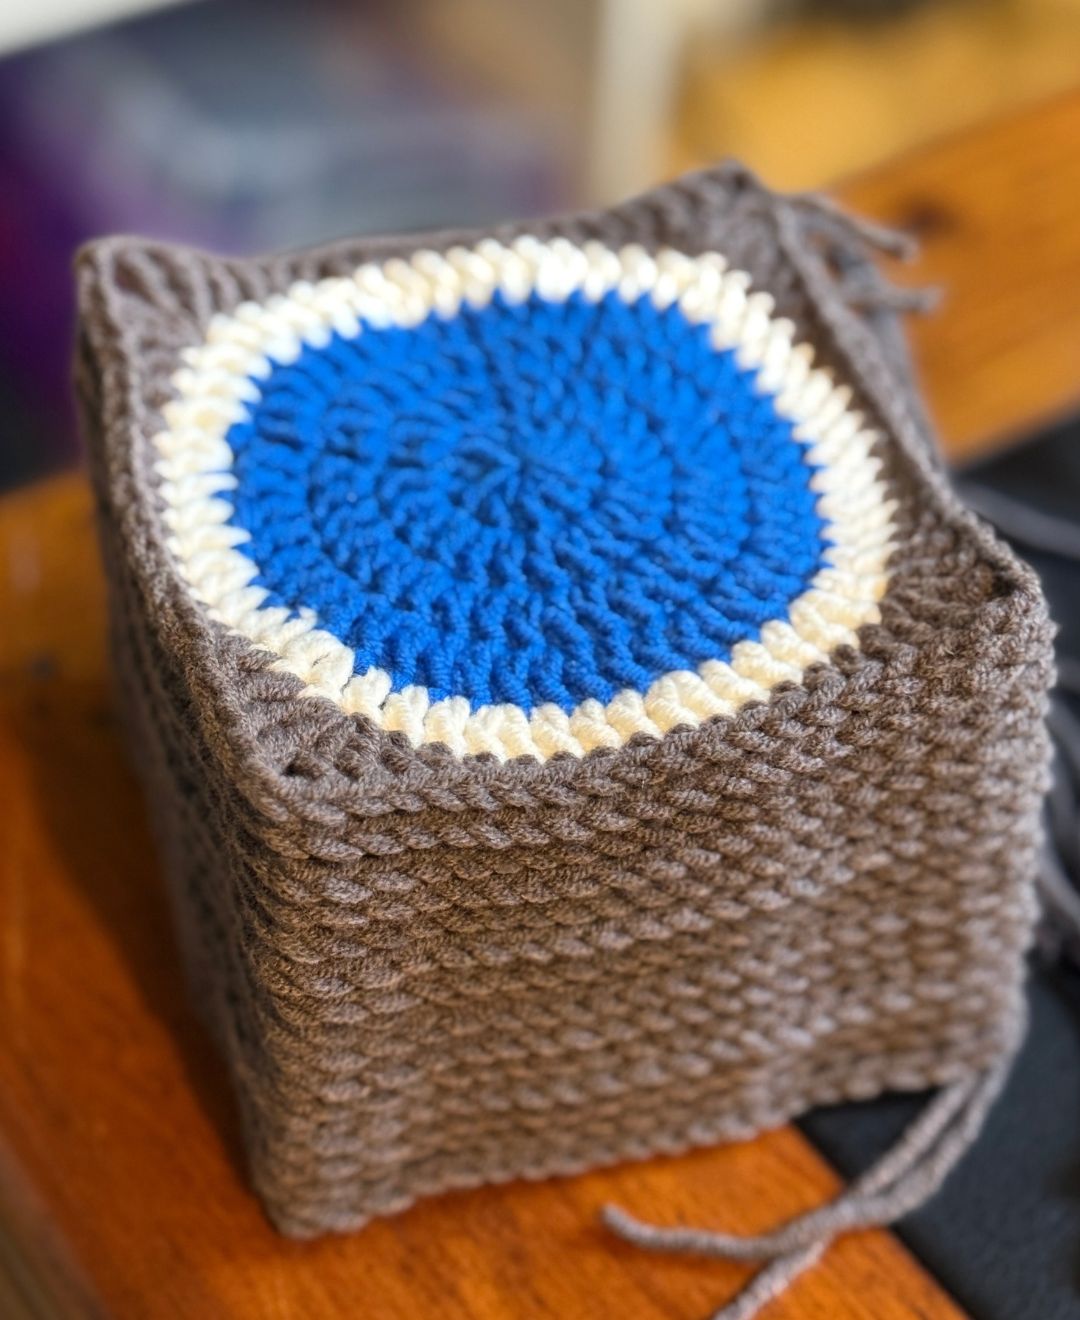
Round 6
Starting at a corner, ch5, then make 2tr into the same space
Working along the edge, dc x 2, hdc x 3, sc x 4, hdc x 3, dc x 2, into the corner (2tr, ch2, 2tr) three times, then dc x 2, hdc x 3, sc x 4, hdc x 3, dc x 2, then into the last corner make 1tr then slst into the 3rd stitch of the starting chain.
cc light blue
Round 7 – 8
Starting into one of the edge stitches, ch2, then make 1dc into each edge stitch, and into each corner make 2dc, ch2, 2dc. At the end of the round slst into the top of the ch2.
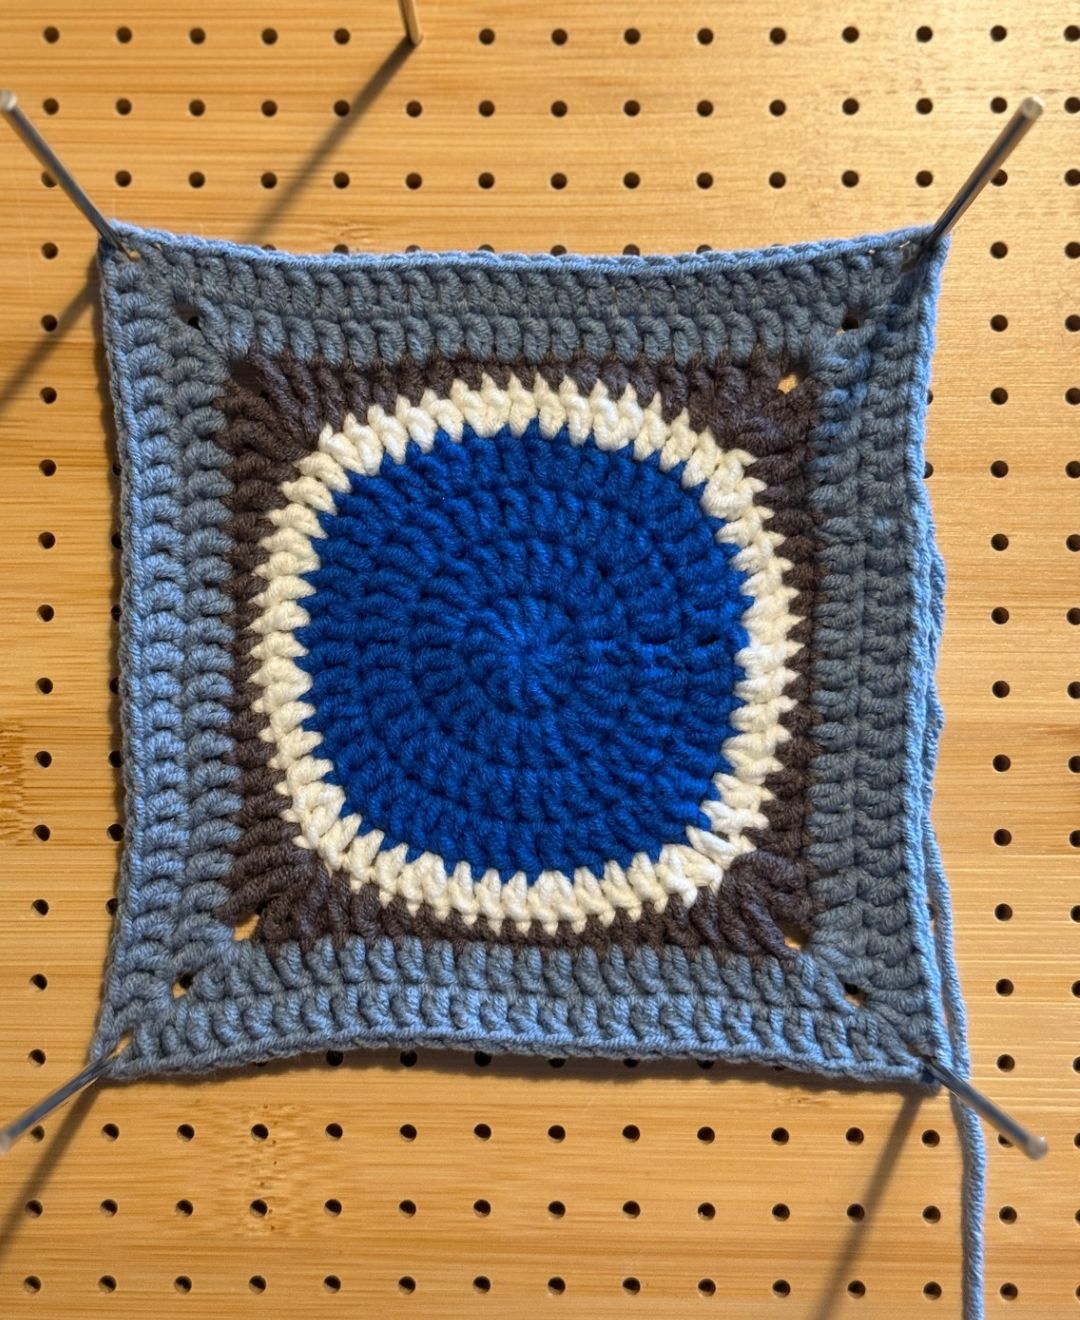
Blocking
I highly recommend blocking your squares before you move forward. If you don’t have a blocking board, then stack them neatly and stick a heavy hardback book on top of the stack for a couple of days. You’ll be surprised how effective this is!
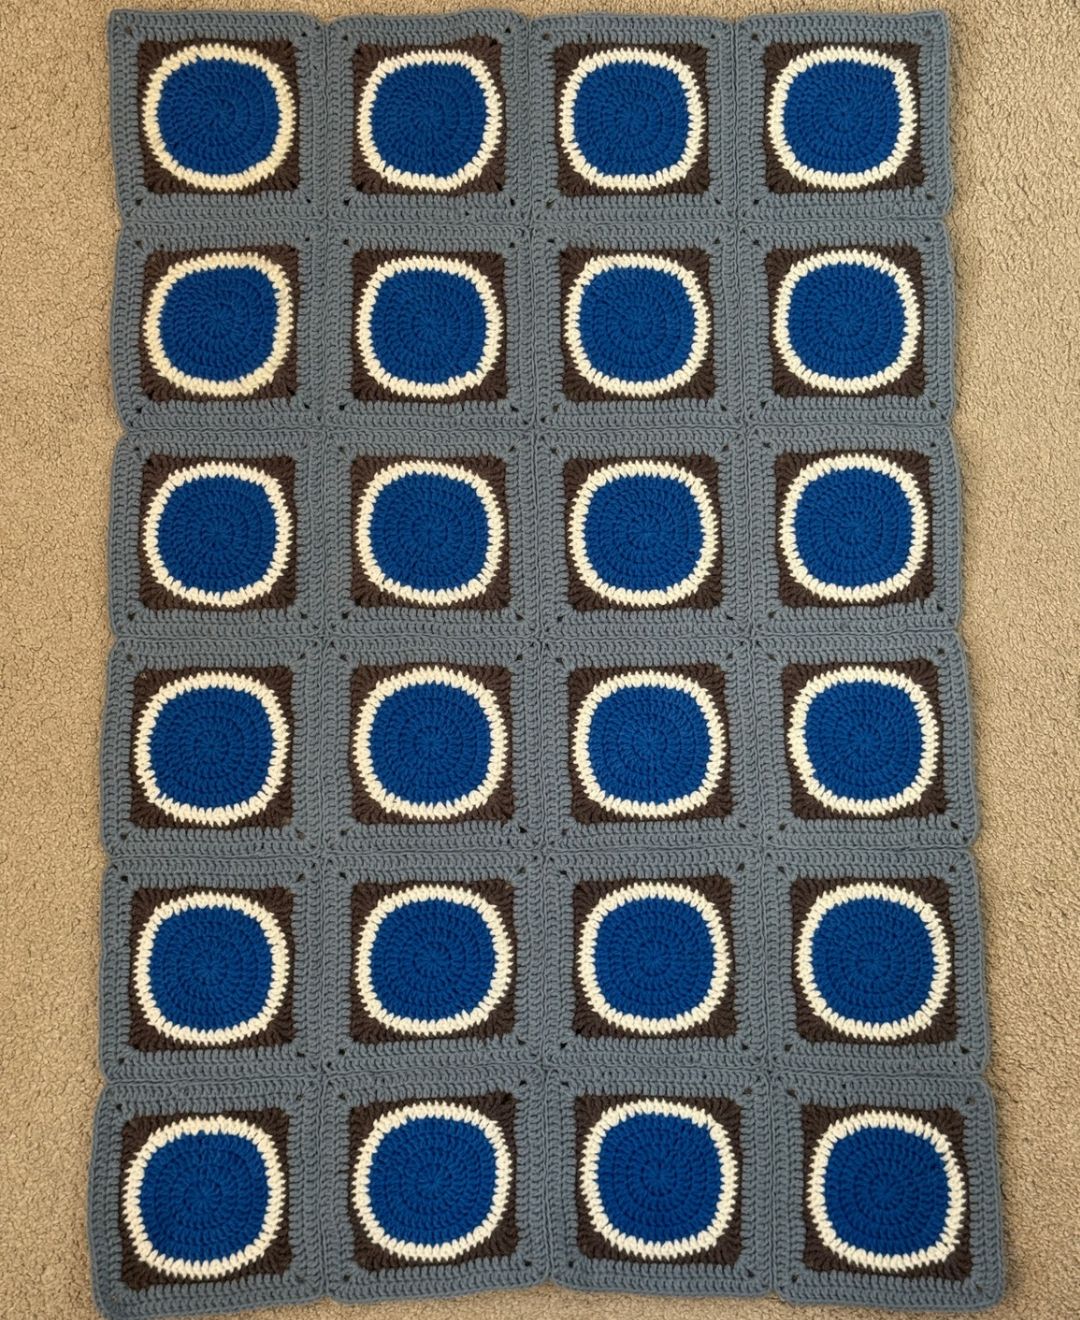
Arranging Your Squares
I arranged my squares in a 4 by 6 pattern. It can be easier to join them together if you use a stitch marker to attach them before you begin, but this isn’t an essential step. Just really make sure they are all the same way up!
Joining Your Squares
There are lots of ways of joining granny squares together, but my personal favorite is to hand sew them.
Take your yarn needle and the same blue color as the far edge of your granny square, and hold two together with the wrong sides exposed. Sew in and out of the front loops only, keeping the stitches taut but not so tight that the blanket becomes rigid.
You can crochet your squares together instead, or use a crochet as you go method instead, but this will make your blanket slightly longer and wider as it gives an additional stitch.
Crocheting The Border
Once your squares are all joined together, you’ll be ready to finish off with a border. I was on the fence about The border needs to be crocheted in your original bright blue circle color.
Round 1
Start in one of the edge stitches, and chain 2. Then make 1dc into each stitch along the edge, and into each corner make 2dc, ch2, 2dc.
At the end of the round, slst into the top of the chain 2.
Round 2
ch1, then make 1sc into each stitch along the edge, and 3sc into each corner. At the end of the round, slst into the ch1 to join.
When you’ve finished your blanket, I recommend giving it a gentle iron if you’ve used a yarn which can hold up to a bit of heat. Drape a sheet over your blanket before you begin, and make sure the ironing board is nice and clean for the perfect finish!