Squishy Crochet Frog Pattern
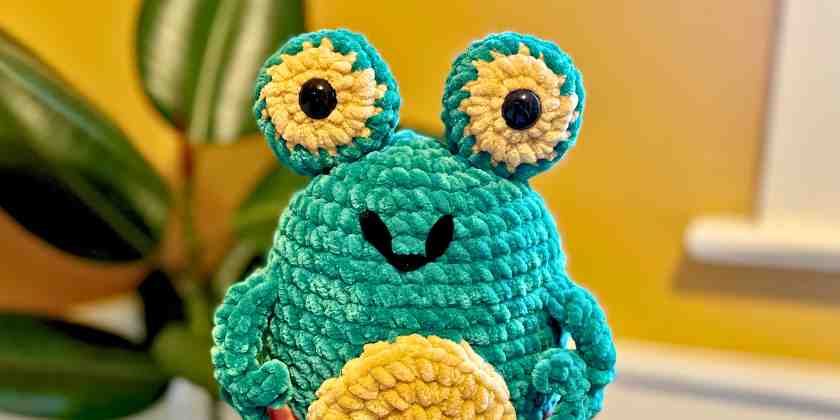
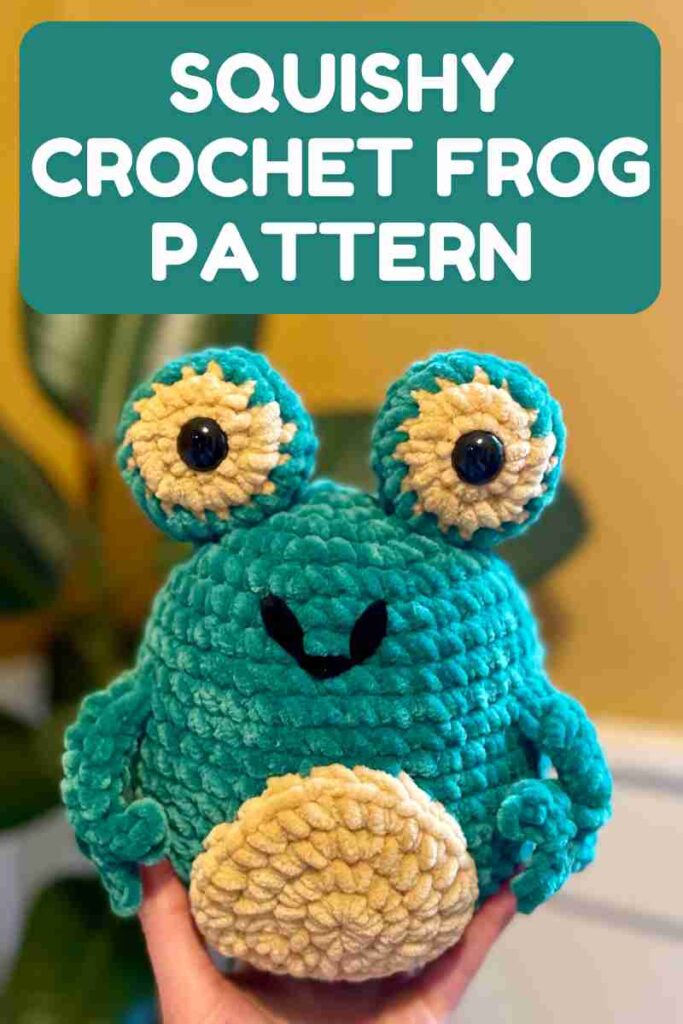
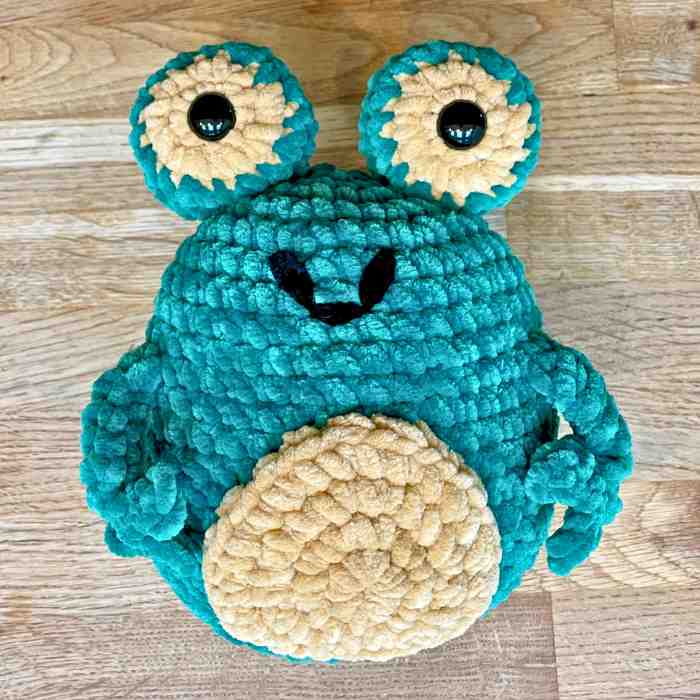
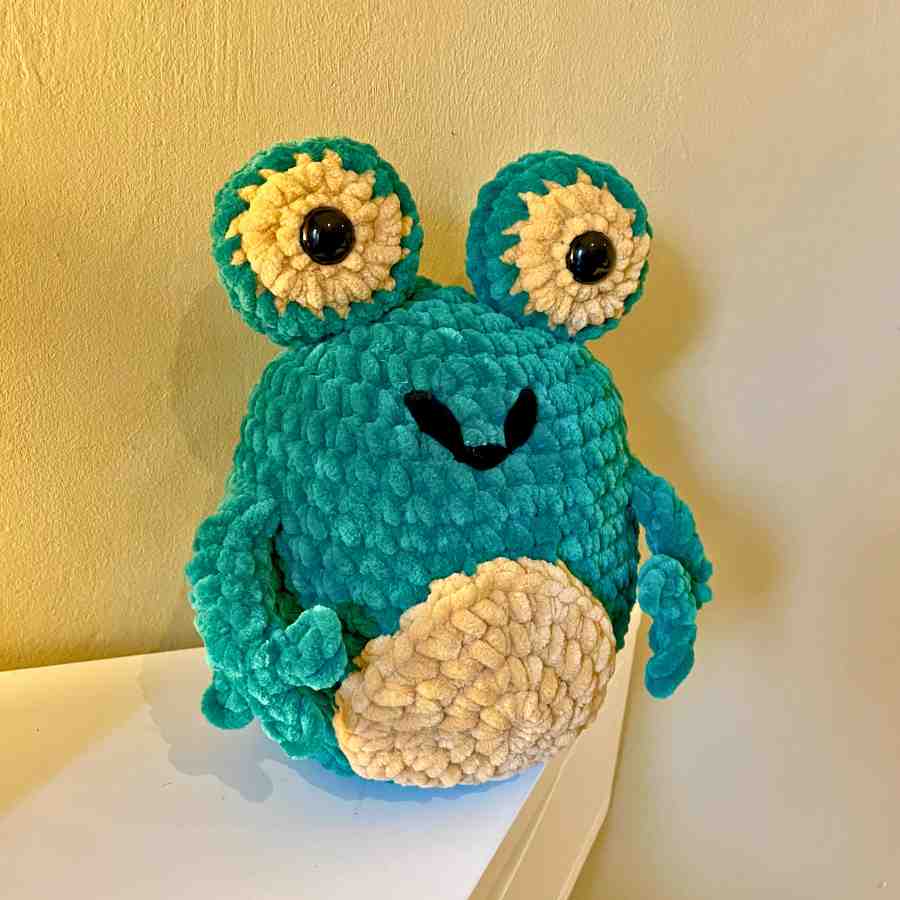
Hello and welcome to my squishy crochet frog pattern. Well I suppose since he’s dry and bumpy rather than smooth and shiny he’s really a squishy crochet toad pattern. But then again he has a goofy smile and no back legs, so maybe it’s not the time for getting hung up on accuracy! This simple amigurumi project is fast, and lots of fun to make. I’ll take you through the steps with the help of lots of photos, so even if you’re new to crochet you’ll be cuddling your own frog in no time!
Materials
To make your own cuddly frog, you’ll need:
- Super bulky chenille yarn for the body, eyes, arms, and tummy patch. I used King Cole Yummy yarn in green, and Cygnet Jellybaby yarn in teddy, which is a pale brown. The eyes and tummy patch would also look fantastic in yellow or lighter green. I only chose brown because I already had it in my stash and I was impatient to starting developing the pattern without having to go to the store first!
- A small quantity of black yarn for the mouth. I used bulky chenille again, but almost any black yarn would work.
- Size J (6mm) crochet hook
- Stitch markers or scraps of yarn
- ⅝” (16mm) safety eyes
- 2oz (55g) toy safe stuffing
- Darning needle
You could also make this pattern using lighter weight chenille yarn, with an appropriately sized hook and smaller safety eyes for pupils. My frog is about 7″ tall, but with bulky yarn he’d be 6″ tall, worsted yarn he’d be 5″ tall, and DK yarn he’d be 4″ tall. I haven’t had a chance to test whether the eyes and arms would be as effective in non-chenille yarns yet – let me know in the comments if you try it!
Squishy crochet frog pattern
I’ve written this pattern in standard U.S. crochet terms. The stitches and their abbreviations you’ll need to know are:
Ch chain
Sl st slip stitch
Sc single crochet
Inc increase (make 2 single crochets in the same space)
Hdc half double crochet
Hdc-inc half double crochet increase (make 2 half double crochets in the same space)
Dc double crochet
Dec decrease (see below)
Decreasing in amigurumi
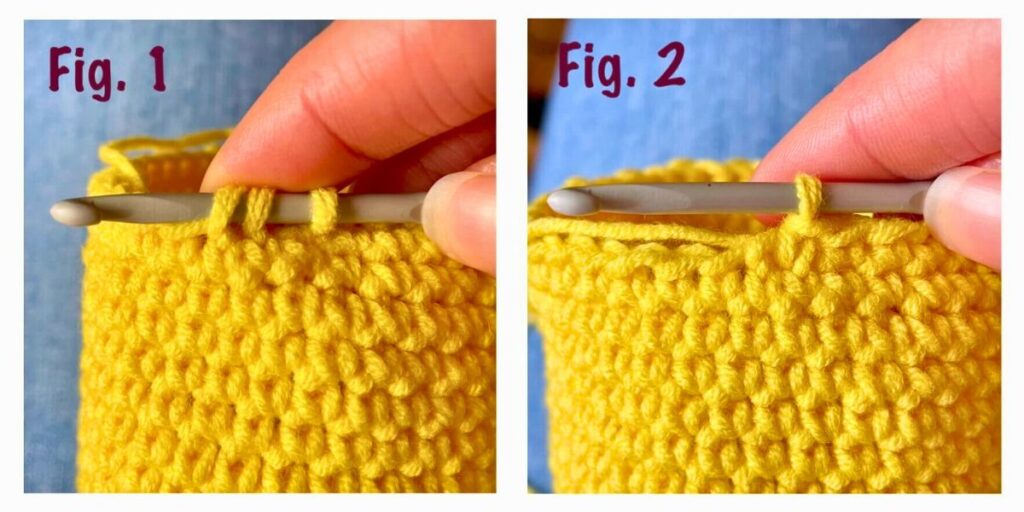
For your decreases, I recommend using the invisible decrease method, because it does exactly what it says in the name! If you haven’t tried it before, it goes like this:
- Insert the hook through the front loops only of the next two stitches (below left).
- Draw through a loop of yarn (two loops remaining on the hook).
- Yarn over the hook and draw through both loops (below right).
Decrease complete!
The body
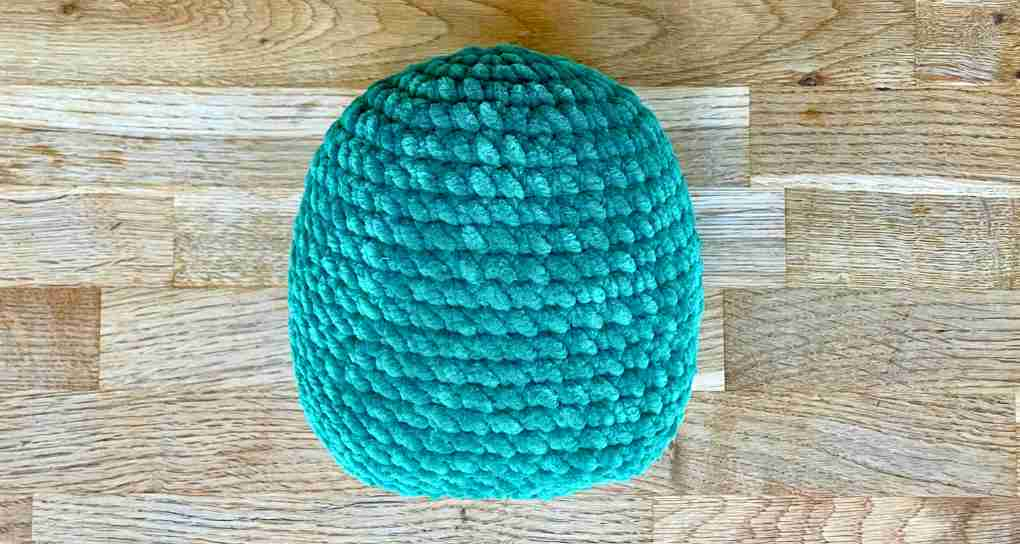
Using your green yarn:
Ch 4 and sl st into the furthest stitch to join.
1st round: Ch 1, sc 8 into the magic circle or 4-ch loop (8 sts)
2nd round: 8 inc (16 sts)
3rd round: *1 sc, inc* 8 times (24 sts)
4th round: *2 sc, inc* 8 times (32 sts)
5th round: *3 sc, inc* 8 times (40 sts)
Rounds 6 – 20: Sc all the way round
21st round: 3 dec, sc 8, 6 dec, 8 sc, 3 dec (28 sts)
22nd round: 3 dec, sc 2, 6 dec, 2 sc, 3 dec (16 sts)
Stuff the body firmly with toy safe stuffing.
23rd round: 8 dec, sl st (8 sts)
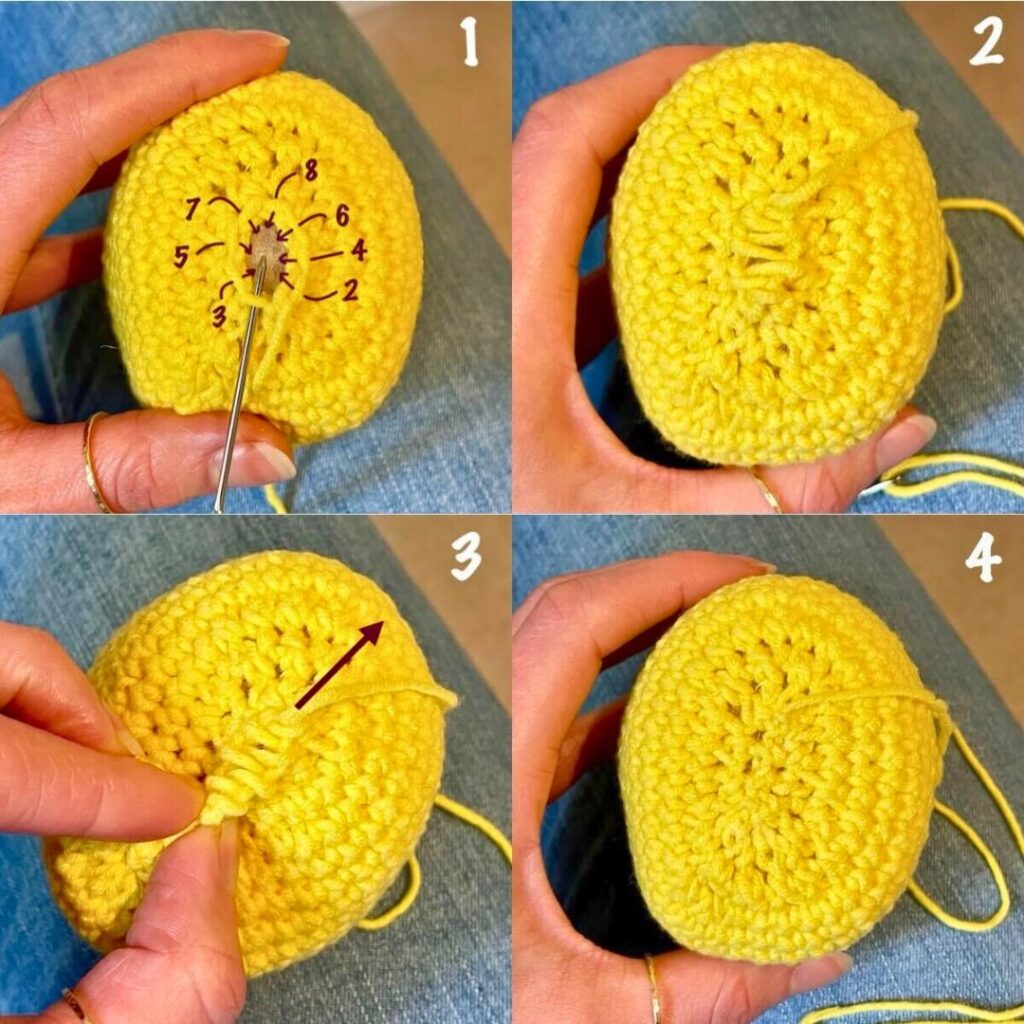
Cut the yarn leaving a 8” tail. Poke in a bit more stuffing if it will fit, then sew the remain stitches closed using mattress stitch.
If you haven’t used mattress stitch before, it’s really handy for closing the body and eyes of your frog neatly. Each stitch goes through the front loops only of round 23, following the order in the first picture below. Make the stiches loosely at first (second picture) then pull them tight one at a time, or hold the start firmly and pull the yarn tail in the opposite direction (third picture).
Belly patch
Using your brown, yellow or lighter green yarn:
Ch 4 and sl st into the furthest stitch to join.
1st round: Ch 1, sc 8 into the magic circle or 4-ch loop (8 sts)
2nd round: 8 inc (16 sts)
3rd round: Sl st, sc, hdc-inc, hdc, inc, sc 2, inc 2, sc 2, inc, hdc, hdc-inc, sc, sl st (22 sts)
4th round: Sl st 3, inc, hdc-inc 2, *sc, inc* 5 times, sc, hdc-inc 2, inc, sl st 2 (33 sts)
Cut the yarn leaving a long tail (about 18”) for sewing. Pull the yarn tail right through the last slip stitch.
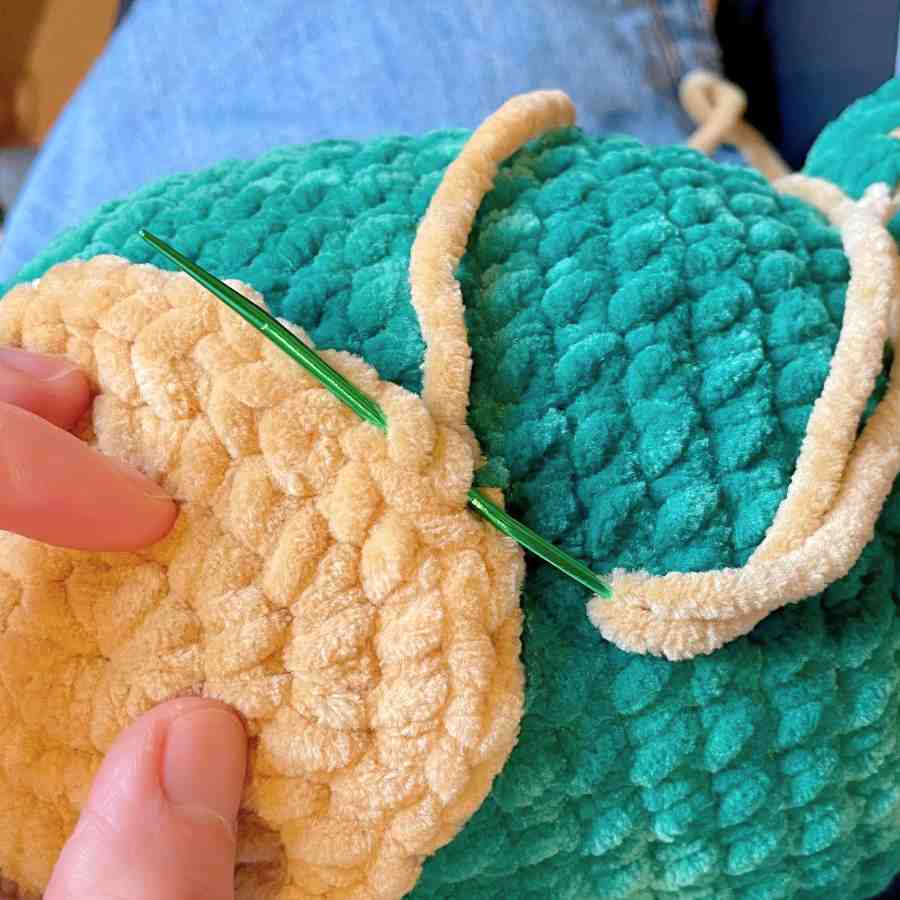
Now grab the body again. Since the decreases at the base are bunched up at the sides, the front and back of the body should be distinctly flattened (there’s no difference between them – you choose which is which!) Position the belly patch in the center of the front of the front of the body, lining the bottom edge up with about round 19 or 20 on the body. Sew it in place using the yarn tail – for the neatest result pick up two stitches at a time from the edge of the belly patch, through the back loops only (as in the photo below).
Making the eyes
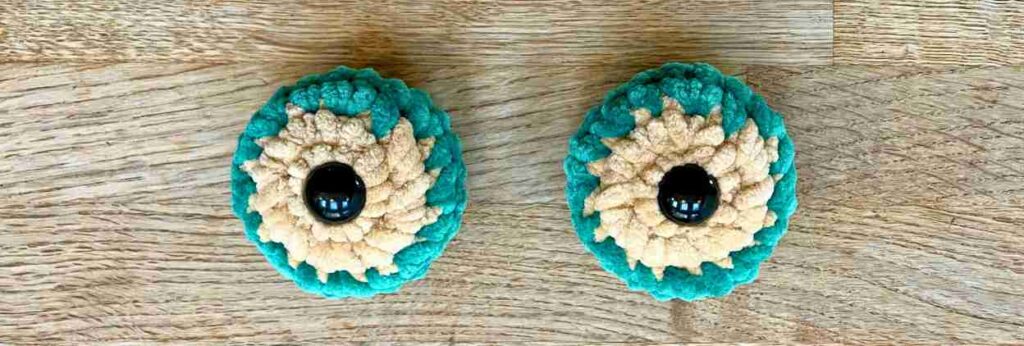
Starting with your contrast color yarn (brown, yellow or green):
Ch 4 and sl st into the furthest stitch to join.
1st round: Ch, 8 sc into the 4-ch loop (8 sts)
2nd round: 8 inc (16 sts)
In the next round, change color to green during the first single crochet:
- Insert yarn into the next stitch and draw through a loop of brown yarn.
- Loop the green yarn over you hook from back to front, and draw it through both brown loops on the hook.
- Cut the brown yarn leaving a short tail, and knot the green and brown yarn tails together tightly.
3rd round: *Sc, inc* 8 times (24 sts)
4th round: Sc all the way round (24 sts)
Insert the safety eyes through the center of the first round and click the backs on. For this pattern I prefer not to push the backs on as far as they’ll go, I push them past the first click only. Frogs suit having bulbous, protruding eyes, rather than deeply embedded ones!
5th round: *Sc, dec* 8 times (16 sts)
6th round: Dec 8 times (8 sts)
Stuff the eye with toy stuffing. Don’t overstuff, as it will make the eye difficult to join to the body later – aim for it to be holding its shape, but not hard.
Sew the opening closed using the same mattress stitch technique as above.
Repeat the whole process to make another eye.
Joining the eyes to the body
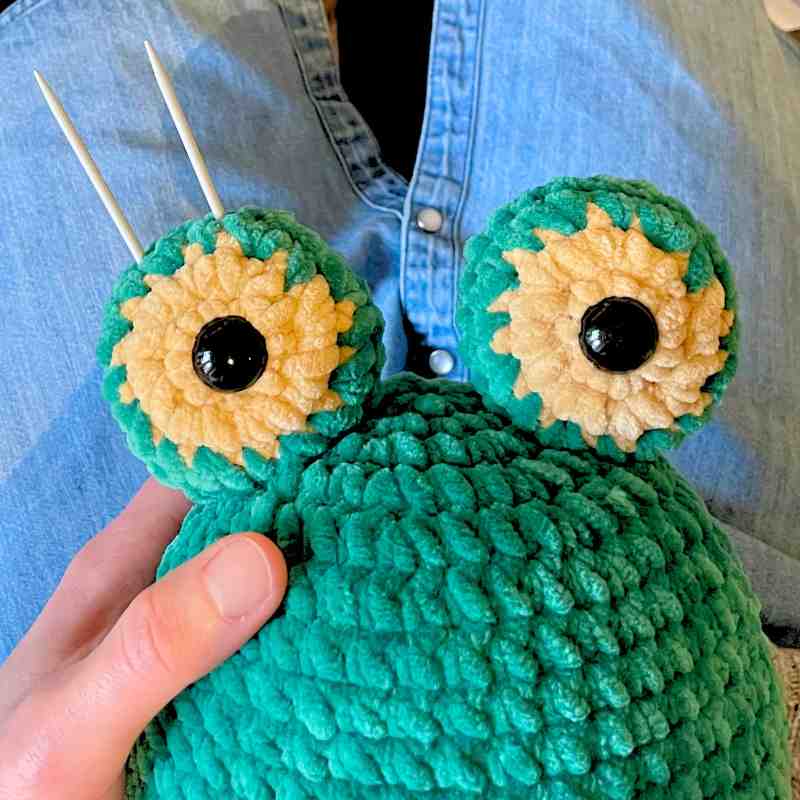
Position the eyes on top of the head so the gap between them at the narrowest point is between half an inch and an inch. There’s going to be an obvious place on the front of the eyes where the yarn color changes to green. It doesn’t matter where this goes, as long as it’s at the same position on both eyes – you can see I’ve positioned it at roughly 2 o’clock.
An optional but handy way to hold them in place while you sew is by pushing two double-ended knitting needles, mattress needles, or metal chopsticks through the top of the eye and down into the body (using two stops the eye spinning). You could even use two handle-less crochet hooks, but be very careful how you remove them!
Sew around the perimeter where the eye meets the body using more green yarn, and hide the yarn ends inside the body.
Making the arms
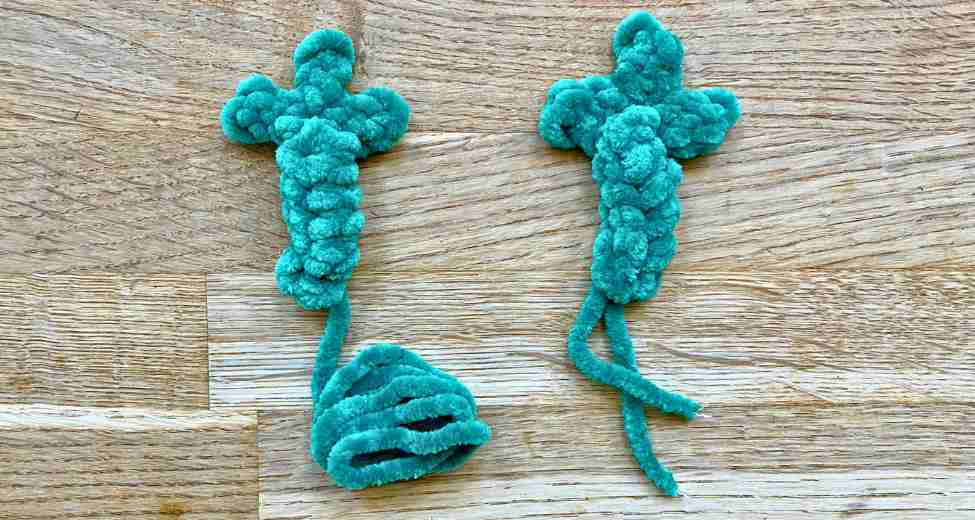
Making fiddly tubular limbs is my least favorite part of amigurumi, which is why my squishy designs don’t usually have them! But these cute little forearms are made slightly differently – and they’re very fast to whip up!
Foundation chain: Using your green yarn, ch 8.
1st row: Sk 2, dc 6.
2nd row: Fold the row of stitches into a tube lengthways. Starting with the dc nearest the hook, insert the hook through the unused loop of the foundation chain at the bottom of the stitch and through the top loops of the dc. Yarn over and pull through all three loops to make a slip stitch. Sl st 5 more times along the rest of the row to close the sides of the tube. How tight you make these stitches will determine how much the arms curve – for straight arms, tug through a little yarn after each slip stitch.
To make the fingers: *Ch 3, skip the 1st chain from hook, single crochet once into each of the two remaining chains, sl st into the end of the arm (exactly where isn’t important)* three times. Cut the yarn leaving a 12” tail, and thread the yarn tail up through the arm and out of the shoulder for sewing to the body later. Weave in the tail from the beginning of the foundation chain.
The second arm
Only if the first arm you made is curved, make the second arm like this (otherwise repeat the steps above for a second straight arm):
Foundation chain: Using your green yarn, make a slip knot with a 24” yarn tail, then using the yarn on the skein-side of the knot, ch 8.
1st row: Sk 2, dc 6.
2nd row: Fold the row of stitches into a tube lengthways. Starting with the dc nearest the hook, insert the hook through the unused loop of the foundation chain at the bottom of the stitch and through the top loops of the dc. Yarn over and pull through all three loops to make a slip stitch. Sl st 5 more times along the rest of the row, aiming for the same tightness as before, so achieve a matching curve. Cut the yarn, leaving a short tail for weaving in later.
To make the fingers: Using the yarn 24” yarn tail from step 1, *ch 3, skip the 1st chain from hook, single crochet once into each of the two remaining chains, sl st into the end of the arm (exactly where isn’t important)* three times. Thread the yarn tail up through the arm and out of the shoulder for sewing to the body later. Weave in the tail from the end of step 3.
Join the arms to the body using the yarn tails, a couple of rounds up the body from the top of the belly, and about in line with the outside edge of the eyes.
Embroider the mouth
Finally, thread about 18″ of black yarn onto a darning needle – I’ve used 36″ and doubled it up for extra impact. Push the needle through between two stiches on the back of the body, through to the front. Pull the yarn through until there’s tail about 3″ sticking out from the back of the body. Embroider the mouth using back stitch and the grid in the body stiches as a guide. At the end of the the final stitch, push the needle out through the same place as the yarn tail on the back of the body. Tie the two tails together, trim the excess yarn, and poke the knot inside the body to hide it.
Done!
Your amphibian amigurumi is complete! I hope you enjoyed making it and you’re completely charmed by the results. For some more unusual animal projects, check out Lucy’s gecko, manatee and puffer fish patterns!
