How To Crochet Scrunchies
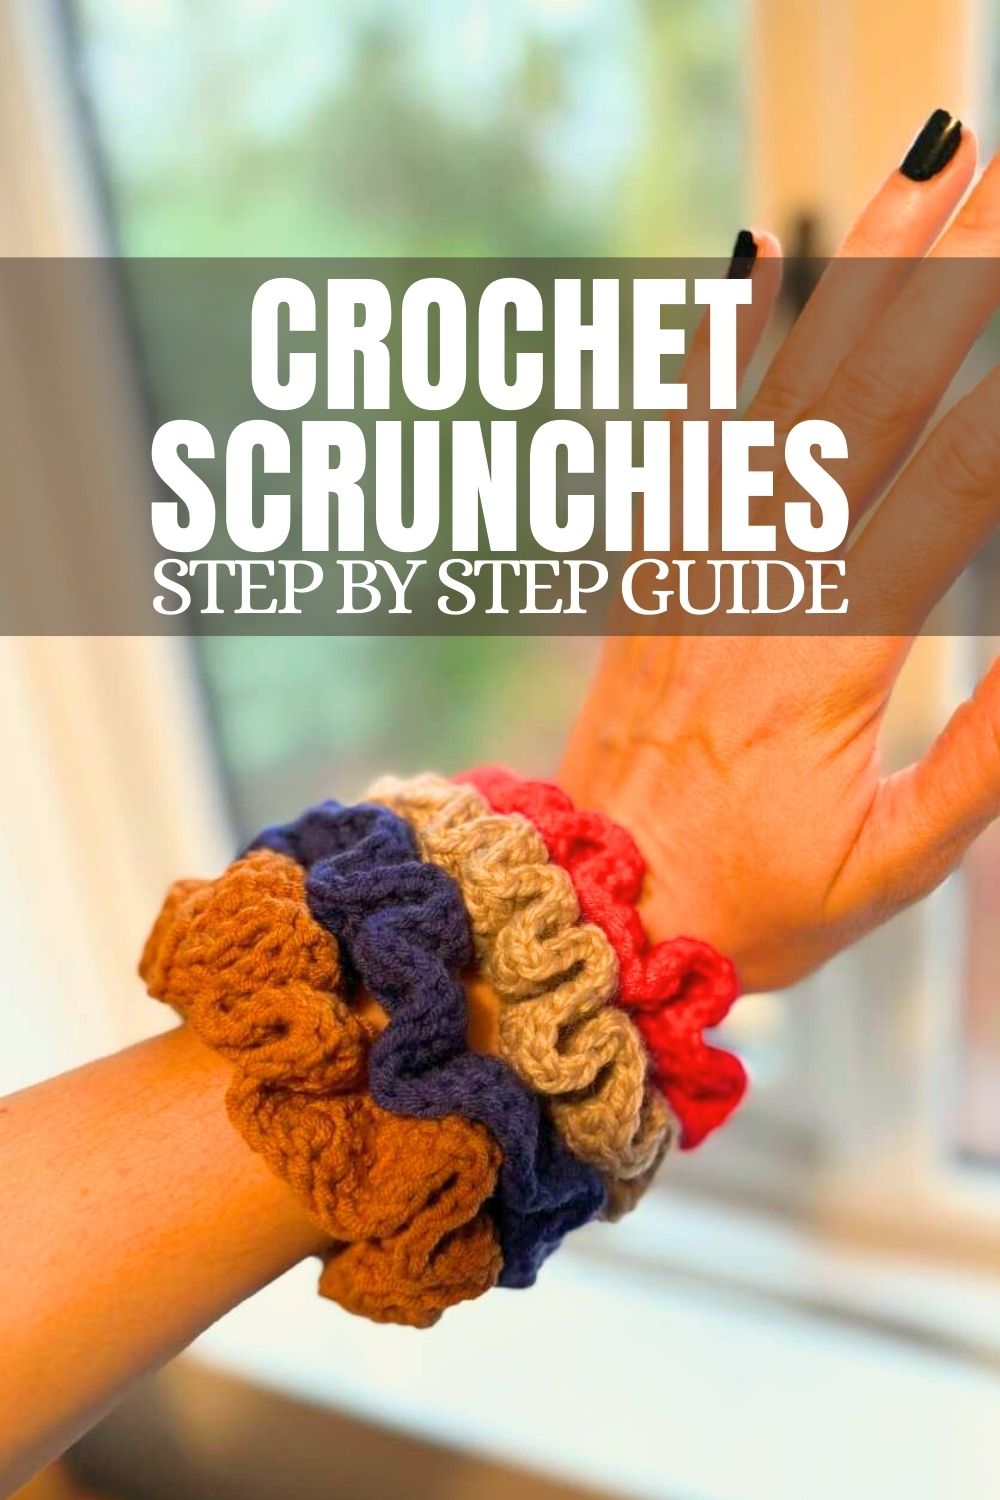
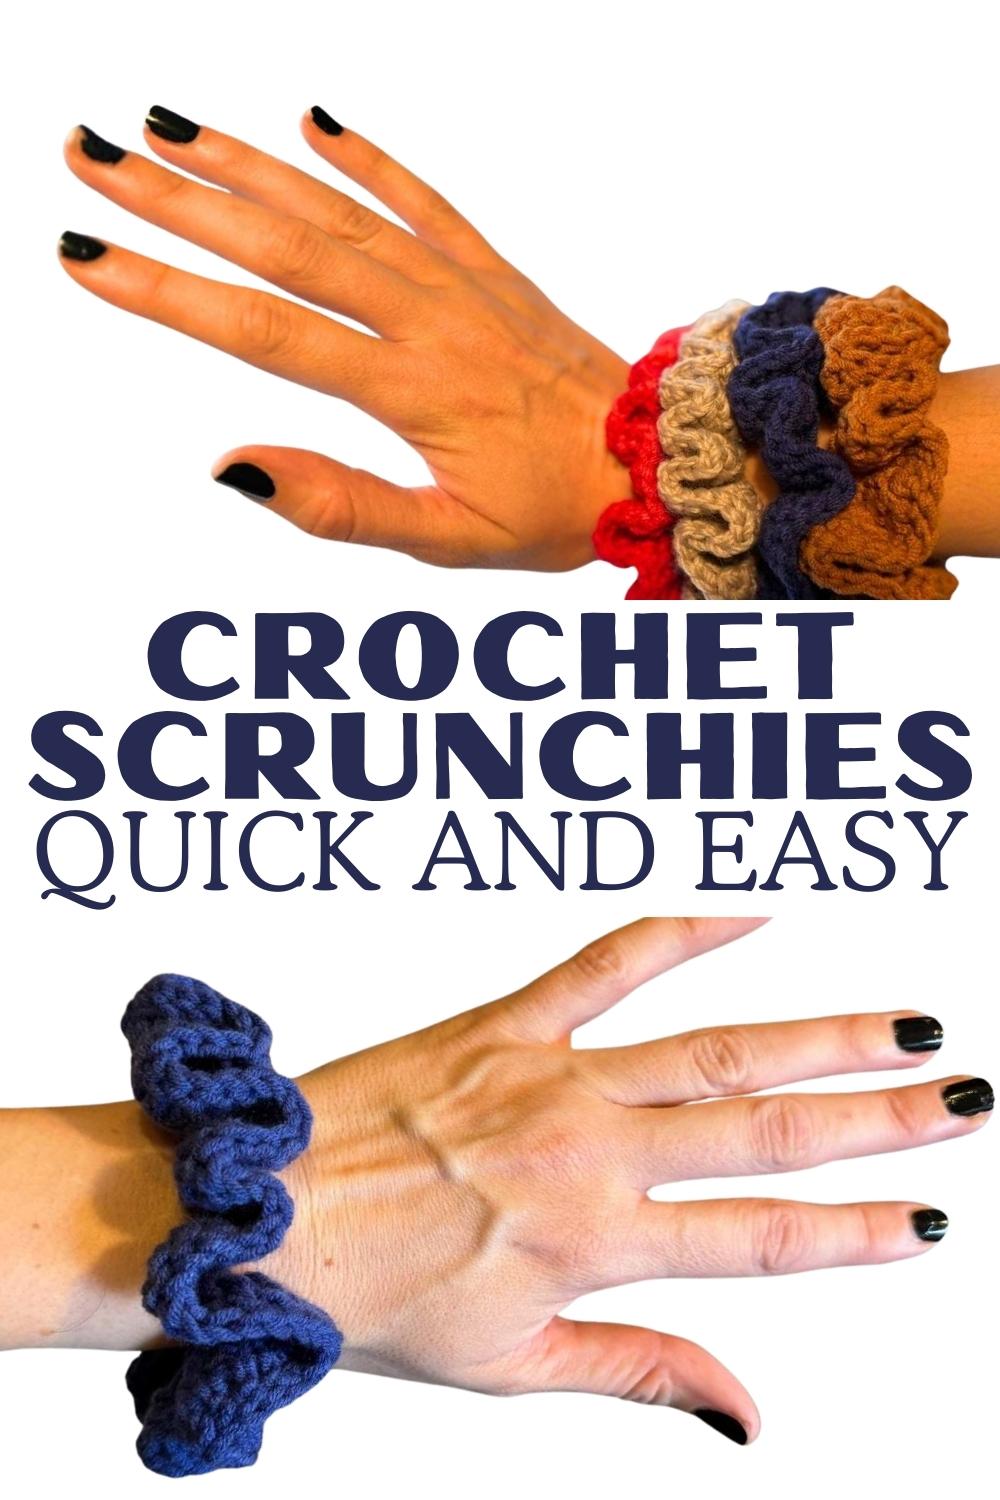
Crochet scrunchies are one of the most satisfying quick crochet projects that I work on. They are fast to hook up, easy make and it’s really easy to get a lot of variety. With the added bonus that it’s really easy to subtly show off your awesome work when you wear them.

I predominantly make crochet scrunchies for my daughter, but they also make really nice little gifts for friends and stocking fillers too. Although you might not get to take credit for those!

What You’ll Need
- Elastic hair tie (or a piece of elastic approximately 7 inches long)
- 25g aran weight yarn
- 4mm crochet hook
- scissors
- yarn needle
I find that scrunchies look best when crocheted in aran or chunky weight yarn. I’ve included a few different fiber examples in the photos you’ll find with this pattern, ranging from a wool blend to acrylic and cotton blend yarns. My absolute favorites for these crochet projects is the cotton blend. I think they have the nicest finish, and a slightly firmer texture which gives them a really nice shape when worn.
You’ll also see that I have made them in a number of different single color forms, however I have also made one in variegated yarn recently that I think looks really cool. You can also change color each round if you want something with stripes!

The other benefit of working with cotton is that your scrunchies will be more likely to cope with long term use and washing as well.
I’m not a big fan of working with plush yarn, so if you make up this pattern with it I’d love it if you could email me a picture of your finished scrunchie if you’re happy to share!
The Stitches
- slst – slip stitch
- sc – single crochet
- dc – double crochet

My Crochet Scrunchie Pattern
If you don’t have a spare hair tie, then a piece of elastic will work just as well. Cut the elastic to be approximately 7 inches long, then tie the two ends together securely. You don’t need to cut the ends of the elastic short, because you’ll be able to hide them inside your first round of stitches. Leaving these long tail ends will make the elastic less likely to come undone over time too.

Round 1
Take your hair tie, and the end of your yarn. Make a loop in the yarn, and put the hook through the center of the hair tie, pick up the yarn, and slip stitch the yarn to the hair tie.

Work around the hair tie, making single crochets. Every ten stitches, push the stitches together so that you cannot see the hair tie between them. I won’t give you an exact number as it will depend upon the size of your hair tie, hook size and yarn weight.
Once you get the start of your stitches, slst into the top of the first stitch to close.

Round 2
ch2, then make 1dc into the same stitch. 2dc into each stitch around the hair tie. At the end of the round, slst into the top of your chain to close.

Round 3
ch2, then make 1dc into each stitch of the round. slst to close, then using your yarn needle weave the tail of the yarn into the scrunchie to hide it.

Creating New Scrunchies
The principle of this design is simple, and you can adapt it to work in other stitches. Here’s an example of one I made using an almost identical pattern but incorporating puff stitches.

What I did was instead of 2dc into each stitch in round two, I made 1dc and 1puff stitch into each stitch for that round.
The rest of the pattern is exactly the same, and you can do this with a variety of different stitches to get scrunchies that have a really different finish.