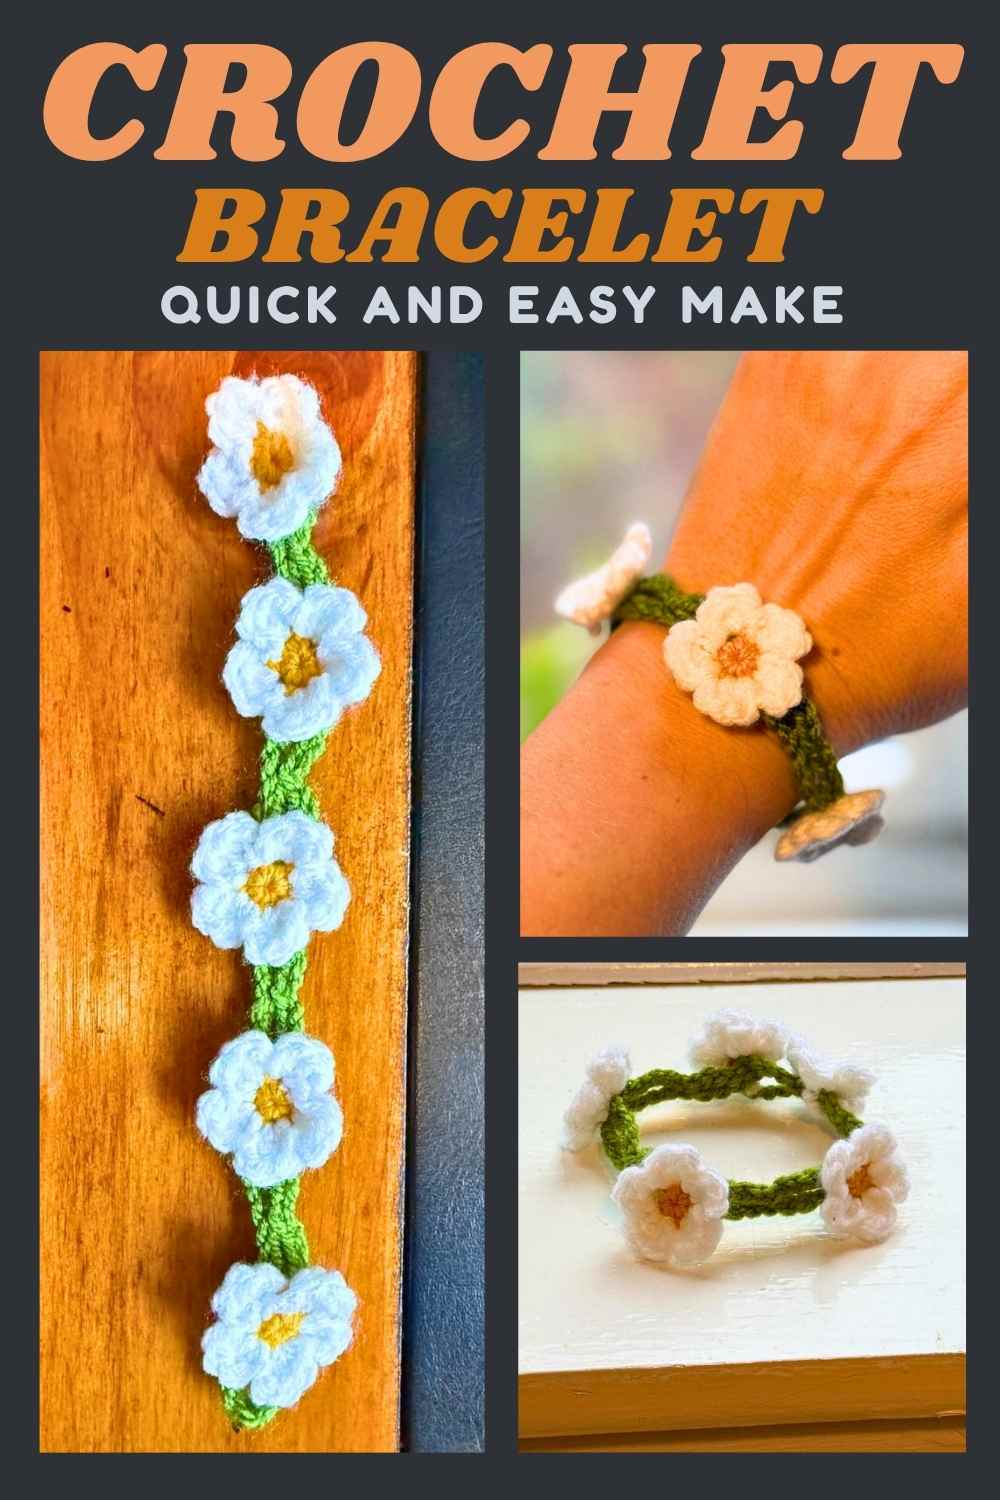
Daisy Crochet Flower Bracelet

I really wanted to make something a little different this morning, and I’ve had so much fun making flower bookmarks recently that I decided that was definitely a crochet project that had huge appeal. And i’m so glad I went for it, and excited to share this simple crochet bracelet pattern with you today.

What I Used
I intended this bracelet to be daisies but honestly they could be any kind of generic flower. If you’re swapping out yarn colors to create your own blooms I think this would look lovely too. And do feel free to email me photos of your finished bracelet if you’ve changed up the pattern, I’d love to see how it turns out!
- 20g yellow dk yarn
- 20g green dk yarn
- 20g white dk yarn
- 3mm crochet hook
- scissors
- yarn needle
I used acrylic based yarns to make my bracelet, but it’ll work up just as well in a cotton blend if that is your preference. I would however stay away from plush or chenille yarns, as they are so much harder to make magic circles with and are not as strong. Although the strands look thick, they have a fine internal strand holding them together which is notoriously easy to snap.

The Stitches
I hope that you’ll find this pattern easy to follow, but I totally get that if you are newer to crochet then any new pattern has a certain intimidation factor. Below I’ve shared the terms, techniques and abbreviations I’ll use along with links to tutorials on them.
The only real challenge here is the magic circle, but the instructions and video I’ve linked to takes you through it in really broken down steps. Even complete beginners have told me that this really helped them, so hopefully it’ll get you off on the right foot.
- magic circle
- ch – chain
- dc – double crochet
- slst – slip stitch
- cc – color change

Crochet Bracelet Pattern
I started by making up the flowers. I used five for my bracelet, but if your wrist is wider or more narrow you might need to make one more or less.
The Flowers
Begin working in your yellow yarn.
Row 1
Make a magic circle of five stitches

cc to white yarn
Row 2
ch2, then make 2dc and slst into the next stitch.
*(ch2, 2dc, slst) into each of the remaining four stitches of the magic circle.
Tie off, sew in the white and one of the yellow yarn ends, snipping them off close to the back of the flower. Leave one long strand of yellow yarn out of the back of each flower for sewing in later.

The Bracelet Band
Make a starting chain that is a multiple of five stitches. It should reach neatly around your wrist with a couple of finger space. I made a chain of 45 stitches.
Now chain five stitches, then slst back into the tenth chain from the hook. Working along the remainder of the chain, slip stitch every five stitches, with a five stitch space.

Attaching The Flowers
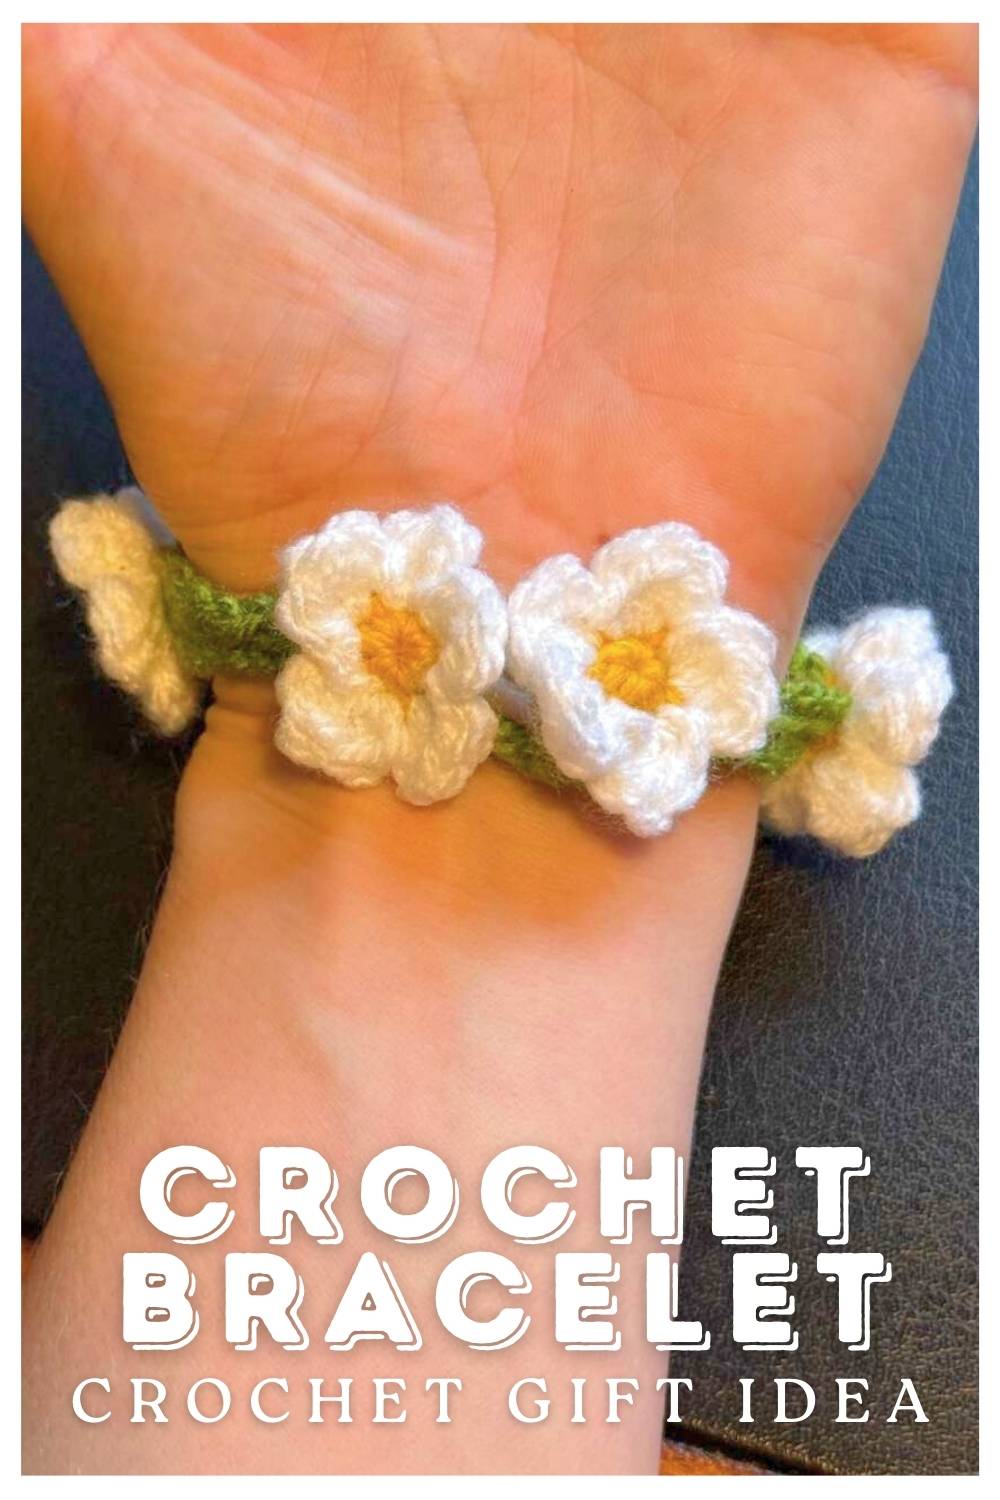
Lay out the bracelet in front of you, and place the flowers at alternate joining points. Use your yarn needle to sew each flower on, working in and out of the bracelet band and the center of the flower. Tie off and cut the ends short.

The final flower will provide the attachment for the bracelet, and the loop from the other end will secure it closed.

I hope you enjoy making and wearing your bracelet. This is a lovely subtle way to show off your crochet talents when out and about!
Happy Crocheting,
Lucy Kate, x