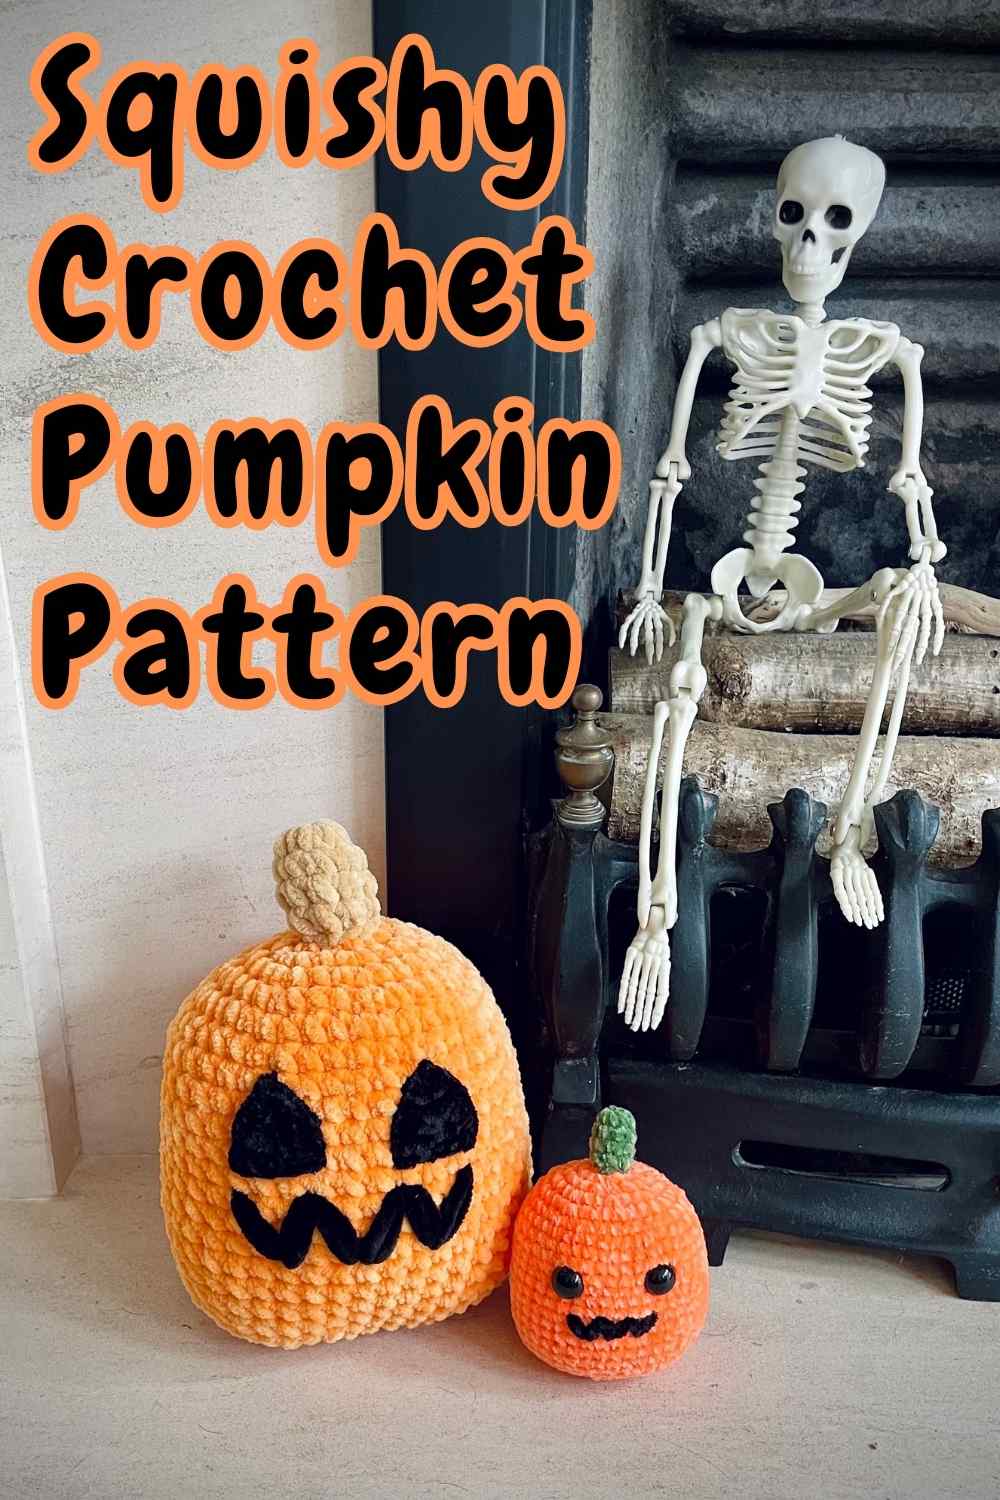
Squishy Crochet Pumpkin Pattern

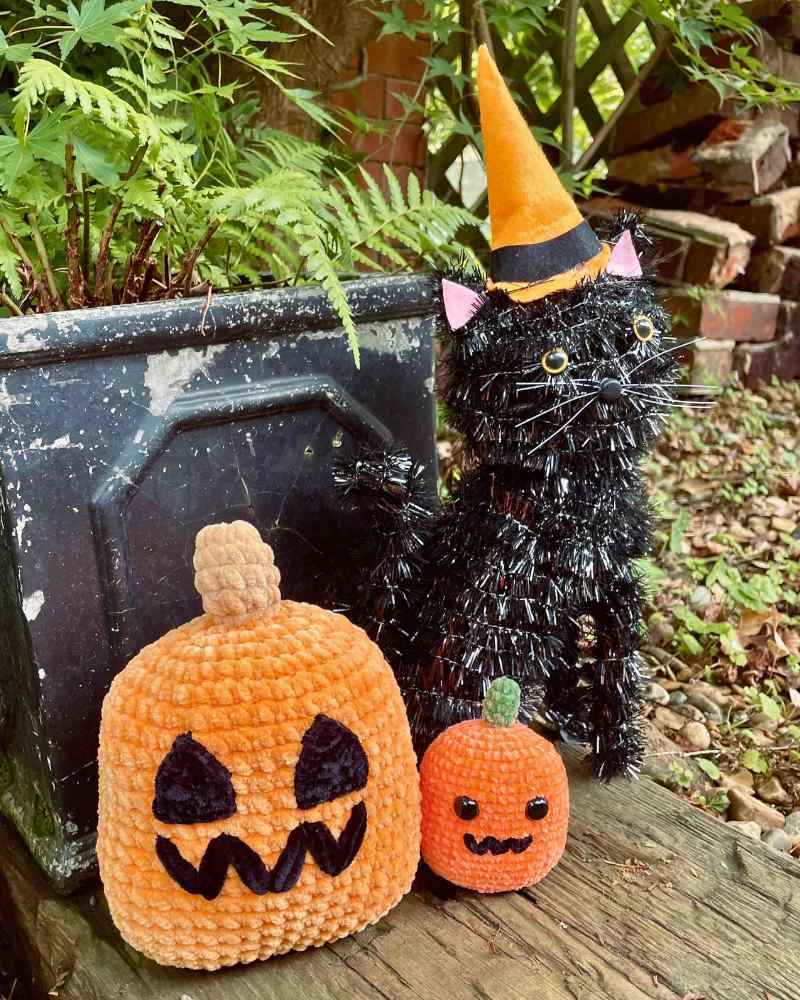
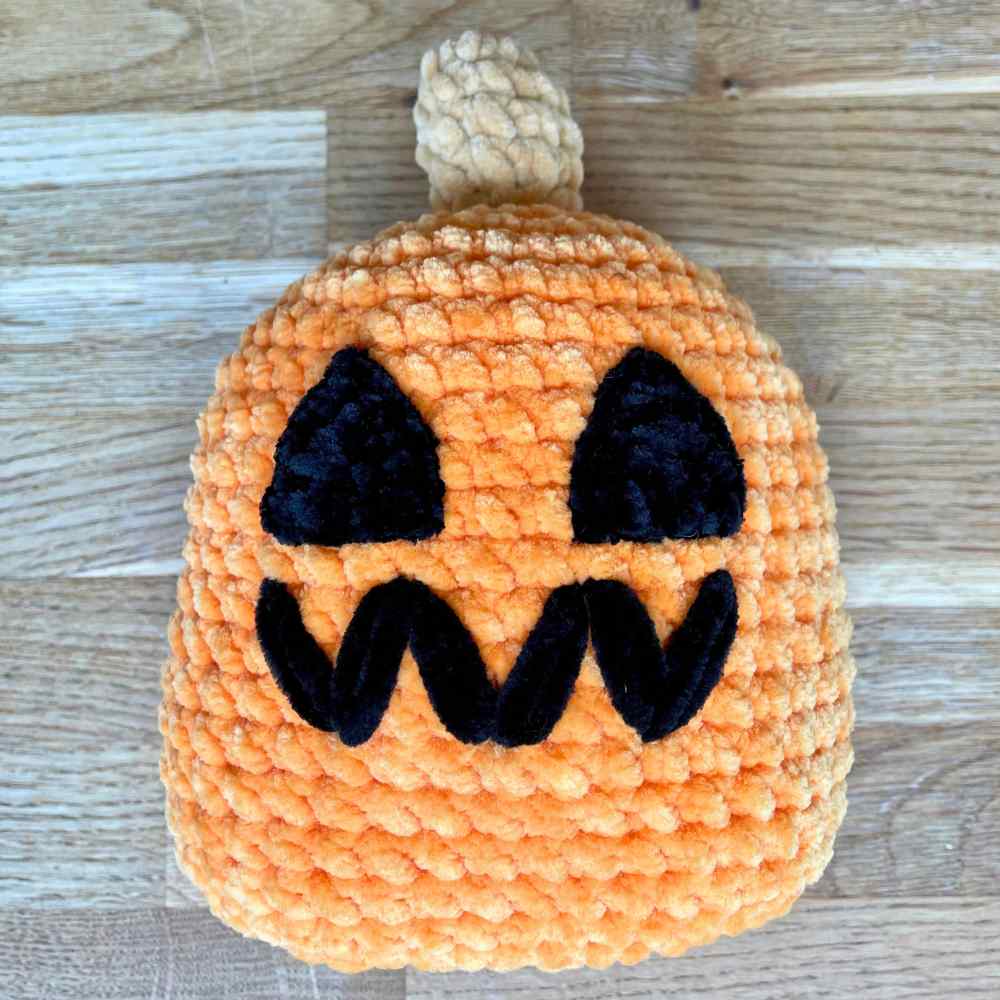
Hello and welcome to my squishy crochet pumpkin pattern! This is a super fast and easy amigurumi project to do in the run up to Halloween. At just 23 rounds tall, these cuddly jack o’lanterns can be whipped up in next to no time! Their base is a flat oval, meaning they can stand up unaided, and the front has lots of flat space for adding cute features. For that just-carved look you can follow my pattern for making crochet triangle eyes, and if you’re in a rush you can swap those out for round safety eyes from the craft store. The mouth is nothing more than 6 zigzagging stitches, and it’s all topped off with a cute little stalk.
Let’s get crafting!
Materials
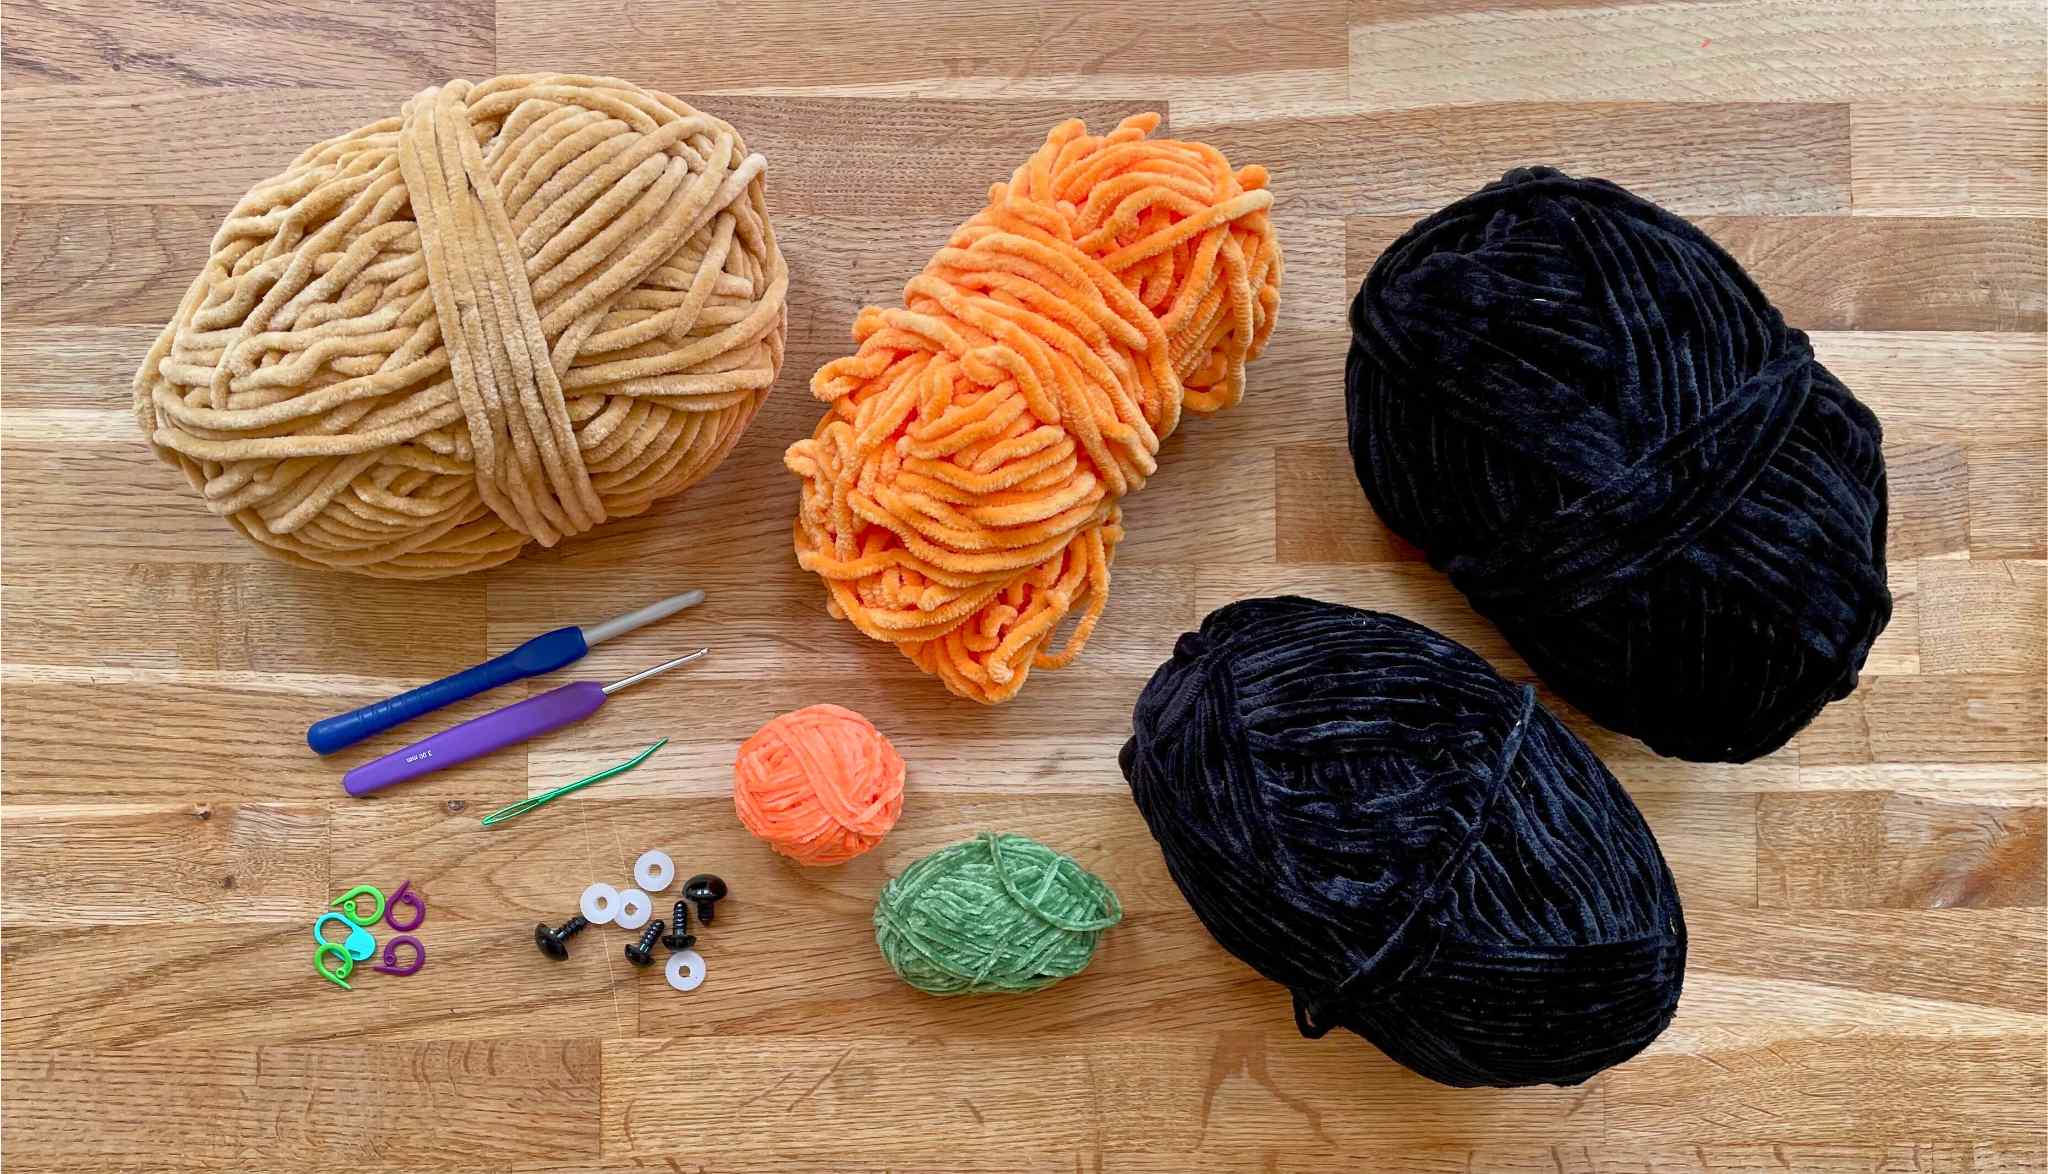
To make your own squishy pumpkin you’ll need:
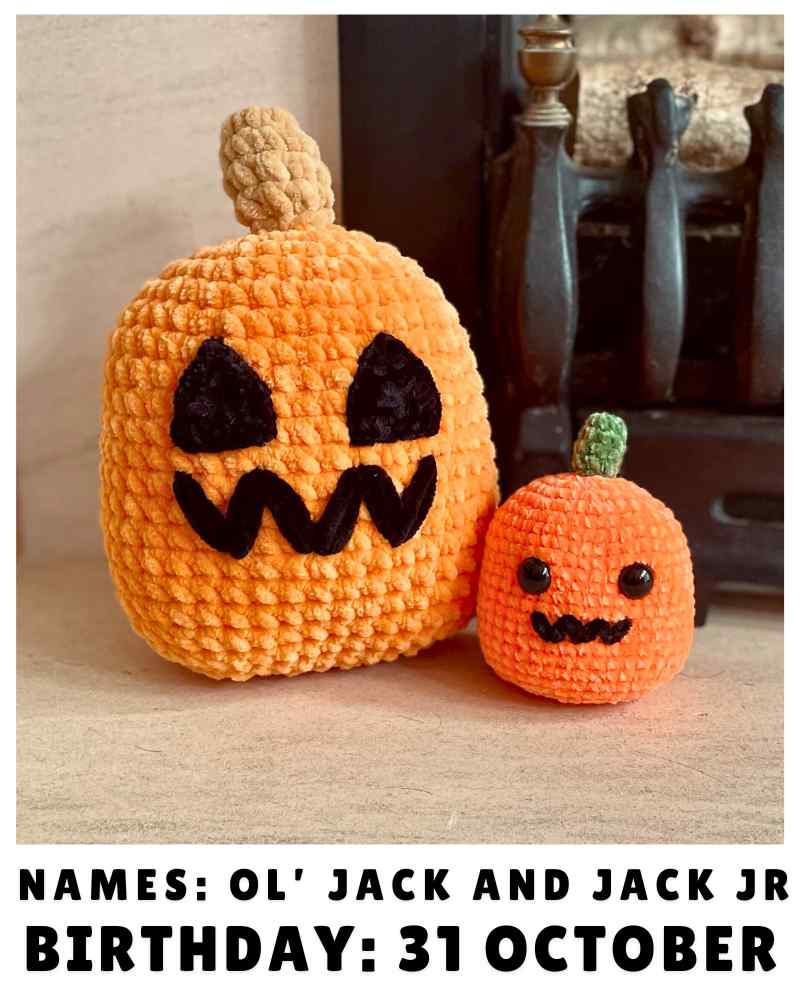
- Orange yarn. I’ve used Cygnet’s super bulky Jellybaby yarn in the shade ‘tangerine’ for my big pumpkin, and Rico Ricorumi’s DK Nilli Nilli yarn in neon orange for my little pumpkin. You can use any weight or fiber of yarn you like, and you’re not really limited to orange either. My daughter loves the white and gray pumpkins our local pumpkin patch sells every year!
- Yarn for the stalk. Any shade of green or brown will work, as long as it’s the same weight as your orange yarn.
- Black yarn for the mouth. In the same weight as your orange yarn.
- Black yarn for the eyes – optional. If you’re going to make crochet eyes, you’ll also need black yarn in a lighter weight to your orange yarn (see notes below).
- Safety eyes – the alternative option. See notes down below on size.
- Crochet hook(s). Amigurumi looks best when the tension is tight, and this pattern is no exception, so use a hook one size smaller than the yarn wrapper recommends. If you’re crocheting triangular eyes, you’ll need a second hook for them too.
- Stitch markers. For keeping track of your rounds. A scrap of yarn in a contrasting color will do just fine.
- Toy stuffing. Such as PolyFil.
How big will your pumpkin be?
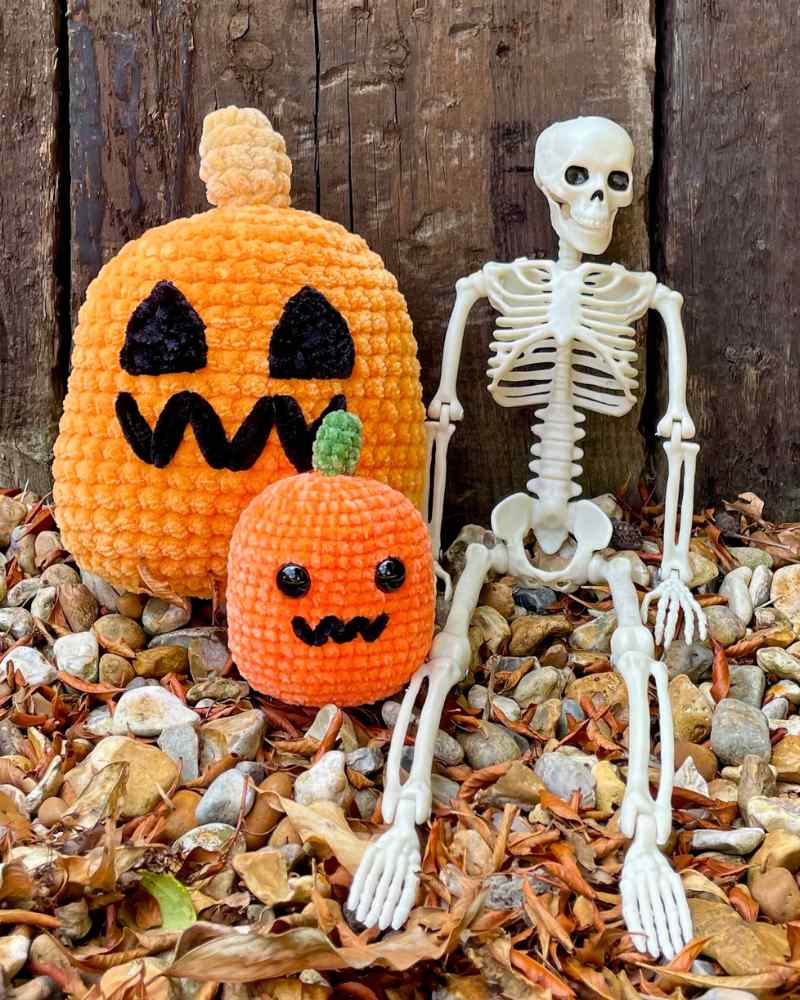
This pattern works with any weight of yarn, and the weight you choose will determine how tall your pumpkin turns out. This is a rough guide to how tall your pumpkin will turn out – the exact size will depend on your yarn, hook size, and tension. For example my smaller pumpkin in DK yarn is actually 2¾ inches tall.
| Orange yarn weight | Pumpkin height (excluding stalk) | Eye yarn weight | Safety eye size |
| DK | 3 inches | Superfine | 12mm |
| Worsted (aran) | 4 inches | Fine | 12mm |
| Bulky | 5 inches | DK | 16mm |
| Super Bulky | 6 inches | DK | 16mm |
| Jumbo | 7+ inches | Worsted | 20mm |
If you’re wondering why the eyes ought to be in a lighter weight yarn, the reasons are twofold. Firstly it’s easier to achieve sharp pointy corners. And secondly, since they’re supposed to mimic something carved and hollow, it looks weird if they’re very raised.
Pattern notes
My squishy crochet pumpkin pattern is written in standard American crochet terms. The only abbreviations and stitches you’ll need to know to complete this project are:
Ch chain
Sc single crochet
Sl st slip stitch
Inc increase (make 2 sc in the same place)
Dec decrease
I recommend using the invisible decrease technique for smooth, gap free results:
- Insert your hook through the front loop only of the next two stitches, so you have three loops on the hook (below left).
- Yarn over and draw through two loops (two loops remaining on hook).
- Yarn over and draw through both remaining loops (below right).

For more help with basic crochet term and techniques, check out Lucy’s beginner’s guide.
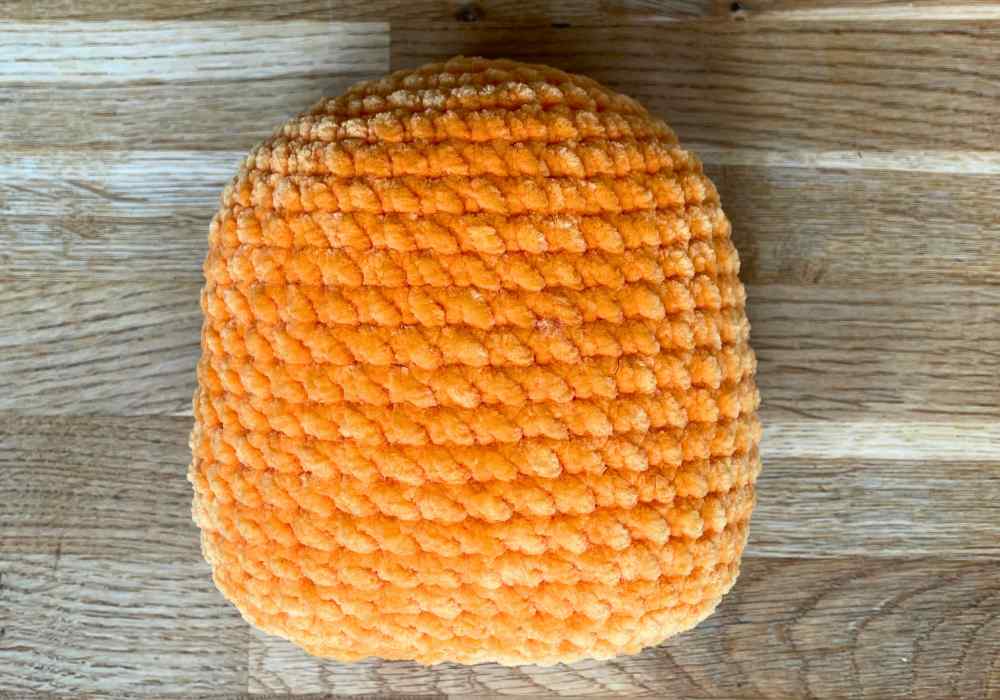
Squishy crochet pumpkin pattern
Using your orange yarn, start your pumpkin with either a magic circle or by making 4 chain stitches and joining them with a slip stitch in the furthest chain from the hook, to form a loop.
- 1st round: Ch 1, sc 8 into the magic circle or 4-ch loop (8 sts)
- 2nd round: 8 inc (16 sts)
- 3rd round: *1 sc, inc* 8 times (24 sts)
- 4th round: *2 sc, inc* 8 times (32 sts)
- 5th round: *3 sc, inc* 8 times (40 sts)
- Rounds 6 – 20: Sc all the way round
- 21st round: 3 dec, sc 8, 6 dec, 8 sc, 3 dec (28 sts)
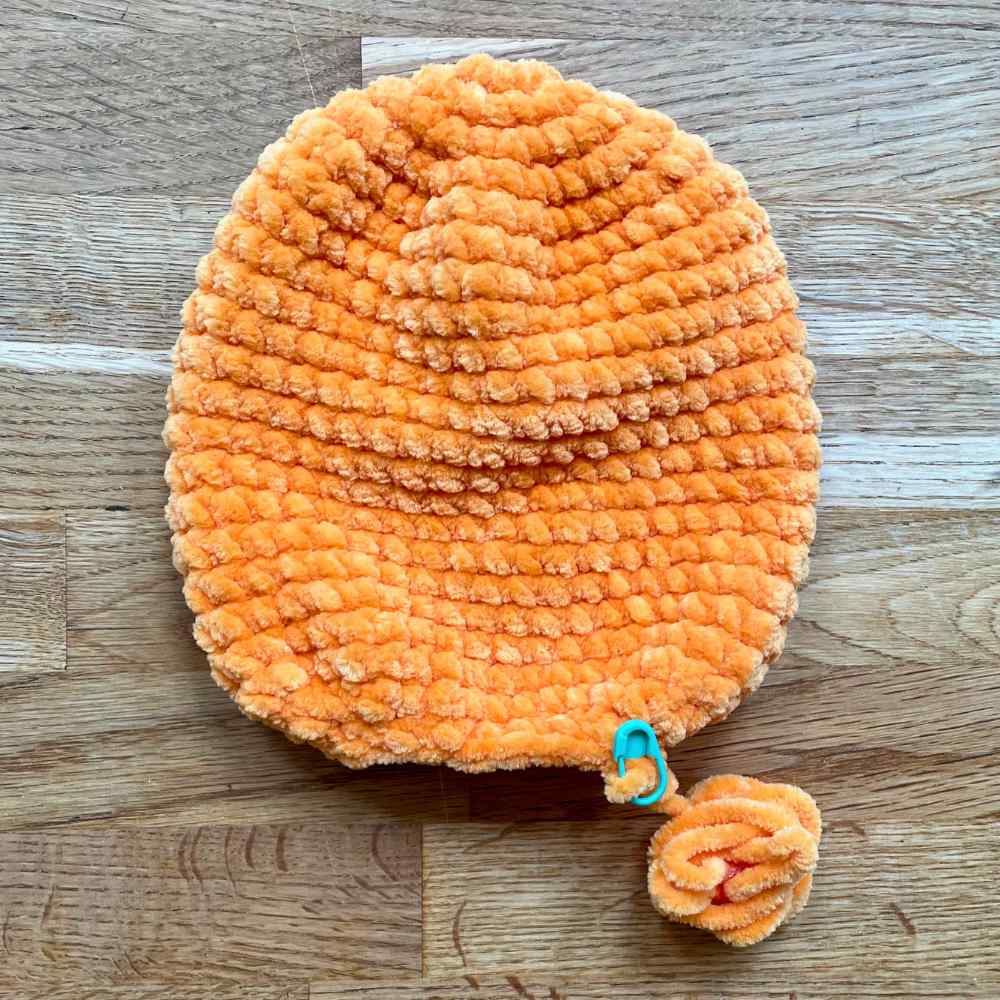
- 22nd round: 3 dec, sc 2, 6 dec, 2 sc, 3 dec (16 sts)
Put a stitch marker into the loop on your hook, and cut your yarn leaving a 24 inch tail. Set this part of the pumpkin aside for now.
Two ways to add eyes
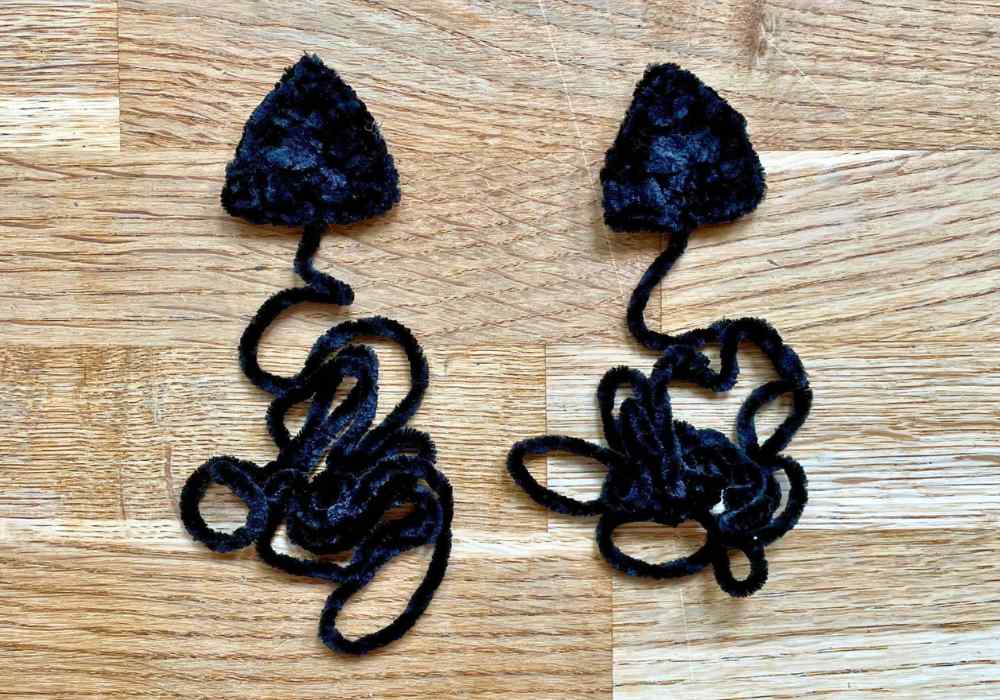
There are two ways to add eyes to your squishy pumpkin. You can either use plastic safety eyes, or crochet triangular eyes which resemble those carved in a jack o’lantern. If you don’t like fiddly crochet tasks, then safety eyes are easier and quicker, especially for smaller pumpkins. But I love the impact of the triangular eyes on my larger pumpkin. They work best with fuzzy chenille yarns, because the texture conceals the corner spaces that result from making a triangle shape.
Start with either a magic circle or a 4-ch loop.
- 1st round: Ch 1, sc 3, *ch 2, sc 3* twice, ch 2, sl st into the first sc to join.
You should have 9 single crochets worked into the magic circle or 4-ch loop, split into three clusters of three, with 2 chain stitches between each trio. These pairs of chain stitches are your corner spaces.
- 2nd round: Ch 1, sc 3 starting in the same sc you joined your slip stitch to at the end of the previous round, (sc 2, ch 2, sc 2) into the corner space. *Sc 3, (sc 2, ch 2, sc 2) into the corner space* twice more. Sl st in to the first sc, cut the yarn leaving a long tail for sewing later, and pull the yarn tail right through the slip stitch.
Now do it all again to make a second eye!
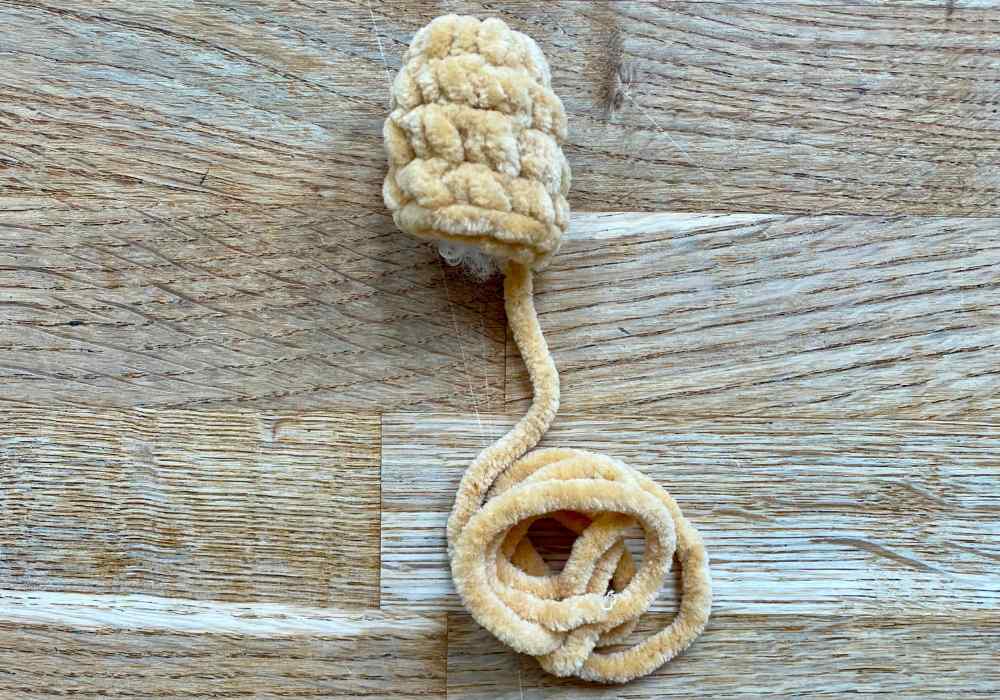
The stalk
Your pumpkin wouldn’t be complete without a cute little stem on top. Start with either a magic circle or a 4-ch loop.
- 1st round: Ch 1, sc 8 into the magic circle or 4-ch loop (8 sts)
- 2nd round: Sc all the way round (8 sts)
- 3rd round: Sc all the way round (8 sts)
- 4th round: Sc all the way round, sl st, cut the yarn leaving a long tail for sewing, and pull the tail right through the final stitch.
Assembling your pumpkin
The order you’ll finish your pumpkin in depends on which type of eyes you’re using:
- Safety eyes need to be added before you stuff and close the pumpkin, so the backs can be pushed in place from the inside.
- But crochet eyes are best added after stuffing the pumpkin. That’s because stuffing transforms your pumpkin from a flat shape to a 3D one, and sometimes stitches which were well-hidden on a flat surface can suddenly end up highly visible and ruin the finish of a curved one!
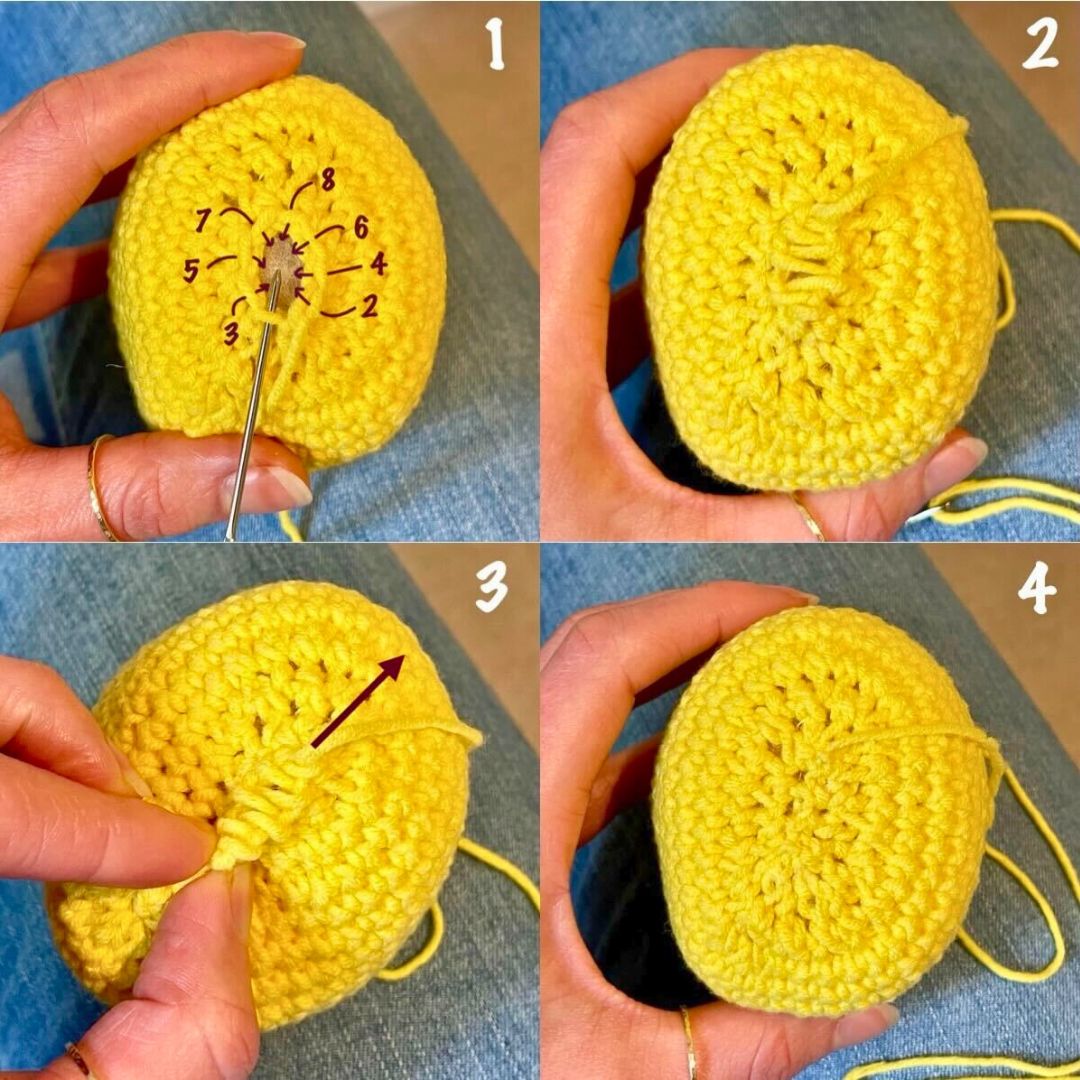
Closing the pumpkin
Fill your pumpkin firmly with toy stuffing. It always squashes down a bit more after your project is finished, so aim to pack in as much as you can without stretching the stitches. Then crochet one more round:
- 23rd round: 8 dec (8 sts)
Slip stitch once, and pull the yarn tail all the way through that stitch. Thread it onto a darning needle, and close the remaining hole using mattress stitch through the front loops only. Mattress stitch is ideal for amigurumi joins because it is practically invisible. First make the stitches in the order and direction shown in picture 1. Make them loosely at first as in picture 2, so you can easily see where the next stitch goes. Then either pull them tight one at a time, or pinch the start point firmly and pull the yarn tail in the opposite direction to zip the stitches up (picture 3). For fluffy chenille yarns like mine, pulling them tight one at a time works best.
Sewing on the finishing touches
Now it’s time to sew on the finishing touches:
- the stalk
- the eyes, if you’ve made them in crochet,
- and the mouth.
The stalk goes slightly forwards of center on top of your pumpkin. You can place it absolutely centrally if you like, but I think it looks just a bit more pleasing if you move it one row forwards. Whichever kind of eyes you’re using, their bottom edge should sit roughly level with the bottom of row 11 / top of row 12 on the pumpkin. You can eyeball the best possible position for them – this is just a guide.
To secure the stalk and eyes in place, whip stitch the edges down, and feed all three yarn tails out through the same spot on the back of the pumpkin. Then knot them together, trim the ends, and hide the knot by poking it inside the pumpkin. The stuffing will anchor it in place so the features don’t come loose. This is much easier and more discreet than trying to knot each yarn tail individually next to the last stitch!
Finally the mouth is a simple zigzag which follows the grid pattern in the stitches. Use black yarn in the same weight as your orange yarn and doubled up, to achieve a bold result. Leave a one or two row gap between the bottom of the eyes and the top of the mouth. You can deal with the two ends of the yarn in the same way as earlier – feed them out through the same hole somewhere else on the pumpkin, and knot them together.

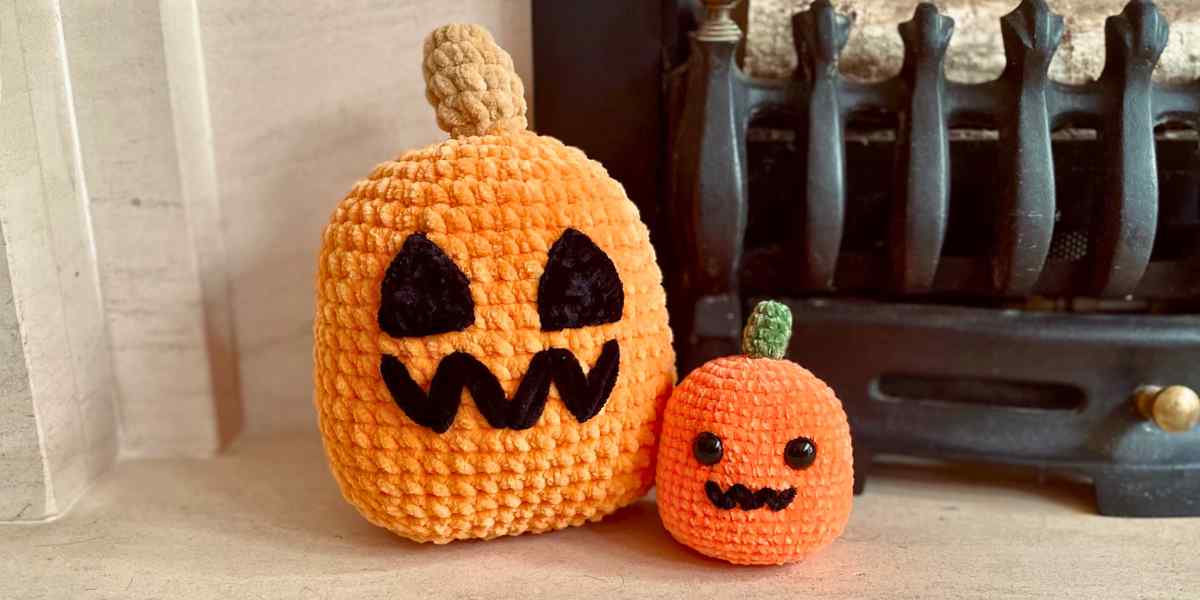
Project complete!
Your cuddly, kooky pumpkin is ready to go. Before displaying it near any traditional jack o’lanterns, please be aware that many polyester chenille yarns are highly flammable. Safety first!
You might want to experiment with different ways of decorating the front of your pumpkin, and if you do we’d love to see the results! Please tag Lucy on Facebook or Instagram. Happy crocheting!