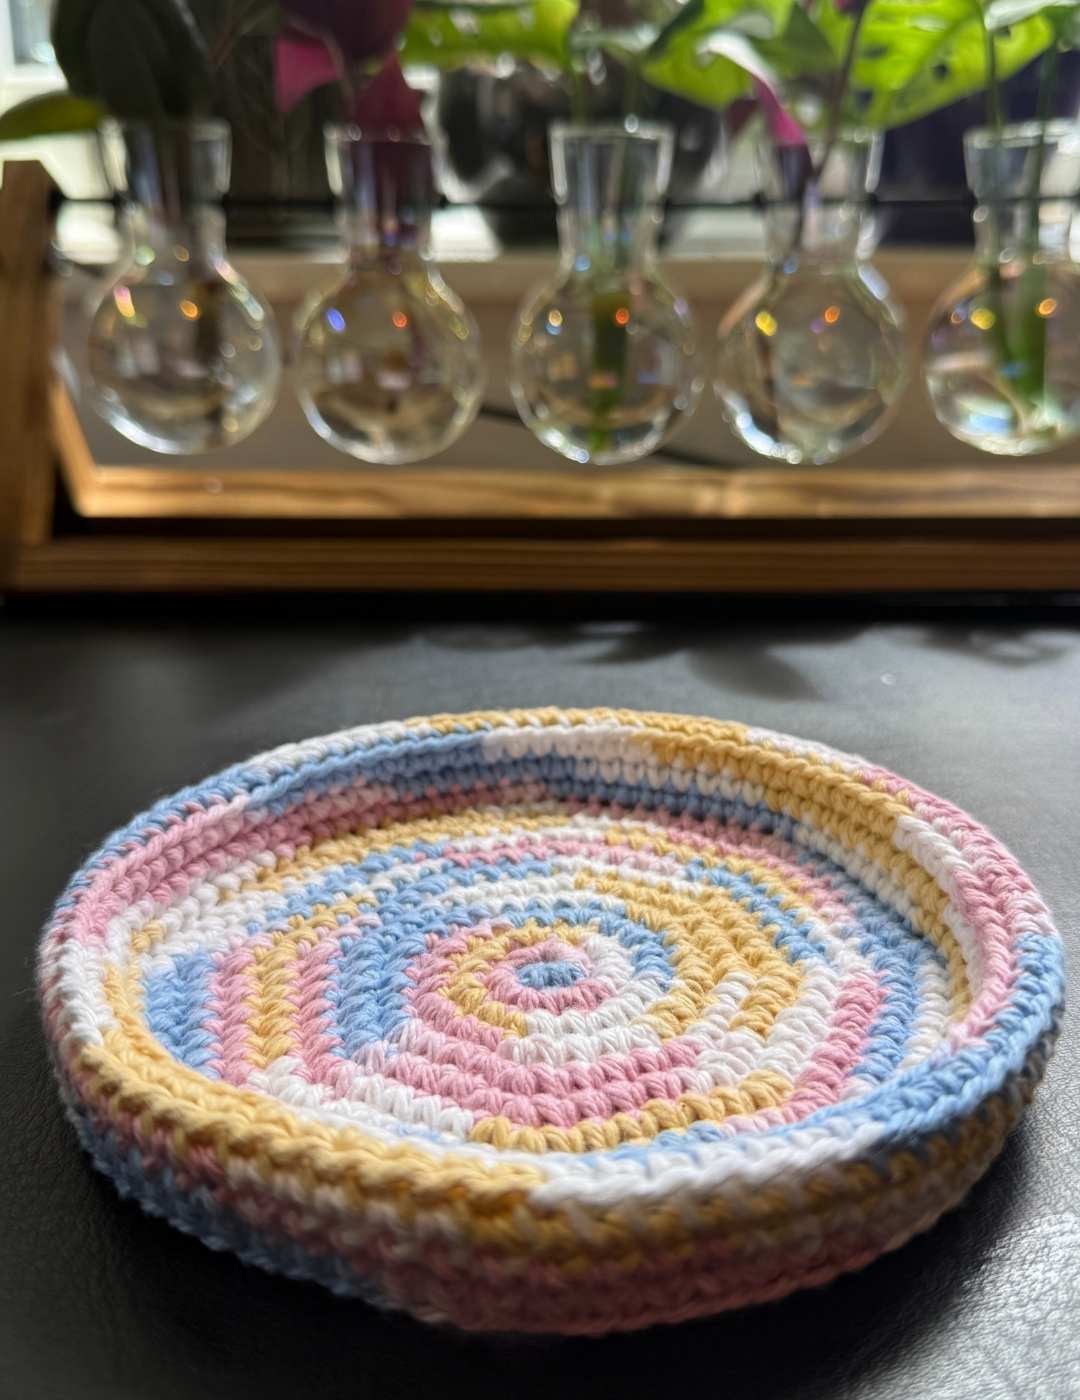
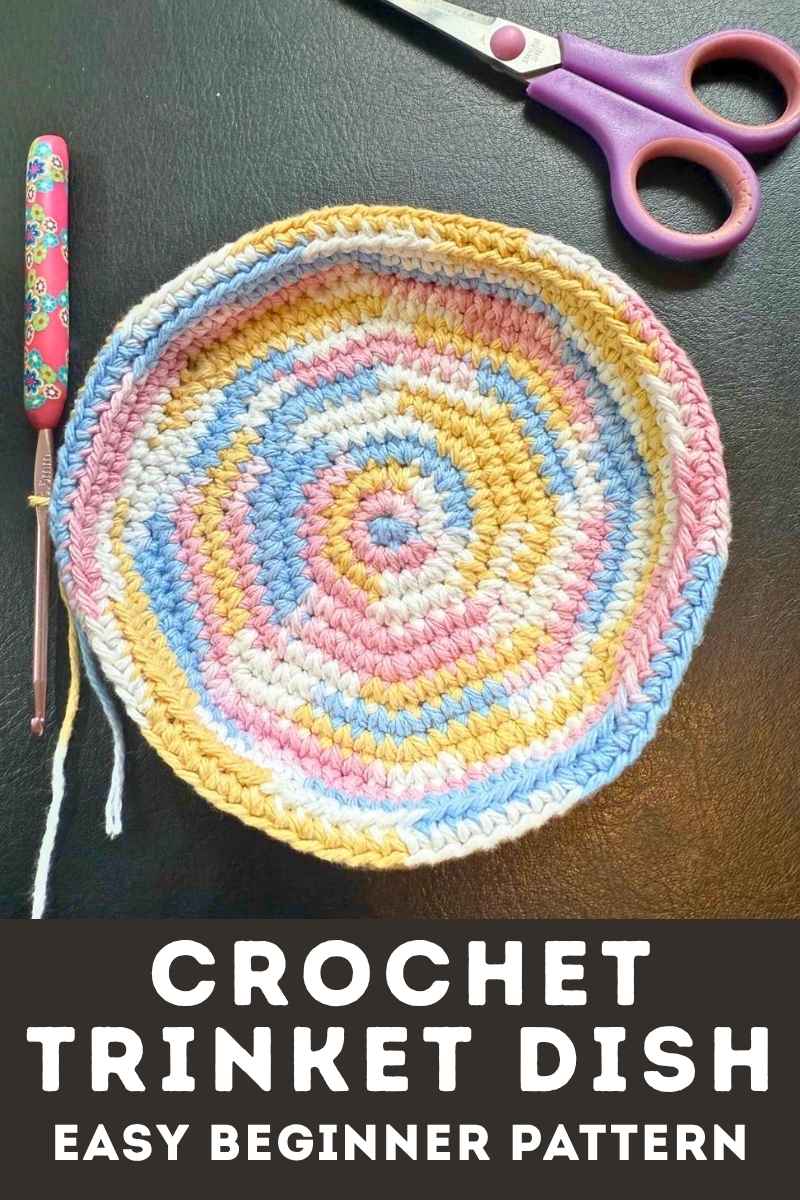
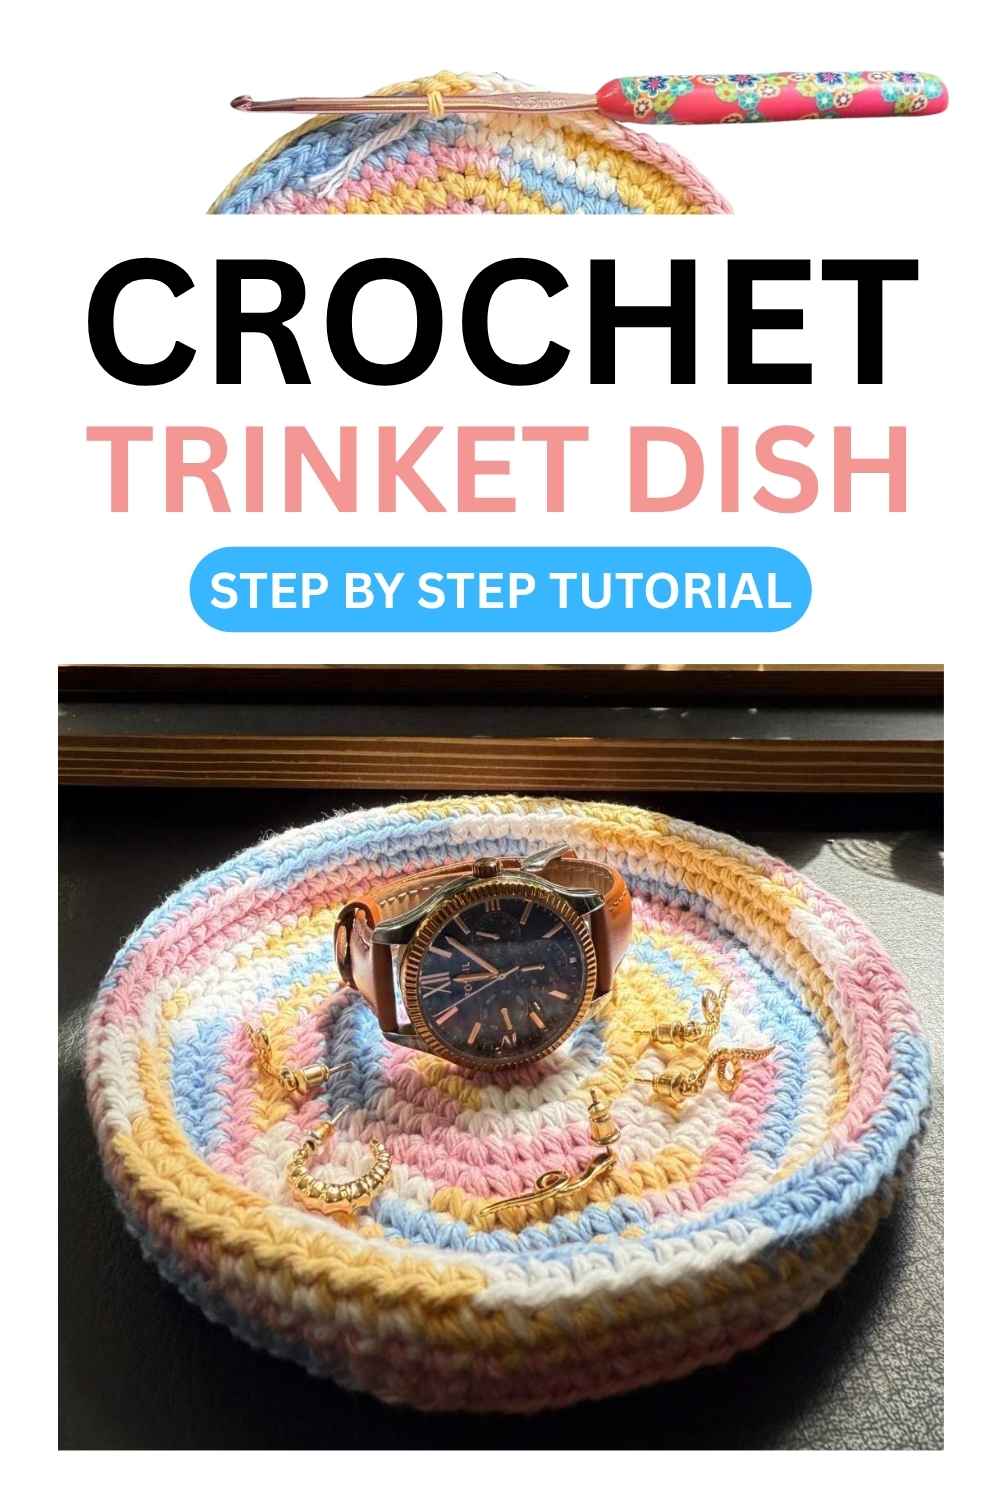
My Easiest Crochet Trinket Dish Pattern
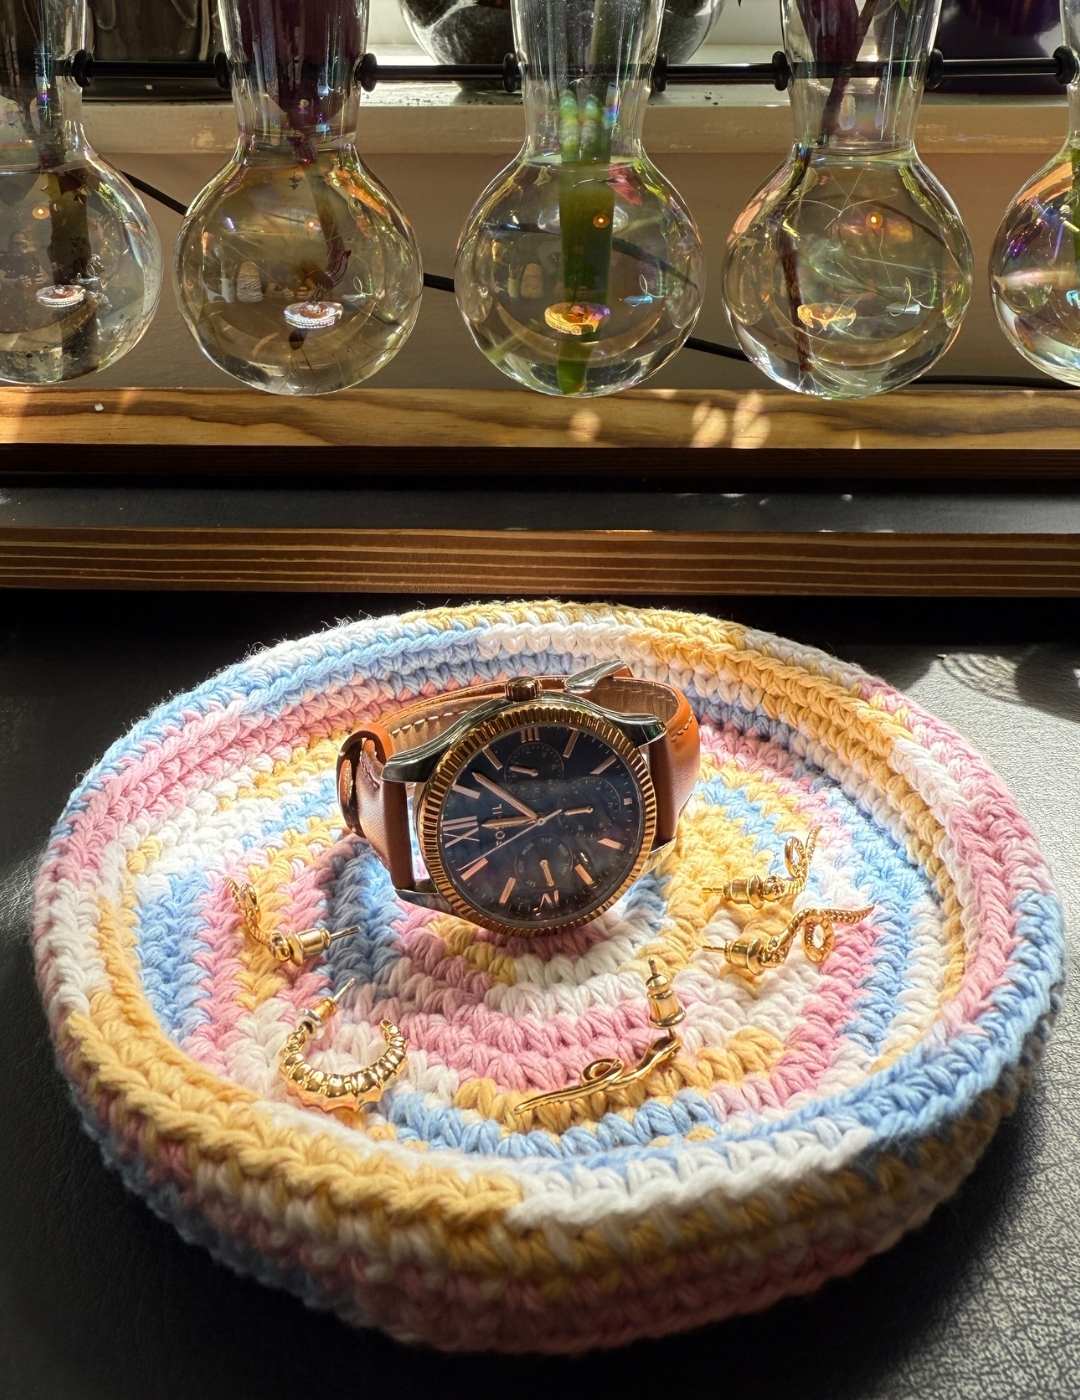
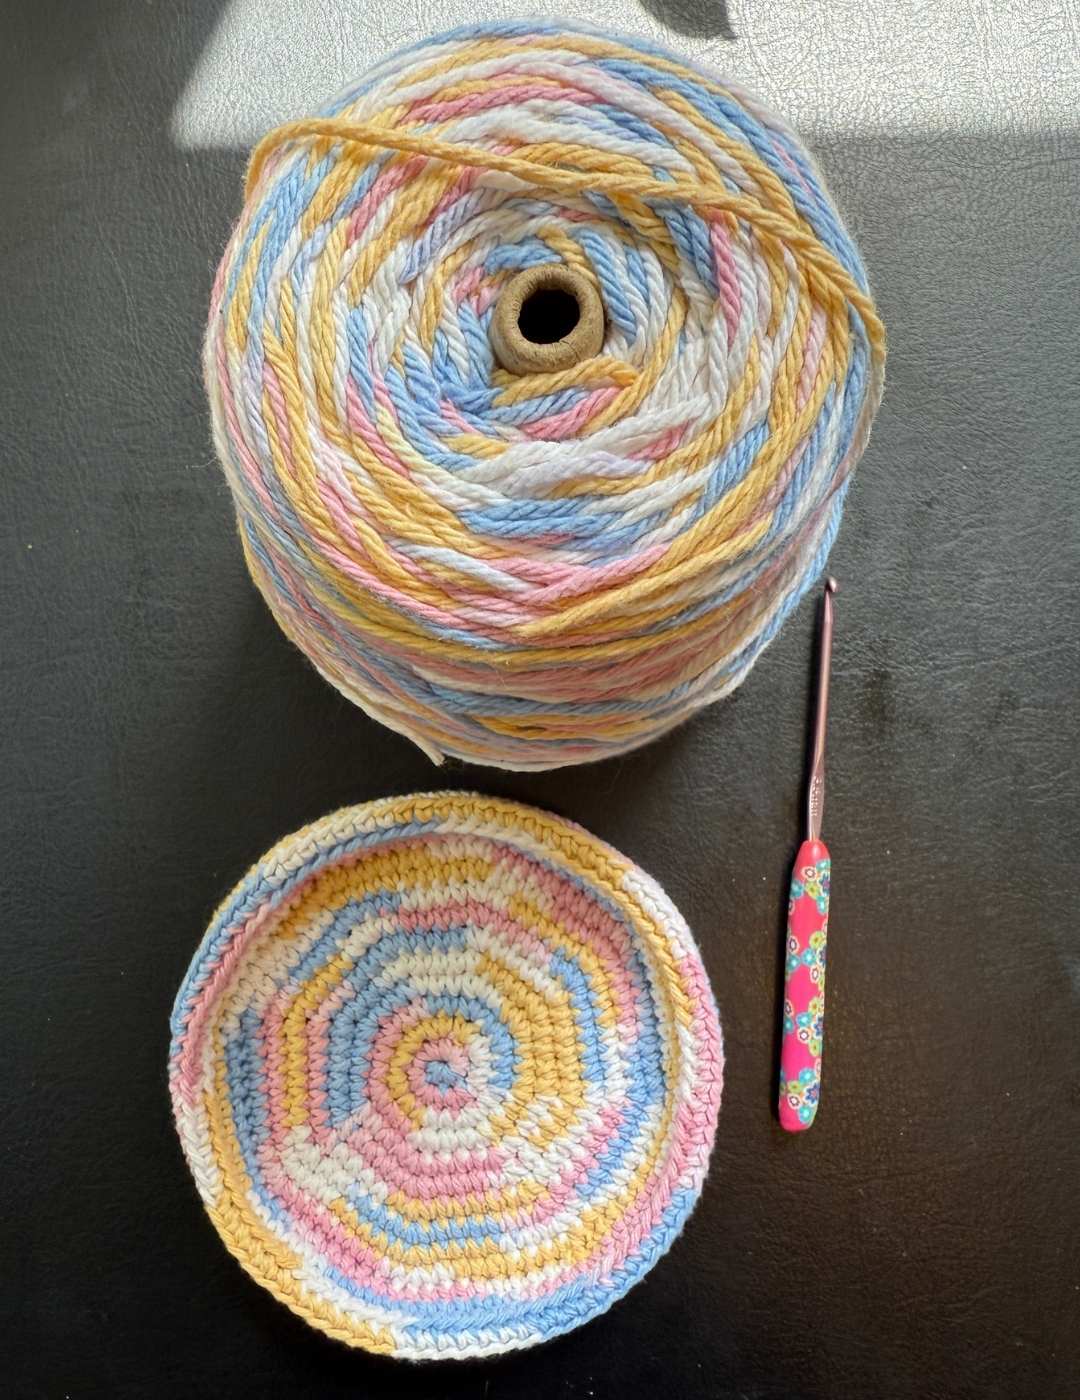
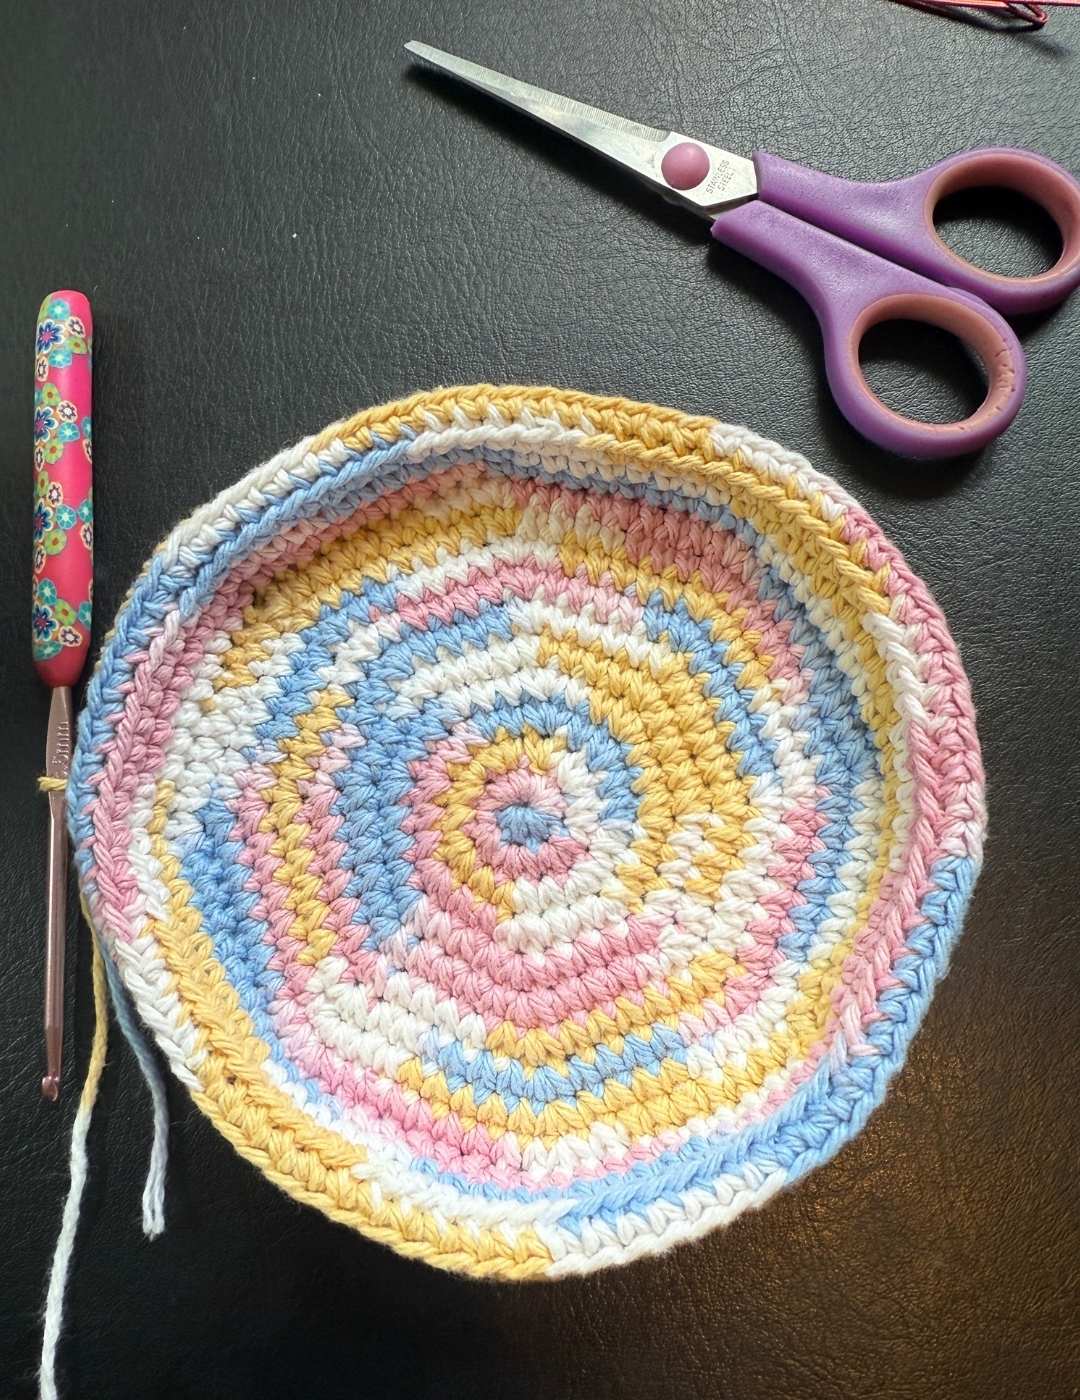
I really wanted this crochet trinket dish to be quick and easy to make, but also to be actually practical. So the sides needed to be solid but neat, the base smooth and the color bold but easy to achieve. I immediately reached for my huge reel of Lily Sugar n Cream cotton yarn, because it’s in this cute candy style variegated yarn so no color changes required to get the patterned appearance. Plus being cotton, it’s going to hold the shape really well.
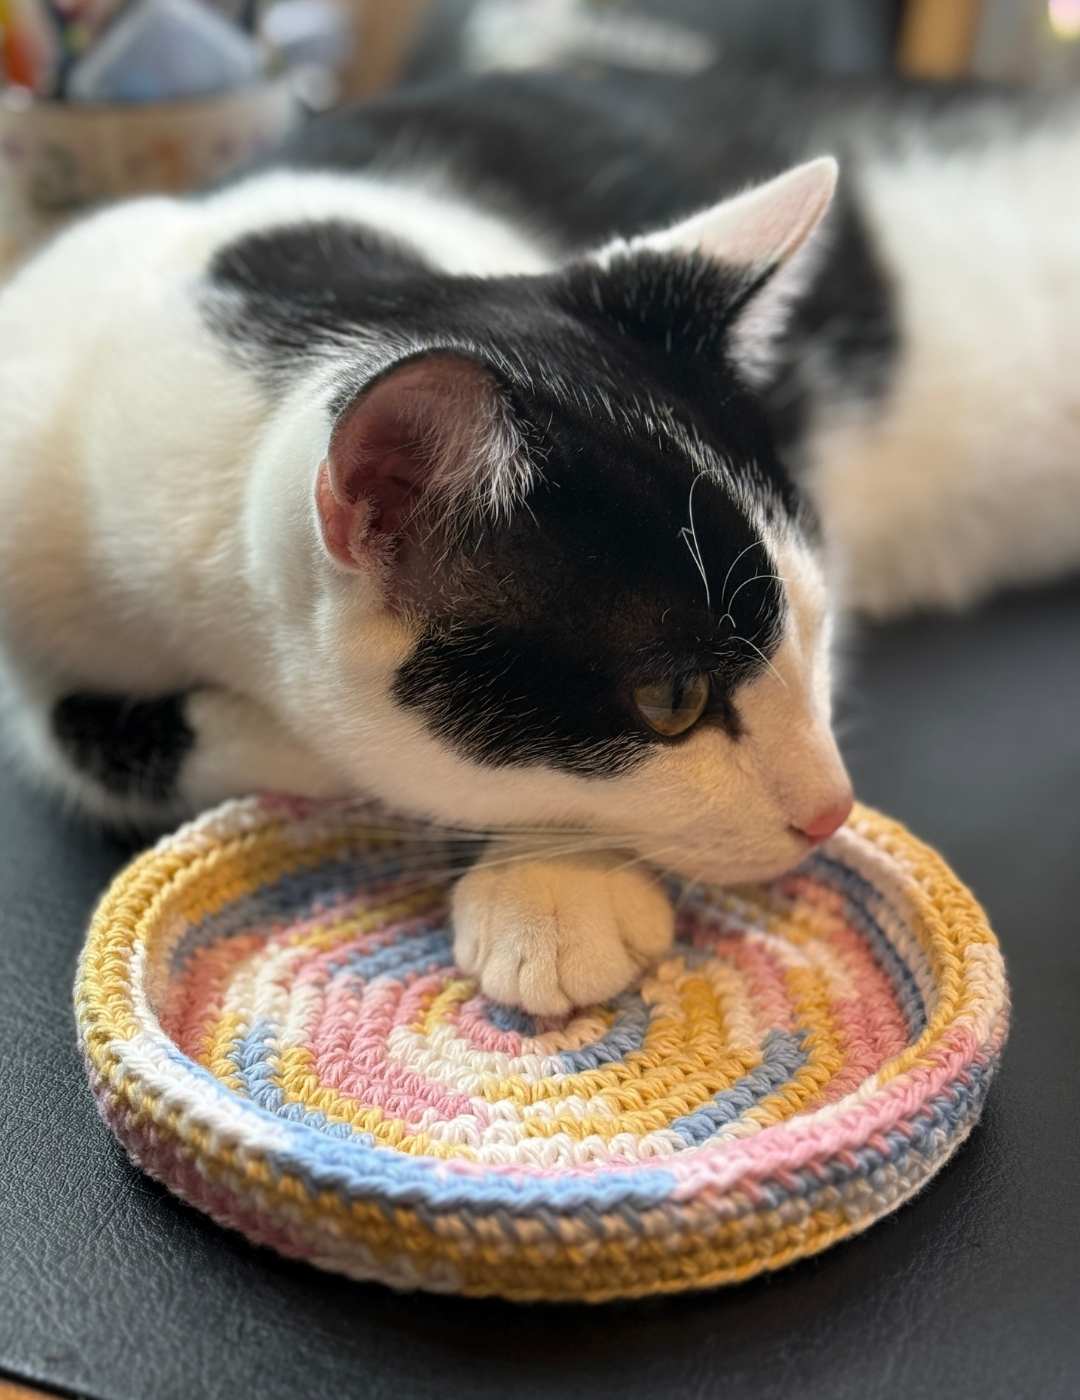
The only weird warning I have for you, is over the past day or so I’ve been absentmindedly using this dish as a coaster… I think it’s probably partially due to the shape, but also a sign that I need to crochet more actual coasters!
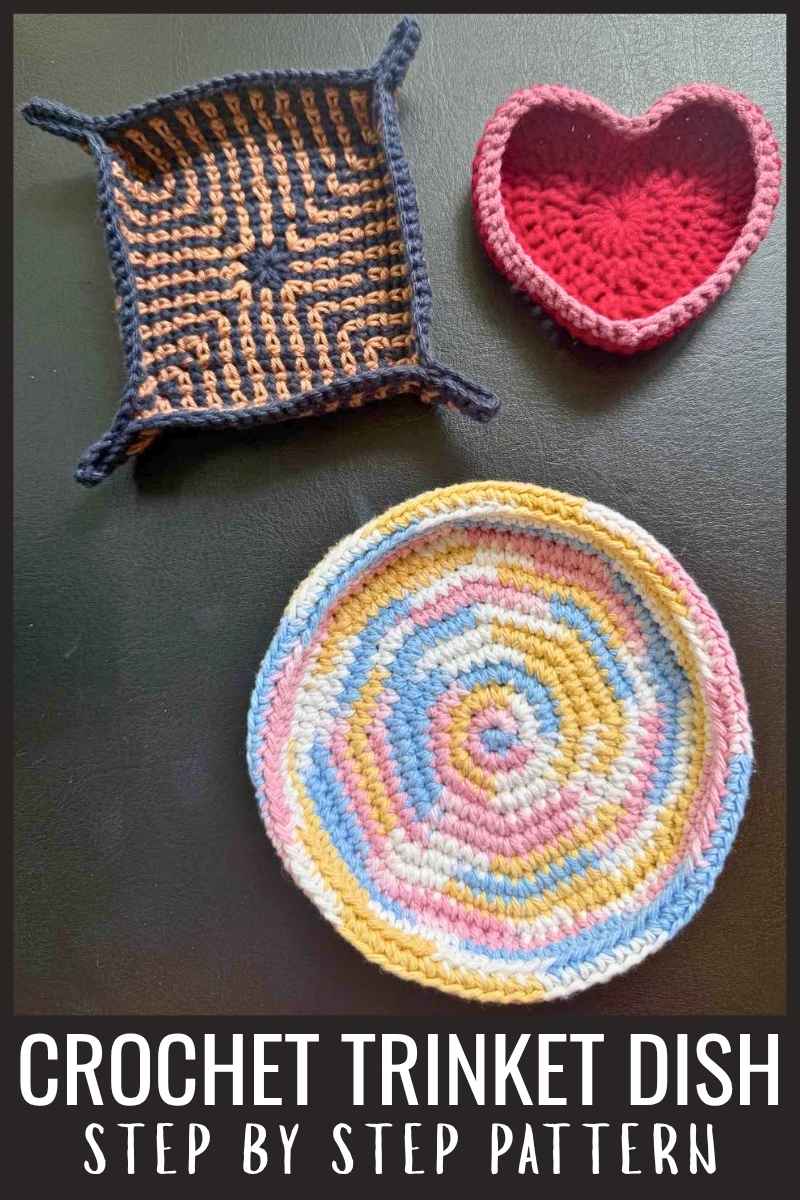
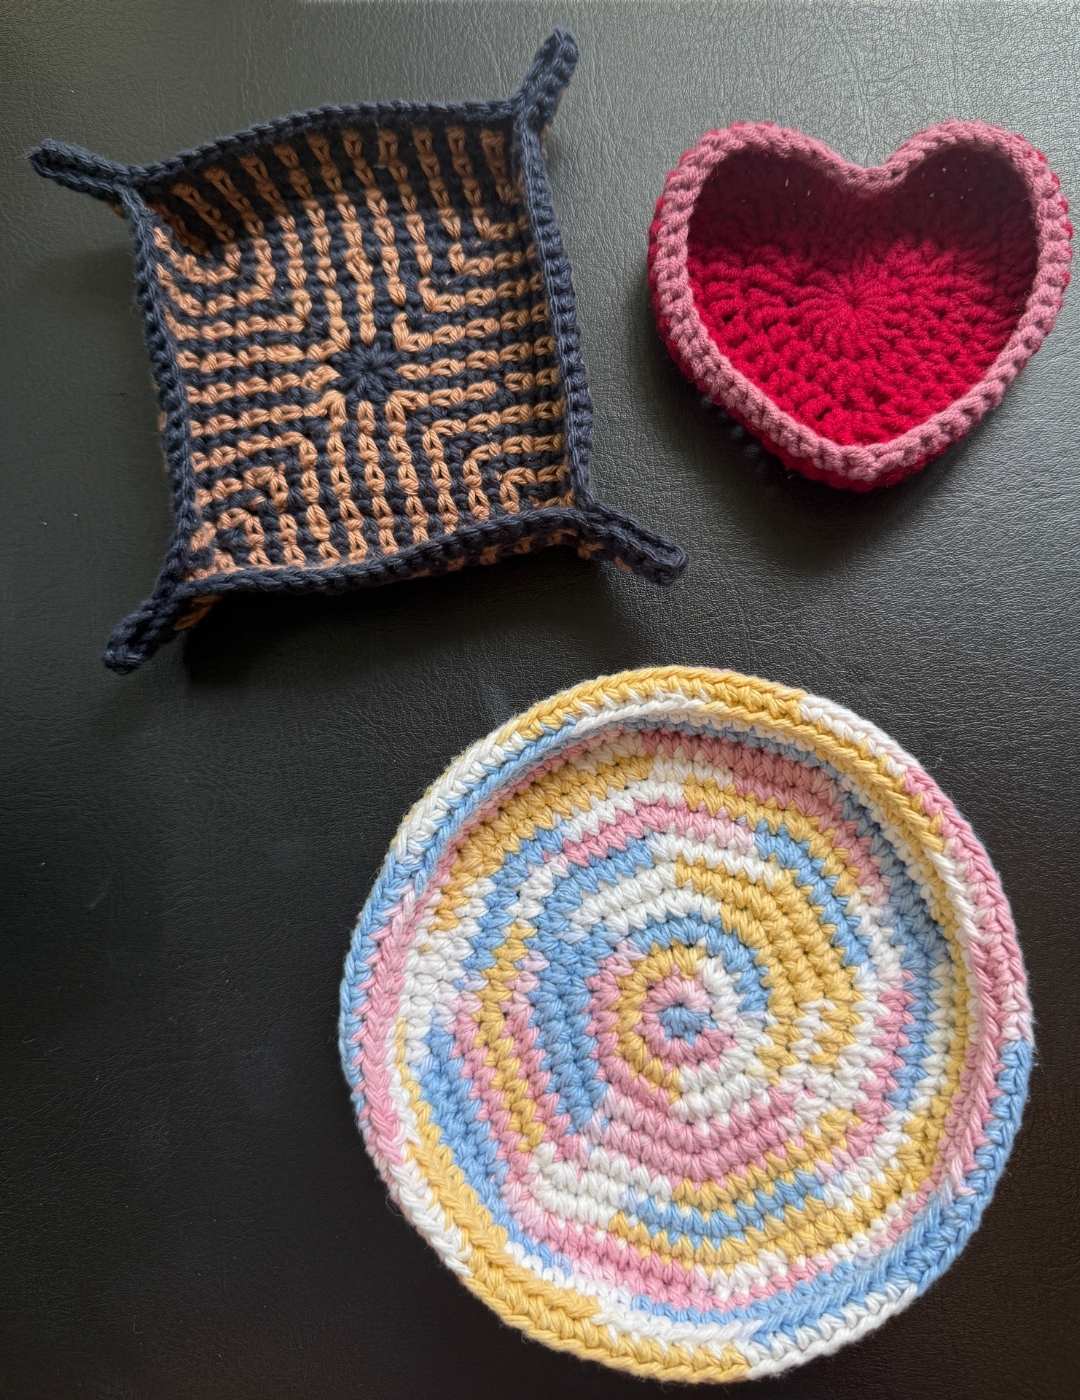
I have been on a real trinket dish mission lately, so if this one isn’t quite your style then you can check out the more traditional tray style one here, or the funky heart shaped dish here.
What I Used
- 3.5mm crochet hook
- 20g DK yarn (I used Lily Sugar n’ Cream variegated cotton blend yarn)
- yarn needle
I recommend using a cotton yarn with this pattern because it’s structure requires a stiffer yarn to hold that nice shape. If you’re not a fan of cotton yarn, you might like to have a go with the heart crochet trinket dish instead because it holds it’s shape nicely without needing such a rough textured fiber.
The Stitches
I worked this pattern in the round, in the same manner as I would with one of my crochet toy patterns. If you have made even a simple amigurumi project before, you’ll be very familiar with how the pattern progresses.
- Magic circle
- sc – single crochet
- 2sc – make two single crochets into one stitch
- FLO – front loop only
- BLO – back loop only
Easy Crochet Trinket Dish Pattern
Work in your cotton yarn using your 3.5mm crochet hook.
Round 1
Make a magic circle of eight stitches
Round 2
2sc x 8 (16)
Round 3
(1sc, 2sc) x 8 (24)
Round 4
(1sc x 2, 2sc) x 8 (32)
Round 5
(1sc x 3, 2sc) x 8 (40)
Round 6
(1sc x 4, 2sc) x 8 (48)
Round 7
(1sc x 5, 2sc) x 8 (56)
Round 8
(1sc x 6, 2sc) x 8 (64)
Round 9
(1sc x 7, 2sc) x 8 (72)
Round 10
(1sc x 8, 2sc) x 8 (80)
Round 11
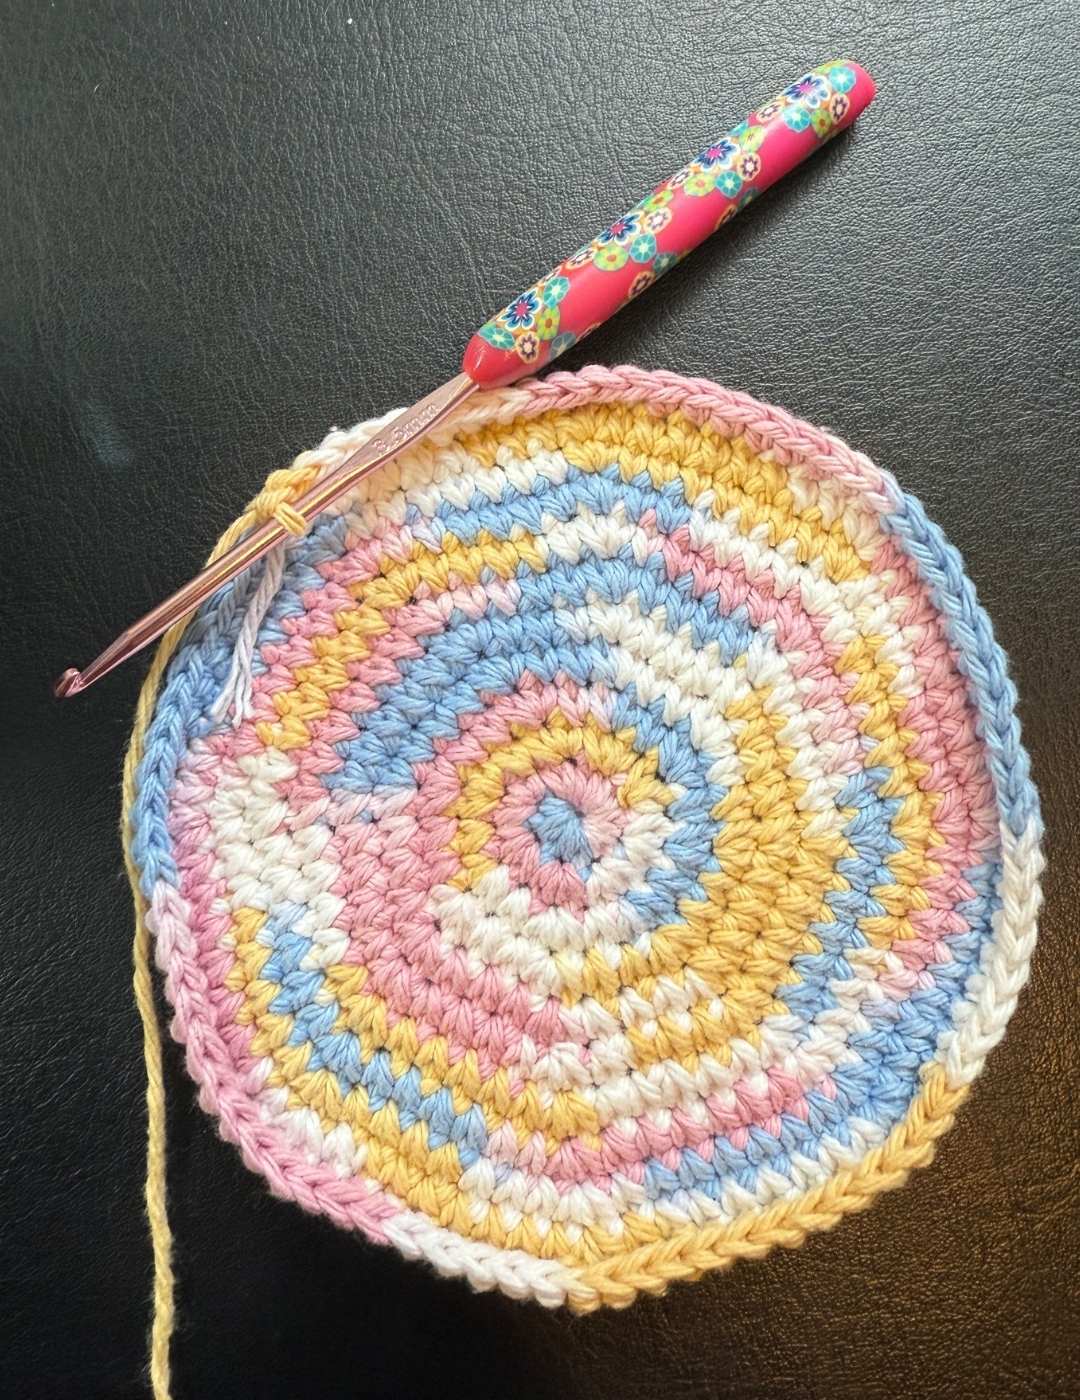
FLO 1sc x 80
Round 12 – 13
1sc x 80
Round 14 – 15
BLO 1sc x 80
Round 16 – 17
1sc x 80
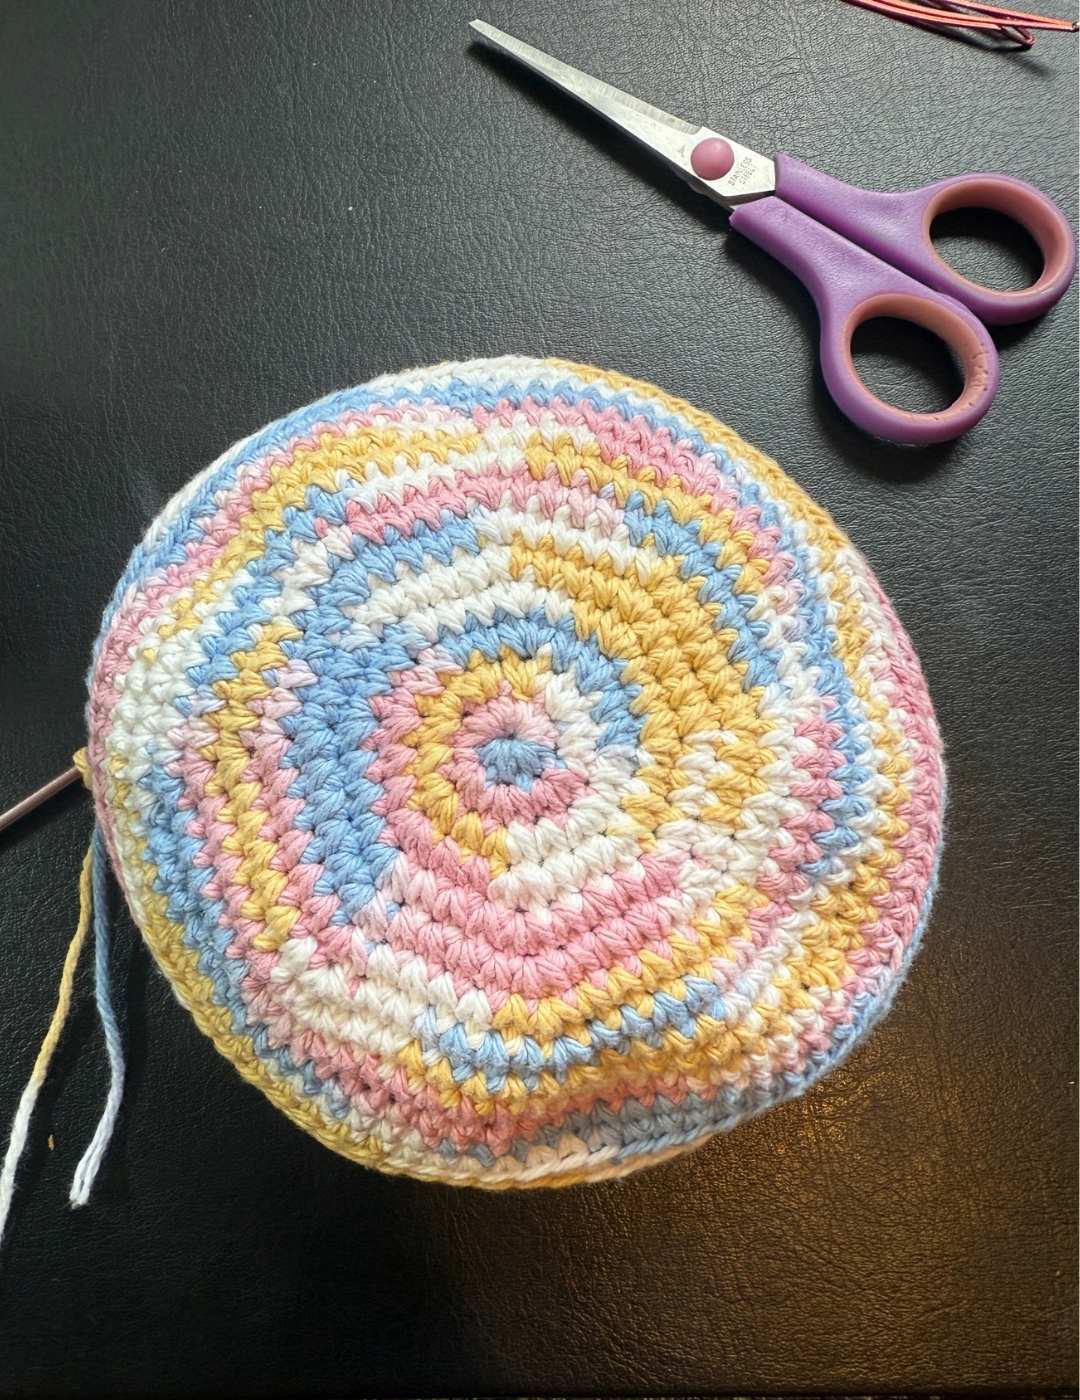
When you have finished your final round, use your fingers to pop the shape according to the front and back loop only section. The front loop only part will denote the circumference of the flat base, the two back loop sections will allow you to shape the edges.