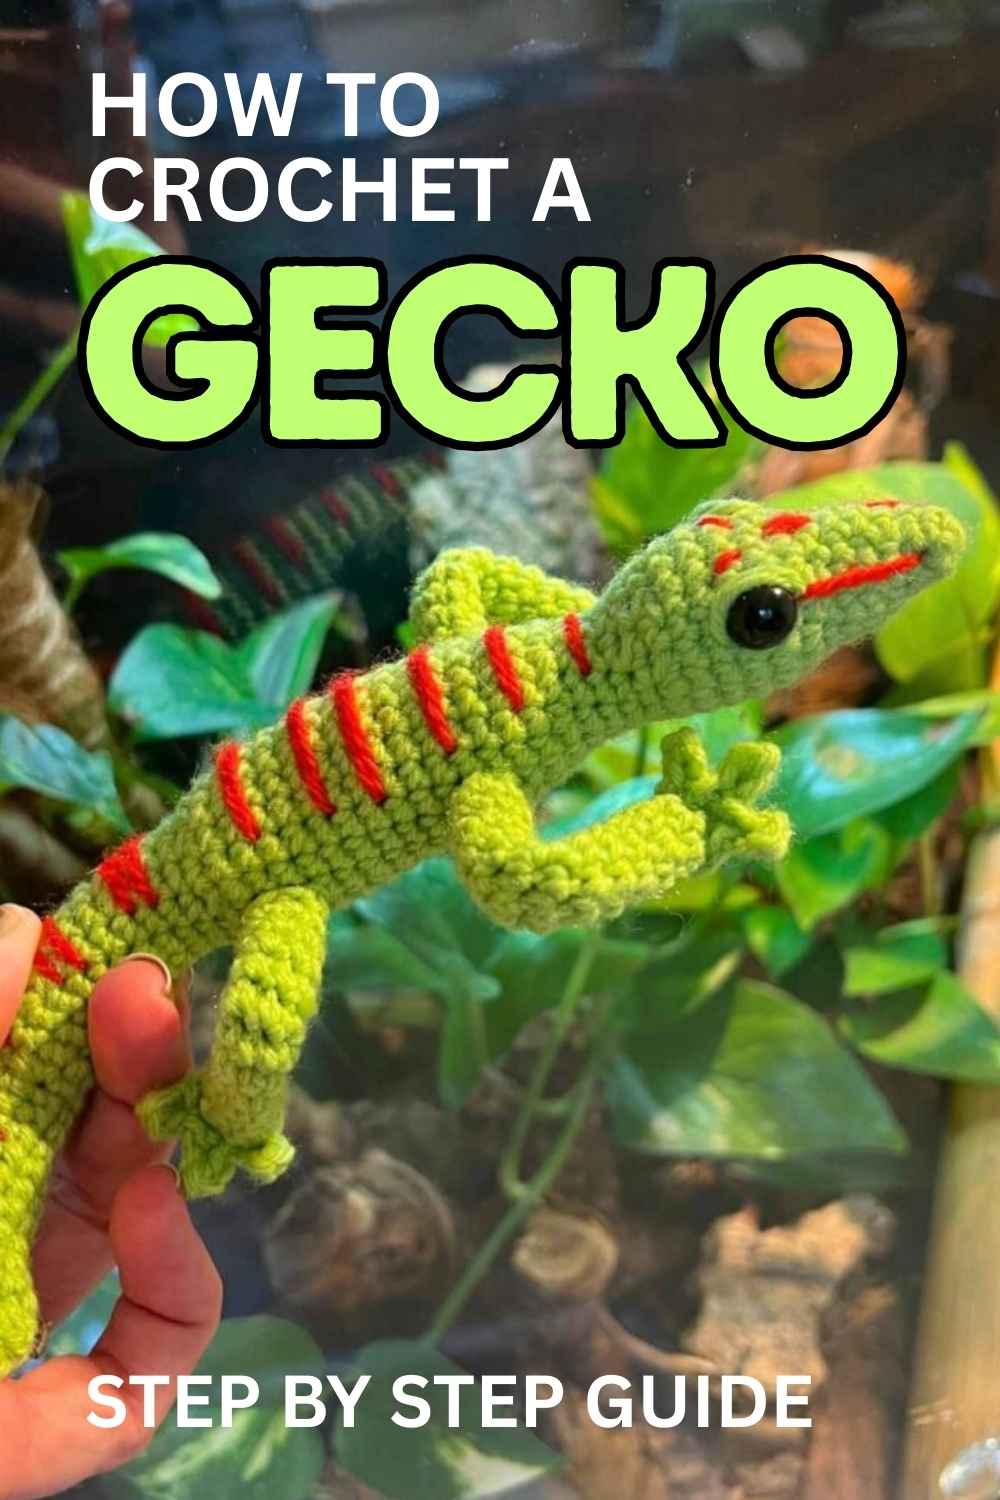
Free Giant Day Gecko Crochet Pattern

My giant day gecko crochet pattern looks detailed, but it’s super quick to hook up, easy to follow, bright and fun.
I have a lot of geckos, but despite a decade of crochet designing this is the first time I’ve made an amigurumi version of one of them.
Your Kit List
- 50g light green DK* yarn
- 20g bright red DK* yarn
- 8mm safety eyes*
- 3.5mm crochet hook
- Toy safe stuffing*
- Pipe cleaners
- Yarn needle*
- Stitch markers
I used acrylic yarn for this design, but it would also look great in a cotton blend.

Helpful Notes and Techniques
I’ve written this day gecko crochet pattern using abbreviations, and you can find the meanings for them here with links to tutorials if you’re not familiar with any of the stitches:
- sc – single crochet
- 2sc – two single crochets into the same stitch
- sc2tog – join two stitches together with a single crochet
- slst – slip stitch
- ch – chain

My Crochet Giant Day Gecko Pattern
This giant day gecko pattern is made up in a few separate sections, which you will hand sew together. You’ll also add the detailed color markings on with a needle rather than a hook for this particular project.

Crocheting your Day Gecko’s Head, Body and Tail
Work in the green DK yarn with your 3.5mm crochet hook.

Round 1
Make a magic circle of six stitches (6)
Round 2 – 3
1sc x 6 (6)
Round 4
2sc x 6 (12)
Round 5 – 7
1sc x 12 (12)
Round 8
(1sc, 2sc) x 6 (18)
Round 9 – 12
1sc x 18 (18)
Round 13
(1sc, sc2tog) x 3, 1sc x 9 (15)
Put a stitch marker in the third stitch of the round, to remind you where the top of your lizard’s head should be.
Round 14
(1sc, sc2tog) x 3, 1sc x 6 (12)
Round 15
1sc x 12 (12)
Insert your safety eyes into round eight, using the marker you set previously to show you where they should go in comparison to the top of the head.
Round 16 – 17
1sc x 12 (12)
Round 18
(1sc, 2sc) x 6 (18)
Stuff your lizard so far, using very small pieces at a time and inserting them gently with the back end of your hook.
Round 19 – 32
1sc x 18 (18)
Round 33
(1sc, sc2tog) x 6 (12)
Round 34 – 43
1sc x 12 (12)
Round 44
(1sc, sc2tog) x 4 (8)
Round 45 – 52
1sc x 8 (8)
Round 53
sc2tog x 6, then hand sew to close.
Adding the Red Markings
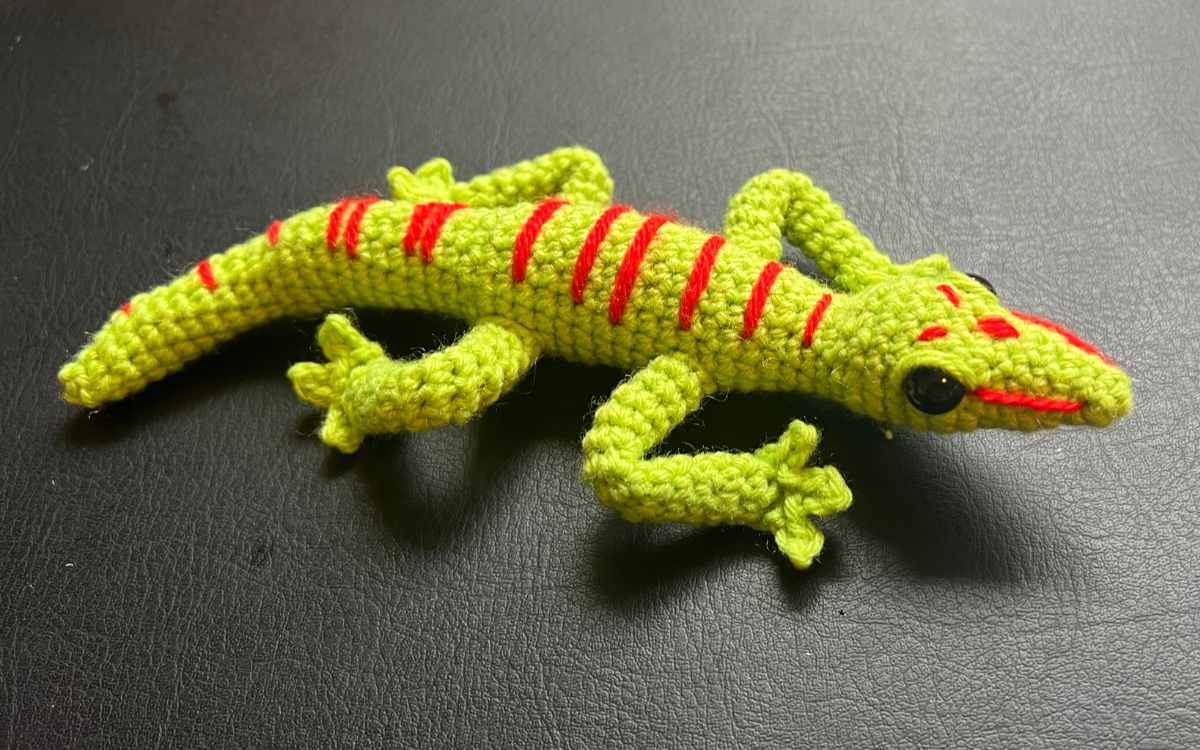
My Madagascar giant day gecko has quite a few red lines down her body, and I wanted to emulate them in this amigurumi pattern without creating too many complex color changes. So you’re going to add your gecko’s markings in red yarn using a tapestry needle or yarn needle.
Begin at the nose, adding two lines from the corner of safety eyes to the edge of your starting magic circle.
Then add little eyebrow details to the face, and finally weave back and forth across the body at intervals of one of two stitches wide gaps. Creating a set of irregular lines horizontally across the body and down the tail.

Finally, attach some light green yarn and weave twice over the tops of the safety eyes to give the illusion of raised eyelids.
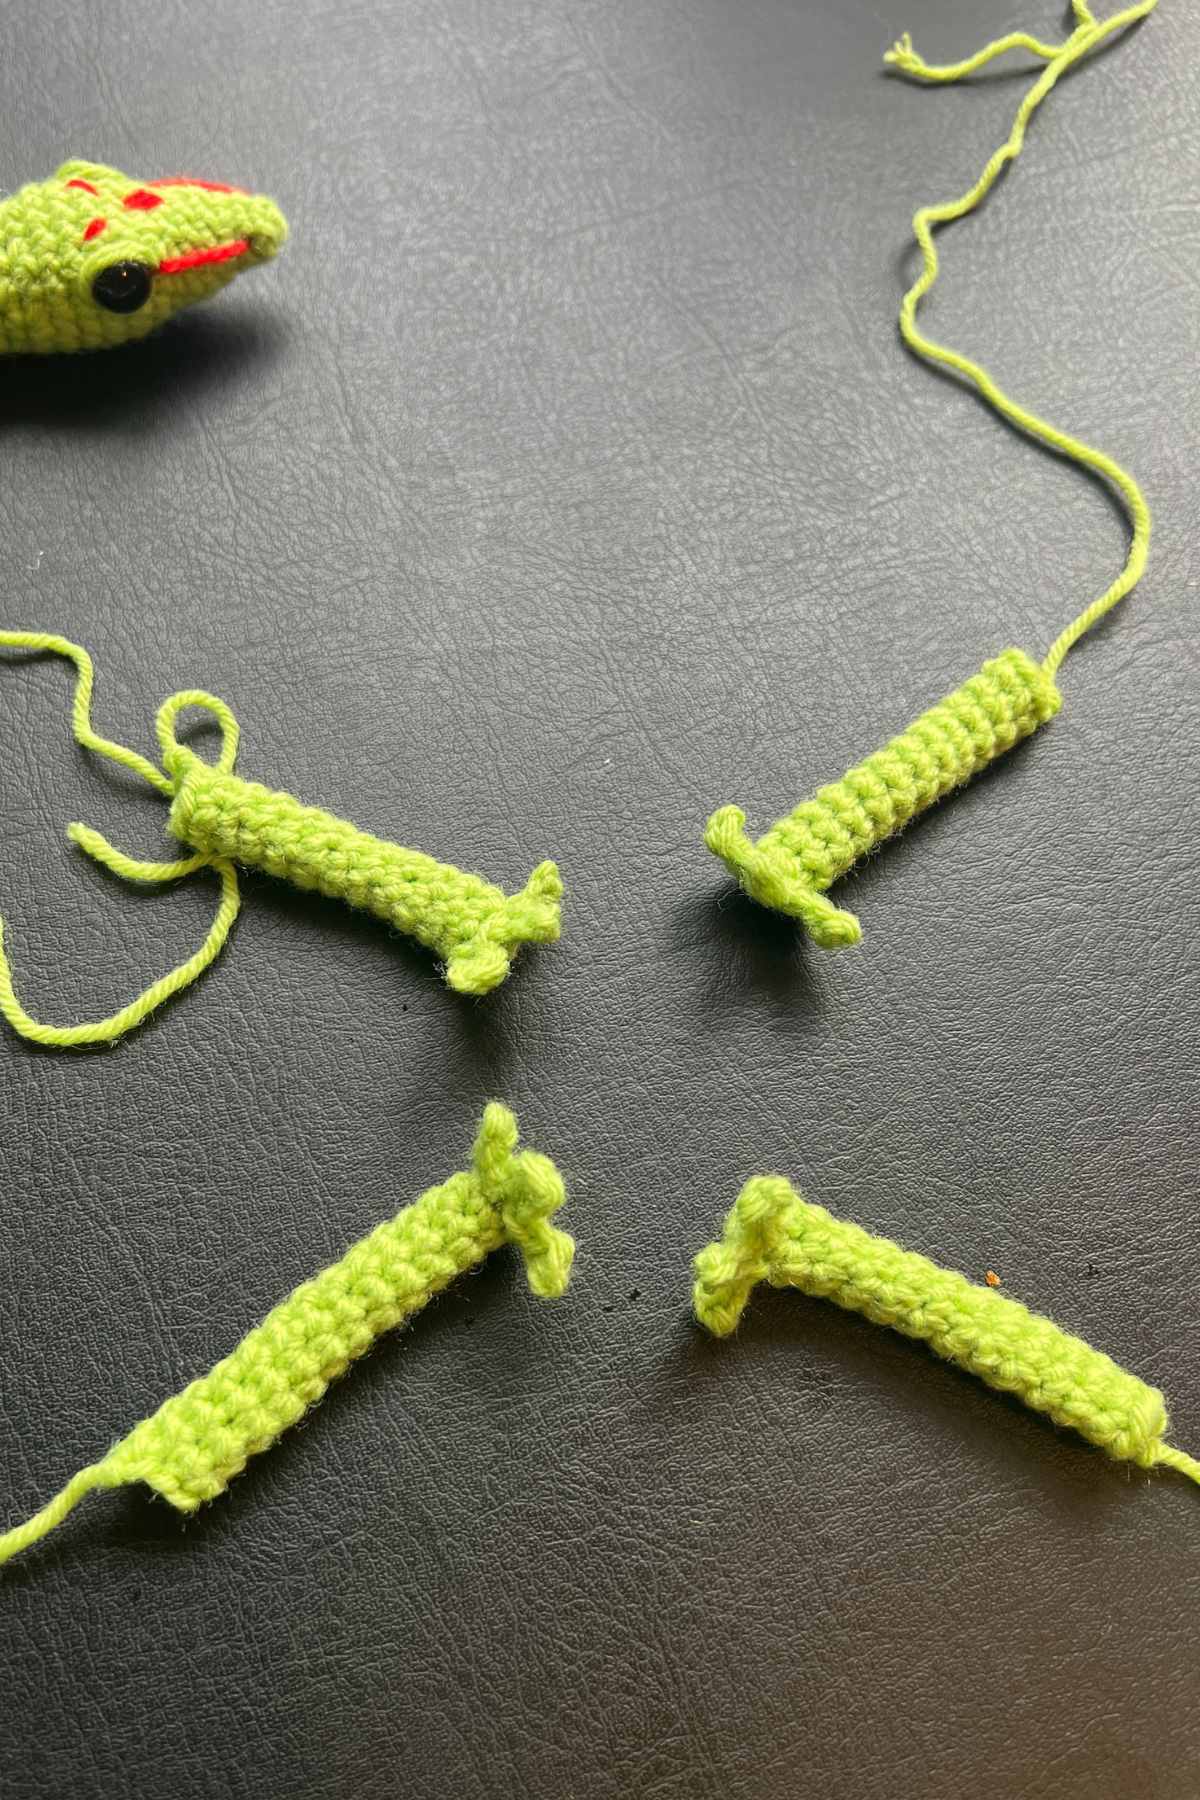
Crocheting your Day Gecko’s Feet

You are going to crochet your gecko’s padded feet from magic circles, with little chains and slip stitches to define the toes. Make a magic circle of six stitches, and slip stitch to close. Ch3, sc into the second chain from the hook, slst into the next chain, then slst into the magic circle’s stitch at the base of the chain. Repeat for each of the next two toes: ch3, sc, slst x 2. Tie off, cutting long tails for sewing later.
Your Amigurumi Day Gecko’s Legs

You’ll be continuing to work with your green yarn and 3.5mm crochet hook in this section.
Round 1
Make a magic circle of six stitches (6)
Round 2 – 12
1sc x 6 (6)
Do not stuff your legs, but instead cut a pipe cleaner to the size of the leg and insert it into the crocheted tube you’ve just made. I bend the ends over so that they don’t have a pointy end that might poke through.

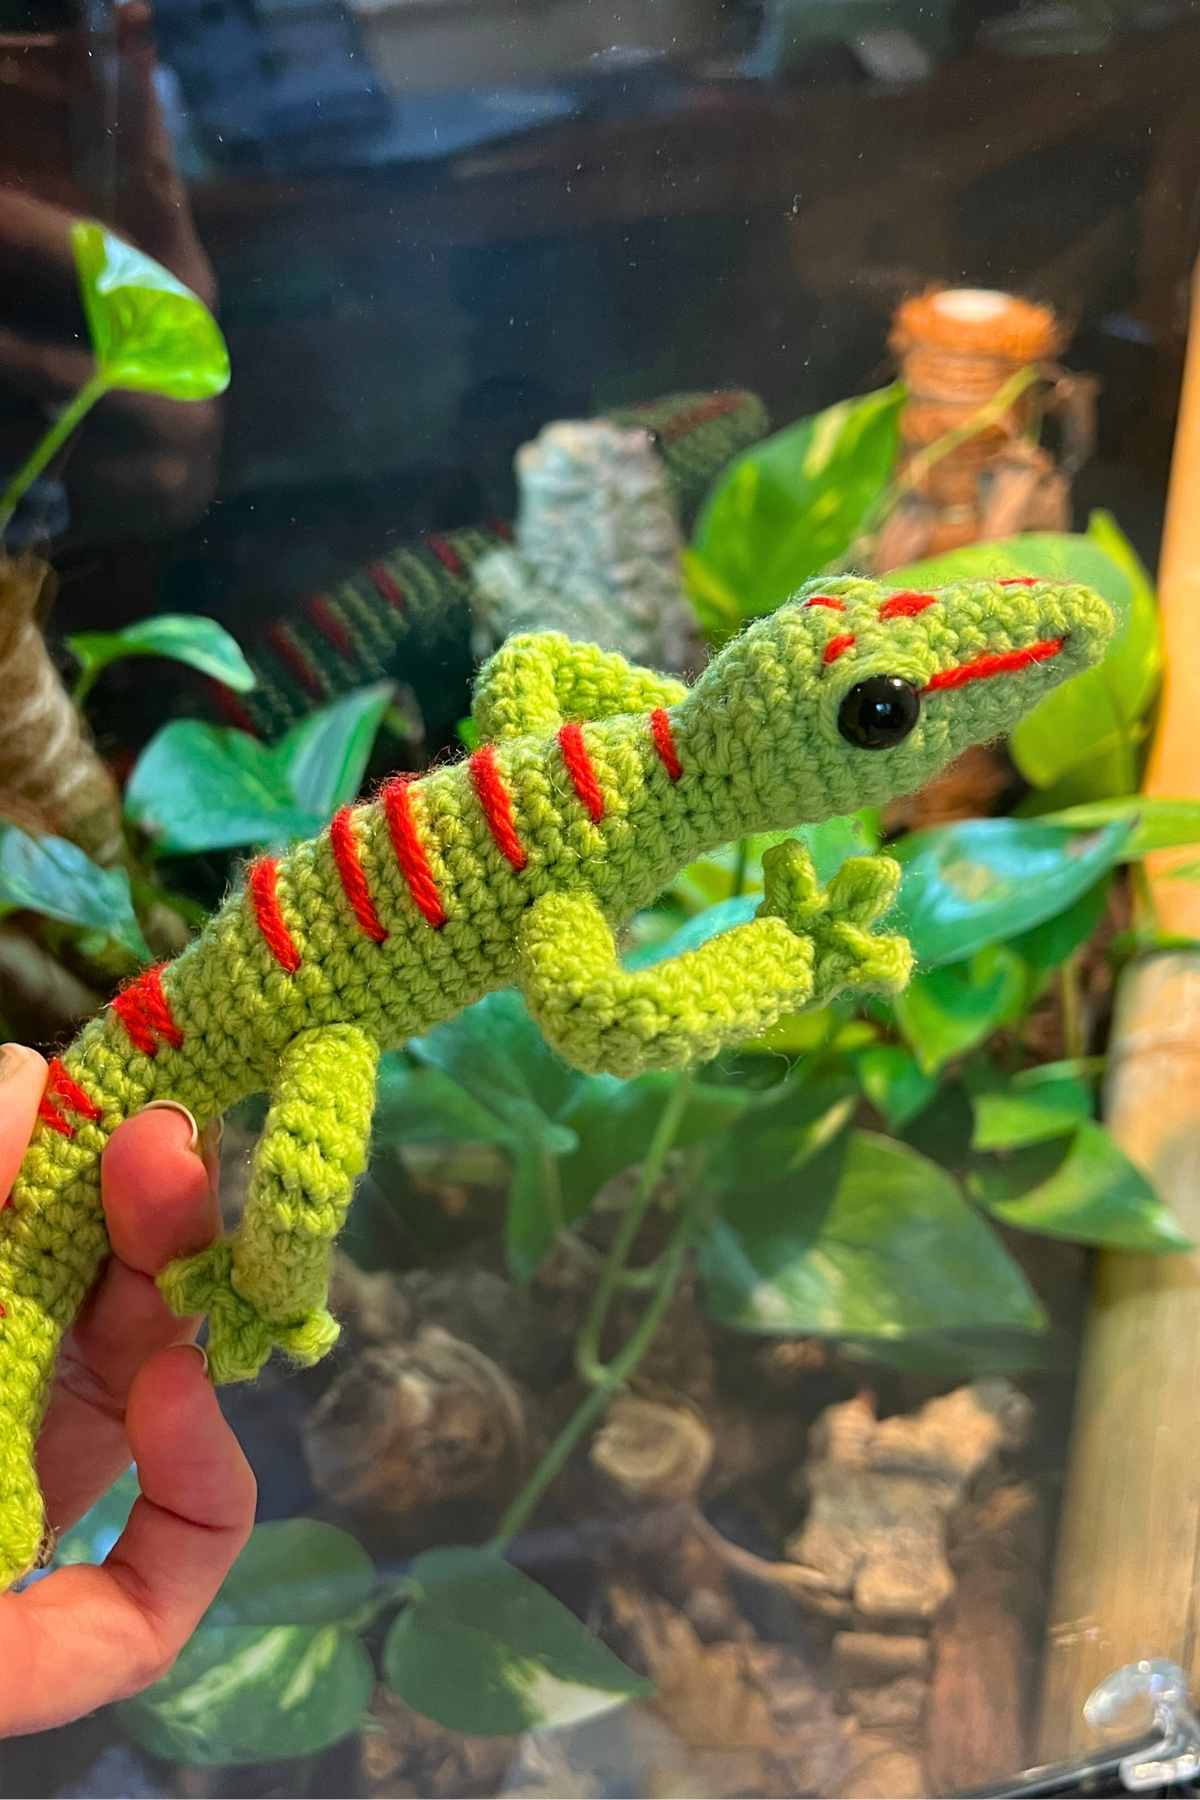
Sewing your Crochet Gecko Together
The magic circle end of each leg will be hand sewn onto the magic circle palm of your gecko’s hands. Weave tightly around using a needle and the green yarn, sewing both ends (the magic circle end and the end you worked up) into the leg to hide them when you’re done.
You can now sew the open ends of your legs onto your day geckos body at around rounds 24 and 31, just below the lines you made for the central striped markings.
Adjusting My Day Gecko Crochet Pattern
Feel free to change up some details of this pattern to make your amigurumi day gecko look more like your own pet.
I actually have a few day geckos, and only one is a Madagascar Giant. The others are Standings Day Geckos. Their patterns are so complex, but if I were to make one I think I’d go with a variegated yarn and hand stitching for the final details.
Let me know what you think, and I’ll chat with you in the comments!
*The products linked in this pattern were carefully selected by Lucy Kate Crochet. If you decide to purchase using the links provided, we may earn a small commission on that sale. This is at no extra cost to you.
This pattern is so great! My friend has the same kind of gecko and I’m making this for her birthday. Thank you so much!
That’s awesome!