3D Flower Granny Square
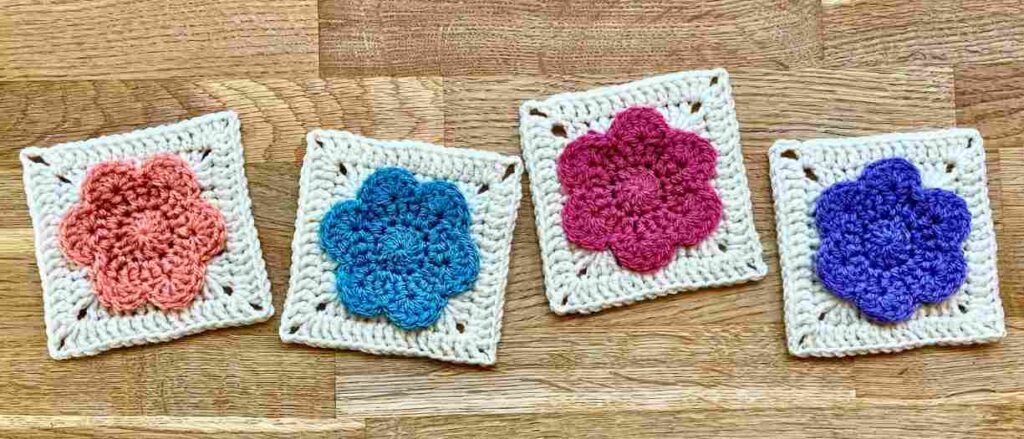
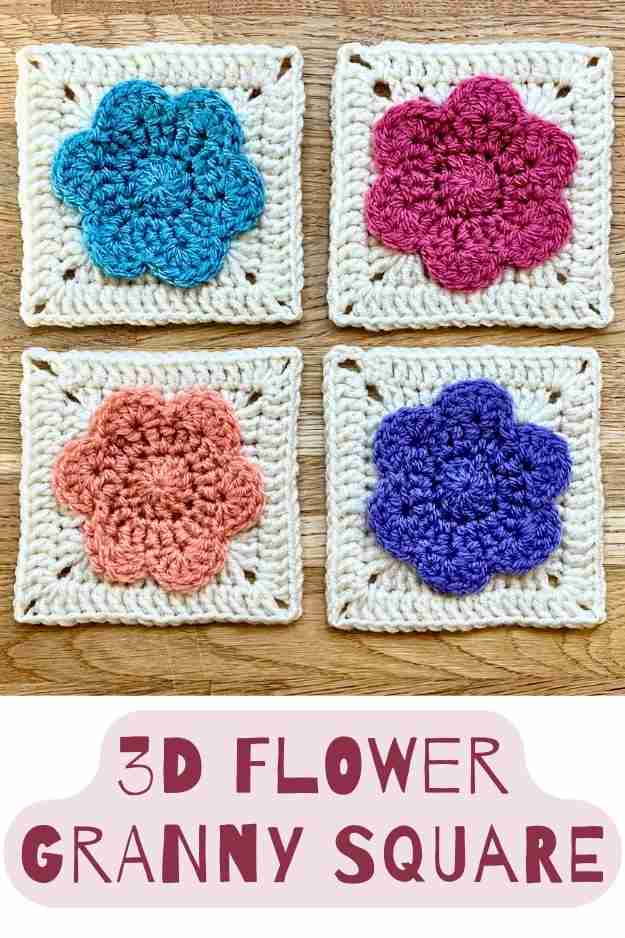
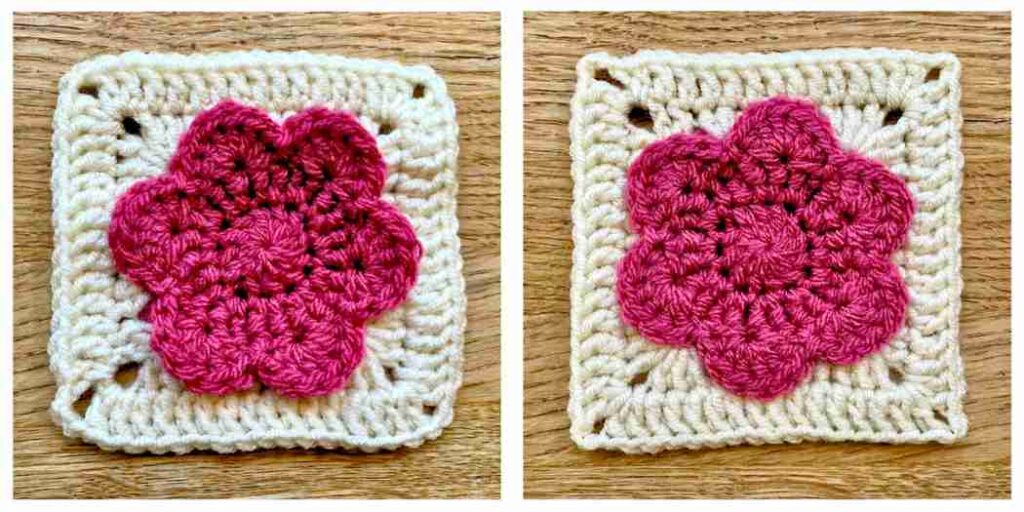
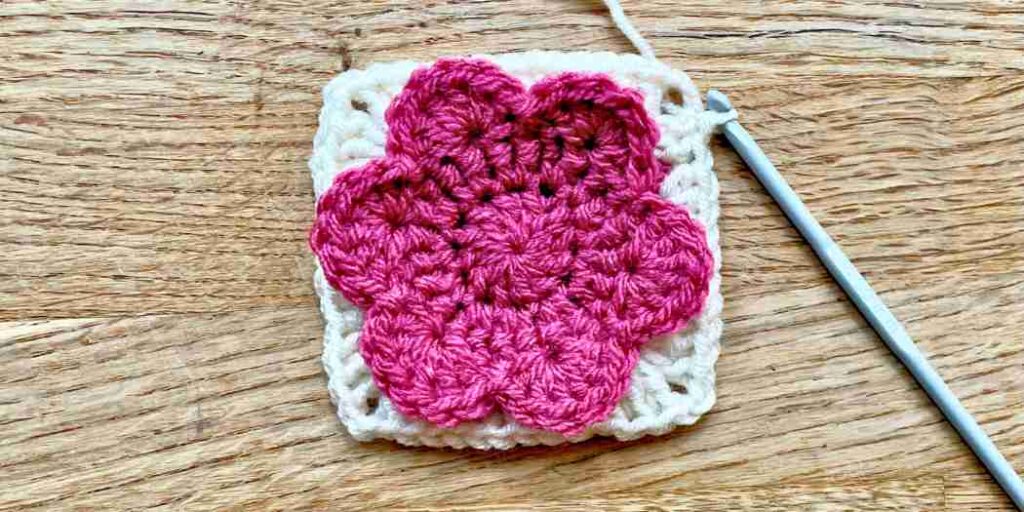
How cute is this 3D flower granny square? The simple six-petal outline of the flower is easy to make, and really effective. I love how it channels nostalgic florals, 1960’s flower power and the Irish fashion designer Orla Kiely in one big cheerful color-pop. It’s a perfect way of adding visual depth and tactile detail to granny squares, without gobbling up yarn (I’m looking at you bobble stitch).
How big is it?
My granny squares have 6 rounds, but round 3 (the petals) completely overlaps rounds 4 and 5. Made with dk yarn and a size F (4mm) hook, they measure 4” across (give or take a little, depending on the exact yarn you choose, and your tension). They’re just the right size and proportions for a granny square scarf or sweater. For a bigger project like a blanket, you could easily add a 7th (and 8th) round following the same pattern as round 6. It would add an extra inch to each side of your square, and also make the spaces between the flowers to scale with the size of your project.
3D flower granny square pattern
This pattern is written in standard US crochet terms. The stitches and their abbreviations you need to be familiar with are:
Ch chain
Dc double crochet
Bpdc back post double crochet
Dc-inc double crochet increase (make 2 dc in the same space)
Hdc half double crochet
Sk skip the next stitch from the previous round, and work into the one after
Sl st slip stitch
Rounds 1 & 2
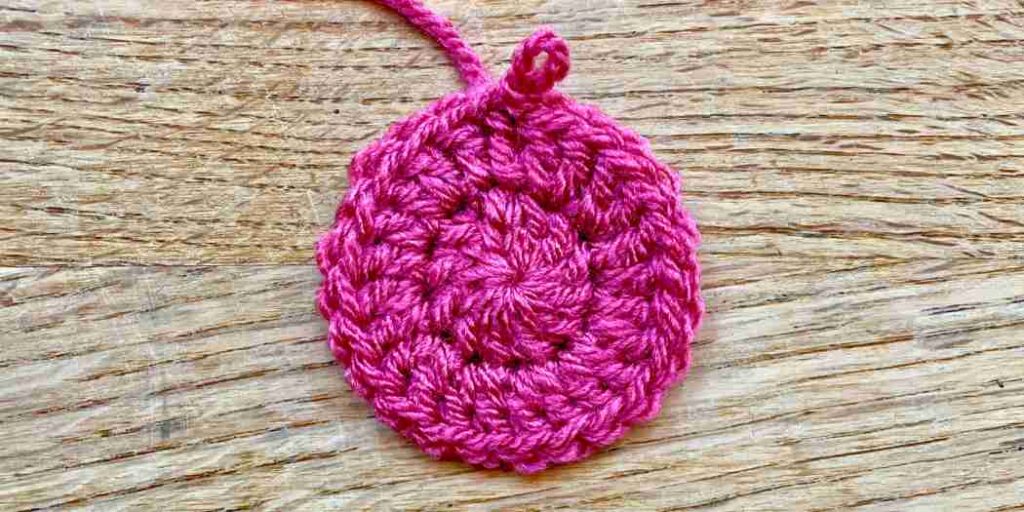
Rounds 1 and 2 follow the basic formula for making a flat circle.
- To start: Using your flower color, either make a magic circle, or by make a chain of 4 stitches and join the first and last chains with a slip stitch.
- Round 1: Ch 3 (counts as a dc), dc 11, sl st to the top of the ch 3.
- Round 2: Ch 3 (counts as a dc), dc in to the same st, dc-inc 11, sl st into the top of the ch 3.
Round 3
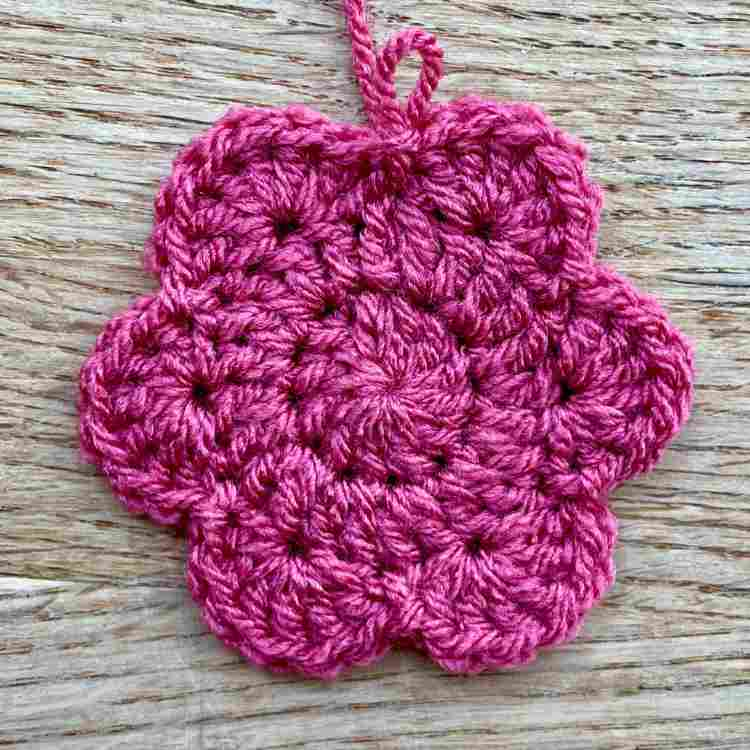
It’s time to add some petals to your flower!
- *Sk 1, dc 6, sk 1, sl st 1* 6 times.
Round 4
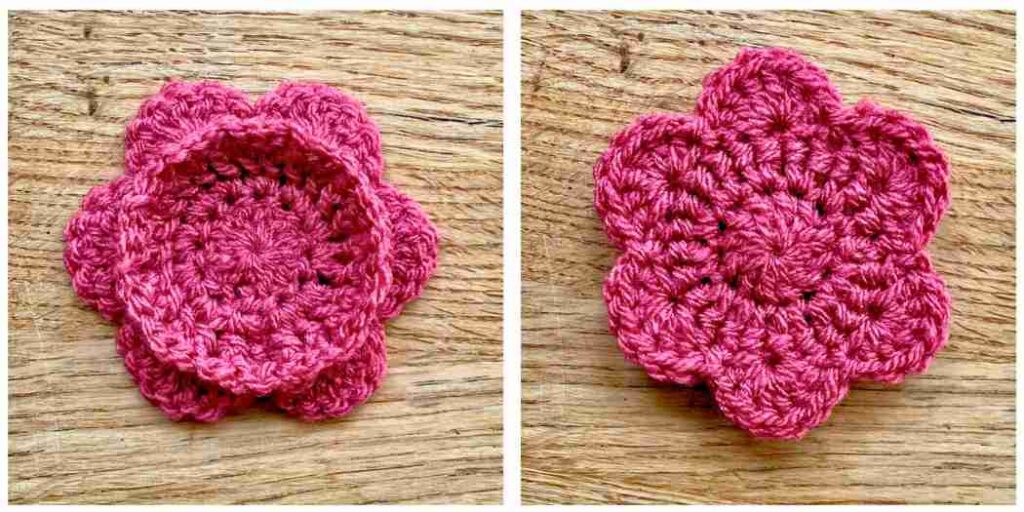
Round 4 is made into the back of round 2:
- Sl st around the ch 3 at start of round 2: insert your hook from back to front on the right of the chain and front to back on the left of the chain, yarn over and complete your sl st.
- Ch 3.
- Moving clockwise, bpdc around next st from round 2, and ch 1.
- *Bpdc around the next st from round 2, bpdc around the next st from round 2 again, and ch1* 11 times
- Sl st into the top of the ch 3 from step 2.
Cut the yarn and weave in the ends. Here’s how we’re looking from the front (right) and back (left) now:
Round 5
The next round is worked into the ch 1 spaces from round 4.
- Join your background color yarn into one of the ch 1 spaces from round 4. (Ch 5, dc 3) into the same space.
- Hdc 3 into the next ch 1 space.
- Hdc 3 into the next ch 1 space.
- (Dc 3, ch 2, dc 3) into the next ch 1 space – this makes a corner.
- Repeat steps 2 – 4 twice more.
- Repeat steps 2 & 3.
- The next ch 1 space should be the same one you started in – dc 2 into it, and join the round with a sl st in the 3rd st of the ch 5.
Round 6 onwards
From now on, you granny square follows the same pattern as a regular solid granny square:
- Ch 5 and dc 2 into the corner space.
- Dc along the side of the square.
- (Dc 2, ch 2, dc 2) into the next corner space.
- Repeat steps 2 and 3 twice more.
- Dc along the final side.
- Dc into the corner space you started in, and sl st into the 3rd st of the ch 5 to join.
You can finish there, or add more rounds if you wish.
Done!
Cut the yarn, weave in the ends, and block your finished square. My top tip is to block them face down, to relax and flatten out the petals a bit (but don’t squash them!)
