Free Crochet Stick Man Pattern
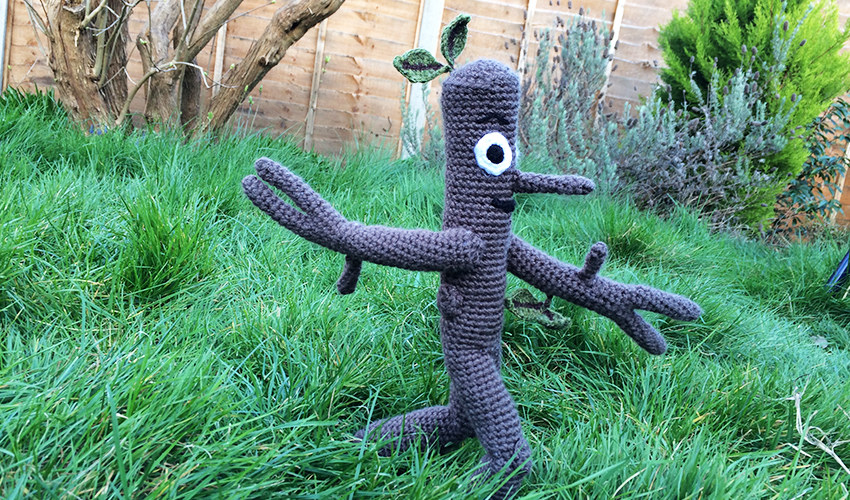
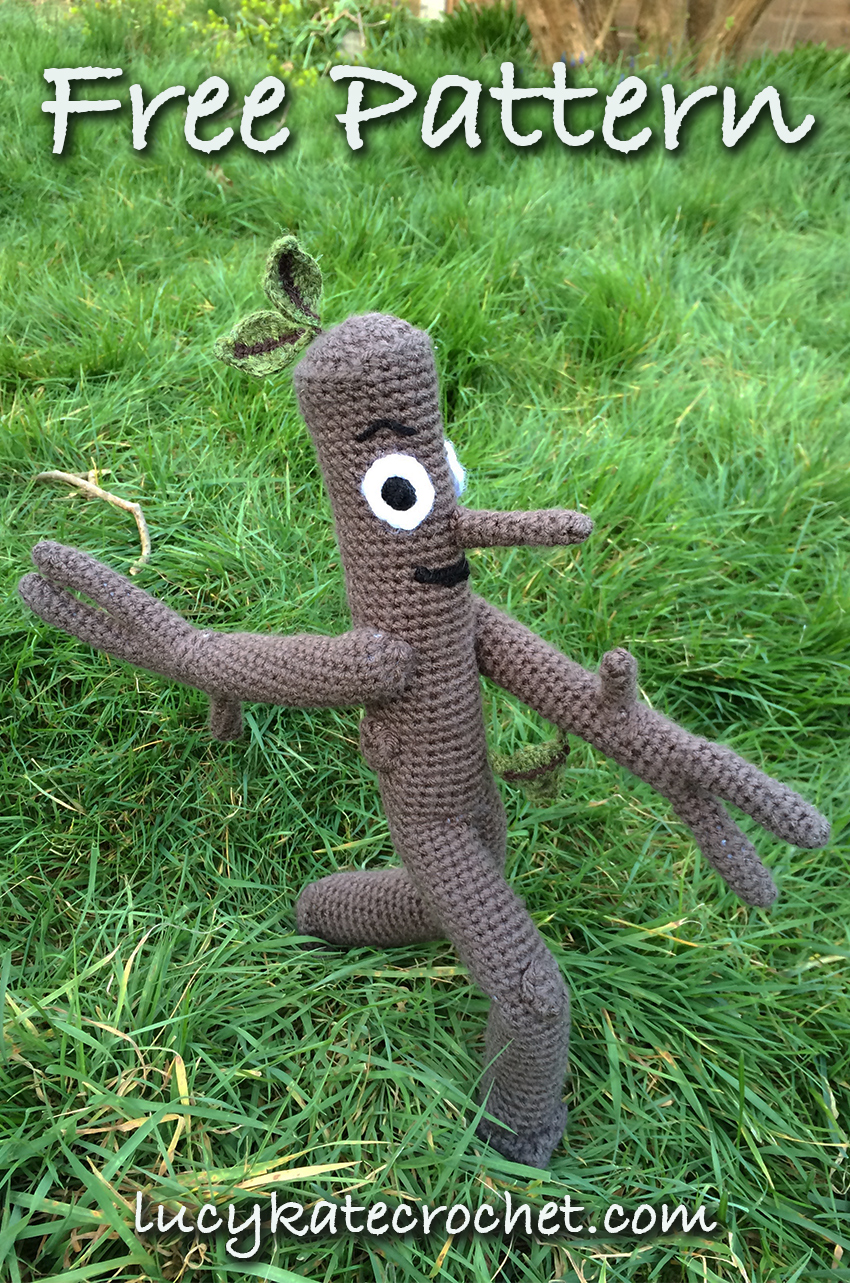
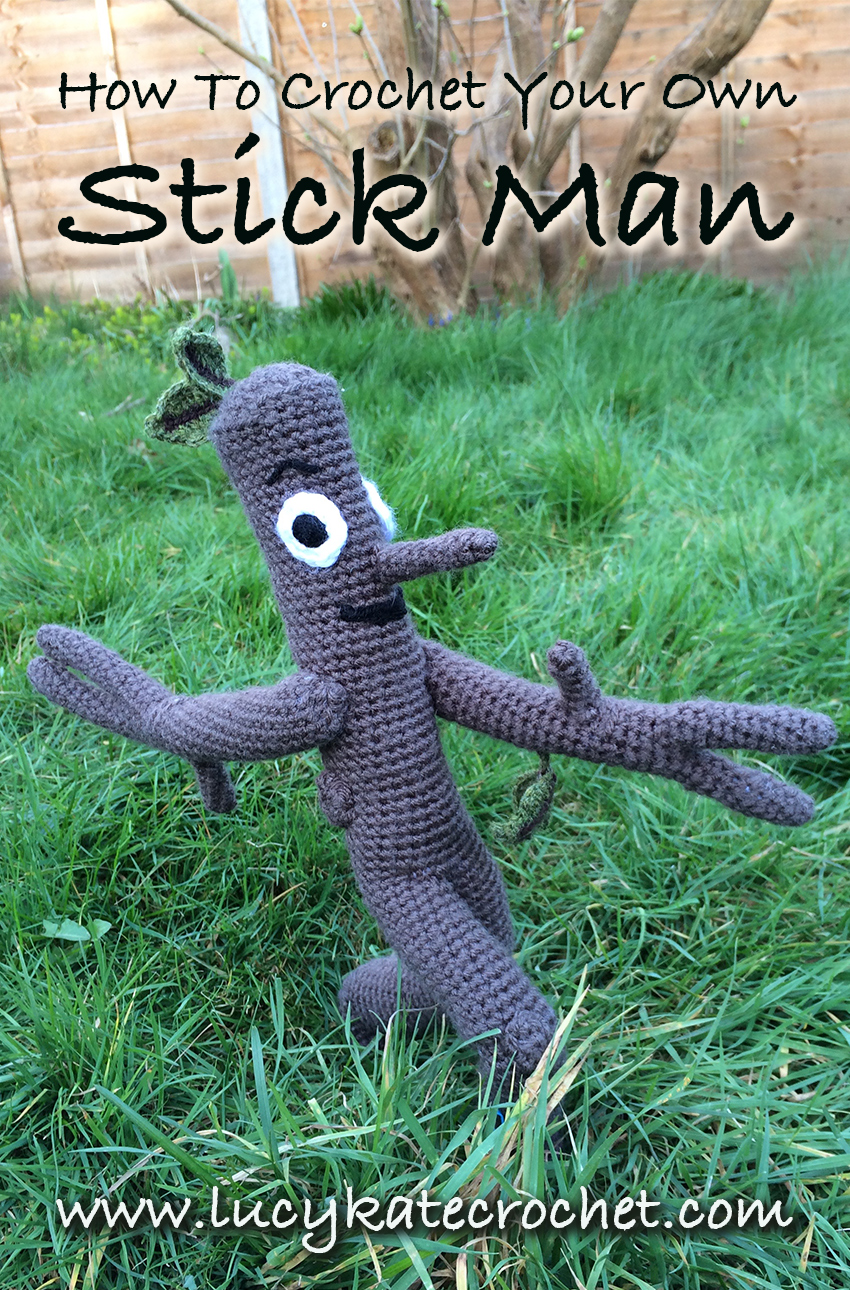
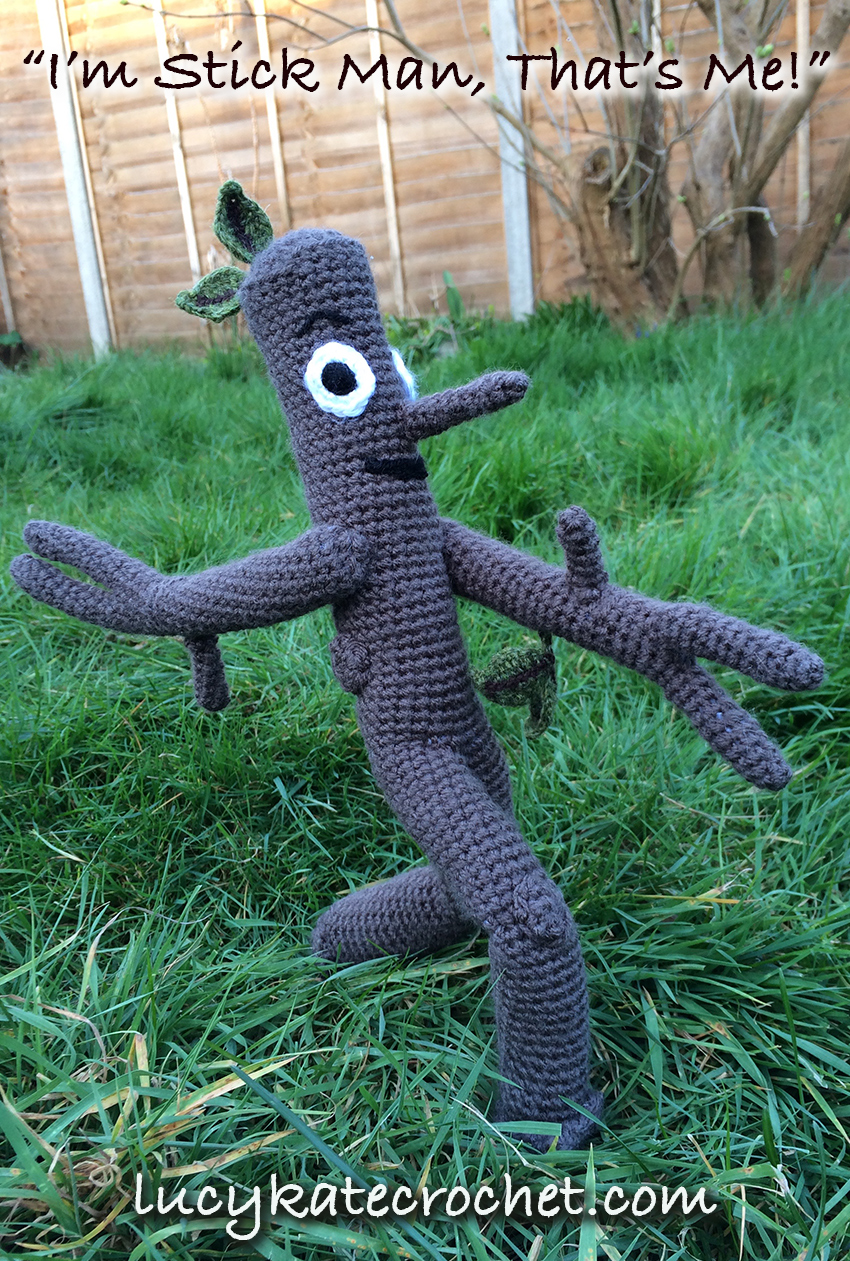
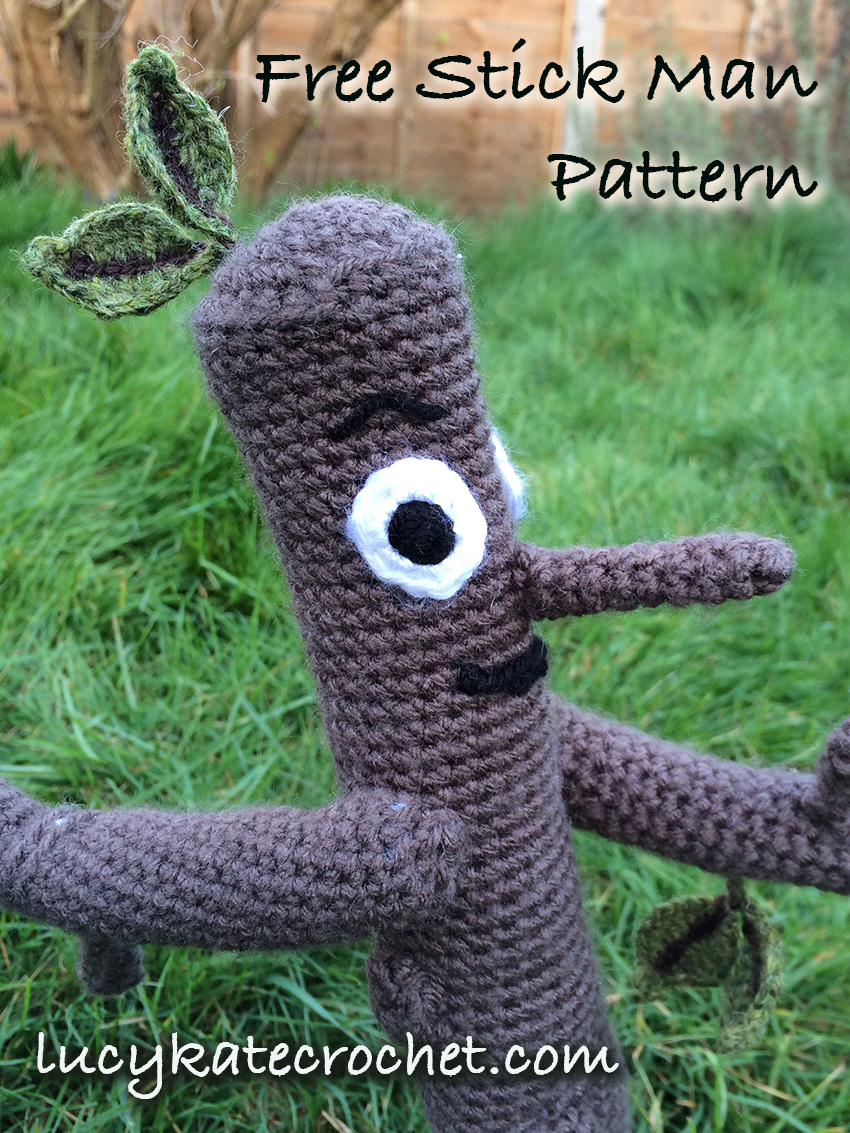
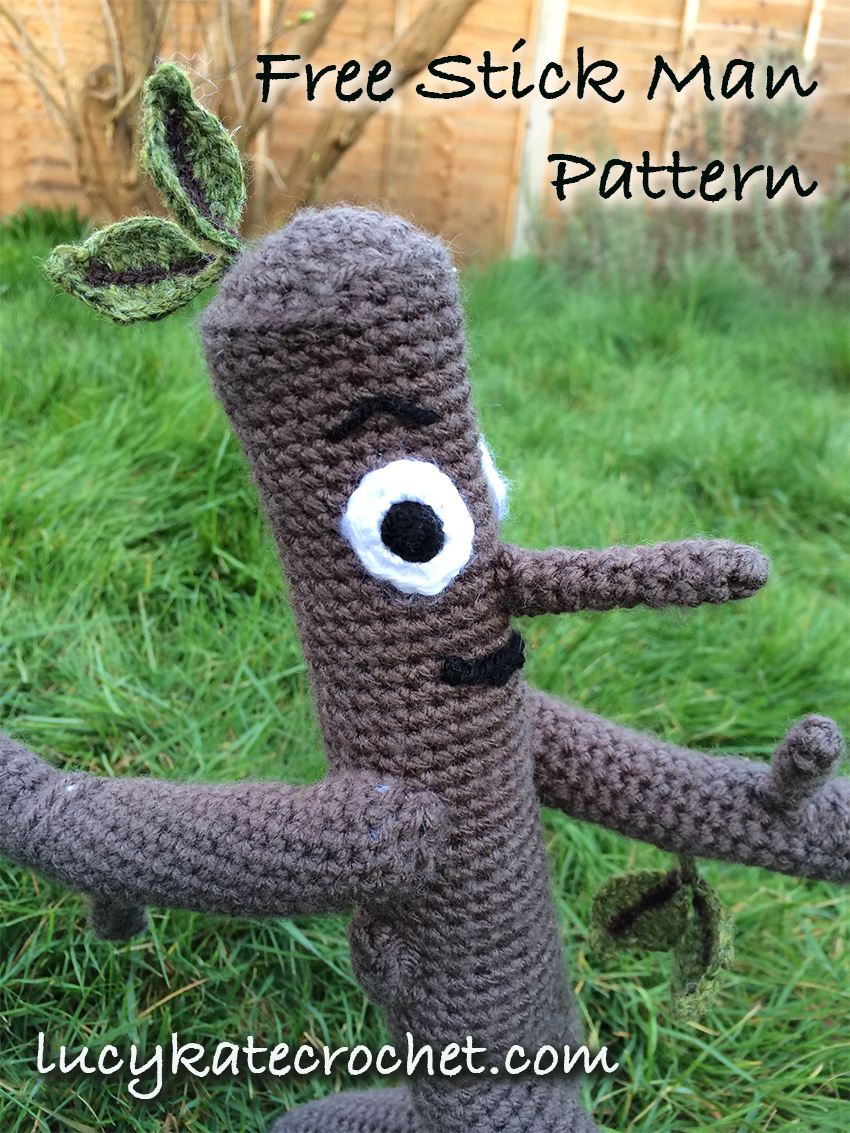
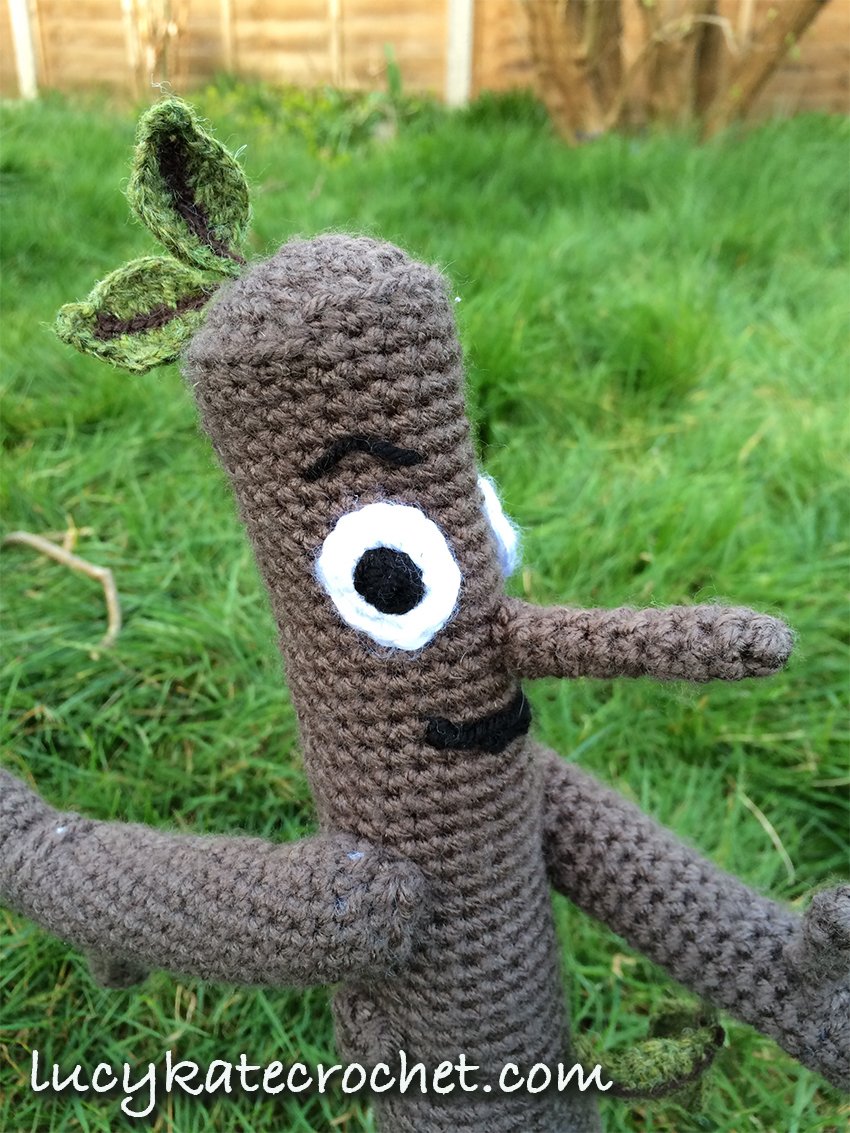
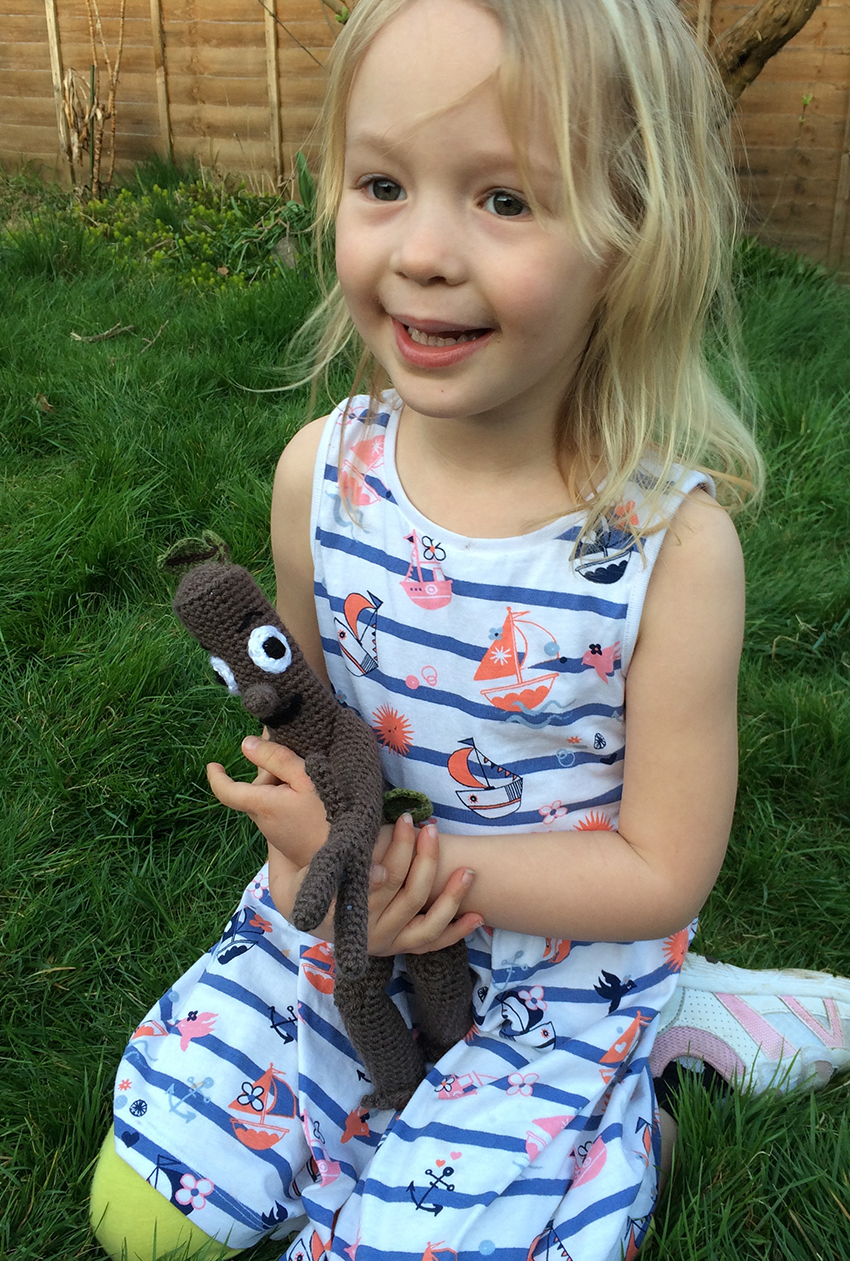
Welcome to my free crochet Stick Man pattern! I’ll teach you how to crochet your very own Stick Man toy, in easy steps. You’ll find lists of the equipment you’ll need, the stitches the pattern uses and even instructions for translating abbreviations. This crochet toy is still one of my kids’ favorites years down the line from when I first crocheted it, and hopefully whoever you’re making it for will love him just as much!
Contents
- What you’ll need to crochet your own Stick Man
- Crochet Stick Man’s stitches
- Your crochet stick man pattern
- How to crochet a leaf
- Instructions for joining your toy together
Crochet Stick Man Equipment
To follow this Stick Man crochet pattern you will need:
- Size 7 / 4.5mm crochet hookPaid Link
- Size 4 / 2.5mm crochet hookPaid Link
- 100g Brown DK YarnPaid Link
- 25g Green DK YarnPaid Link
- 25g Black DK YarnPaid Link
- 25g White DK YarnPaid Link
- Yarn NeedlePaid Link
- Stitch MarkersPaid Link
- Toy StuffingPaid Link
Crochet Stick Man Pattern Instructions
This pattern is made predominantly in rounds, working from a magic circle. The main stitch used is a single crochet (US terms). If you are new to crochet, you can find guides to how to make these stitches here:
The pattern will begin by being written in full terms, with abbreviations in italics. Thereafter the abbreviations will be used, once they have been established. The stitch count in each round is given in brackets at the end of the instruction.
If you would like a handy abbreviation chart to check as you go along, you can find one here.
Your Stick Man Crochet Pattern and joining instructions are given below. However, his leaves were made using a pattern from another website. I have linked this in the leaf section below.
Crochet Stick Man’s Head, Body And Leg
You are going to make your crochet Stick Man’s head, body and one of his legs, in one complete piece. He is a stick, after all! Start by working with your size 7 /4.5mm crochet hook and brown DK yarn.
Round 1
Make a magic circle of six stitches (6)
Round 2
Make two single crochets in each of the six stitches.
(2sc x 6) (12)
Round 3
Make one single crochet in the first stitch, then two single crochets in the second. Repeat for the round.
(1sc, 2sc) x 6 (18)
Round 4
(1sc x 2, 2sc) x 6 (24)
Round 5
In the front loop only, make 1sc x 24 (24)
Round 6
In the back loop only, make 1sc x 24 (24)
Round 7 – 42
1sc x 24
Fill with toy stuffing
Round 43
1sc x 12 then chain 4 and join the chain across the body and into the first stitch of the round.
We will now be building the first of Crochet Stick Man’s legs.
Round 44
1sc x 12 then 1sc into each of the 4 chains.
Round 45 – 59
1sc x 16
Fill up to row 58
Round 60
(1sc x 3, sc2tog) x 3, then 1sc x 2
Round 61 – 62
1sc x 4, 1sc x 6 in the flo, 1sc x 3
Round 63
(1sc x 3, 2sc) x 3, then 1sc
Round 64 – 78
1sc x 16
Fill very sparingly around the knee, then fill to round 77
Round 79
Single crochet two stitches together (sc2tog) until the leg is closed. Then sew shut and leave a long thread for sewing on the foot later.
Stick Man’s Second Leg
Crochet Stick Mans second leg will be made with a new section of yarn, but attaching it straight into the gap left beside the other leg. Use your size 7 /4.5mm crochet hook and brown DK yarn.
Round 1
Start the leg by making a slip stitch into the corner stitch at the top of the first leg and chaining one. Then make 1sc into each stitch around the bottom of the leg and at the other open side of body.
Round 2 – 17
1sc x 16
Round 18 – 19
1sc x 6 in flo, 1sc x 7
Round 20
(1sc x 3, 2sc) x 3, then 1sc
Round 21 – 35
1sc in each stitch.
Round 36
Sc2tog to close.
Crochet Stick Man Feet
Using your brown DK yarn and 4.5mm crochet hook, make two of the following
Round 1
Make a magic circle of six stitches
Round 2
2sc x 6 (12)
Round 3 – 8
1sc x 12
Flatten your foot base so that you have 6 stitches on top and 6 underneath.
Round 9
- Chain 2, then double crochet (dc) through the top and bottom sc, joining them together.
- Slip stitch through the next top and bottom pair of stitches
- 2dc into the next pair of stitches
- Slip stitch through the next pair of stitches
- Make 2dc into the next pair of stitches, then slip stitch into the side of the foot to complete.
Crochet Stick Man’s Arms
Using your size 7 /4.5mm crochet hook and brown DK yarn, make two of the following:
Round 1
Make a magic circle of three stitches.
Round 2
2sc x 3 (6)
Round 3 – 13
1sc x 6
Now, repeat Round 1 – Round 13 to make another finger
Round 14
- Starting from the finger you just completed, and work a single crochet into the next stitch.
- Then make an sc into each stitch around the other finger, joining them together. Move straight back onto the previous finger.
- You should now have a ring of 12 stitches.
- Carry on working from here.
Round 15 – 19
1sc x 12
Round 20 – 21
1sc x 6 in the flo, 1sc x 6 in blo
Round 22 – 39
1sc x 12
Fill with toy stuffing
Round 40
Sc2tog to close
Crochet Stick Man’s 3rd Finger!
The final little fingers are to be made separately. Use your brown DK yarn and size 7 /4.5mm crochet hook.
Round 1
Magic circle of five stitches
Round 2 – 6
1sc x 5
Fill with toy stuffing
Round 7
Sc2tog to close
Crochet Stick Man’s Nose
To make Stick Man’s crochet nose use your size 7 /4.5mm crochet and brown DK yarn.
Round 1
Make a magic circle of three stitches.
Round 2
2sc x 3 (6)
Round 3 – 11
1sc x 6
Fill with toy stuffing
Round 12
Sc2tog to close
Finishing Off
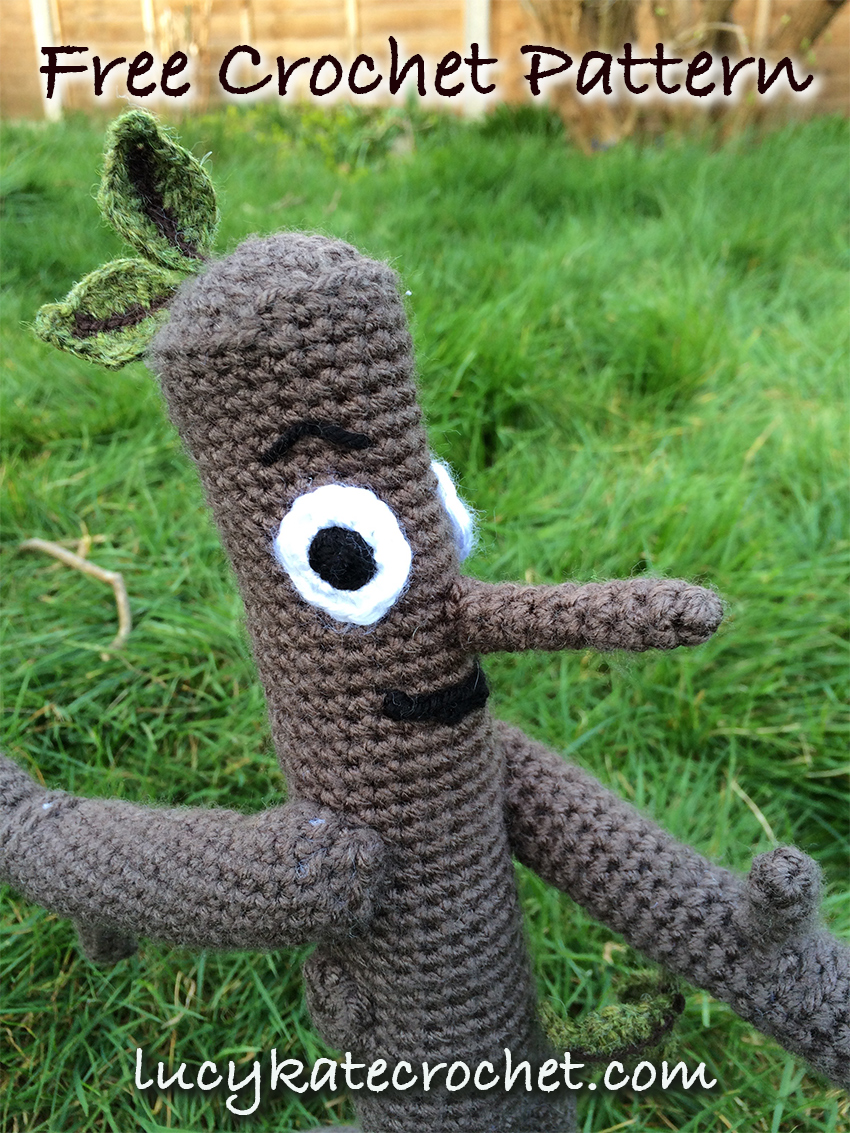
Thread your black DK onto a yarn needle, and sew through the centre of the eye. Weave back and forth through the centre and into each of the surrounding round 1 magic circle stitches, until he has a complete pupil.
Crochet Stick Man’s Leafs
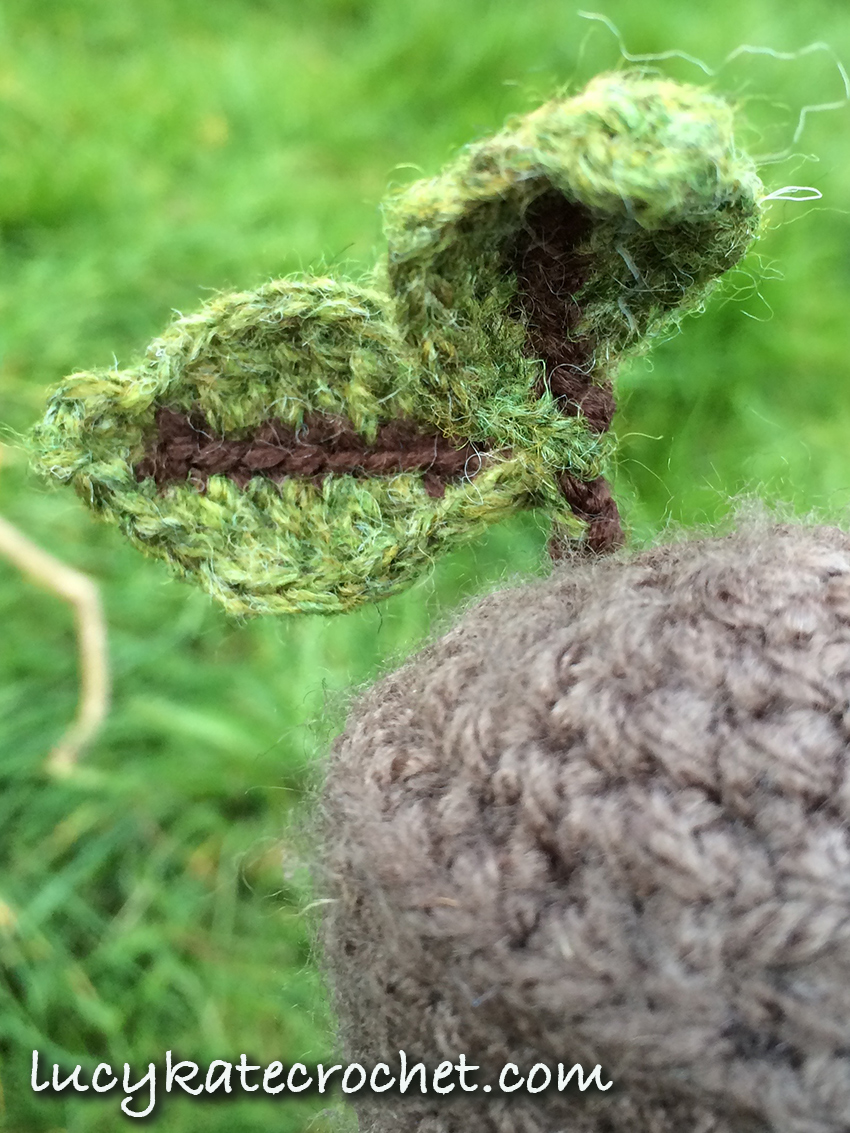
I made various attempts at the crochet leaves for Stick Man. And I have to admit, I fell flat. Very flat. I mean to the extent that I am not even going to share photos of my attempts with you, as they were unidentifiable as leaves. Amorphous green blobs, with strange wavy edges simply weren’t going to cut it here. So I went back to my very favorite crochet leaf pattern and used that instead.
So to make your crochet Stick Man’s leaves, you will need to pop over to Attic24 here.
The triple layer flower pattern has a leaf tutorial at the bottom of the page. Follow it using a 2.5mm crochet hook, brown DK yarn for the spine and a green DK yarn for the rest of the leaf. If you haven’t come across Attic24 before, then I highly recommend a good snoop around the site while you’re there. It’s brilliant.
Joining Crochet Stick Man Together
You are now ready to join your Stick Man crochet toy together. Lay out the following crochet Stick Man pieces:
- 1 Body
- 2 Arms
- 2 Fingers
- 2 Feet
- 4 Leaves
- 2 Eyes
- 1 Nose
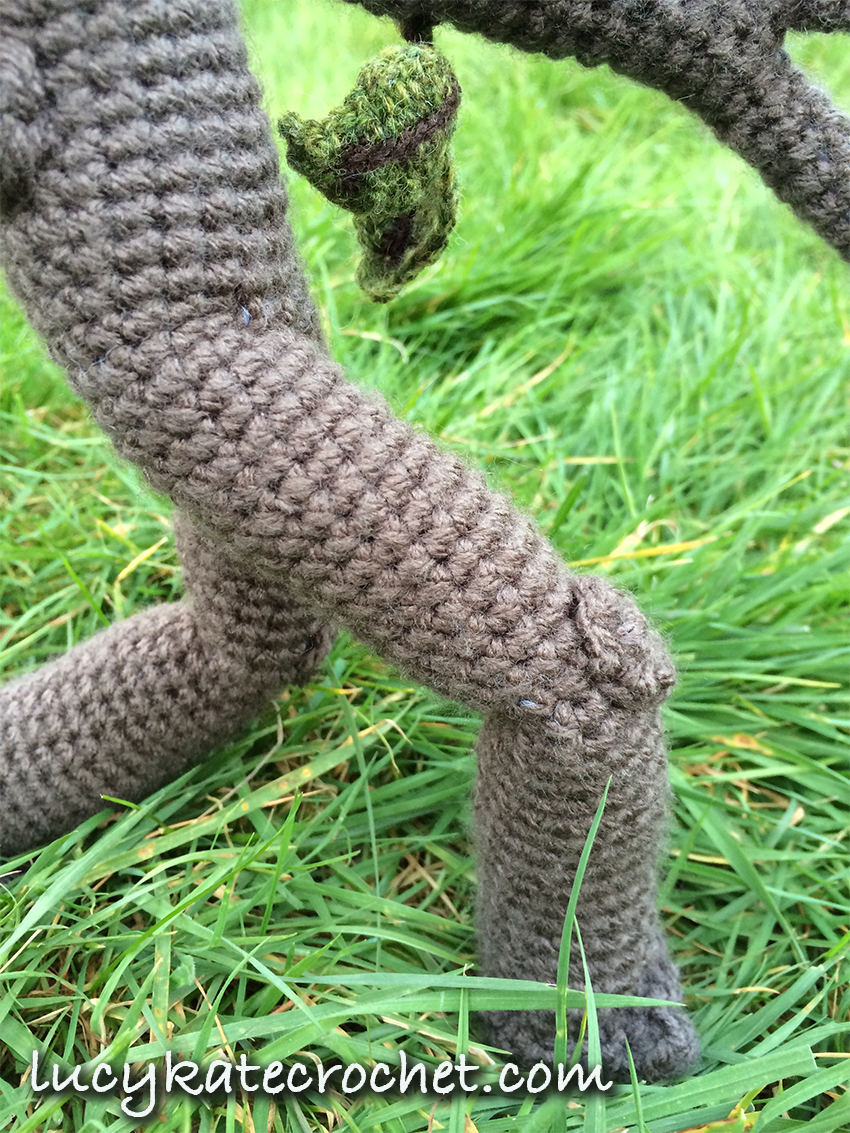
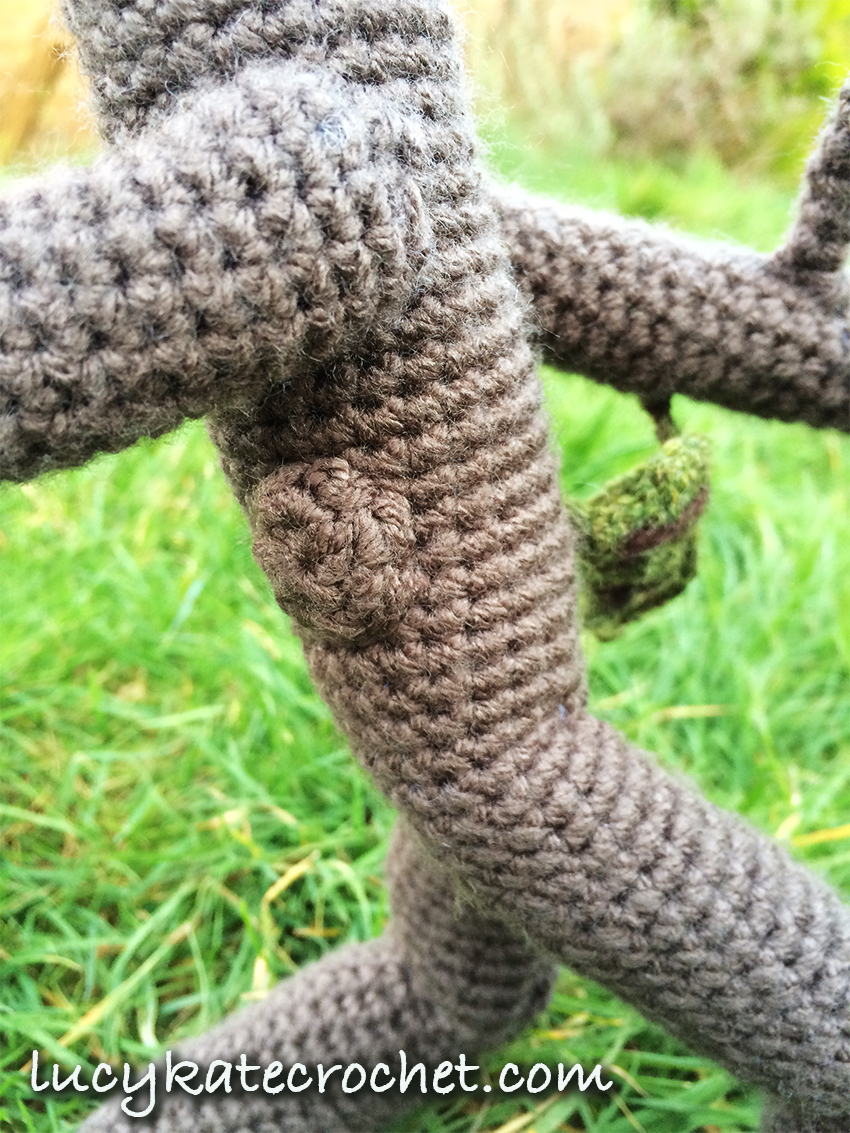
First few the feet onto the body. Using your brown yarn and needle, weave around the base of the leg and attach the foot, toes pointing forwards. Next sew the fingers onto the arms. One on the bottom, one on the top.
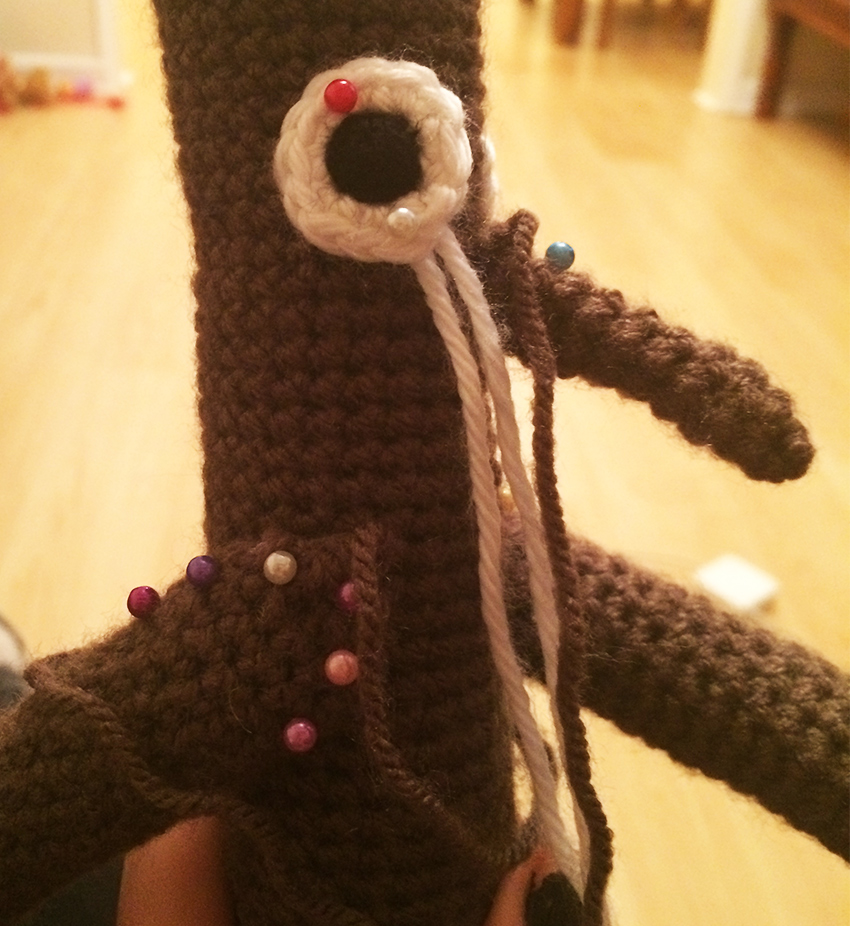
Then sew your leaves on. A pair on top of his head towards the back, and another pair underneath one of his arms. Use your crochet hook to pull the loose threads helping to secure the leaves of your Stick Man crochet toy in place. Finally pin the arms, nose and eyes in the position you would like them in.
Sew the eyes on using white yarn, working carefully around the circumference of each one. Remove pins as you secure each side to keep them level and in place.
Then using your brown yarn, very neatly sew the nose onto the center of the face. Sew through each single crochet stitch in the final round to ensure that it is tightly joined.
Last of all, sew the shoulder of the arm only your Stick Man’s crochet body. Check the angle of the arm as it’s a static fix, so you won’t be able to move them after you are done.
I hope you enjoy making your Stick Man crochet toy as much as I did. When you’ve finished, why not share a photo of him on my Facebook page or via Ravelry! You can also check out a totally lovely review of this pattern on Ravelry here.
More Crochet Toy Patterns
Here are some more of my top crochet toy patterns
- How to crochet a cute cat
- Instructions for crocheting a Poodle
- Cute crochet pig pattern
- How to crochet your own teddy

Hi I am really eager to crochet stick man for my grandson but am confused with the hook sizes. On the charts I looked at it says that a size 12 is 2.5mm but the pattern says size 4 Help please
Hi Mary,
You can find a conversion chart here: https://lucykatecrochet.com/crochet-conversion-charts
The pattern requires in UK (metric) terms a 2.5mm and 4.5mm crochet hook. In US terms these are a size 4 and a size 7.
In UK terms a 2.5mm is confusingly also sometimes called a size 12!
I hope this helps,
Lucy Kate
Hi Lucy
Thankyou now I just need to master the magic circle
Regards Mary
On the second leg do i not need to do the decrease row (row 60 on first leg) and where do i attach the knees please
Thank goodness, I’m not an experienced crocheter of toys and it’s took me ages and many undoing and repeating rows before I figured out what was wrong!! If only I’d read your comment hours ago!!
I’ve done body using standard SC stitch but despite doing stitch as tight as possible, it’s very holey and shows the stuffing. Should we be using the tighter method? I’m wondering about yarn underu yarn under method, rather than yo-yo. What do suggest to avoid holes.
Hi Sue, Sorry to hear it’s not turning out as you would like. It might be that the hook is too large for the yarn, I tend to size down my hook from the recommended size on the yarn packet as amigurumi tends to favour a smaller hook size. I’d grab a hook that’s 1mm or even 2mm smaller and make up a little sample to see if that’s the cause. Hope that helps!