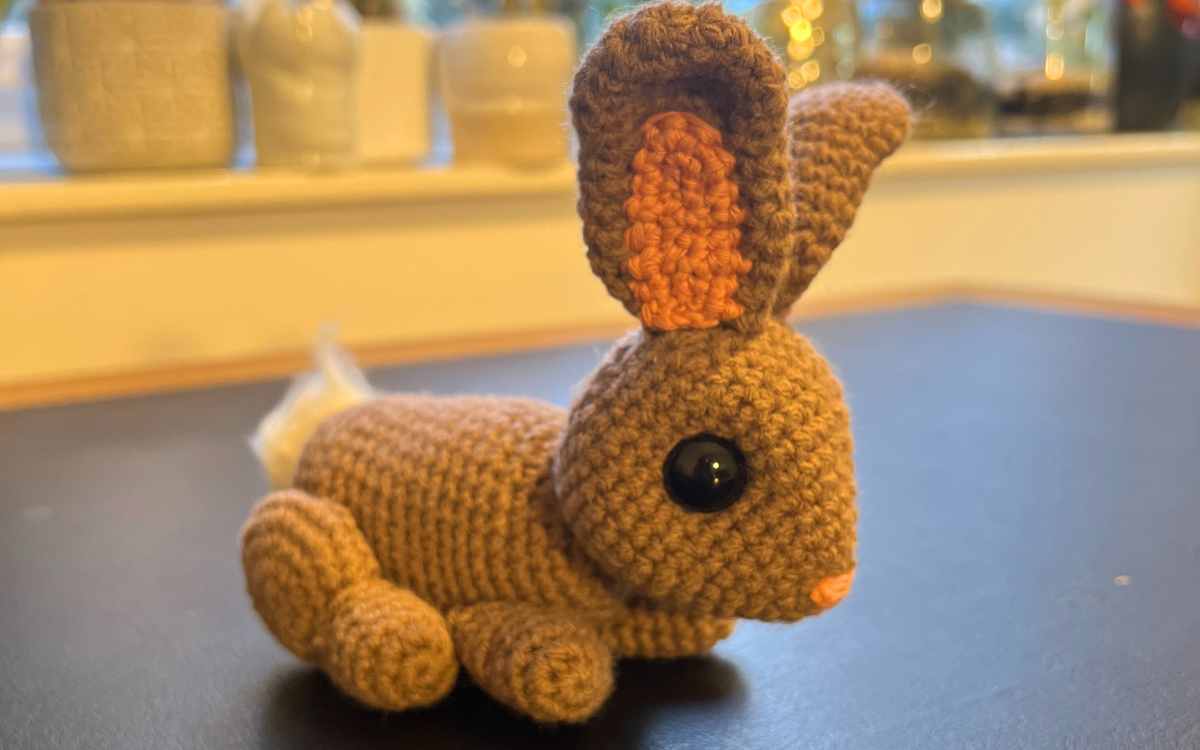
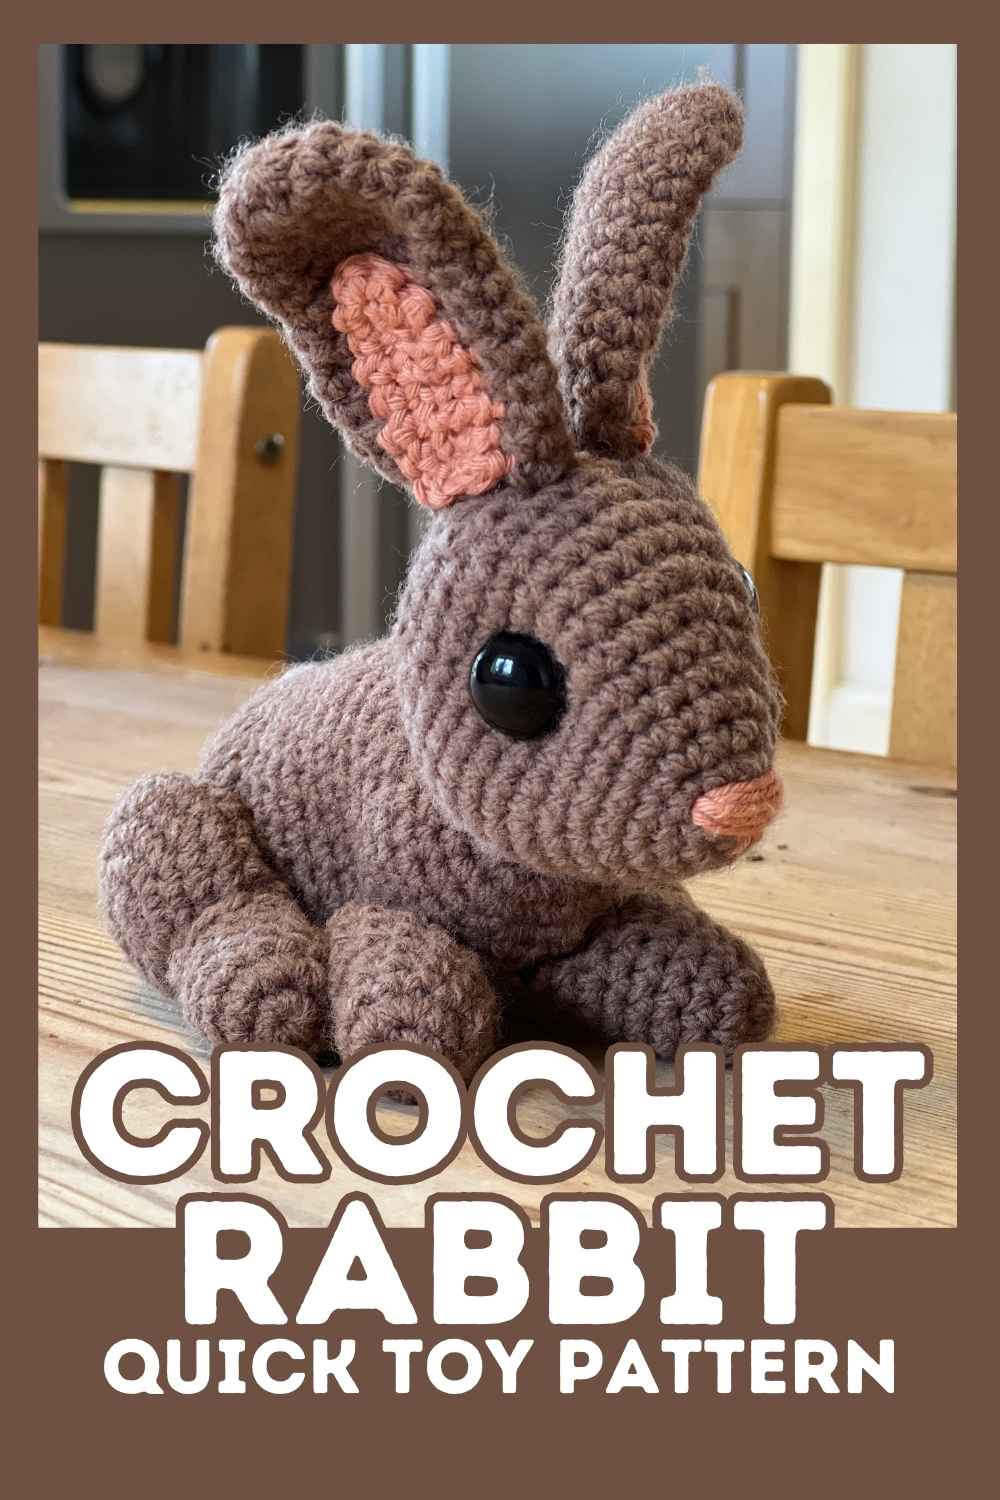
Free Wild Rabbit Crochet Pattern
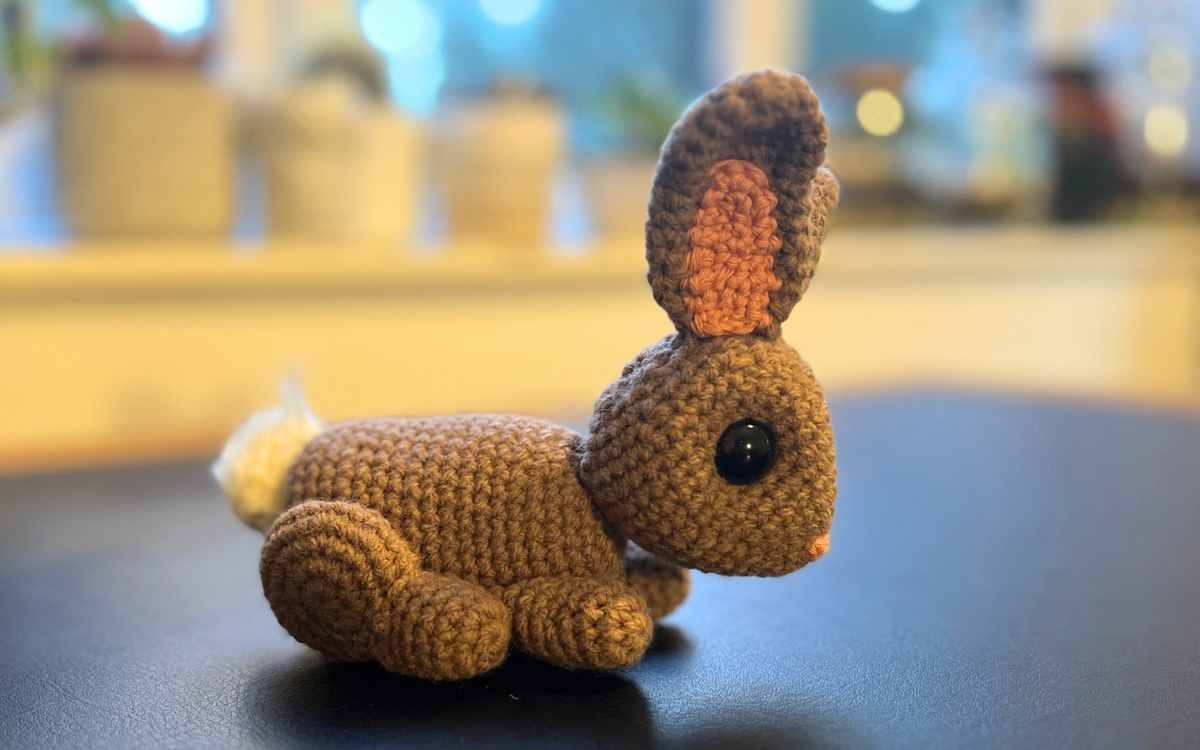
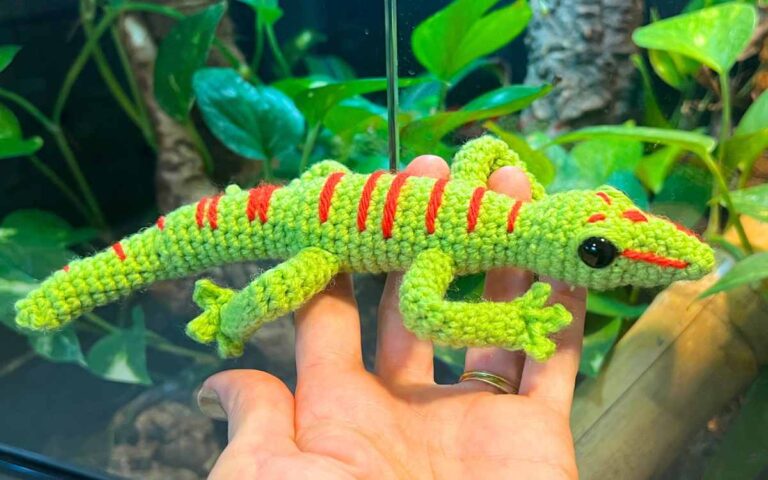
This free rabbit crochet pattern is easy to follow. It works up pretty quickly, and you’ll have fun making your own cute amigurumi bunny.

And when you’re done, you can make lots of buddies for him when you check out my farmyard creature collection!
Your Equipment List
Here’s what you’ll need to crochet your wild rabbit.
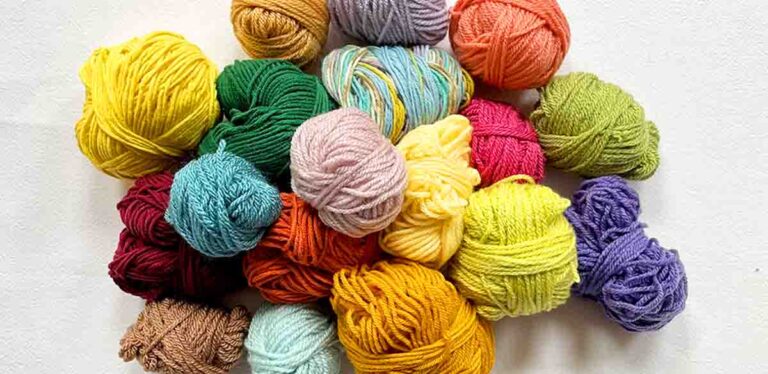
- 4mm crochet hook
- Yarn needle*
- 50g brown aran yarn
- 20g pink aran yarn
- 20g white wool DK yarn
- Toy safe stuffing*
- 10mm safety eyes*
- Slicker brush (optional)
Your DK yarn will need to be wool based, I used an acrylic wool blend for the brown and a cotton blend for the pink sections.

Pattern Notes
Here are the crochet techniques you will need to create your amigurumi rabbit. You’ll find the meaning of the abbreviations and links to tutorials for stitches and instructions you aren’t familiar with.
- sc – single crochet
- 2sc – make two single crochets into one stitch
- sc2tog – use one single crochet to join two stitches together
- ch – chain
- sk – skip the next stitch
- slst – slip stitch
The Free Crochet Rabbit Pattern
You’ll be crocheting your bunny in sections. They’ll all use the 4mm hook, but watch out for instructions on when to swap colors.
Crocheting the Rabbit’s Head
Work the rabbit’s head in your brown yarn.
Round 1
Make a magic circle of six stitches (6)
Round 2
2sc x 6 (12)
Round 3
1sc x 12 (12)
Round 4
(1sc, 2sc) x 6 (18)
Round 5
(1sc x 2, 2sc) x 6 (24)
Round 6
1sc x 24 (24)
Round 7
(1sc x 3, 2sc) x 6 (30)
Round 8
(1sc x 4, 2sc) x 6 (36)
Round 9 – 13
1sc x 36 (36)
Round 14
(1sc x 4, sc2tog) x 6 (30)
Round 15
(1sc x 3, sc2tog) x 6 (24)
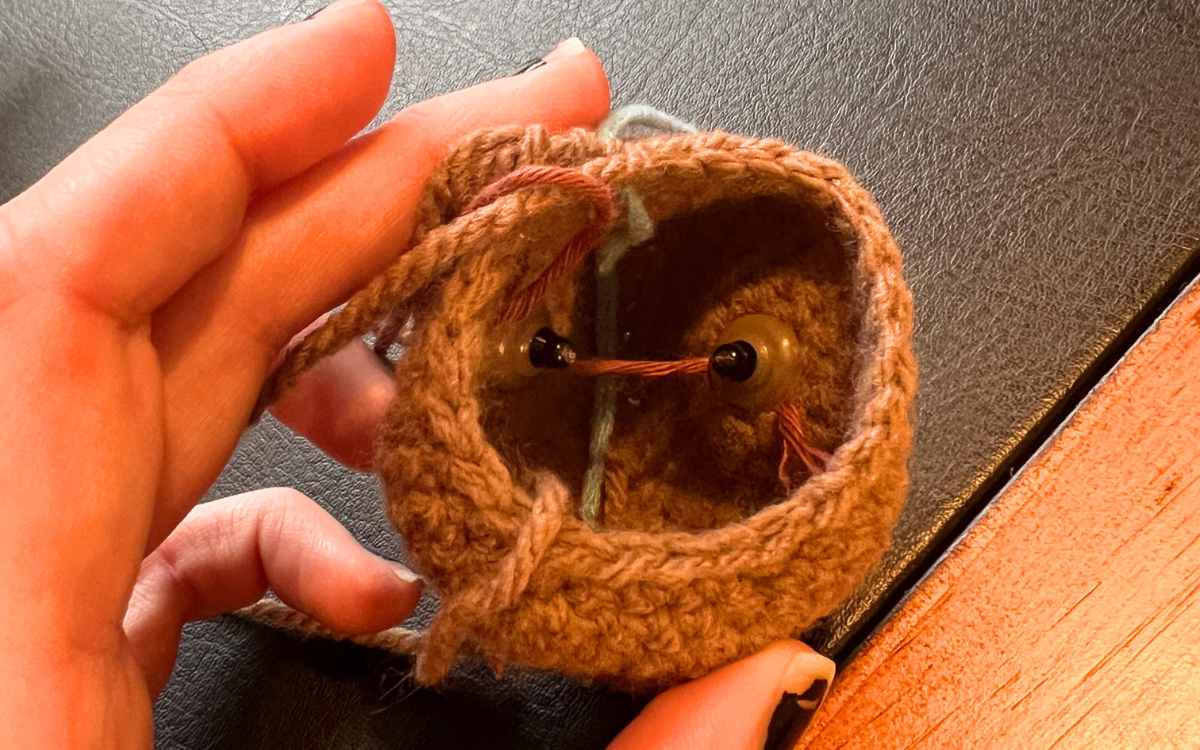
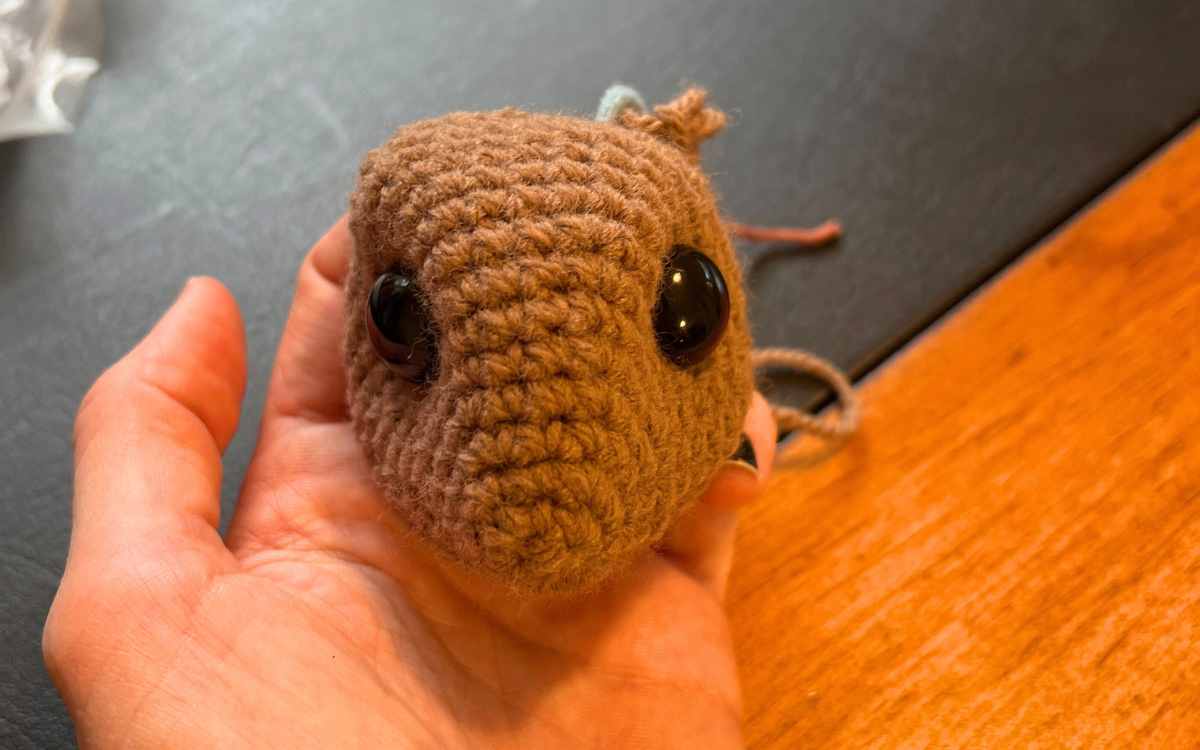
Insert the safety eyes at approximately the round 8 level, in the upper third of the head. Tie the backs together to pull them slightly into the head, then stuff the head so far.
Round 16
1sc x 24 (24)
Round 17
(1sc x 2, sc2tog) x 6 (18)
Round 18
(1sc, sc2tog) x 6 (12)
Round 19
sc2tog x 6, then hand sew to close.
Sew the Nose
Take your pink yarn, and weave back and forth just above your original magic circle using a needle. Then make a small marking below it to finish the appearance of a small mouth.
Amigurumi Rabbit Ears

The outer ears will be crocheted in brown yarn.
Round 1
Make a magic circle of six stitches (6)
Round 2
2sc x 6 (12)
Round 3
1sc x 12 (12)
Round 4
(1sc, 2sc) x 6 (18)
Round 5 – 12
1sc x 18 (18)
Round 13
(1sc, sc2tog) x 6 (12)
Round 14 – 15
1sc x 12 (12)
Making the Inside of the Ears
Your rabbit’s inner ear section will be crocheted in pink yarn.
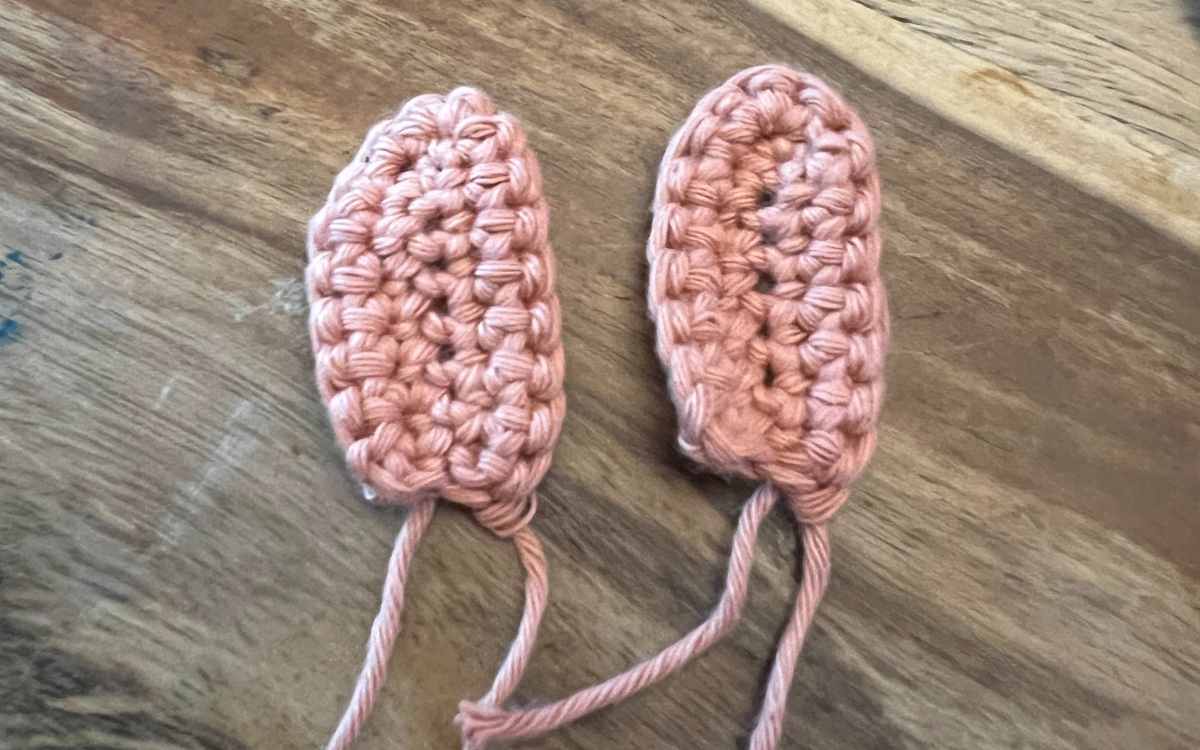
Round 1
Ch8
Round 2
Working along and around your chain:
sk, 1sc x 6, 3sc, 1sc x 6
Round 3
Turn
ch1, 1sc x 6, 3sc, 1sc x 7, slst and tie off.
Finishing your crochet rabbit’s ears
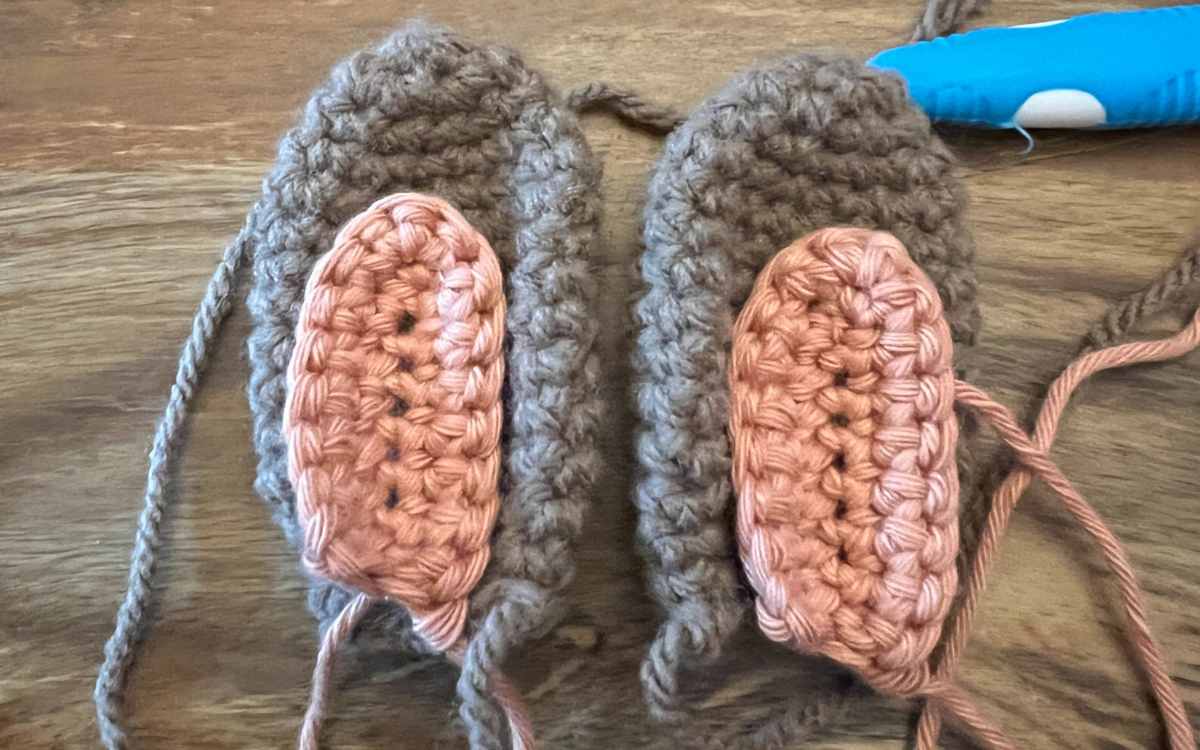
Take the original tail from your inner ear’s chain, attach a needle and sew it through the central loops to hide it. Cut off leaving no visible end.
Now using the other tail end of the inner ear section, weave this section onto the brown outer section.
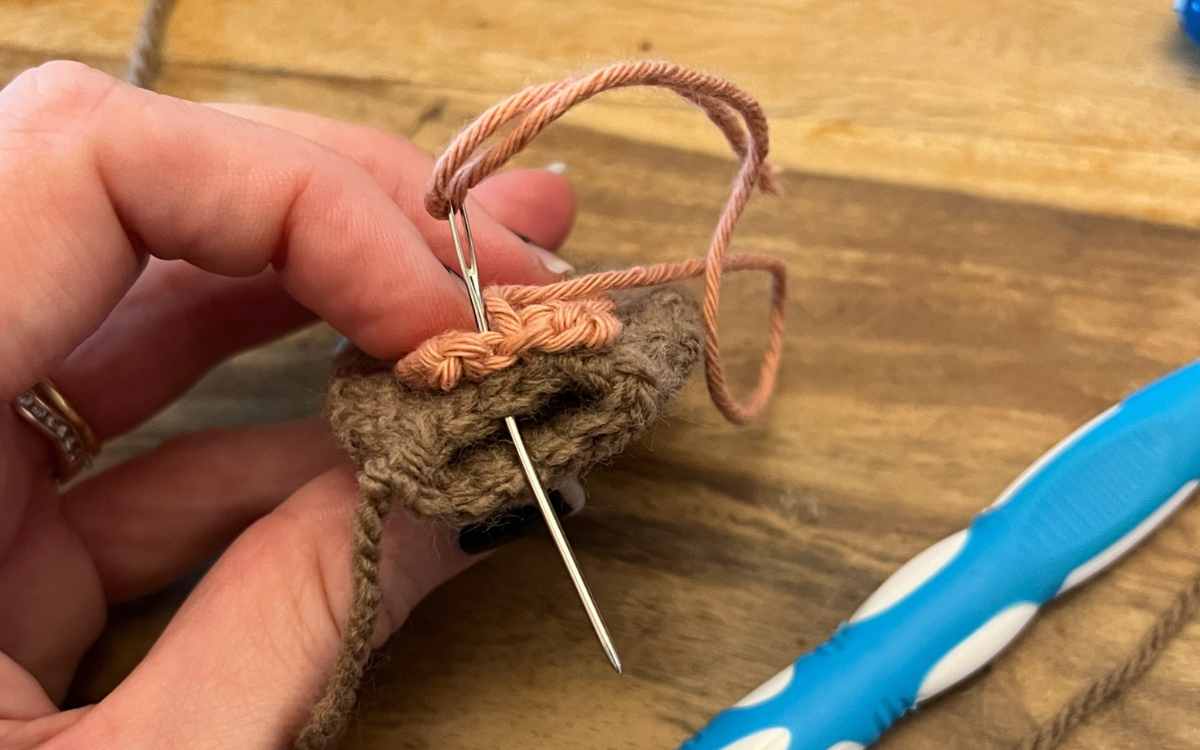
Then with the brown yarn, sew the edges of the brown section of the ear onto the pink to give a slightly raised edge.
The end of the ears can now be sewn onto the top of your crochet rabbit’s head.
Crochet Rabbit’s Body Pattern
Crochet your bunny’s body in brown yarn.
Round 1
Make a magic circle of eight stitches (8)
Round 2
2sc x 8 (16)
Round 3
(1sc, 2sc) x 8 (24)
Round 4 – 5
1sc x 24 (24)
Round 6
(1sc x 2, 2sc) x 8 (32)
Round 7 – 16
1sc x 32 (32)
Round 17
(1sc x 3, 2sc) x 8 (40)
Round 18 – 20
1sc x 40 (40)
Round 21
(1sc x 3, sc2tog) x 8 (32)
Round 22
(1sc x 2, sc2tog) x 8 (24)
Round 23
(1sc, sc2tog) x 8 (16)
Round 24
sc2tog to close, tie off and hide the loose end.
Attaching the head
You can now sew the head onto your body. Weave tightly back and forth to secure the head, with the nose pointing forwards.
Crocheting the Tail
Crochet the tail in white wool yarn, using two strands held and worked together.
Round 1
Make a magic circle of six stitches (6)
Round 2
2sc x 6 (12)
Round 3 – 4
1sc x 12 (12)
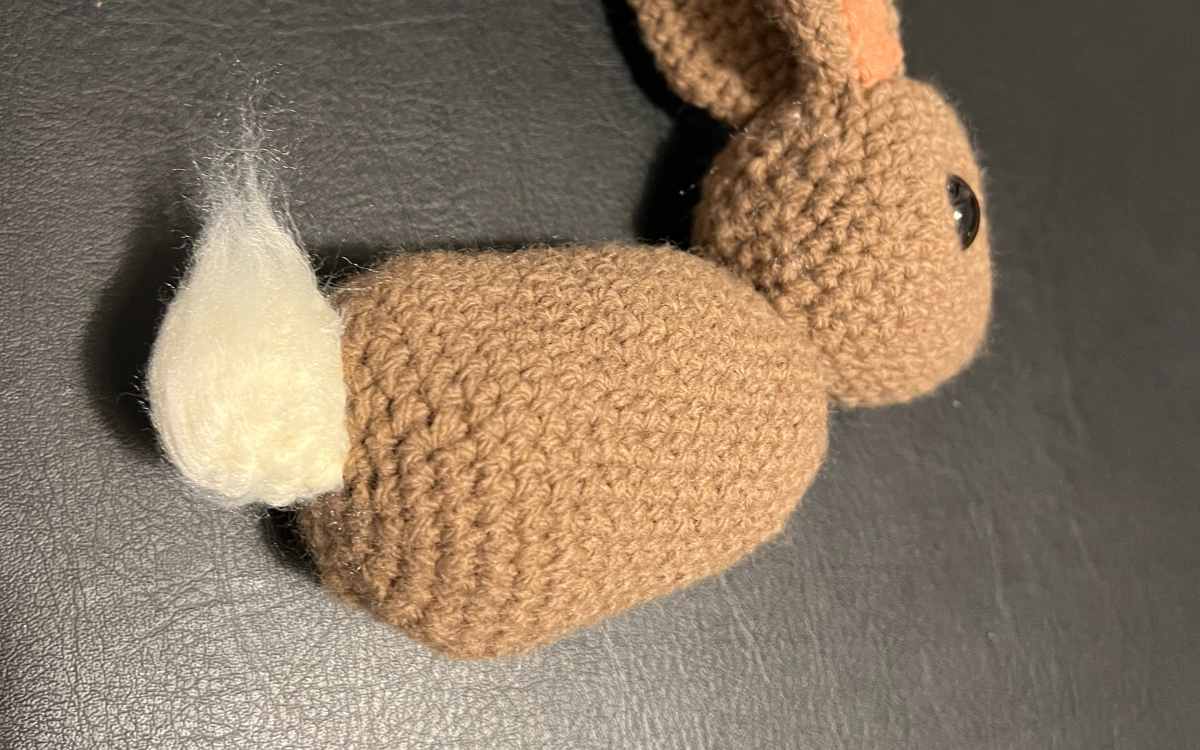
Fluff it up!
Take the slicker brush (or whatever brush you can find!) and groom the tail to allow it to fluff up.
With your yarn needle and the white yarn, sew the tail onto the back end of your bunny.
Crocheting your Front Legs
All of your rabbit’s legs will be crocheted in brown yarn.
Round 1
Make a magic circle of six stitches (6)
Round 2
2sc x 6 (12)
Round 3 – 7
1sc x 12 (12)
Fill the legs to this point.
Round 8 – 9
1sc x 12 (12)
Sew the leg end flat without stuffing it any further.
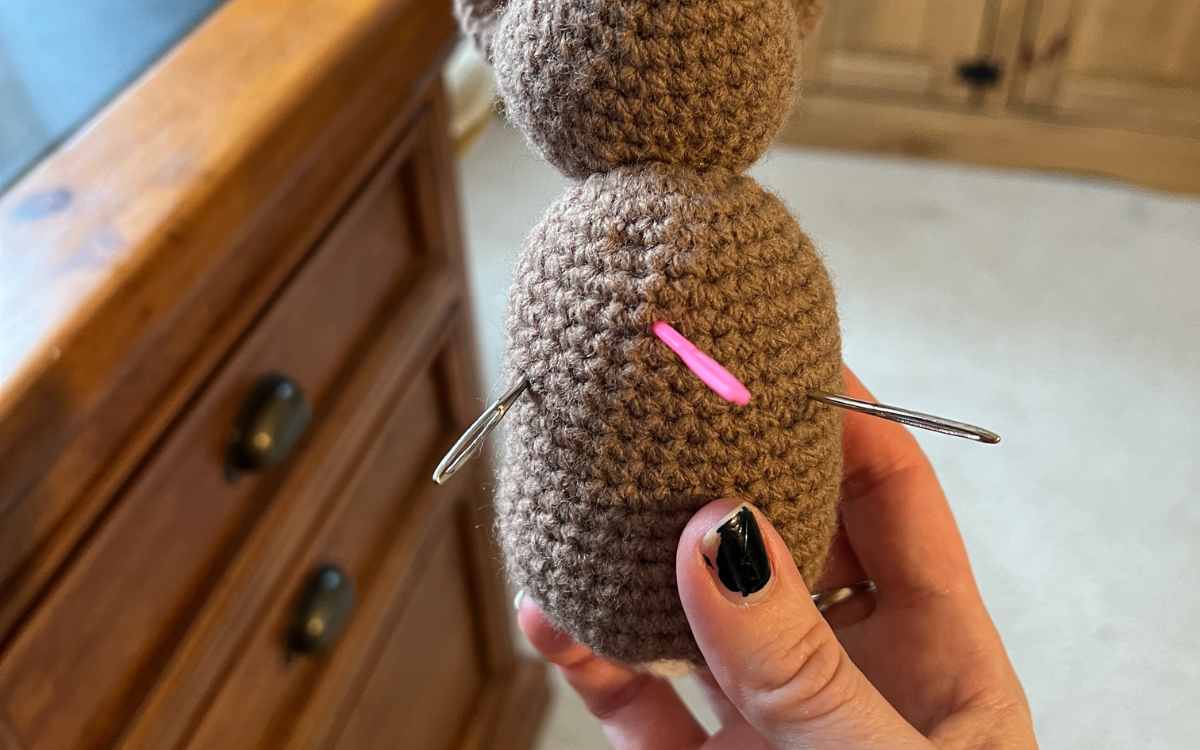
Mark your planned leg positions with pins to make sure they are even, then hand sew them on approximately six rounds down the body’s original magic circle.
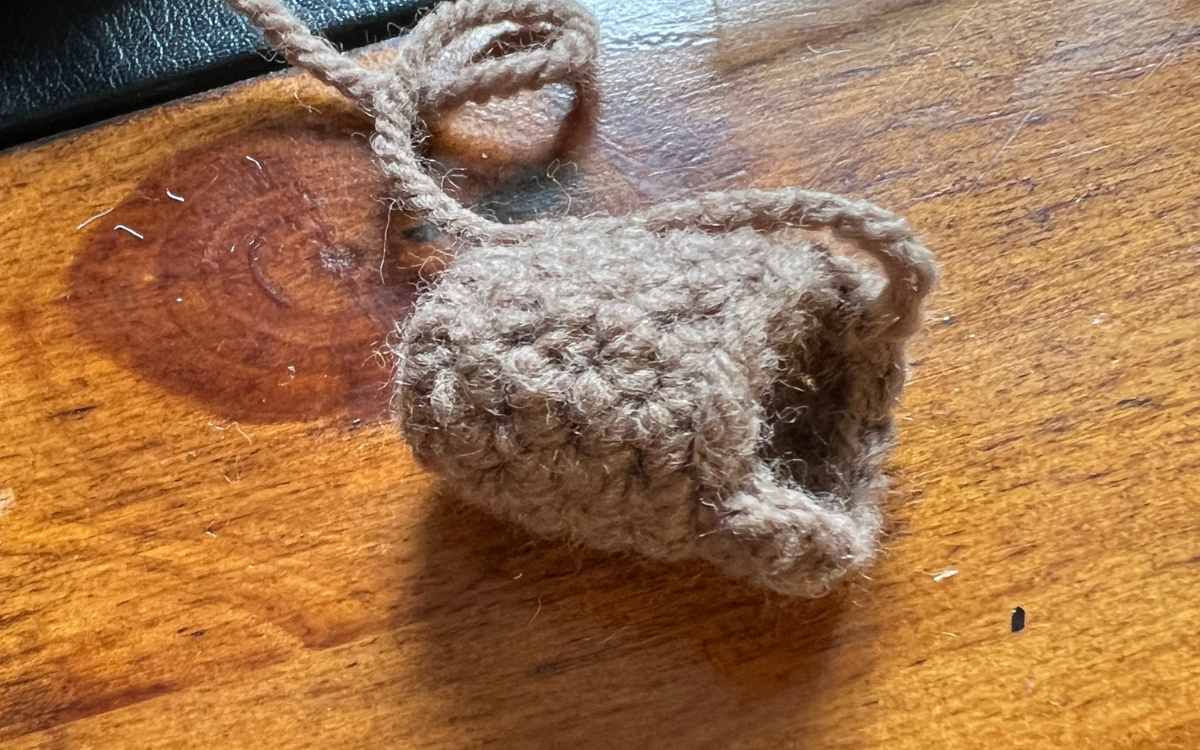
The Back Feet
Your back legs are going to be made in two sections, the feet and the legs. Work both in your brown yarn with the 4mm crochet hook.
Round 1
Make a magic circle of six stitches (6)
Round 2
2sc x 6 (12)
Round 3 – 6
1sc x 12 (12)
Round 7
1sc x 6, then stop this round and turn your work over.
Round 8
ch1, 1sc x 6.
Fill in the toe end only with stuffing. The open section will be used to attach to the leg.
Crochet Rabbit’s Back Legs

Round 1
Make a magic circle of eight stitches (8)
Round 2
2sc x 8 (16)
Round 3
(1sc, 2sc) x 8 (24)
Round 4
(1sc x 2, 2sc) x 8 (32)
Round 5
1sc x 32 (32)
Round 6
(1sc x 2, sc2tog) x 8 (24)
Round 7
(1sc, sc2tog) x 8 (16)
Round 8
sc2tog to close, and sew closed.
You can now sew your feet to the legs, and the legs onto the body.
Your Crochet Rabbit Pattern
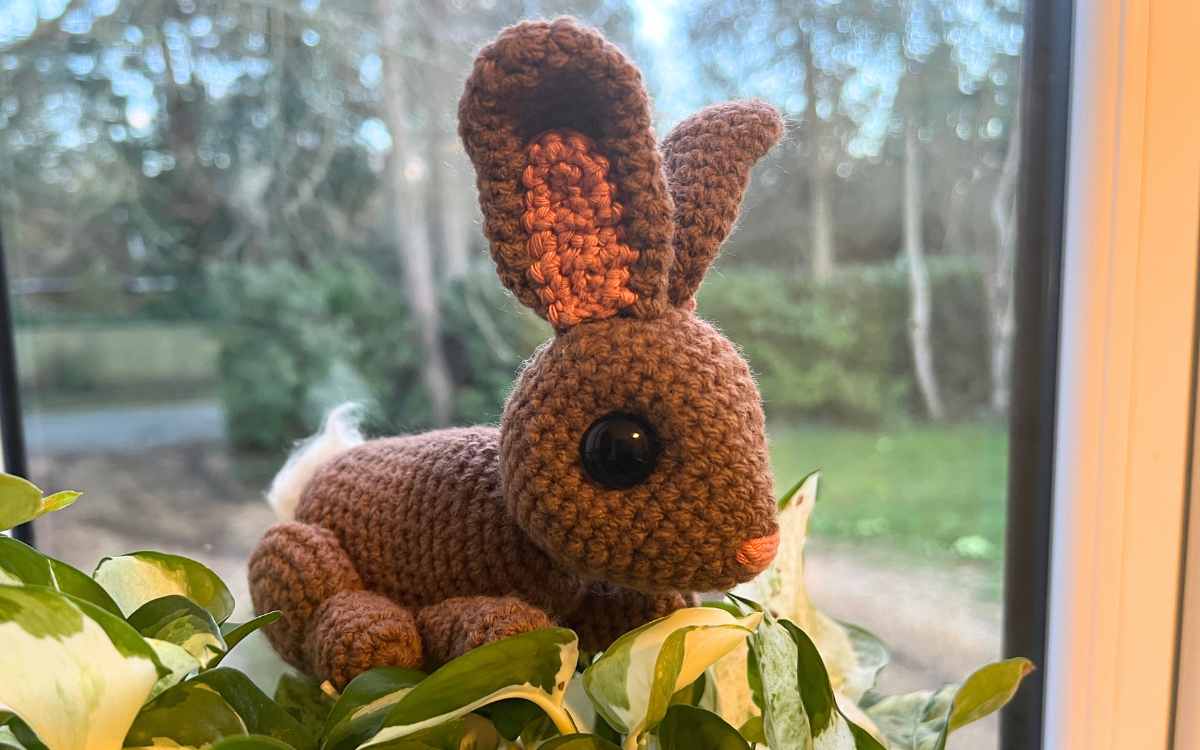
I designed this crochet rabbit pattern to reflect the adorable wild rabbit, but if you’d like to make it your own feel free to change up the colors and add in some markings too! And don’t forget to let me know how you get along.
Happy Crocheting,
Lucy Kate, x
*The products linked in this pattern were carefully selected by Lucy Kate Crochet. If you decide to purchase using the links provided, we may earn a small commission on that sale. This is at no extra cost to you.

I really like all your pattern and pattern are easy to follow I like went I can read them a few time thank you