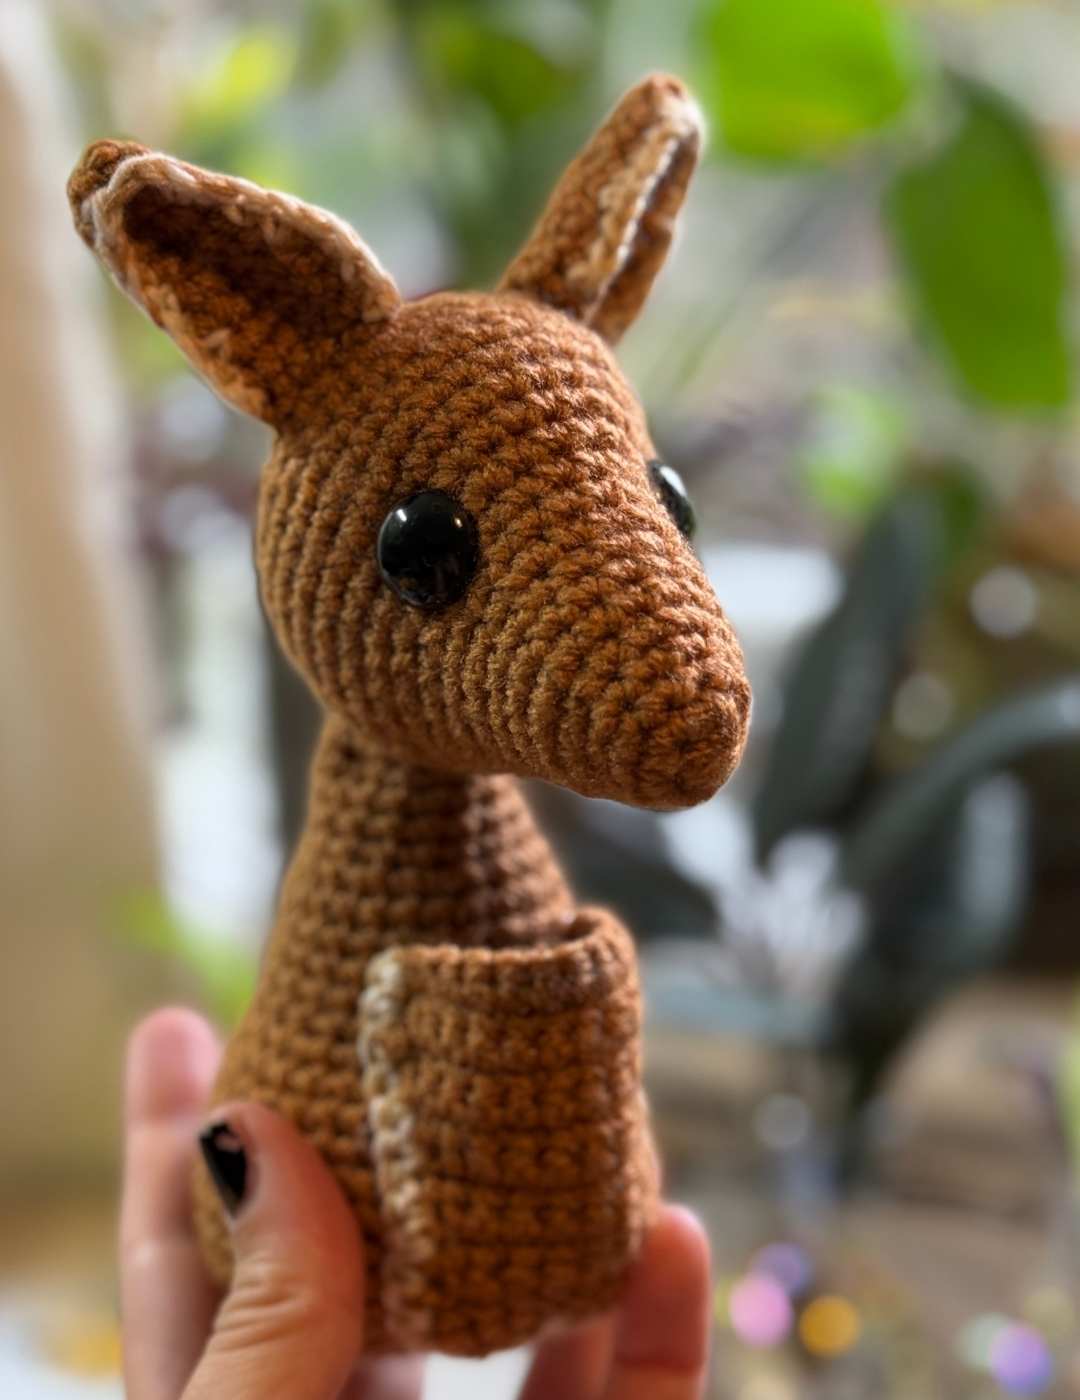
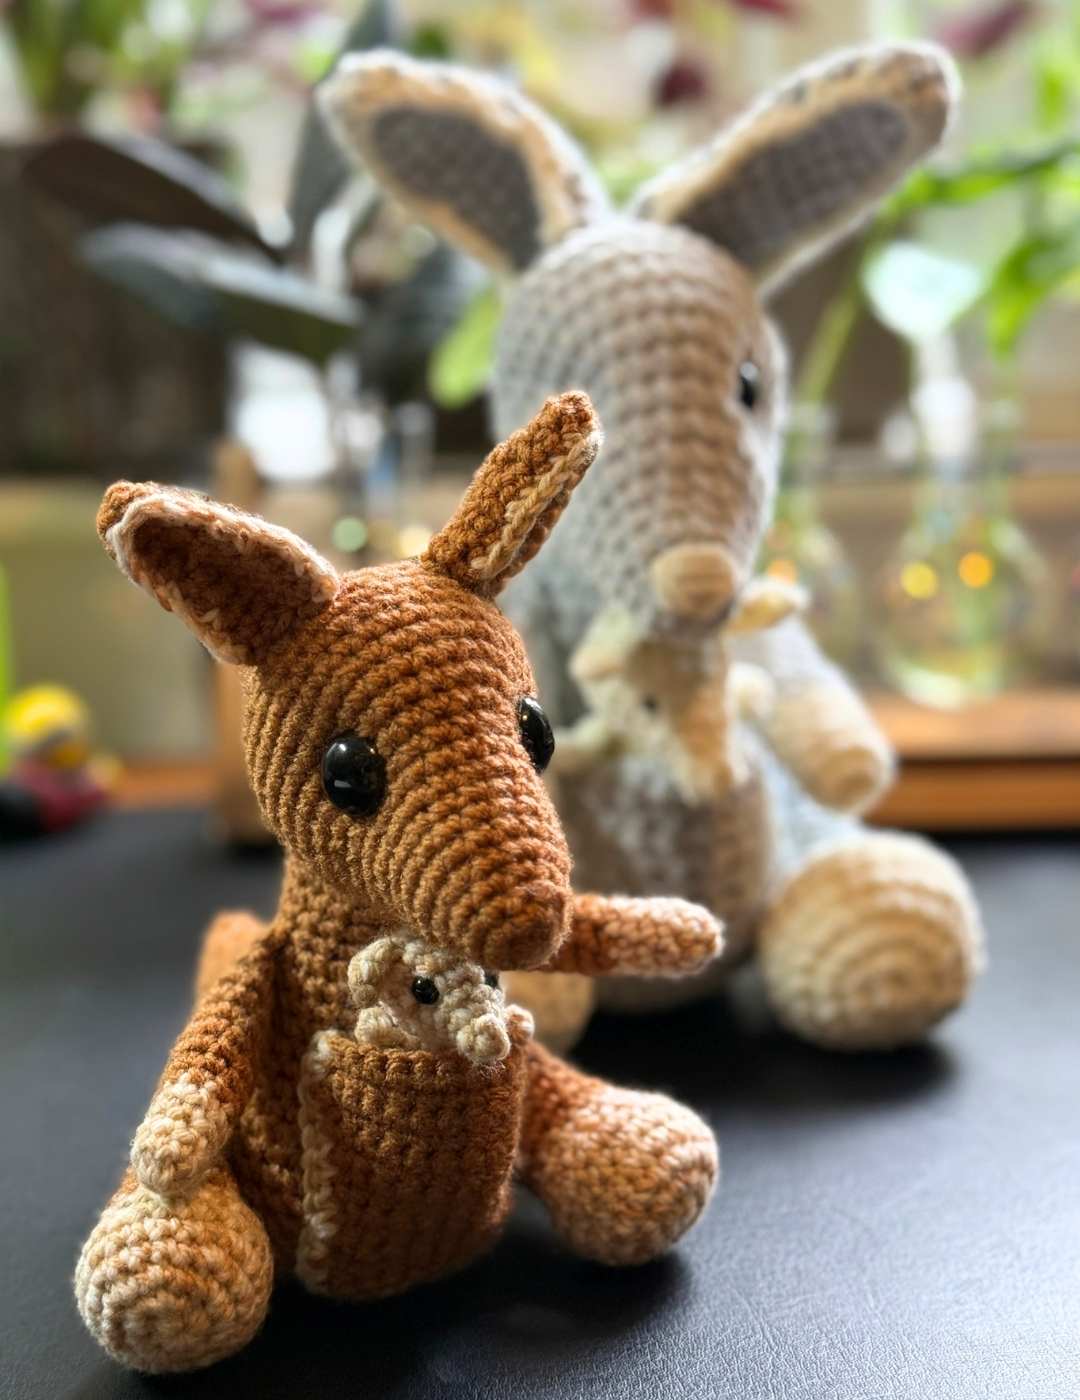
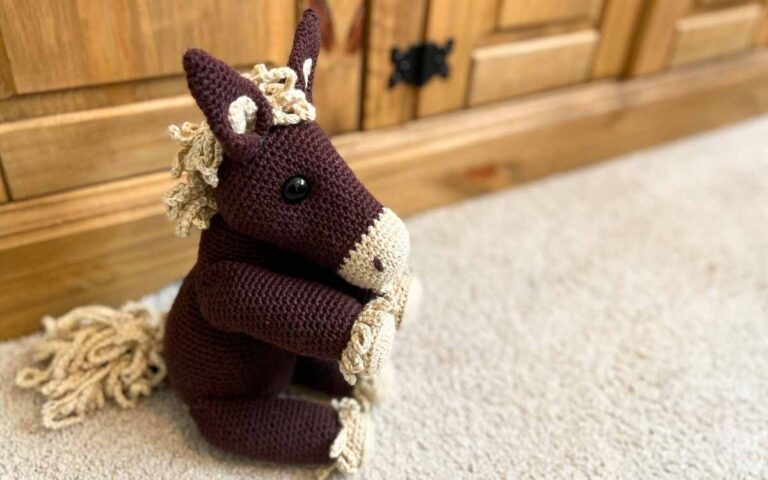
Crochet Kangaroo
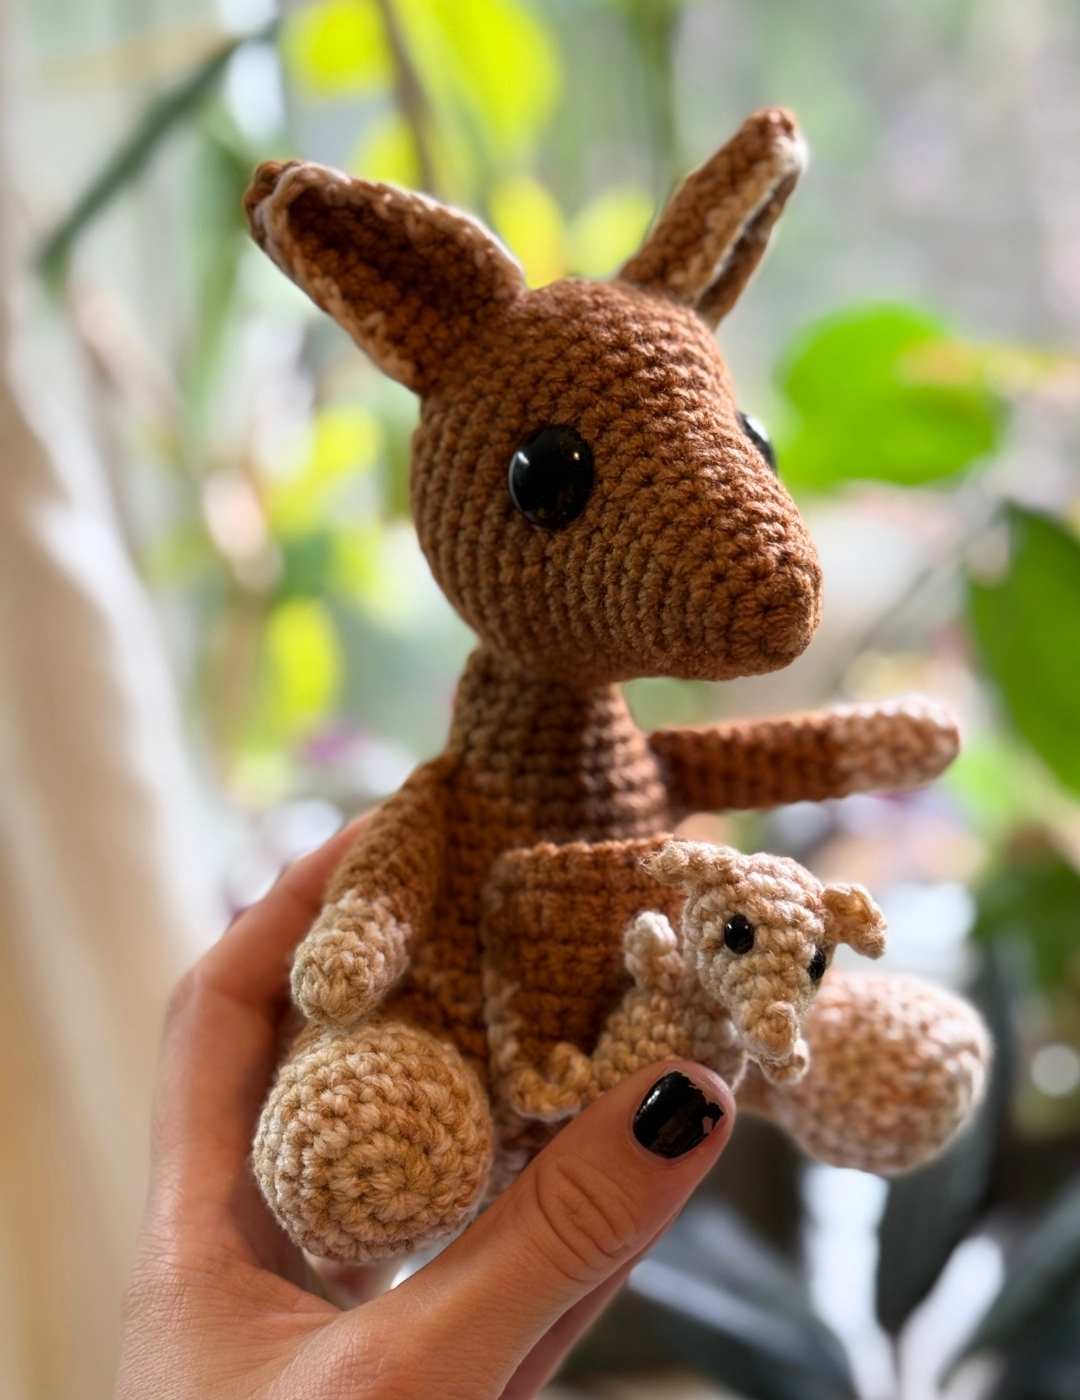
This crochet kangaroo pattern is perfect for a confident beginner, who is familiar with the basic stitches and looking for a bit of a challenge.
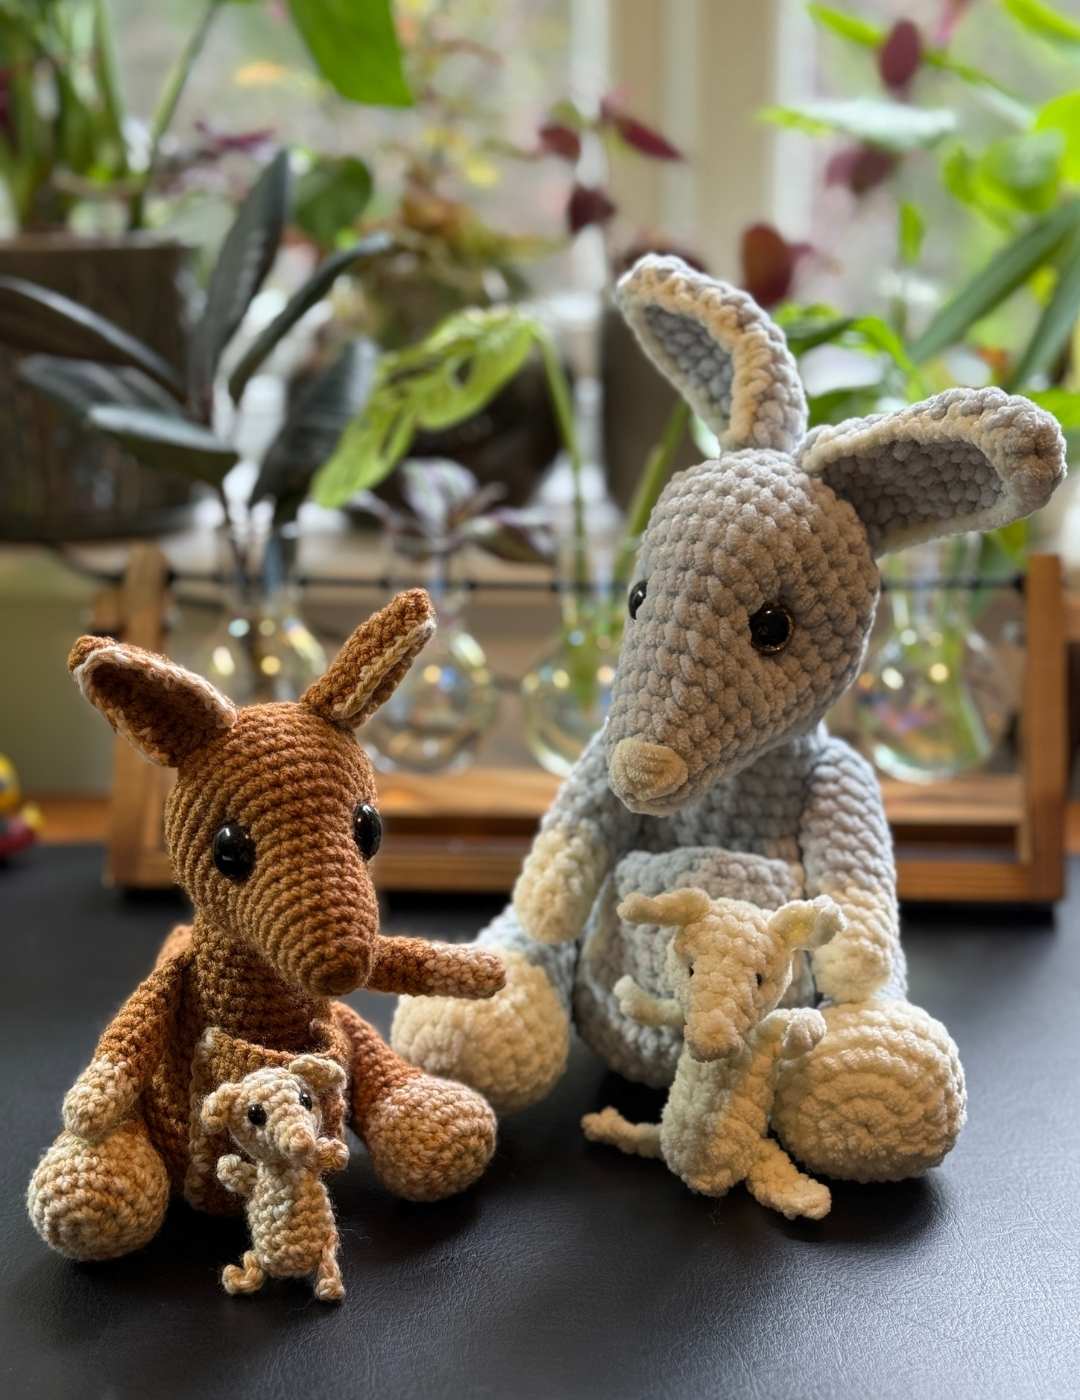
A few years ago I crocheted a wallaby with a baby joey in her pouch. It is without a doubt one of the most popular patterns I’ve ever made, but I there were a few issues with it. Firstly, and most importantly to me, people kept calling it a kangaroo. Secondly, I made it with chenille yarn, and if I’m honest, it’s just not my favorite fiber to work with. The difficulty of closing magic circles, and the tendency to fray leave me rather frustrated.
You can see where I’m going with this?
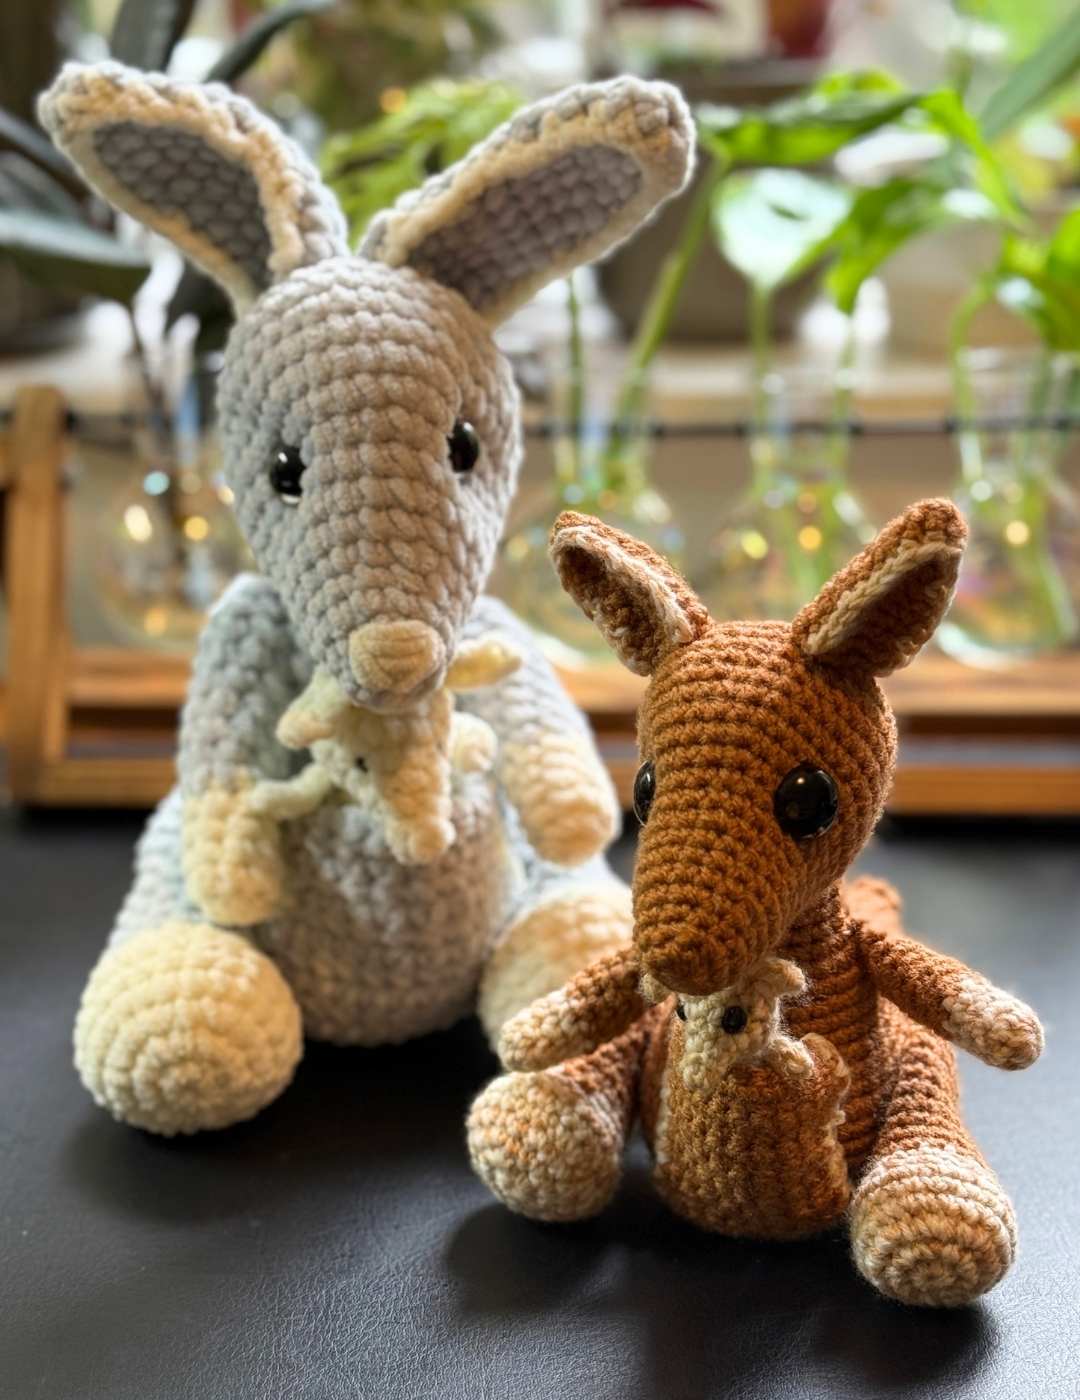
I took the wallaby pattern, made a few adjustments. And when I say a few adjustments, I actually changed the pattern quite a lot to get the look I wanted in a very different yarn fiber. But the basis is still the same! And am now delighted to announce the arrival of my brand new crochet Kangaroo Mom and Joey pattern.
What You’ll Need
- 100g brown DK yarn
- 50g cream/brown variegated yarn
- 3.5mm crochet hook
- 3mm crochet hook
- 2 x 8mm safety eyes
- 2 x 16mm safety eyes
- Toy safe stuffing
- Yarn needle
I used some acrylic yarn that I had in my stash for this pattern. You’ll find a lot of amigurumi patterns recommend a cotton blend for toys, but honestly a good quality acrylic works up just as nicely and has the benefit of often being an awful lot cheaper among other things.
Stitch Guide
This pattern uses predominantly standard amigurumi stitches, but I have thrown in some surface crocheting to add details to the pattern. This is a skill that can look intimidating to newer crocheters, but I promise it’s not as hard as it sounds. You make the stitches you already know, just into the edge or top of your work instead of into the next stitch.
Here are the terms I’ll use, and links to details on how to do the techniques:
- Magic circle
- sc – single crochet
- 2sc – make two single crochets into the same stitch
- sc2tog – use a single crochet to join two stitches together
- slst – slip stitch
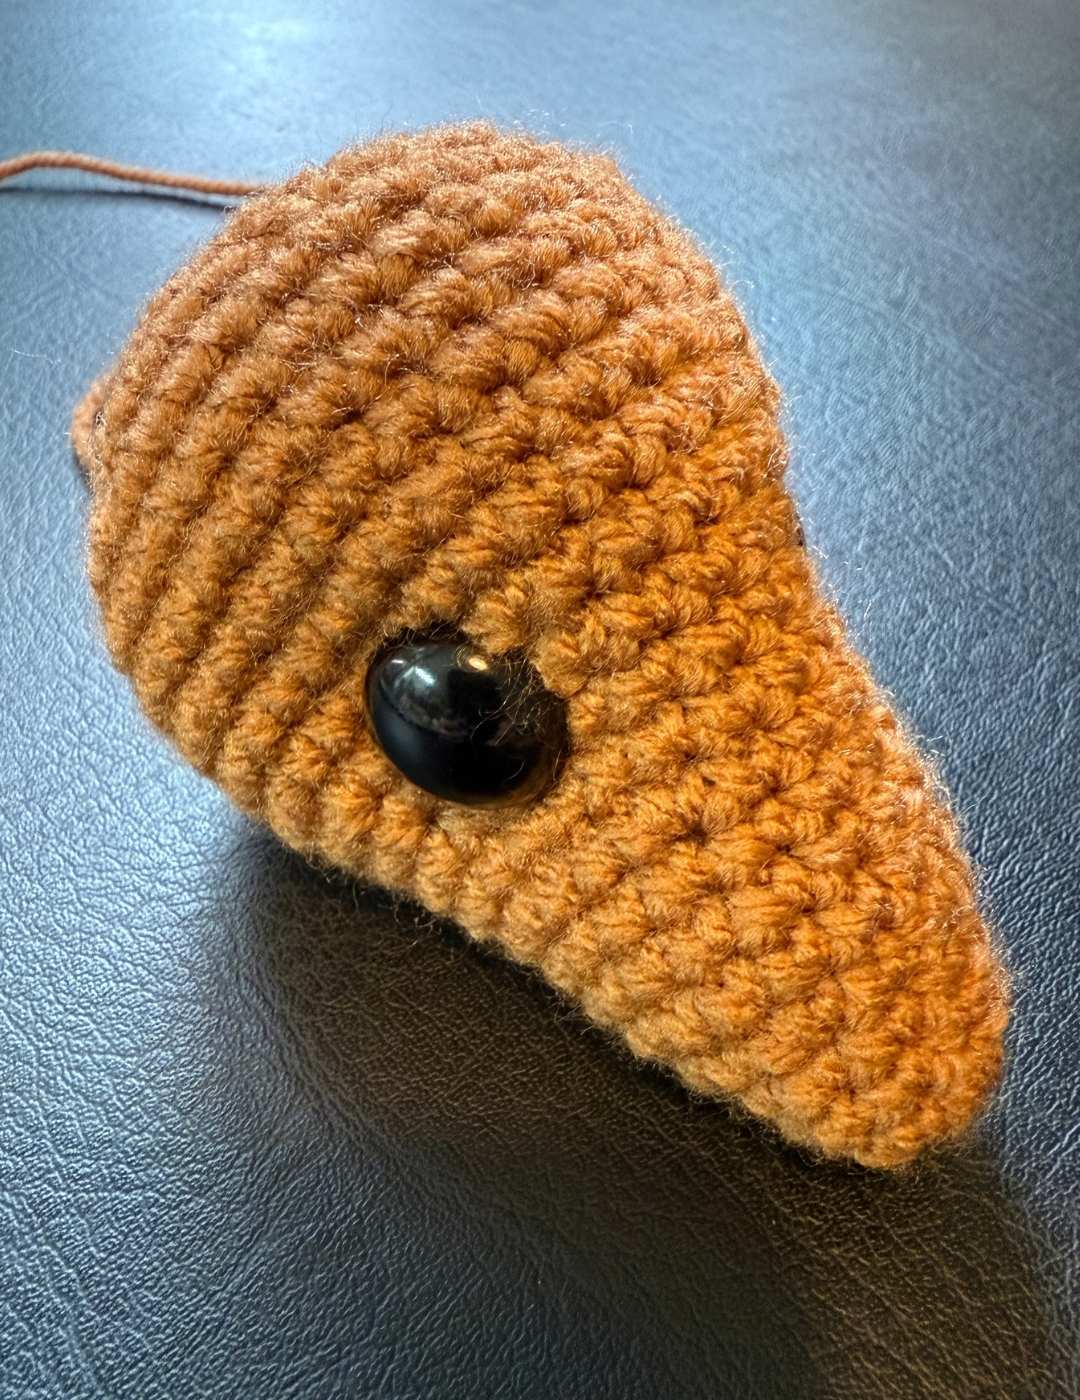
Crocheting the Head
You’re going to work this section in your brown yarn, with the 3.5mm crochet hook.
Round 1
Make a magic circle of six stitches (6)
Round 2
2sc x 6 (12)
Round 3 – 4
1sc x 12 (12)
Round 5
(1sc, 2sc) x 6 (18)
Round 6 – 8
1sc x 18 (18)
Round 9
(1sc x 2, 2sc) x 6 (24)
Round 10 -11
1sc x 24 (24)
Round 12
(1sc x 3, 2sc) x 6 (30)
Round 13
(1sc x 4, 2sc) x 6 (36)
Round 14 – 19
1sc x 36 (36)
Round 20
(1sc x 4, sc2tog) x 6 (30)
Round 21
(1sc x 3, sc2tog) x 6 (24)
Round 22
(1sc x 2, sc2tog) x 6 (18)
Insert the 16mm safety eyes at around round 12, with about 10 stitches between them. Use a string of yarn to tie the backs together, to set them further into the face.
Round 23
(1sc, sc2tog) x 6 (12)
Stuff the head, being careful to ensure filling also goes into the muzzle section.
Round 24
sc2tog x 6, then hand sew to close.
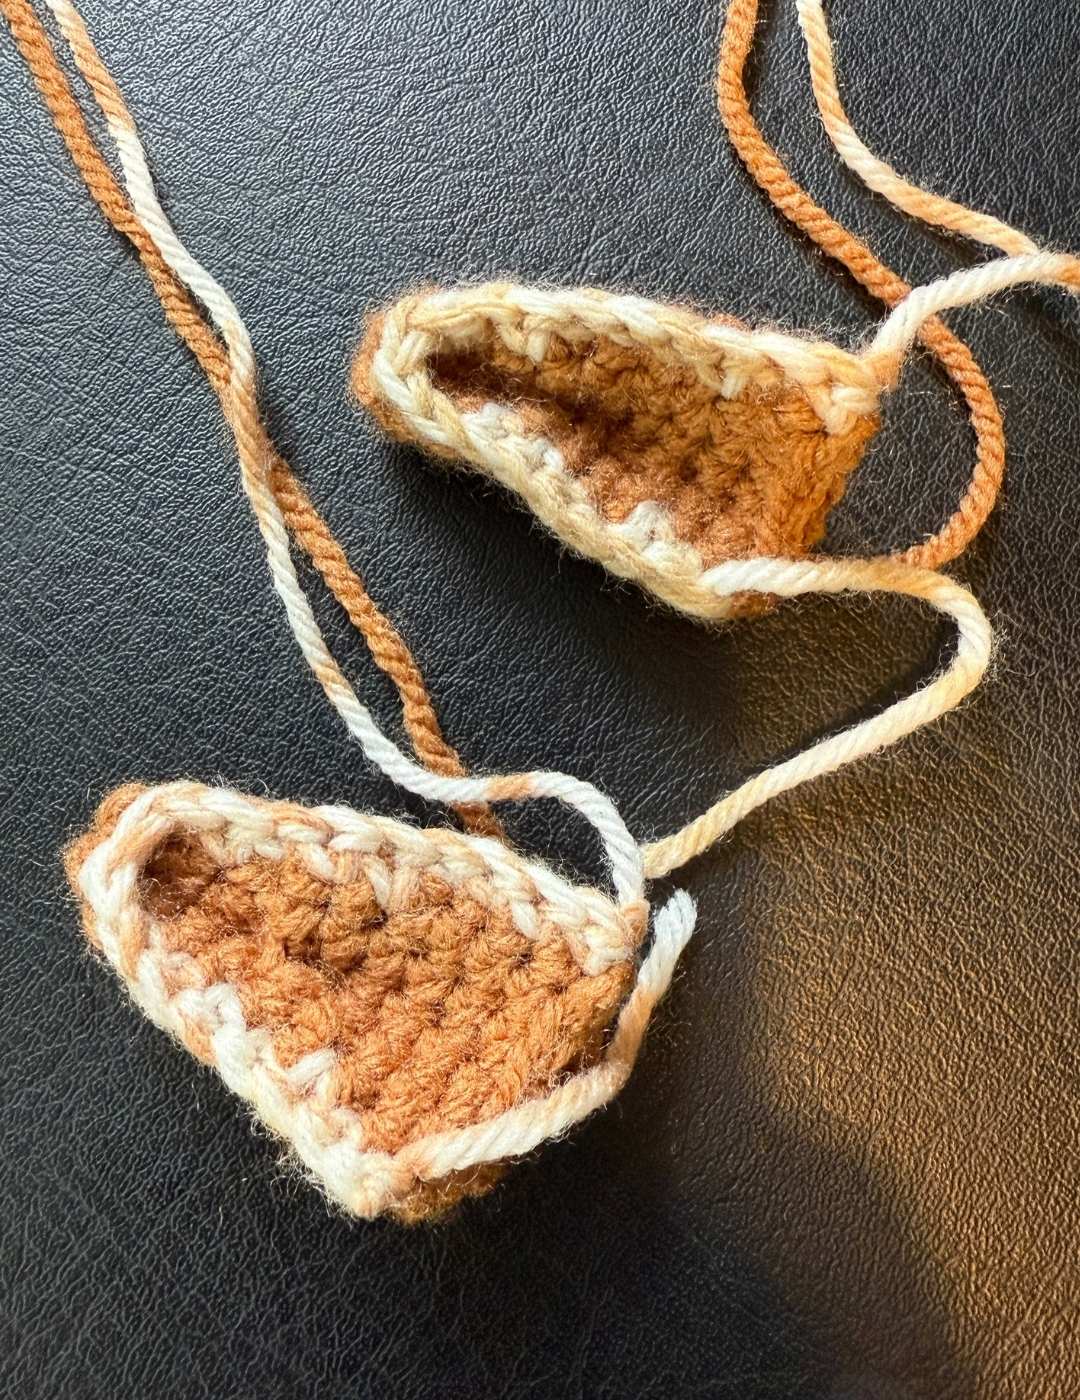
The Ears
For the ears you’ll need to make the bulk of them up in your brown yarn with the 3.5mm crochet hook, then you’ll surface crochet the edges in mixed yarn with your 3mm crochet hook.
Round 1
Make a magic circle of eight stitches.
Round 2 – 3
1sc x 8 (8)
Round 4
2sc x 4, 1sc x 4 (12)
Round 5 – 10
1sc x 12 (12)
Finishing the Ears
Cut a long tail of yarn, and attach a needle. Insert the tail into the ear, flatten it and sew the top half of the ear together to give a pointed appearance.
Now take the mixed yarn and surface crochet around the edge of the ear to define it.
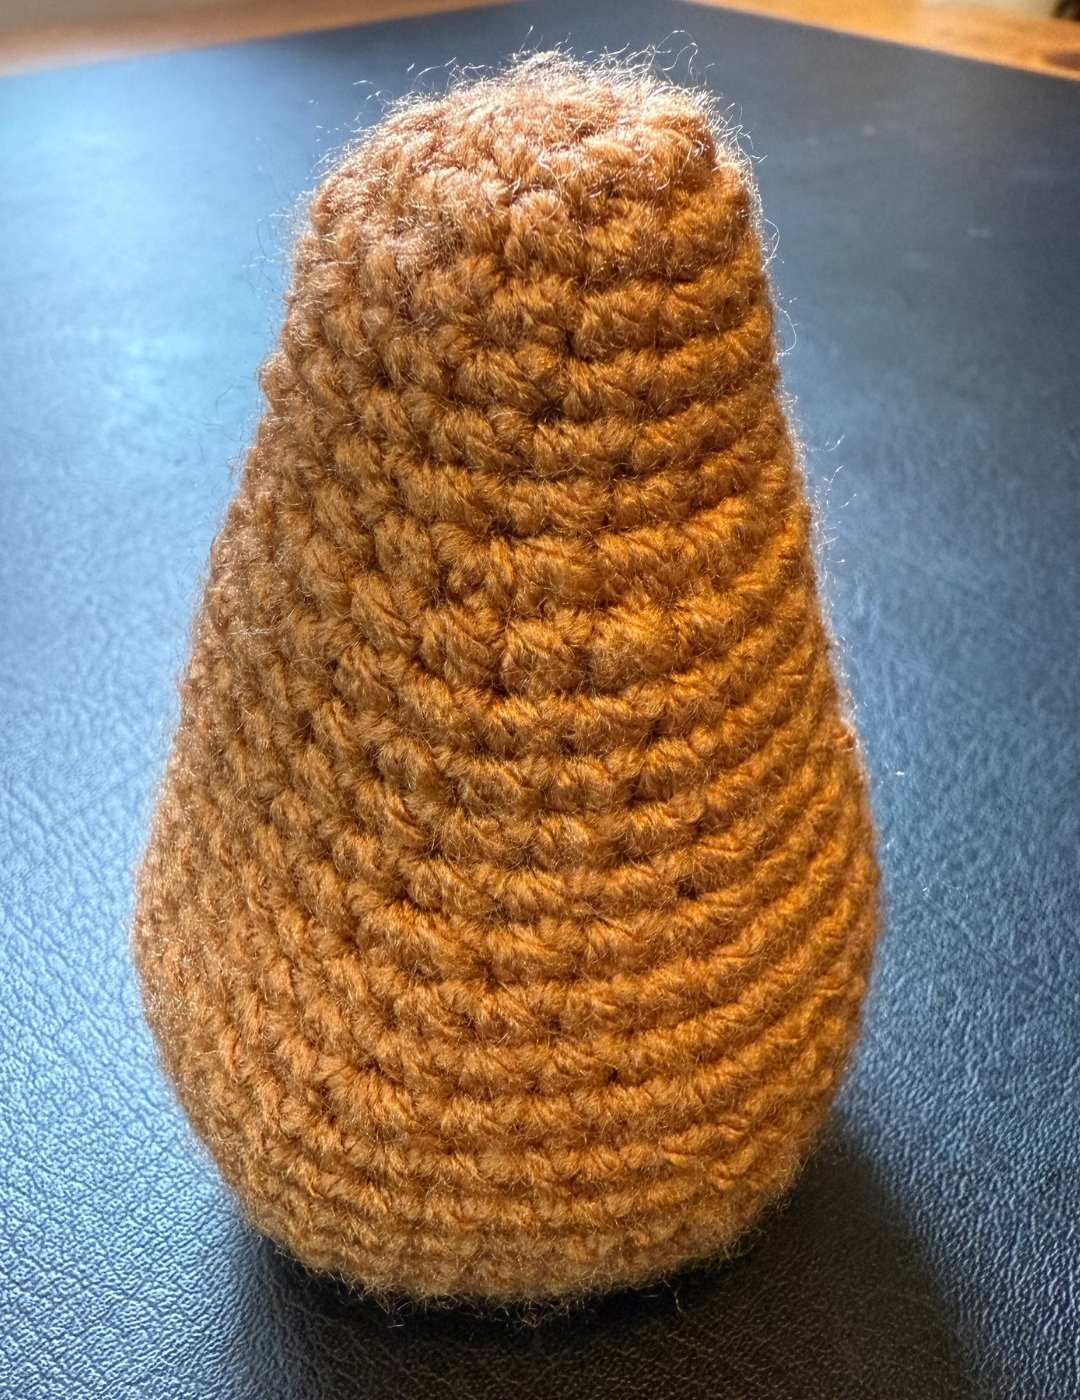
Making the Body
Your kangaroo’s body will be entirely with the 3.5mm crochet hook and your brown yarn.
Round 1
Make a magic circle of eight stitches (8)
Round 2
2sc x 8 (16)
Round 3 – 7
1sc x 16 (16)
Round 8
(1sc, 2sc) x 8 (24)
Round 9 – 13
1sc x 24 (24)
Round 14
(1sc x 2, 2sc) x 8 (32)
Round 15 -16
1sc x 32 (32)
Round 17
(1sc x 3, 2sc) x 8 (40)
Round 16 – 21
1sc x 40 (40)
Round 17
(1sc x 3, 2sc) x 8 (40)
Round 18 – 23
1sc x 40 (40)
Round 24
(1sc x 3, sc2tog) x 8 (32)
Round 23
(1sc x 2, sc2tog) x 8 (24)
Round 24
(1sc, sc2tog) x 8 (16)
Fill with toy safe stuffing.
Round 25
sc2tog to close
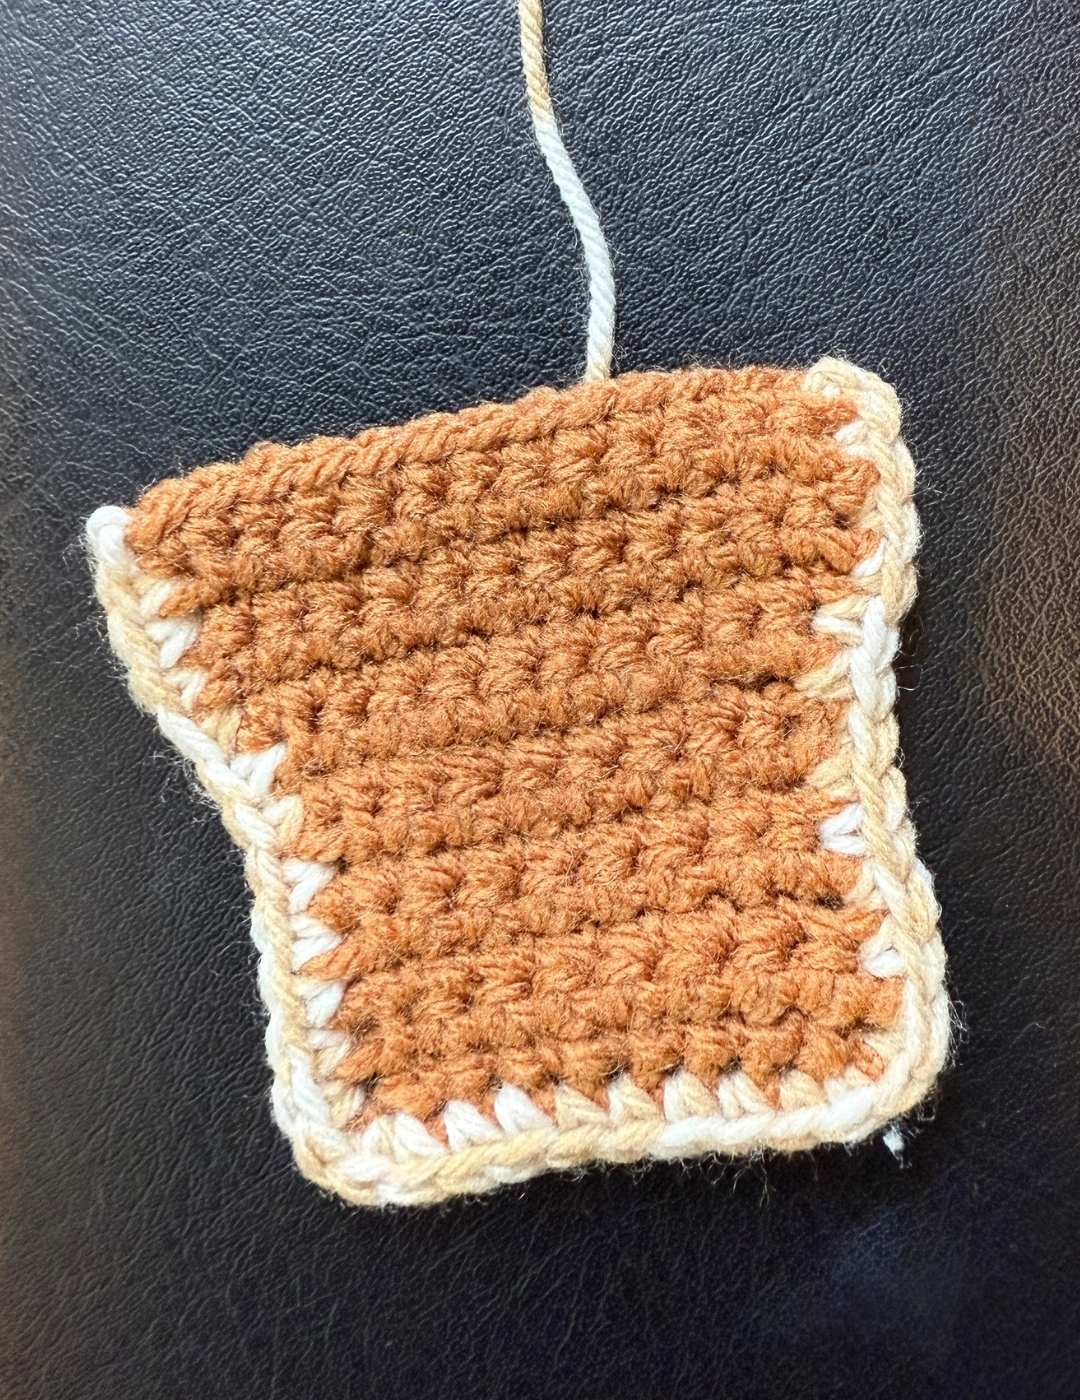
Crocheting the Pouch
To crochet your kanagaroo’s pouch use your brown yarn and 3.5mm crochet hook, you’ll only swap to your mixed yarn to edge three sides.
Row 1
Chain 9 + 1, then turn (10)
Row 2 – 7
Sk, 1sc x 9, ch2, turn
Row 8
1sc at the base of the chain, 1sc x 8, 2sc, ch2, then turn
Row 9
1sc at the base of the chain, 1sc x 9, 2sc, ch2, then turn
Row 10 – 14
1sc x 10, ch1, turn
Row 15
Sk, 1sc x 11.
At the end of the row, tie off the brown yarn. Swap to your mixed yarn, and make a single crochet around three of the four sides.
Kanagaroo Arms
Your arms will begin in the mixed yarn, you’ll then swap to brown yarn after a few rounds.
Round 1
Make a magic circle of eight stitches.
Round 2 – 5
1sc x 8 (8)
cc brown
Round 6 – 13
1sc x 8 (8)
Loosely stuff the yarn, using the handle of yur hook to push it down the whole way.
Round 14
Flatten the arm then use single crochets to join across the arm. Attach your yarn needle and close the circle by weaving in and out of the remaining stitches.
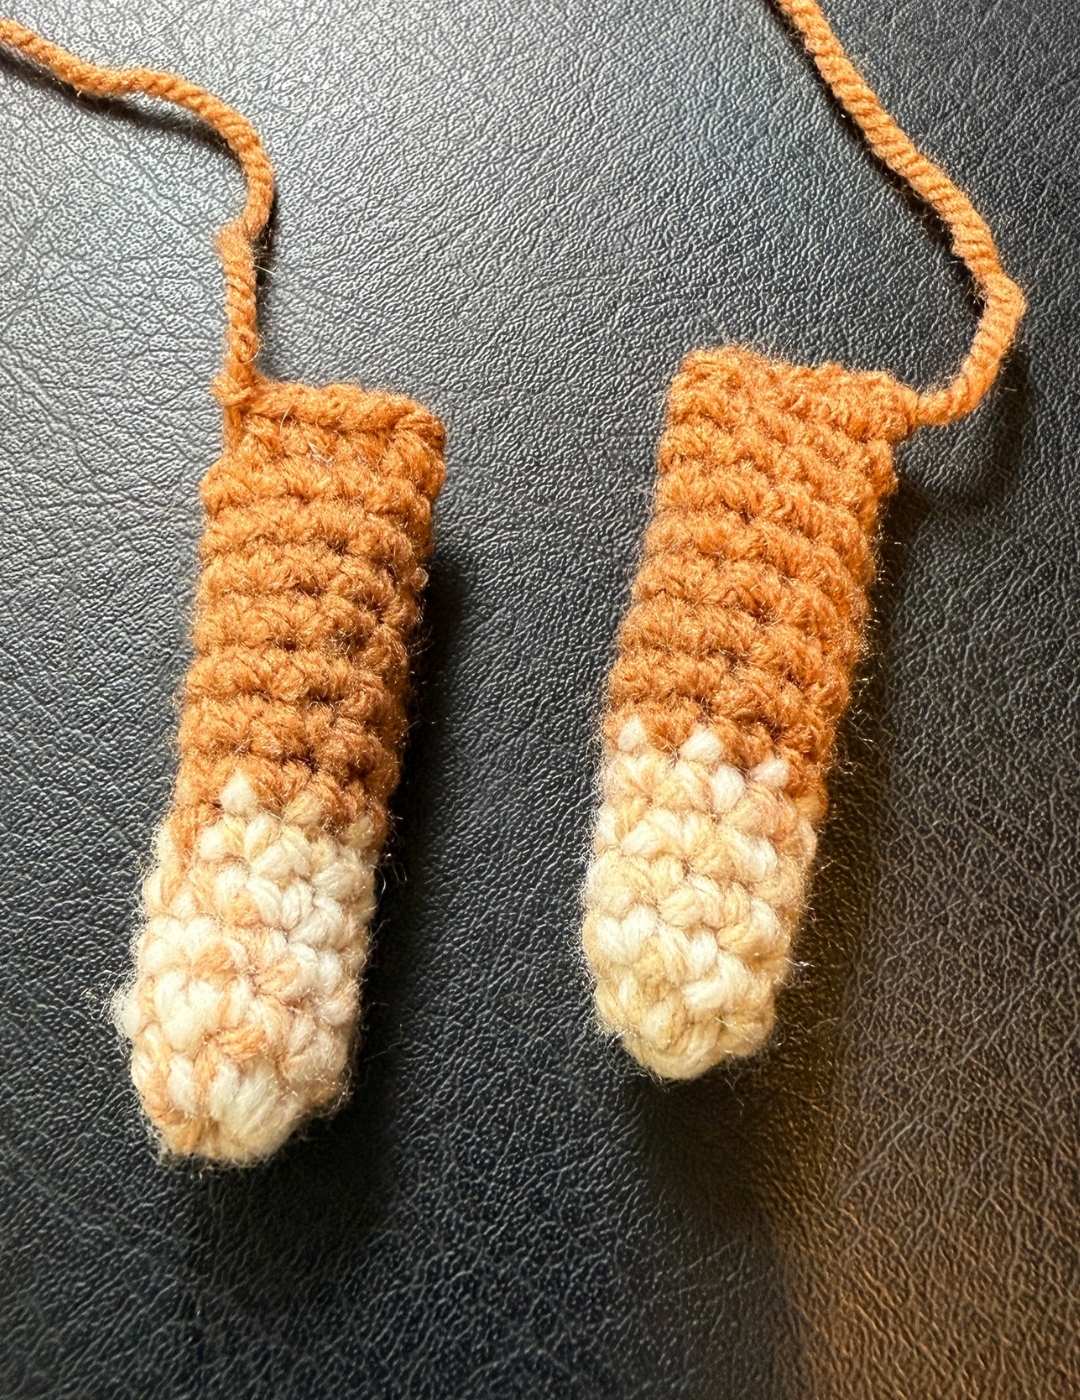
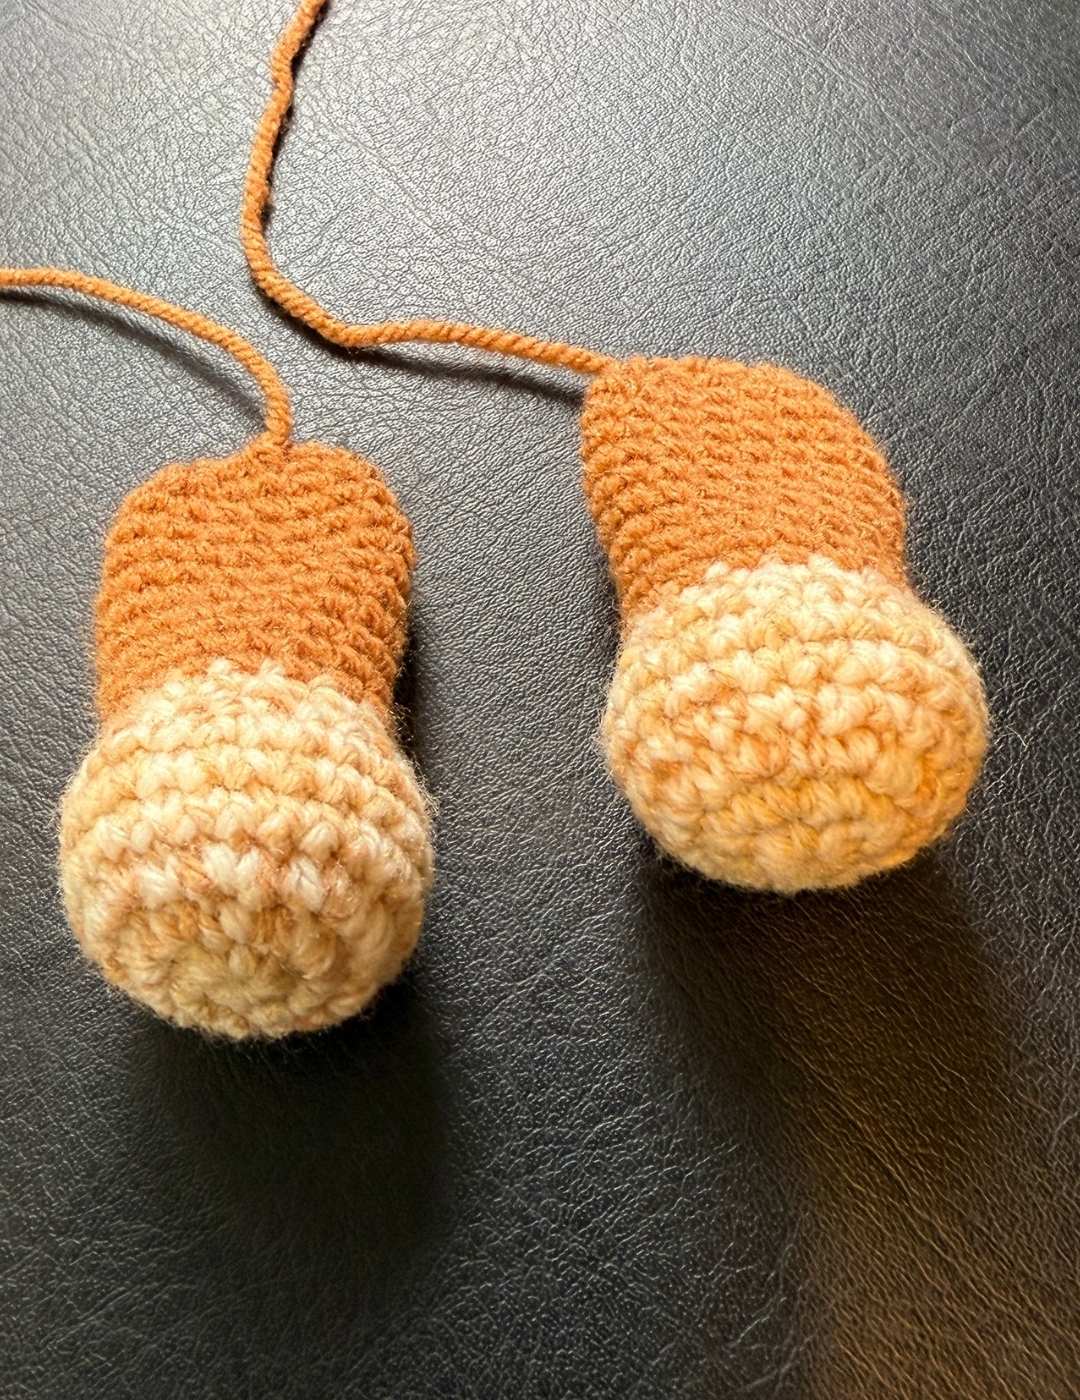
Crochet Legs
Your kangaroo’s legs will also start with the mixed yarn, then switch to brown yarn after a few rounds.
Round 1
Make a magic circle of eight stitches.
Round 2
2sc x 8 (16)
Round 3
(1sc, 2sc) x 8 (24)
Round 4 – 6
1sc x 24 (24)
Round 7
(1sc, sc2tog) x 8 (16)
Round 8
1sc x 16 (16)
cc brown
Round 9 – 18
1sc x 16 (16)
Stuff the foot section only, leave the rest empty.
Round 19
sc2tog x 8, then sew closed with your yarn needle.
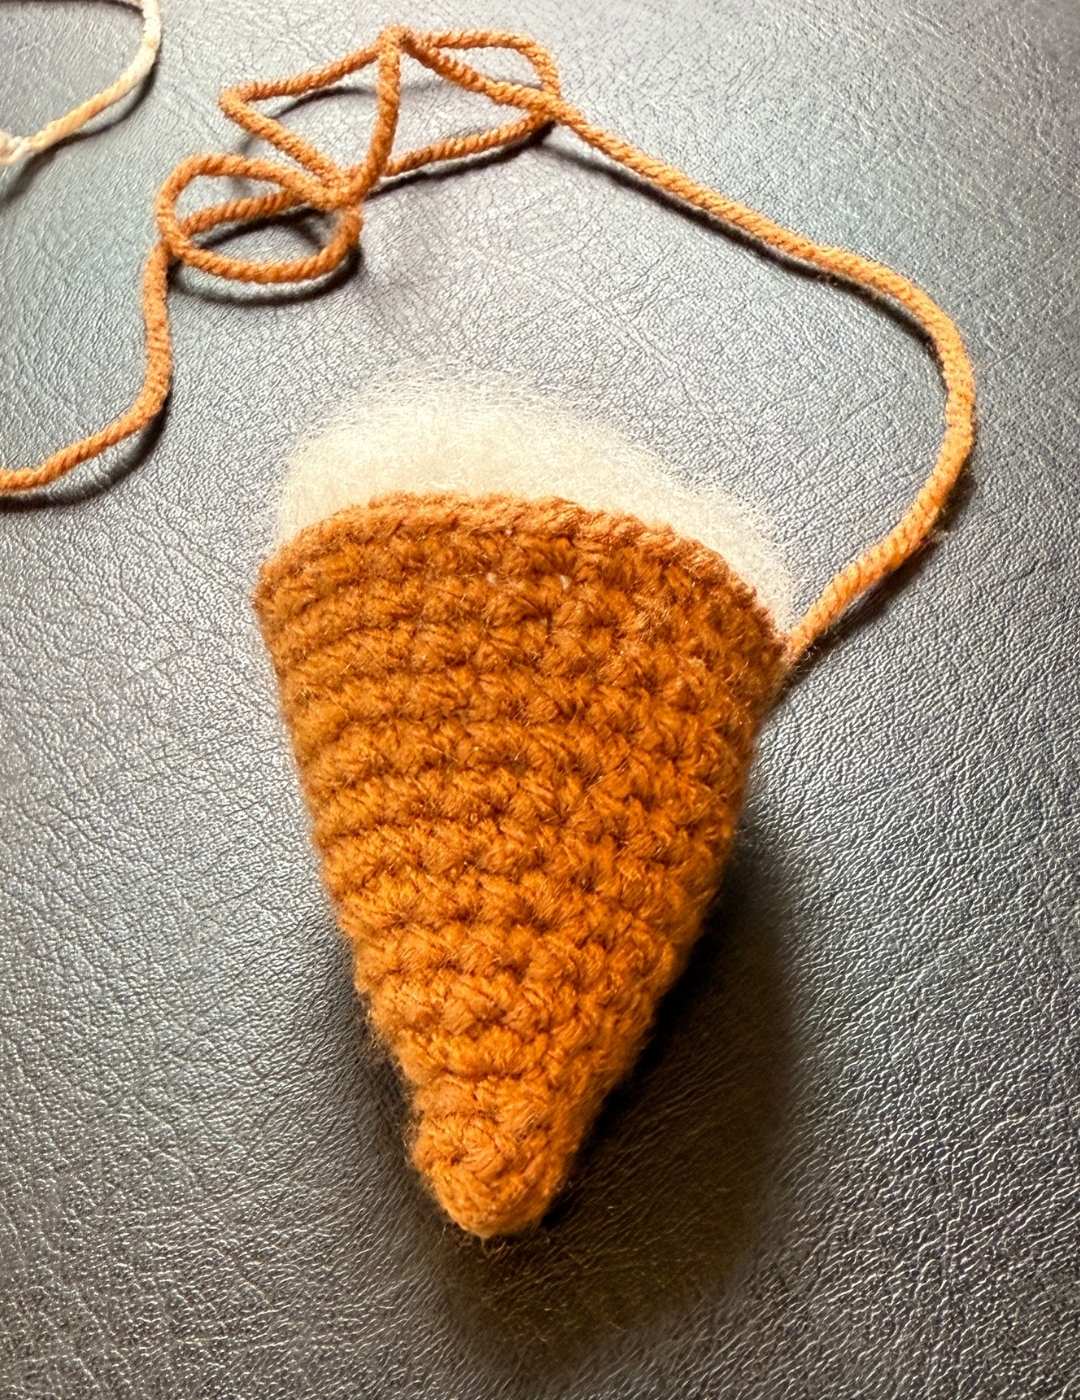
The Tail
You’re going to use your 5mm crochet hook and brown yarn to crochet your kangaroo’s tail.
Round 1
Make a magic circle of six stitches (6)
Round 2 – 3
1sc x 6 (6)
Round 4
2sc x 6 (12)
Round 5 – 6
1sc x 12 (12)
Round 7
(1sc, 2sc) x 6 (18)
Round 8 – 9
1sc x 18 (18)
Round 10
(1sc x 2, 2sc) x 6 (24)
Round 11 – 13
1sc x 24 (24)
Round 14
(1sc x 3, 2sc) x 6 (30)
Round 15
1sc x 30 (30)
Fill the tail with toy stuffing.
Sewing The Kangaroo Together
Place all the pieces in front of you, and sew in all but one loose end for each of the sections to give you a clear tail to work with for the sewing.
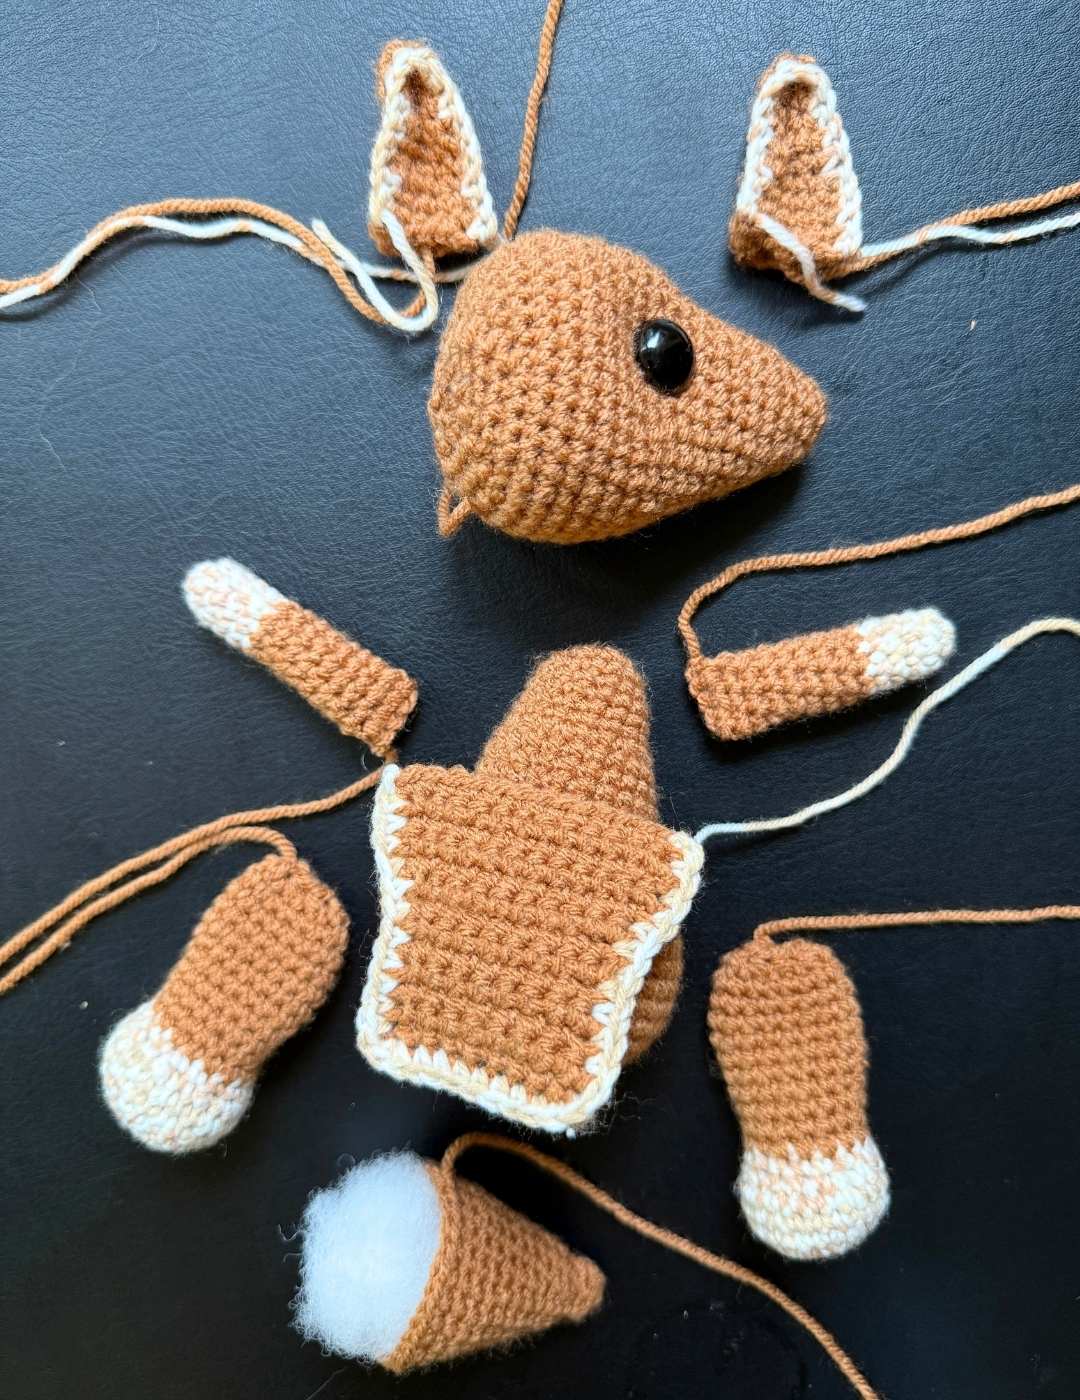
Begin by sewing the head onto her body. Line up the back of the head with the back of the body, and weave in and out in the brown yarn using your needle.

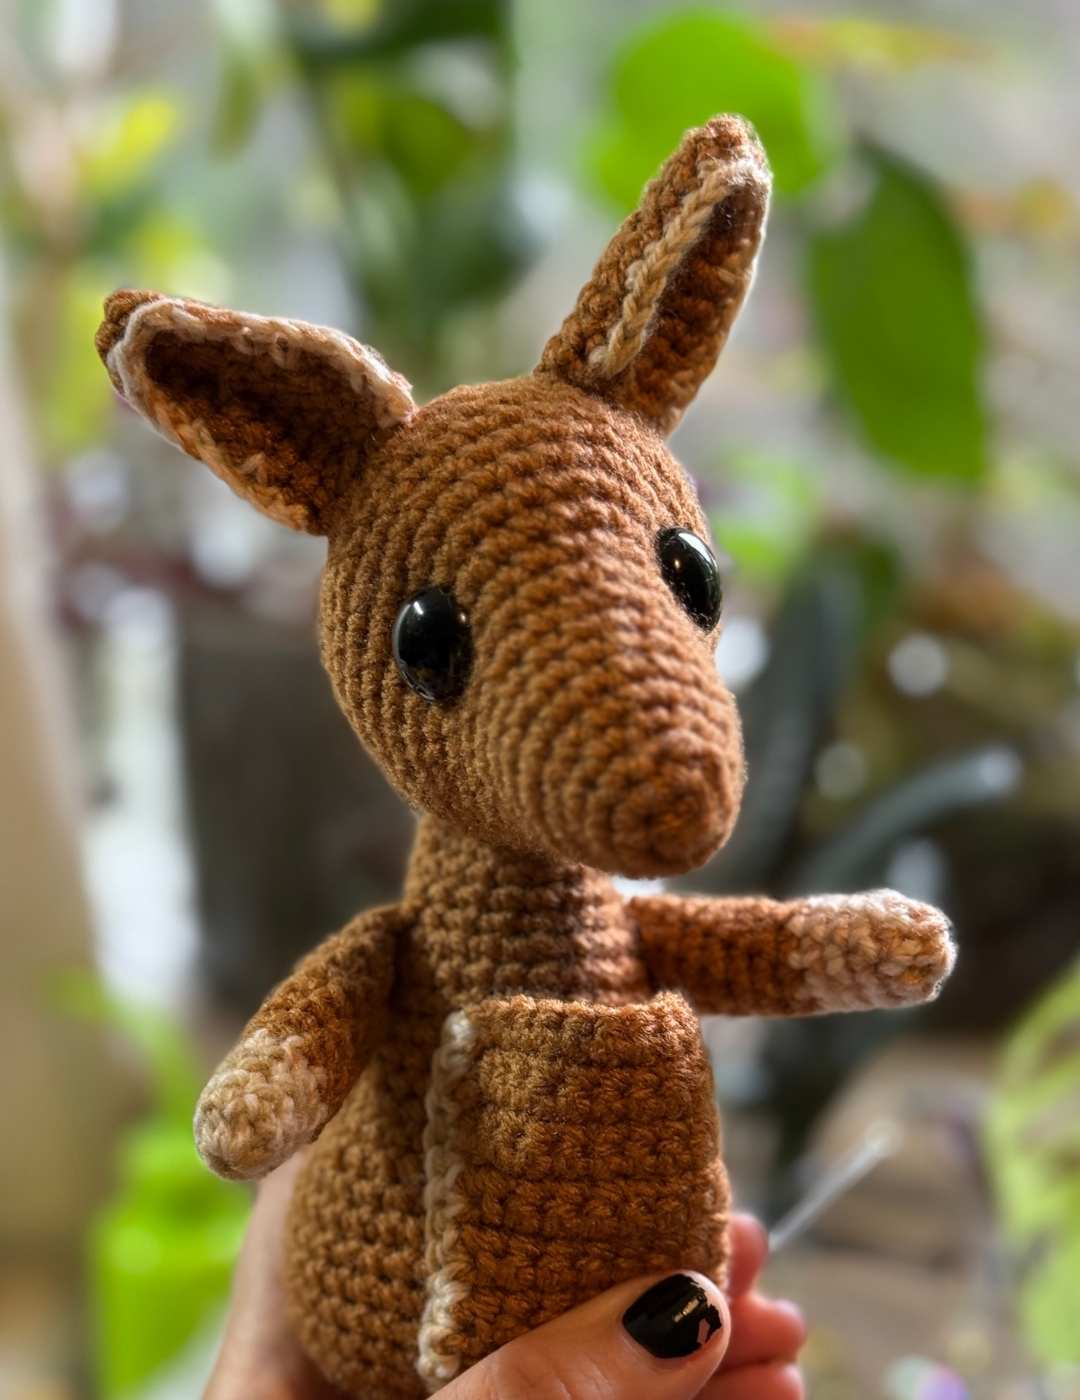
Now attach the ears onto the top of the head. I went back around six stitches from each eye, leaving around four stitches between the ears at the top of the head.
Attach the pouch next. Sit the body flat on a desk, and line the base of the pouch up with the surface. Sew the white edged sides onto the front of your wallaby to make her open pouch.
Sew an arm onto each side of your kangaroo, attaching around where the shoulders would be.
Sew a leg onto each side of your wallaby’s body, attaching around where the hips would be.
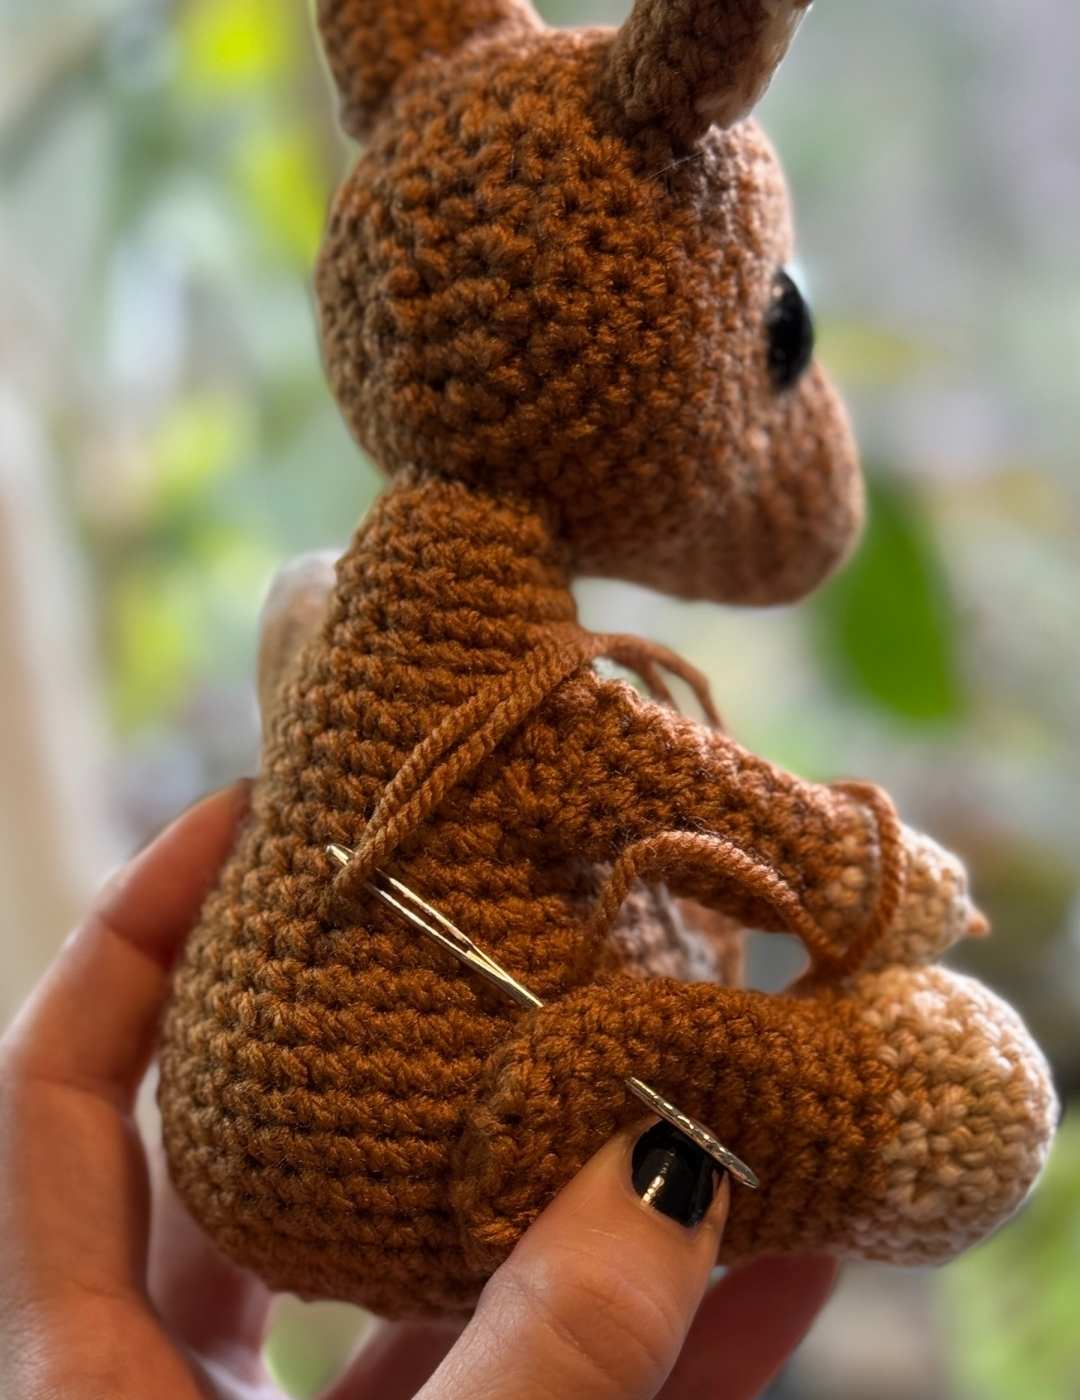
Finally sew the open end of the tail onto your kangaroo’s back, using your needle and the same colored yarn.

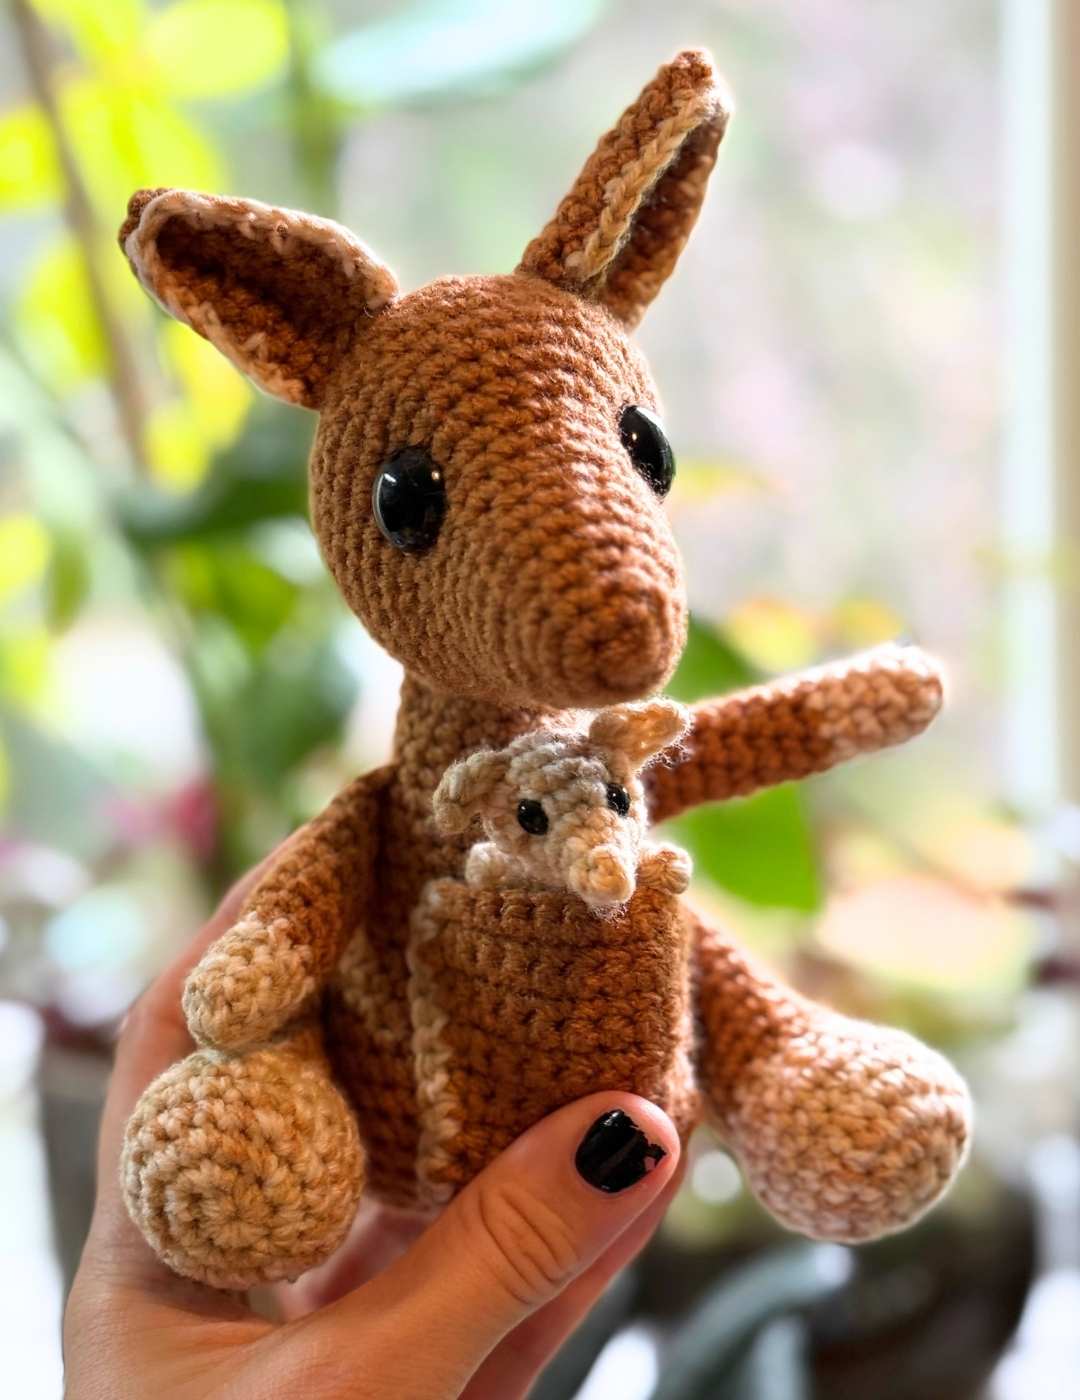
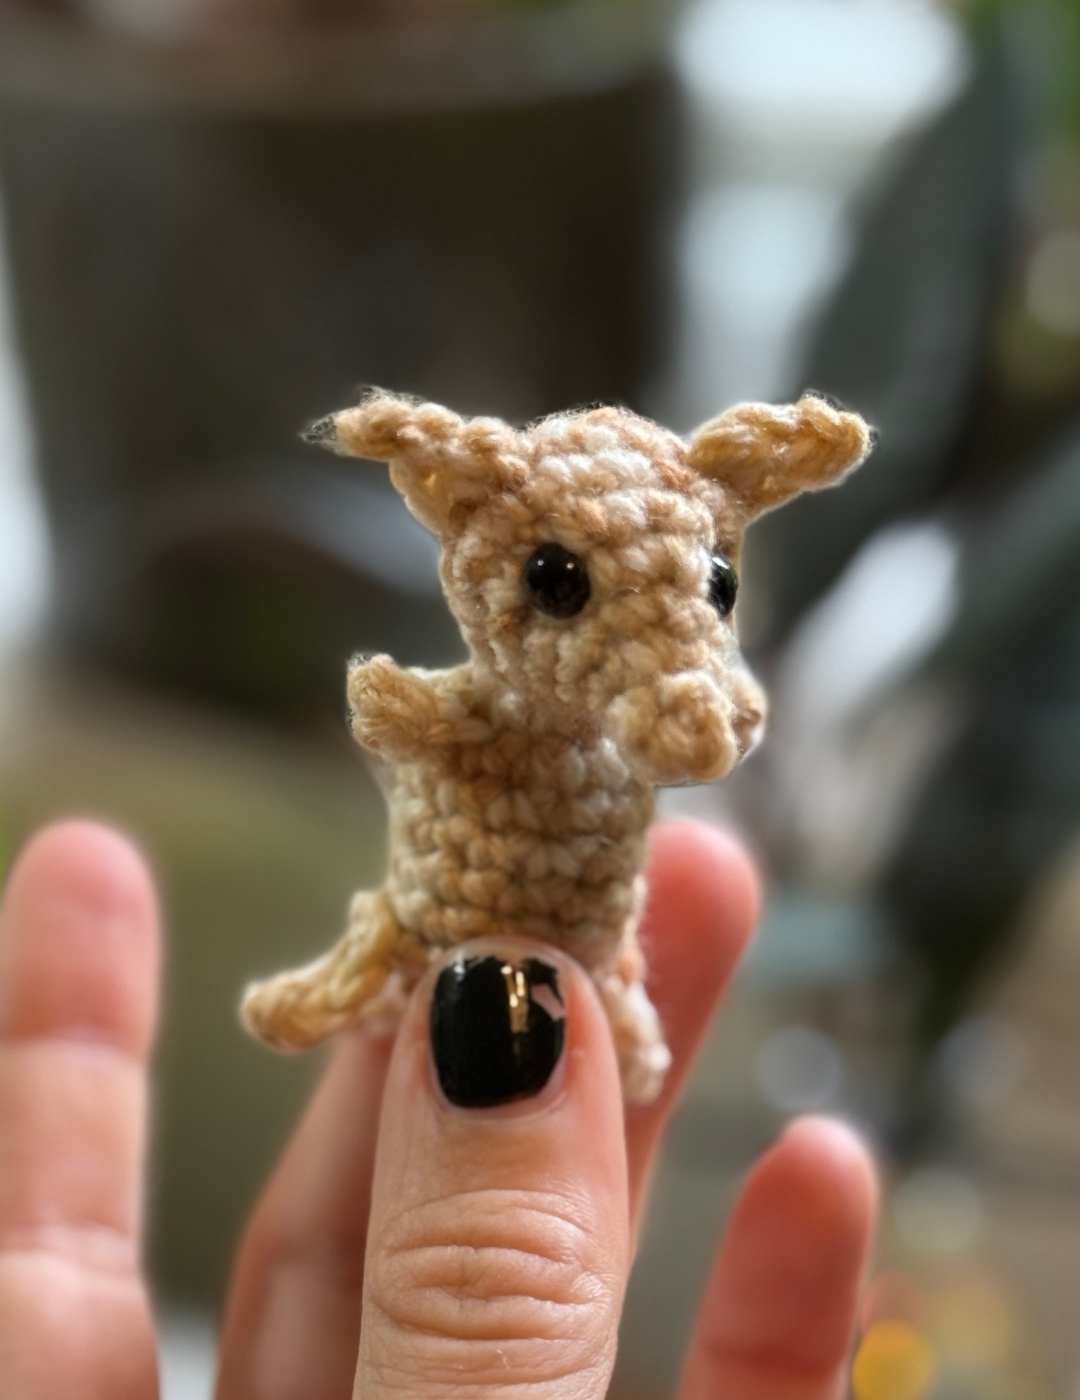
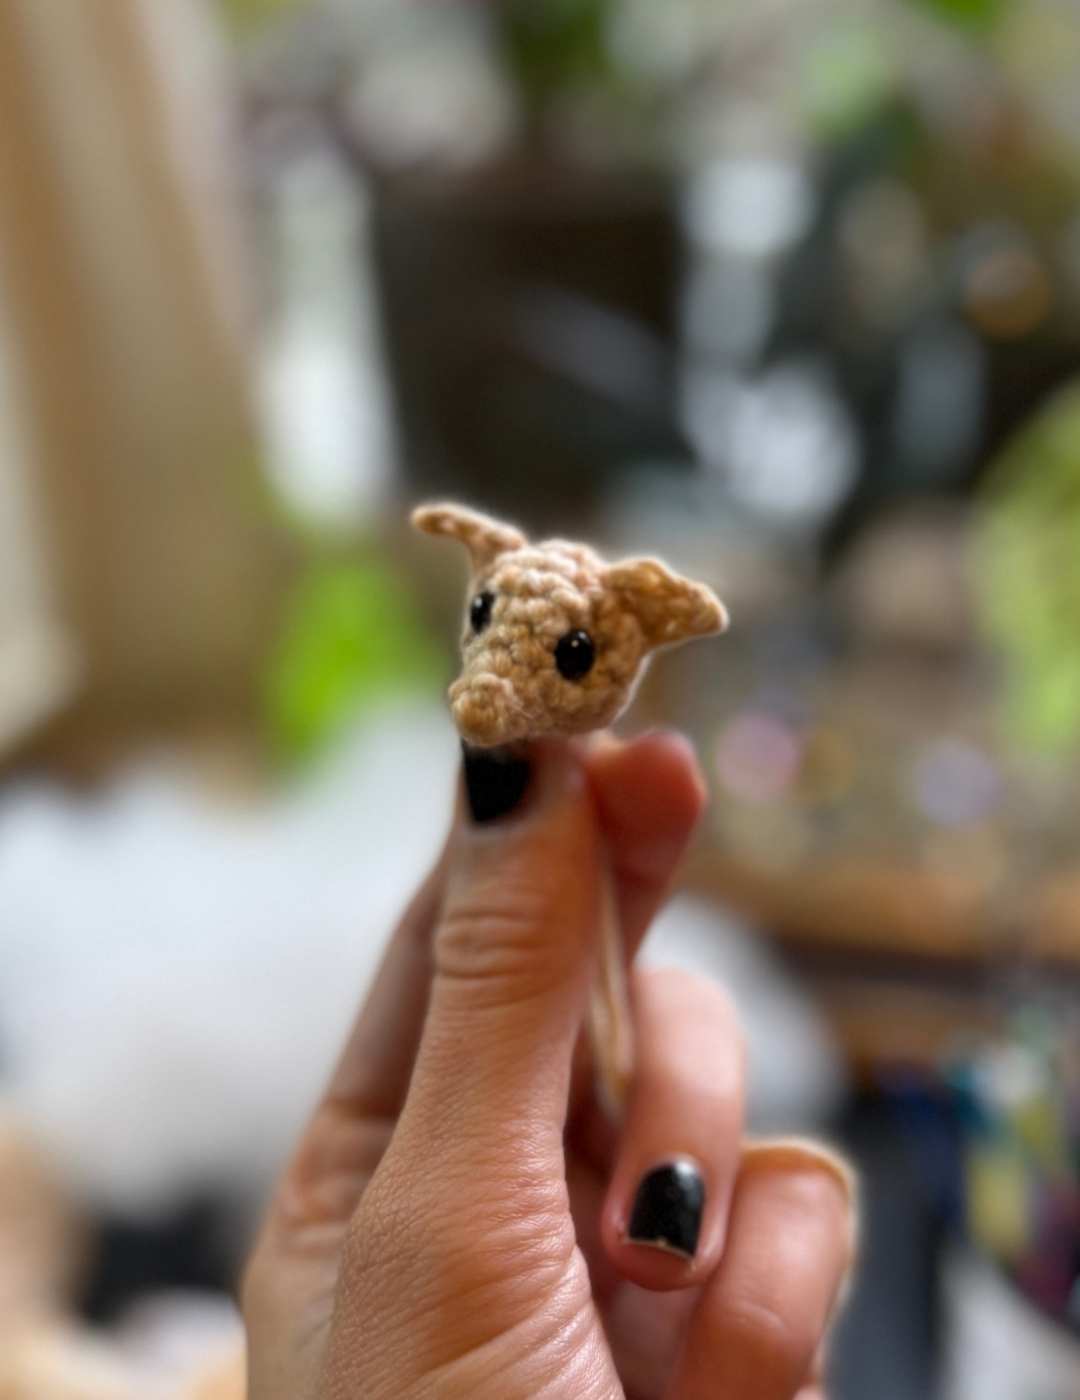
Amigurumi Joey Pattern
Your crochet joey will be entirely made in the mixed yarn with your 3mm crochet hook, and you’ll need some toy stuffing and tiny safety eyes ready.
Crocheting your Joey’s Head
Round 1
Make a magic circle of four stitches (4)
Round 2
1sc x 4 (4)
Round 3
2sc x 4 (8)
Round 4
1sc x 8 (8)
Round 5
(1sc, 2sc) x 4 (12)
Round 6
(1sc x 2, 2sc) x 4 (16)
Round 7 – 8
1sc x 16 (16)
Insert small safety eyes around round 5, leaving a gap of about four stitches between them.
Round 9
(1sc x 2, sc2tog) x 4 (12)
Round 10
(1sc, sc2tog) x 4 (8)
Fill the joey’s head with toy stuffing.
Round 11
sc2tog x 4, then using your yarn needle sew the circle closed. Tie off leaving a long strand of yarn.
Crochet Joey Ears
Chain four.
Skip the first stitch, slip stitch into the next stitch, single crochet, then double crochet.
Leaving a long tail of yarn, sew one ear onto each side of your joey’s head.
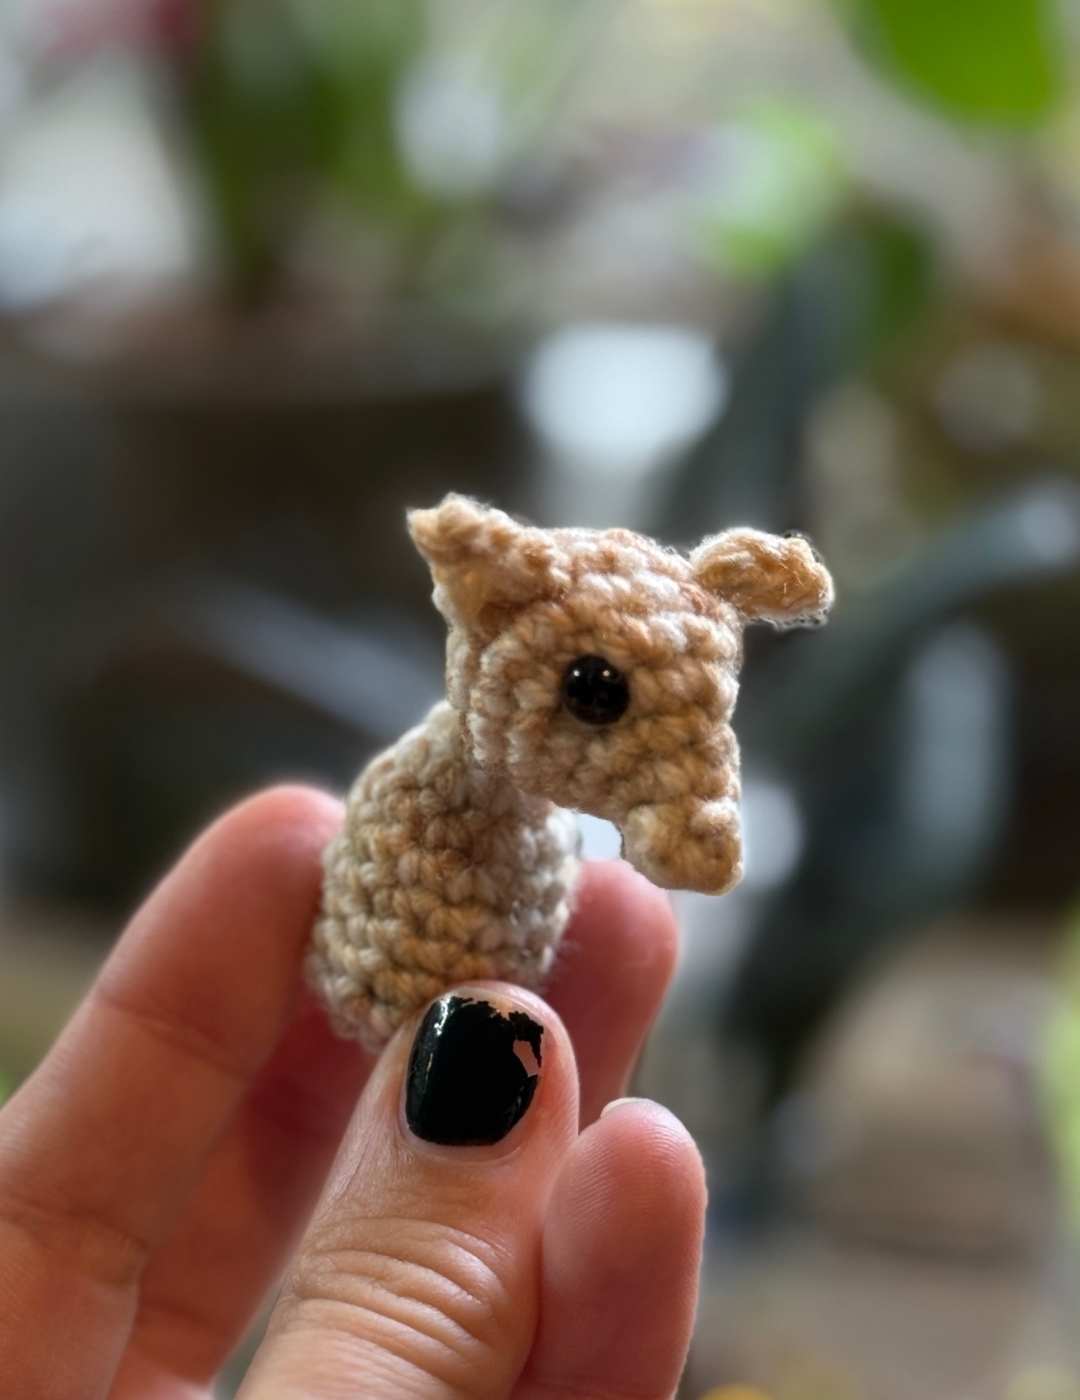
Joey’s Body
Working in your mixed yarn and 3mm crochet hook.
Round 1
Make a magic circle of six stitches.
Round 2
1sc x 6 (6)
Round 3
2sc x 6 (12)
Round 4 – 9
1sc x 12 (12)
Fill with toy stuffing.
Round 10
sc2tog x 6, then using your yarn needle sew the circle closed.
Hand sew your wallaby joey’s head onto the neck, which is the narrow end that began with a magic circle.
Crocheting the Arms and Legs
Your pattern for the arms and legs for your joey are identical.
Make a chain of five stitches. Skipping the first loop, make one single crochet into the remaining four.
Hand sew the tail end onto your joey’s body.
Making Your Tail
Chain six. Skip the first loop, then make 2 x slst, then 1sc x 3.
Hand sew onto the rear of your joey, making sure to secure it tightly as it will get compressed when you put him in and out of his mom’s pouch!
Happy Crocheting,
Lucy Kate, x
