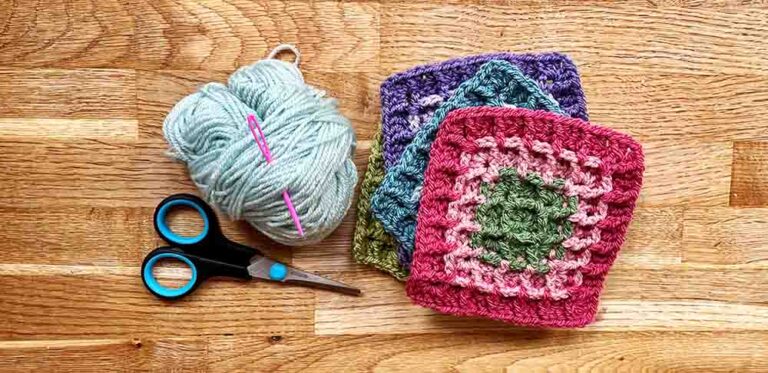
Why Is My Crochet So Messy?

I recently gave my 8 year old daughter a pep talk as she struggled to get to grips with a new skill, and it reminded me of all the times I’ve battled to make that leap from amateurish to actually-quite-good at something. I can still clearly recall a time when I used to wonder ‘why is my crochet so messy?’. And, as it was before craft resources started being readily available online, I had to fathom out the answer from my Mom’s hardly-touched 1979 edition of the Good Housekeeping Encyclopaedia of Needlecraft. Since then, experience and swapping notes with other people has taught me that there are 10 main factors that stop crochet looking as good as it could. So here they all are for you, in one easy online list!
Contents
Why is my crochet so messy?
I think there are essentially 10 reasons why crochet ends up looking scruffy. (Not a number I was aiming for, honestly, but pleasingly round nonetheless!). Most of them boil down to either a technical problem in your work, or being tired or distracted as you stitch. But I think the biggest cause is simply inexperience. Which is why the most important thing I want to say is: don’t give up! Crocheting smoothly and neatly, and intuiting the ways to resolve little challenges as they arise, is just a matter of practice and muscle memory. It’s such a satisfying, creative and meditative pastime, that it’s worth a few misshapen hats and frayed granny squares to get there!
10 reasons your work isn’t looking its best
So, here are my 10 reasons why crochet doesn’t turn out right, and how to fix them.
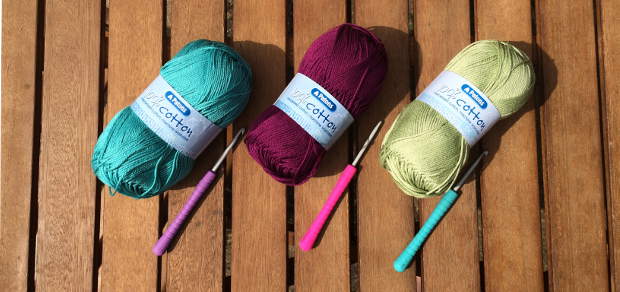
1. You’re not using the right size hook
Look, we all have a favorite hook that we’d use for everything if we could (special shout out to everyone who knows it’s the G hook!). But, using a hook which is too large for the yarn is inevitably going to produce uneven tension and wonky work. So always check the recommended hook size on the yarn wrapper, and resist the urge to deviate too far from it. If you find small hooks uncomfortable to hold, invest in one with a chunky soft-grip handle.
2. You’re new to this
Everybody’s efforts are a bit wobbly at the beginning, it’s a normal part of the learning curve. Whilst you’re still getting to grip with holding the yarn and maneuvering the hook, you’re likely to get fluctuations in tension and uneven results. But with a bit of practice, the hook and yarn start to feel more like an extension of your own hands. And then your creations naturally start to tidy themselves up. It’s just like your mom used to say: practice makes perfect!
3. You’ve miscounted your stitches
If the width of your scarf is oscillating as you progress, then it’s likely you’re adding a variable number of stitches to each row. Turning chains at the end of a row are one of those things that are hard to get your head around until you’ve seen them in action, and (probably) made a few mistakes along the way. It doesn’t help that some patterns count them as a stitch, whilst others don’t. Using a stitch marker can help you keep track of where your row starts and ends, and if in doubt, count!
4. Watch where you’re sticking your hook!
This sounds pretty obvious, but your work will start to look shabby if you regularly make your next stitch in the wrong place. For example if you:
- Only catch the back loop of a stitch on your hook.
- Only catch the front loop.
- Work into the post of the stitch instead of the loops.
- Split the yarn with your hook.
Bear in mind that the first three can also be the right thing to do, when the pattern instructs you to. But splitting the yarn usually happens with fibers that aren’t tightly spun, or if your hook has an unusually sharp point. And it’s alway a no-no.
5. Don’t rush
We all get sloppier and make more mistakes when we hurry. So avoid putting yourself in a situation where you’ll be tempted to do so. And if you know you’ve got to put your work down in 5 minutes, don’t start a long fiddly section with the time you’ve got left.
6. Concentrate!
I love to crochet whilst binging a new TV series as much as the next person. But if you’re not paying enough attention it can show in your finished piece. A few little mistakes don’t matter – in some traditions, craftspeople believe that every piece you create traps a part of your soul inside, and you need to leave a little flaw somewhere so it can escape again. In other traditions, handmade items with errors are regarded as more valuable than those without them, since the mistakes prove they weren’t mass produced. So a miscounted cluster of treble stitches or two isn’t anything to be ashamed of. But lots of slip-ups because you weren’t concentrating enough will mean your finished item doesn’t do justice to your ability.
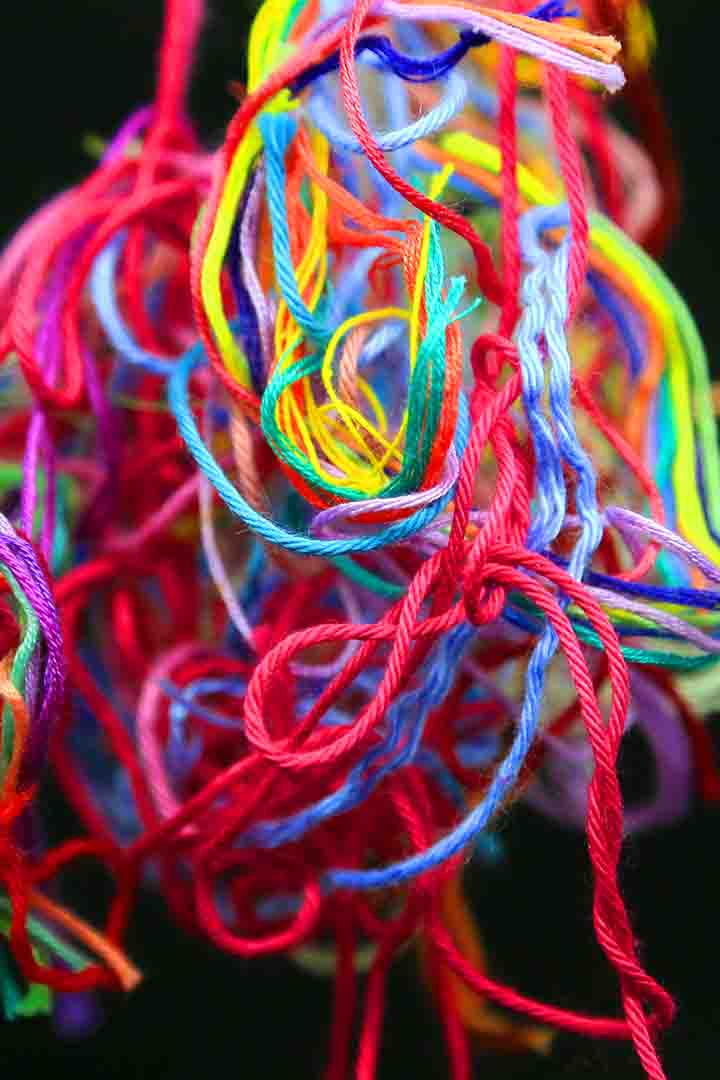
7. Weave in your ends – properly
Weaving in ends is like flossing your teeth or filling your tax return. It’s tedious, but it’s better to make the time and do it properly than deal with the consequences. Ends of yarn which wiggle their way free make an otherwise impeccable design look a bit scruffy. So weave ends in one direction, then double back as well to make sure those little blighters can’t break free. And your work will look impressive indefinitely.
8. Be judicious carrying colors
Colorwork is an eye-catching and joyful kind of crochet. Integrating two or more shades of wool is exciting as you watch the pattern emerge. And it’s also highly motivating to be able to count the little chunks of progress as you go. To avoid weaving in too many ends, one option is to carry each color of yarn inside the stitches of another color. But it’s important to accept the limitations of this. You can’t carry multiple strands of yarn inside one stitch without them starting to poke through. And dark yarns will almost always show through light yarns and spoil the overall finish. Sometimes, weaving in ends is just unavoidable!
9. Stop when you’re tired
Tiredness affects our ability to concentrate and perform tasks accurately. It also impairs our ability to carry out fine motor skills in an even, uniform way. Worst of all, it makes discovering these problems emotionally harder to deal with. I think every break down I’ve ever had over a piece of crochet has happened after 10pm. You know when you stop functioning at your best, so stop hooking then too.
10. Block your work
Once your ends are tucked in and your seams are sewn, if your creation still looks wonky then the final step is to block it out. If you don’t believe me just look at some before and after photos online, and prepare to be amazed how much messy crochet was never really messy at all. Blocking is the piece de resistance which takes projects from bumpy and distorted to perfect and professional. It’s like seeing a butterfly emerge from its cocoon – the grand finale of all your effort. It is the most satisfying moment. Don’t deny yourself!
To frog or not to frog messy crochet?
Deciding what to do with a project that didn’t turn out as well as you hoped is a tricky business. After all, it still represents hours of hard work. And in years to come, you might appreciate being able to hold your earliest attempts again, and give recognition to how much progress you’ve made since. On the other hand, yarn isn’t cheap. The materials you harvest from unraveling one hot mess could be exactly what you need to give life to a new idea. So, ultimately, this is a matter of personal choice. No one likes undoing something they have made, but if you can’t use it, and you haven’t got anywhere to store it, then frogging it is probably for the best. (Nope, not that kind of frog!) In these situations, I always try to remind myself that I like the process of crochet, and if I was happy doing it once, there’s no reason I shouldn’t enjoy doing it twice!
Why is my crochet so messy – summary
Wonky, uneven work with lots of mistakes usually results from one of a small handful of causes. I hope I’ve been able to help you identify which ones are causing you stress, and how to overcome them. Let us know if you have anything you’d add to this list in the comments box down below!
More troubleshooting guides
- Fixing tight crochet
- Stash-busting uses for yarn scraps
- Translating English crochet terms into American (and back again)