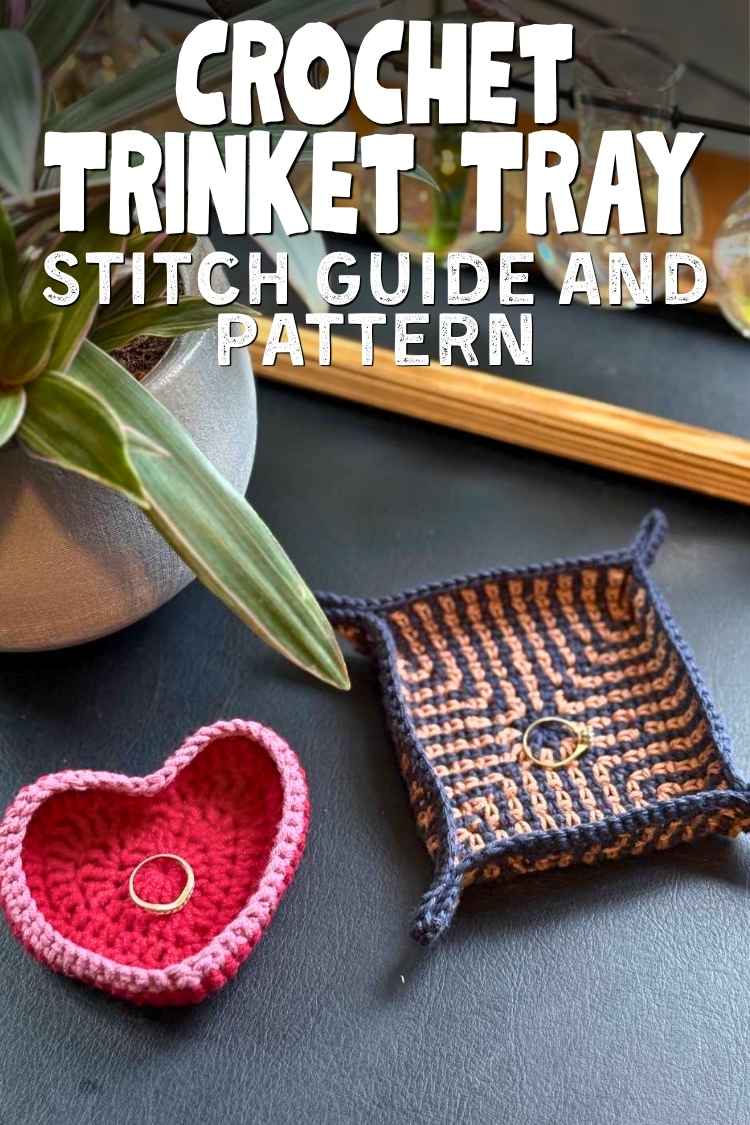
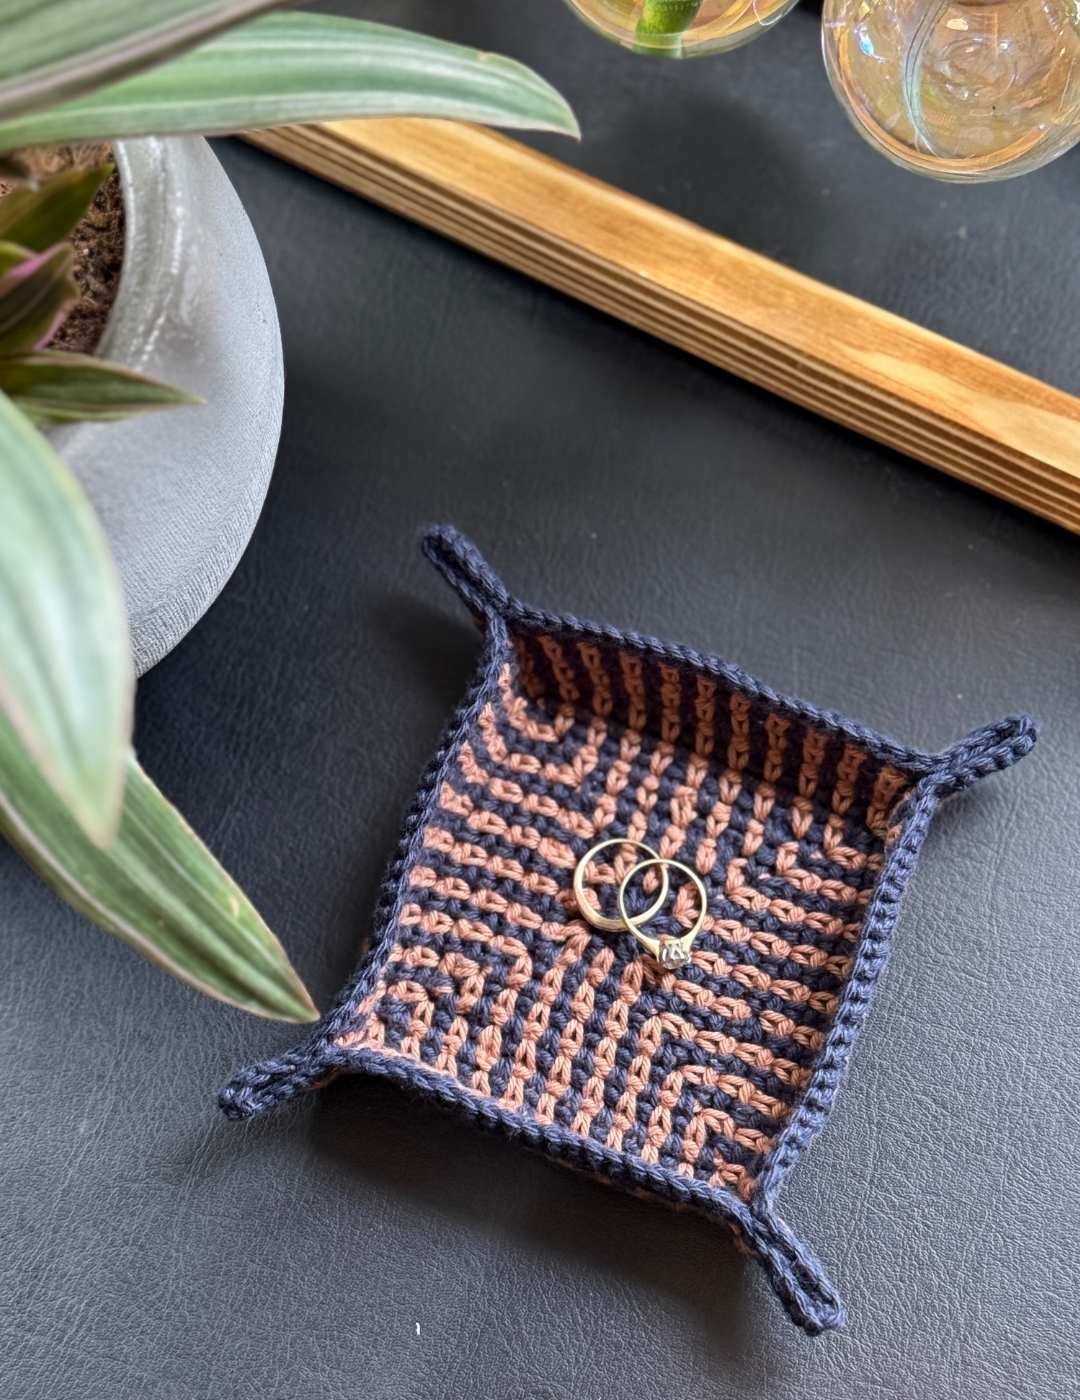
Crochet Trinket Tray
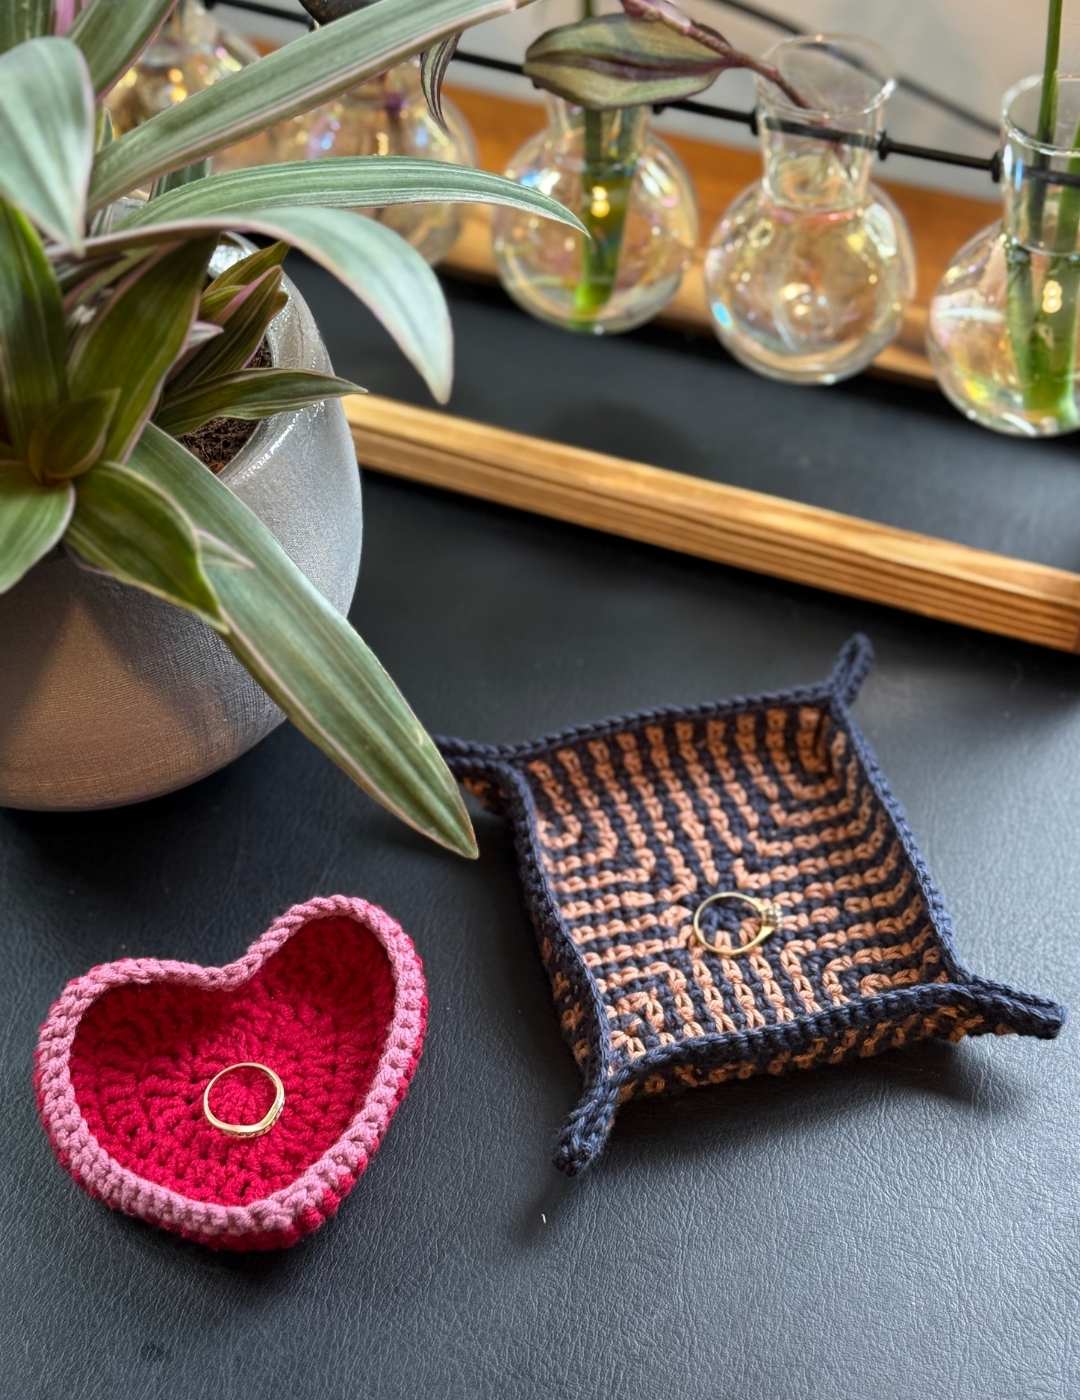
I have been making lots of crochet trinket dishes this week, in an effort to become more organised with the little items I usually leave littered and lost around my home. And so far, it’s working! I’ve made a heart shaped ring dish that I’m actually remembering to use, so the next plan was this more traditionally shaped crochet trinket tray. The intension behind this one is that I’ll use it to put in my stitch markers rather than filling my pockets with them!
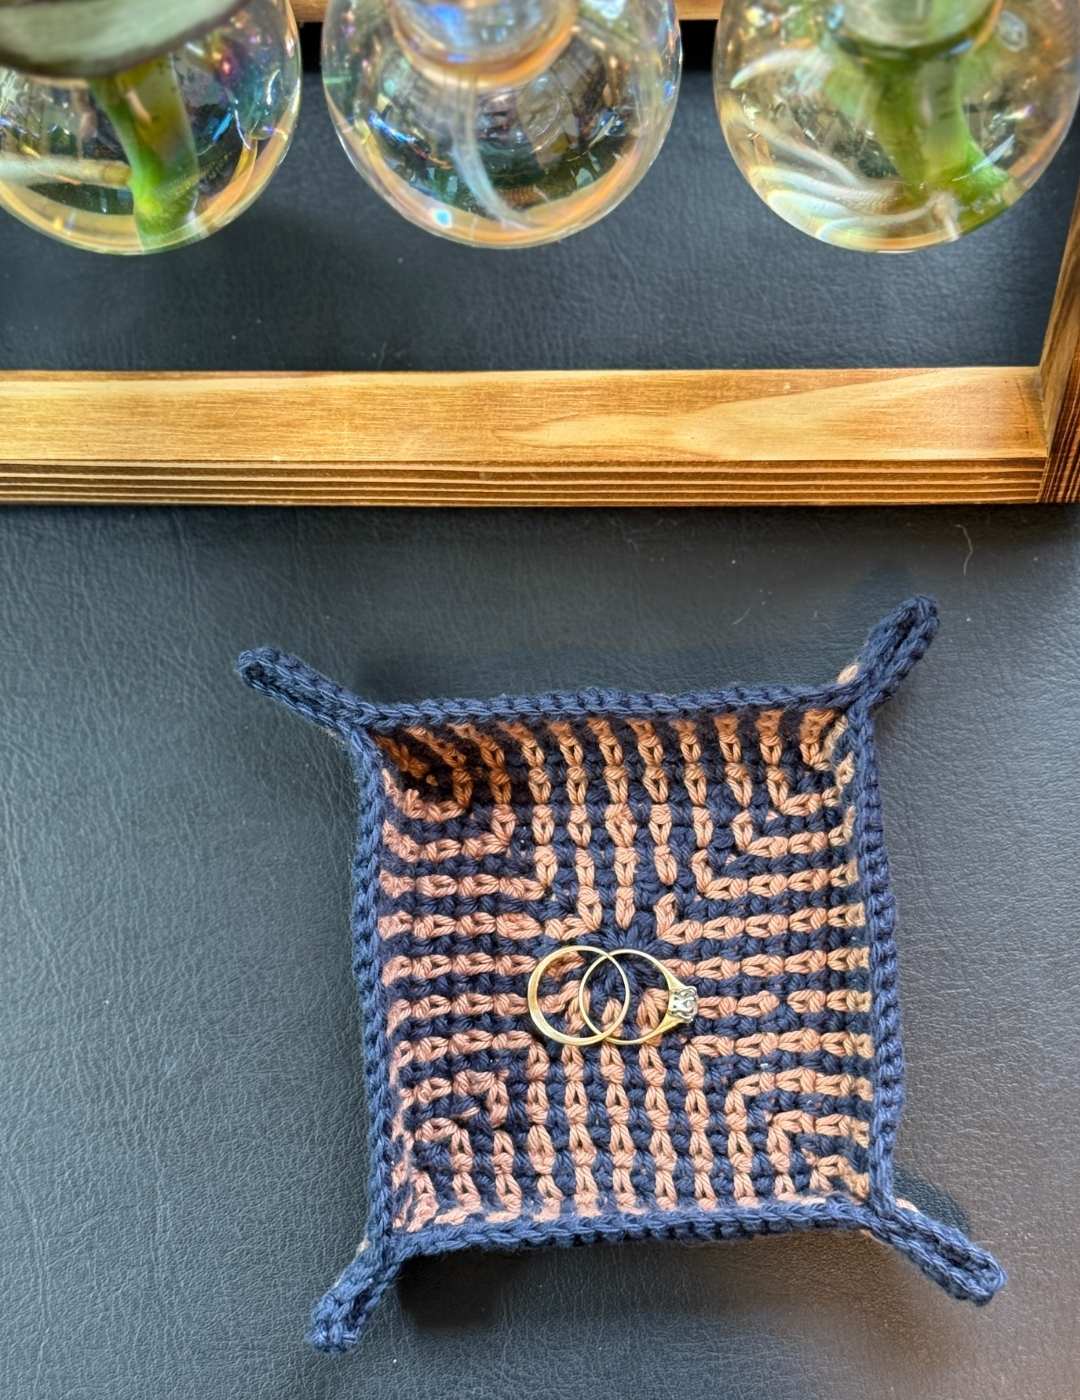
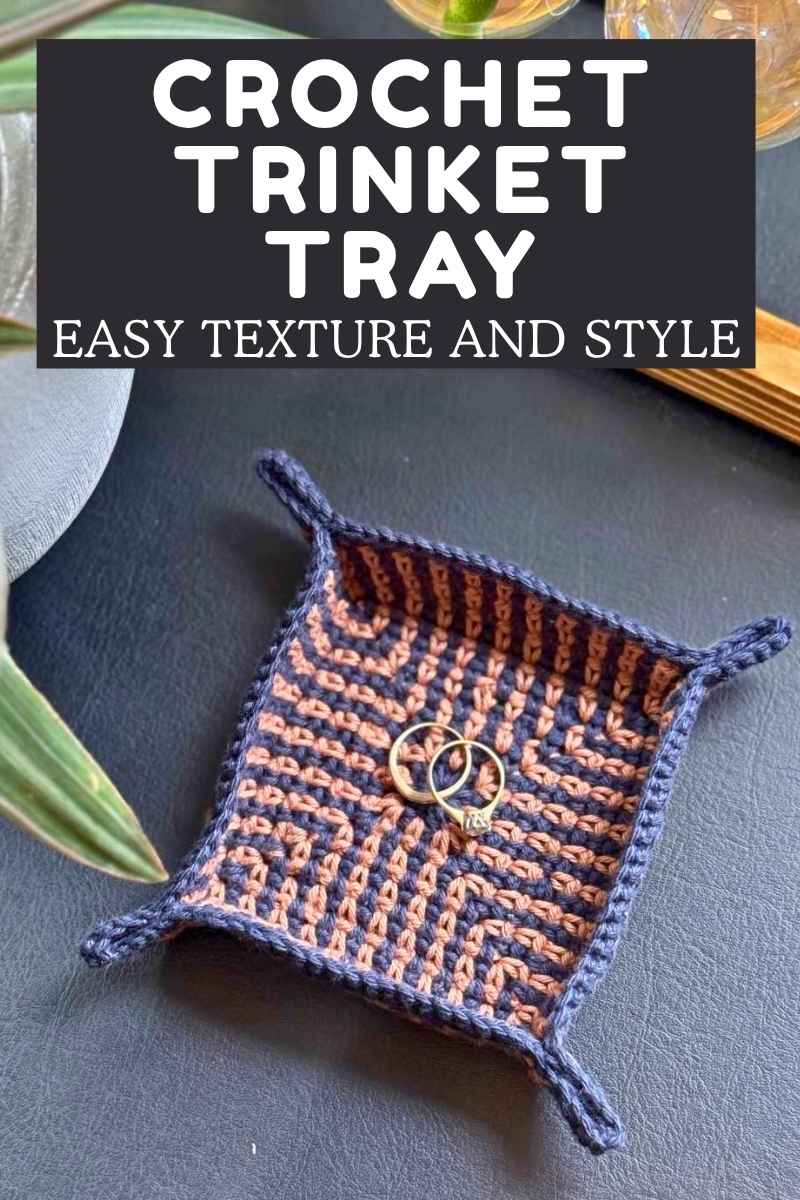
Funnily enough, this trinket tray had a few false starts before I settled on the pattern I’m sharing with you today. I wanted a dense stitch to form the tray, for it to still have a distinctive look but one that wasn’t too textured. The issue with textured stitches in a tray is that they have the risk of catching on your items when they are put in and out, and that it won’t sit as neatly on my desk.
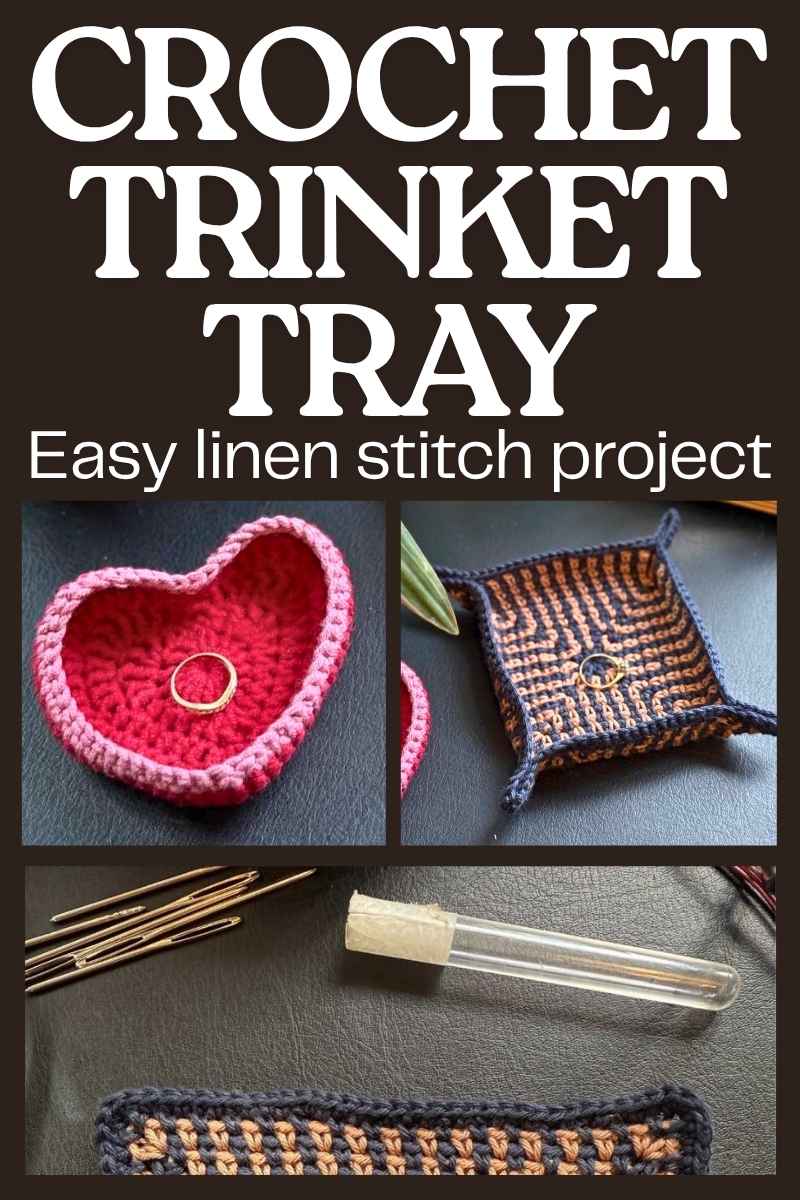
I tried a few different stitches, but none of them seemed to fit all those criteria. Happily, during one of our regular crochet clubs, my friend Sarah suggested I try linen stitches. These are dense and make the perfect lining for the tray, and I decided not to turn my work as you would usually with linen stitch to ensure that the base sat as flat as possible. The color changes have given the feeling of depth that this decision to reduce to texture could have taken away. And I’m so happy with how it’s turned out!

The Stitches
Linen stitches are less complicated than they look.
- Magic loop
- sc – single crochet
- ch – chain
- slst – slip stitch
- cc – color change
What I Used
- Lion Brand 24/7 brown DK cotton yarn
- Lion Brand 24/7 blue DK cotton yarn
- 4mm crochet hook
- Yarn needle
My Trinket Tray Pattern
Begin in your blue yarn, using your 4mm crochet hook
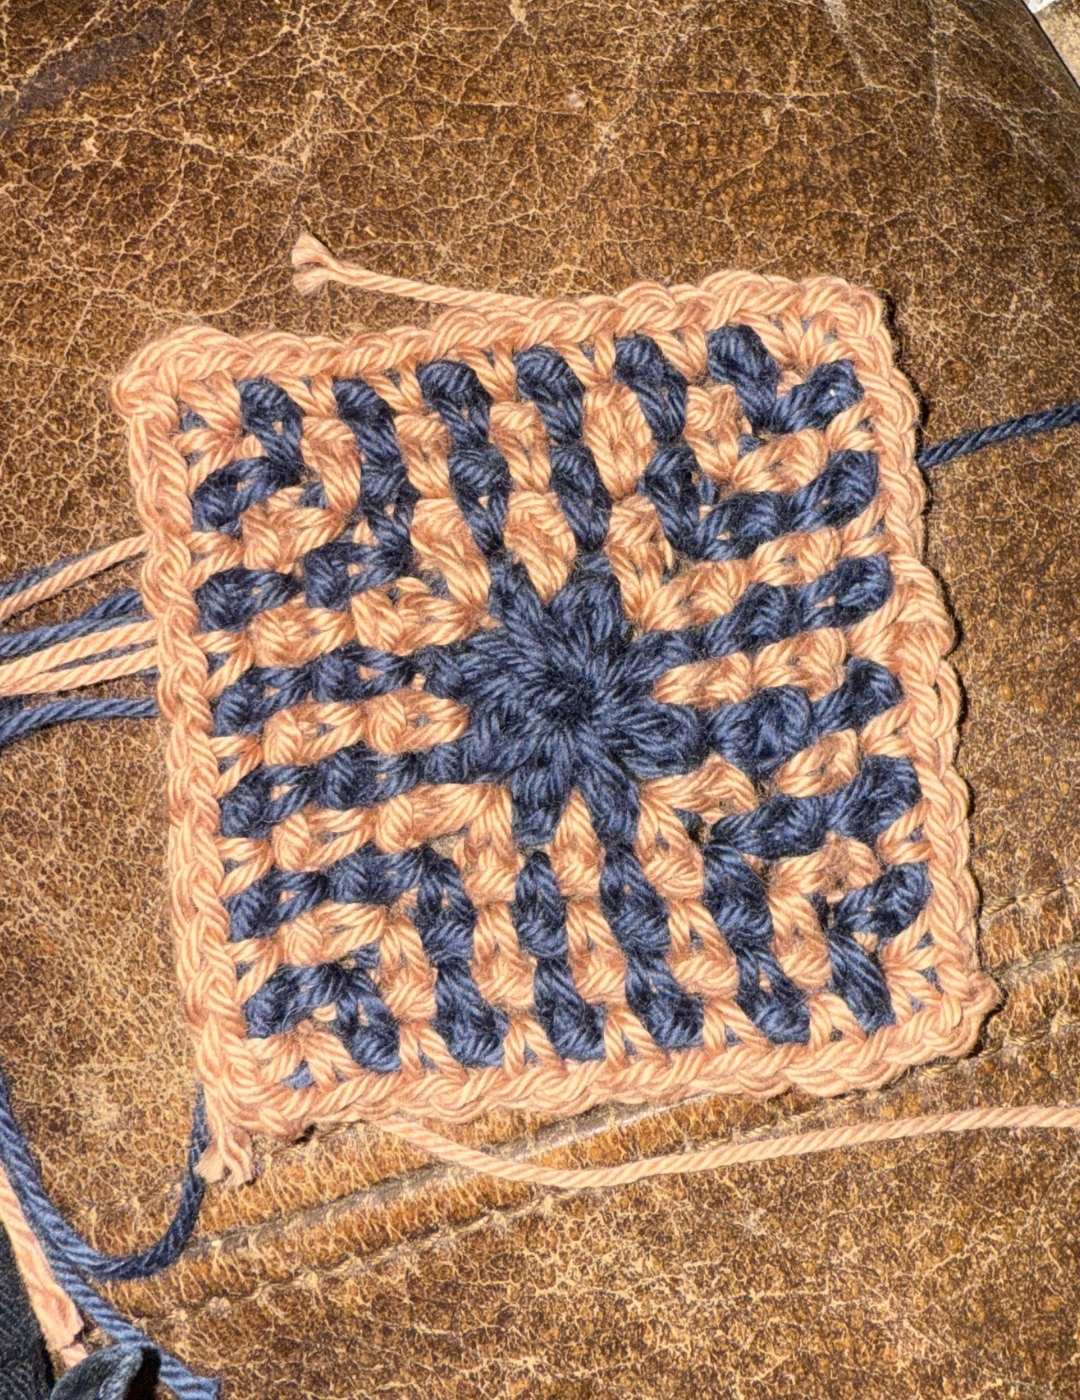
Round 1
Make a magic loop.
ch1, then work into the magic circle *sc 1, ch 2, sc 1, ch 1* 4 times. Slip stitch into the top of the first sc to join. The ch 2 spaces are your corner spaces, and the ch 1 spaces are side spaces.
cc brown
Round 2
sc 1 into the first side space.
ch 1. *Sc 1, ch 2, sc 1, ch 1* into the first corner space. Then working in the chain spaces only *sc 1, ch 1* into every side space, and *sc 1, ch 2, sc 1, ch 1* into each corner.
Slip stitch into the top of the first sc to join.
cc blue
Round 3 – 14
*sc 1, ch 1* into every side space, and *sc 1, ch 2, sc 1, ch 1* into each corner. Slip stitch into the top of the first sc to join.
change color at the end of the round, alternating between brown and blue.
Round 14 will be blue, do not change color for the final round
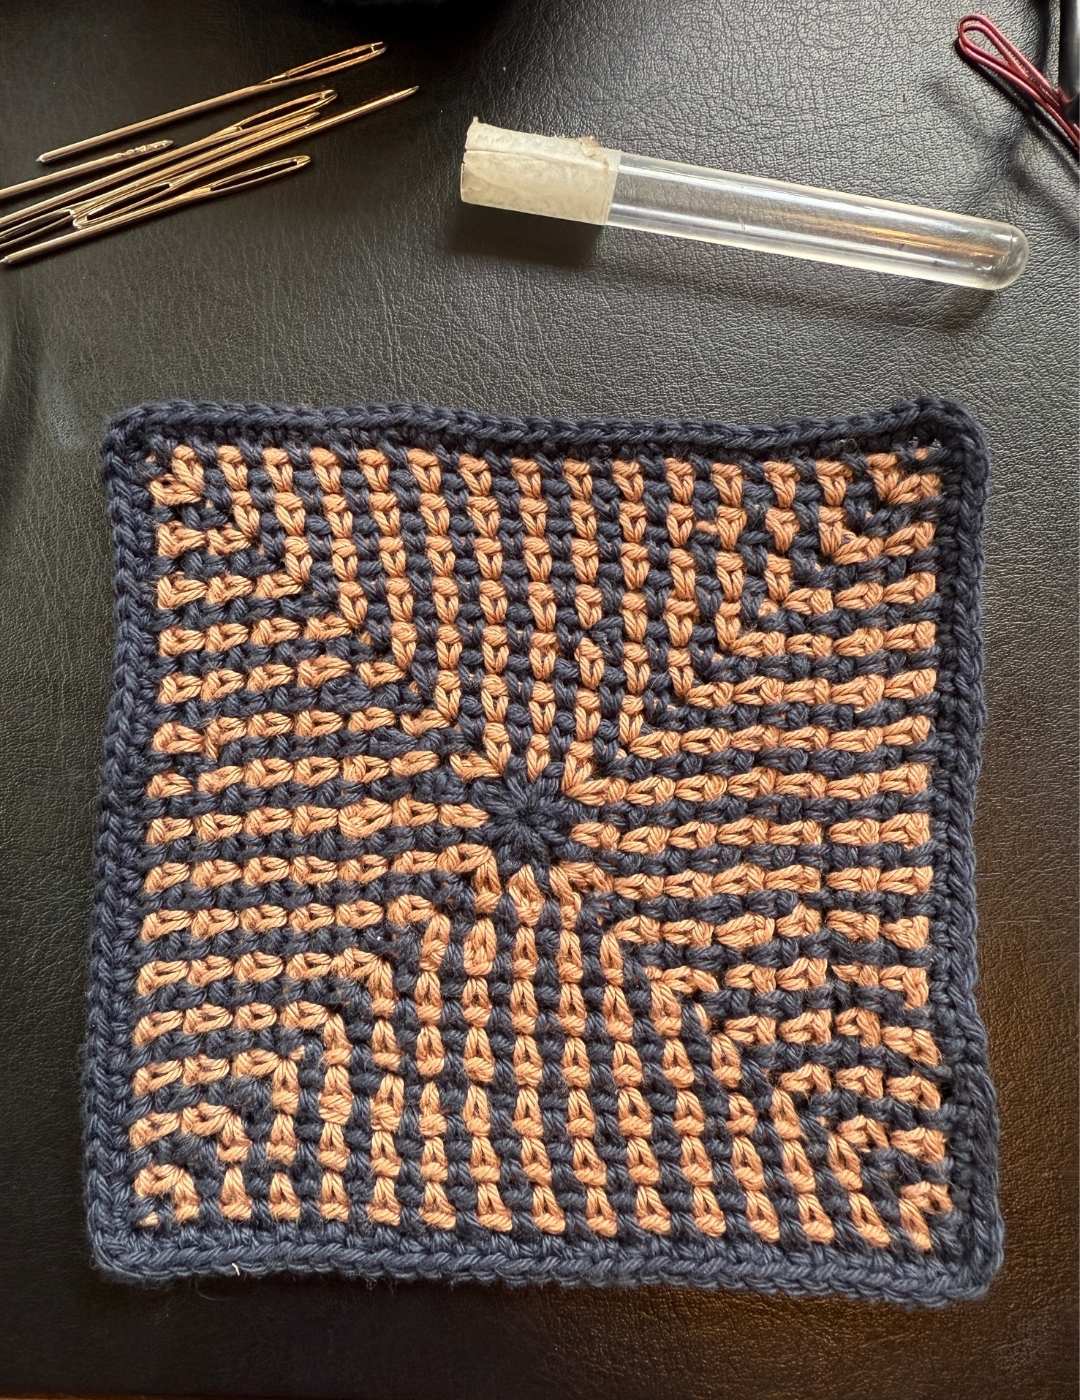
Round 15
ch2, then make 1sc into each edge stitch, and 3sc into the corners
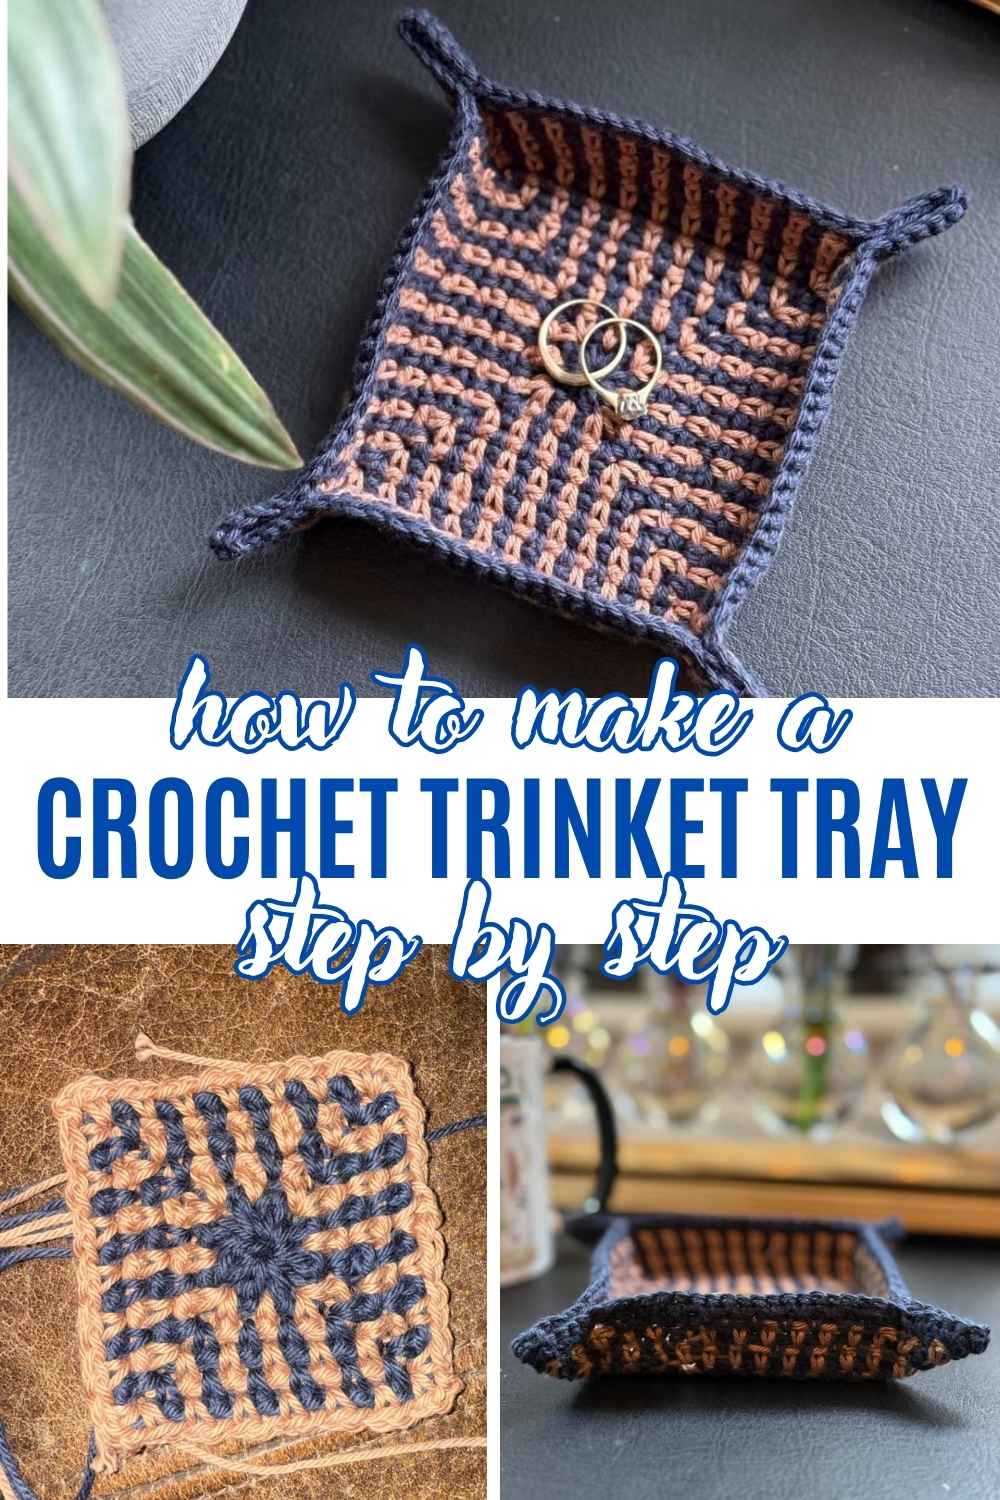
Shaping Your Trinket Tray
Right now you’re sitting looking at a flat granny square. It’s beautiful, but it’s not hanging onto any trinkets.
What I do to give it shape now, and it’s a pretty classic crochet move, is to pinch in those corners.

The great thing about the color switching design of this crocheted tray, is that you can use those color change points to work out exactly how to get each corner the same size.
From the pointed corner count down three blue lines, and fold along the third blue line. Holding that line tight with one hand, use the other to sew in and out of each side with your blue yarn in a yarn needle.
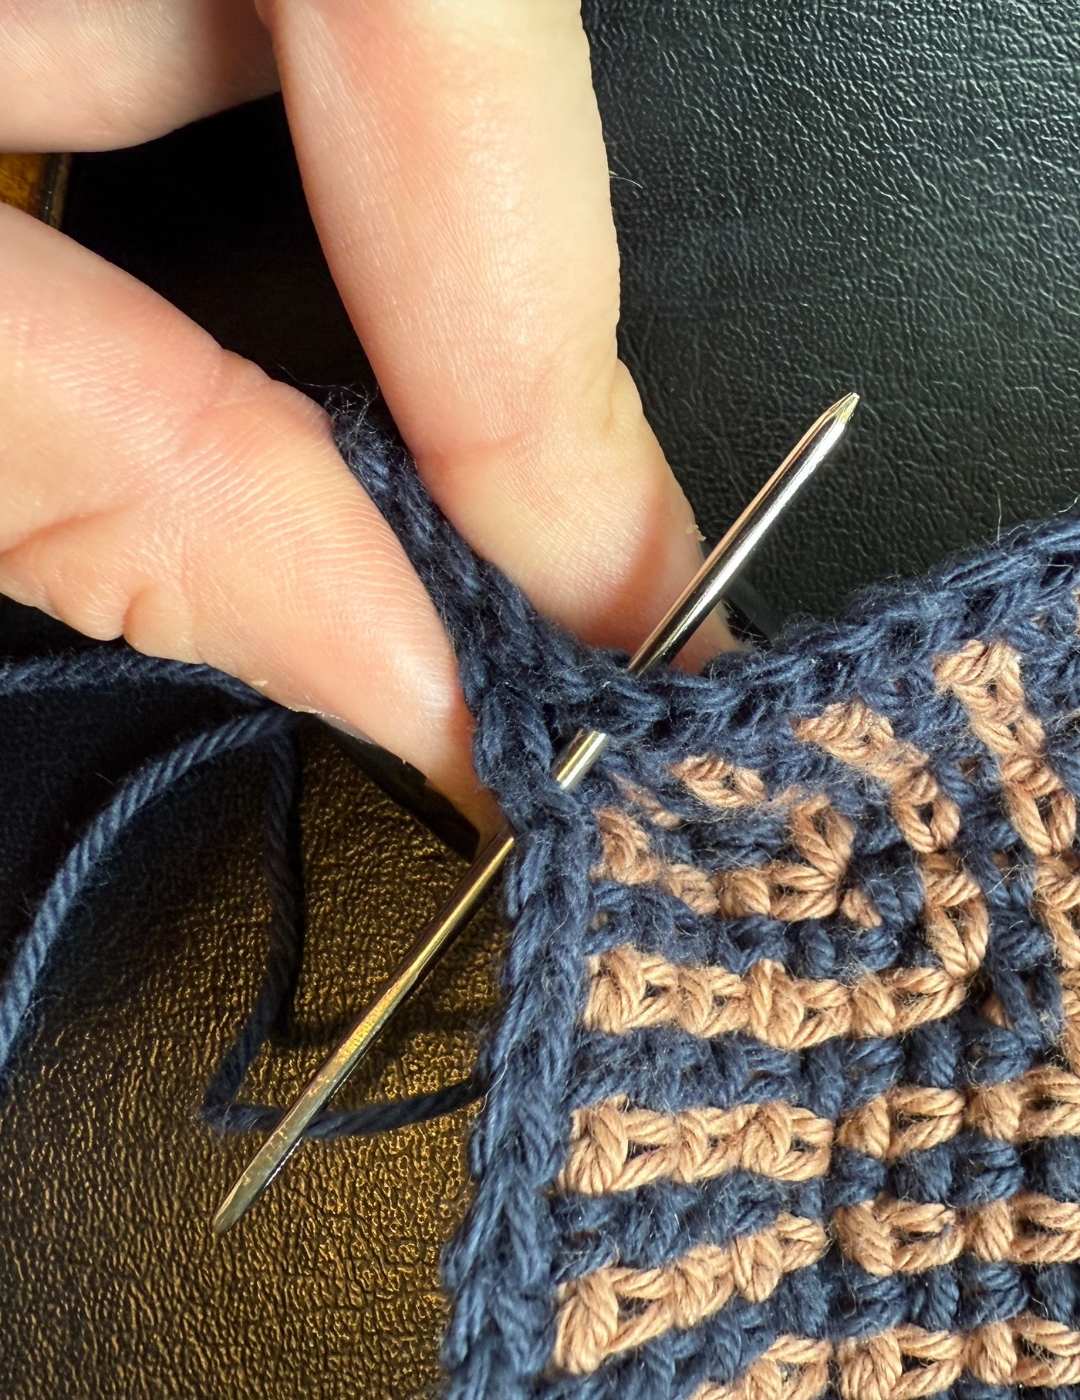
Repeat for every corner, and then sew in your loose ends at those corners and underneath your dish at each color change.
And you’re ready to fill that tray with gorgeous little trinkets!