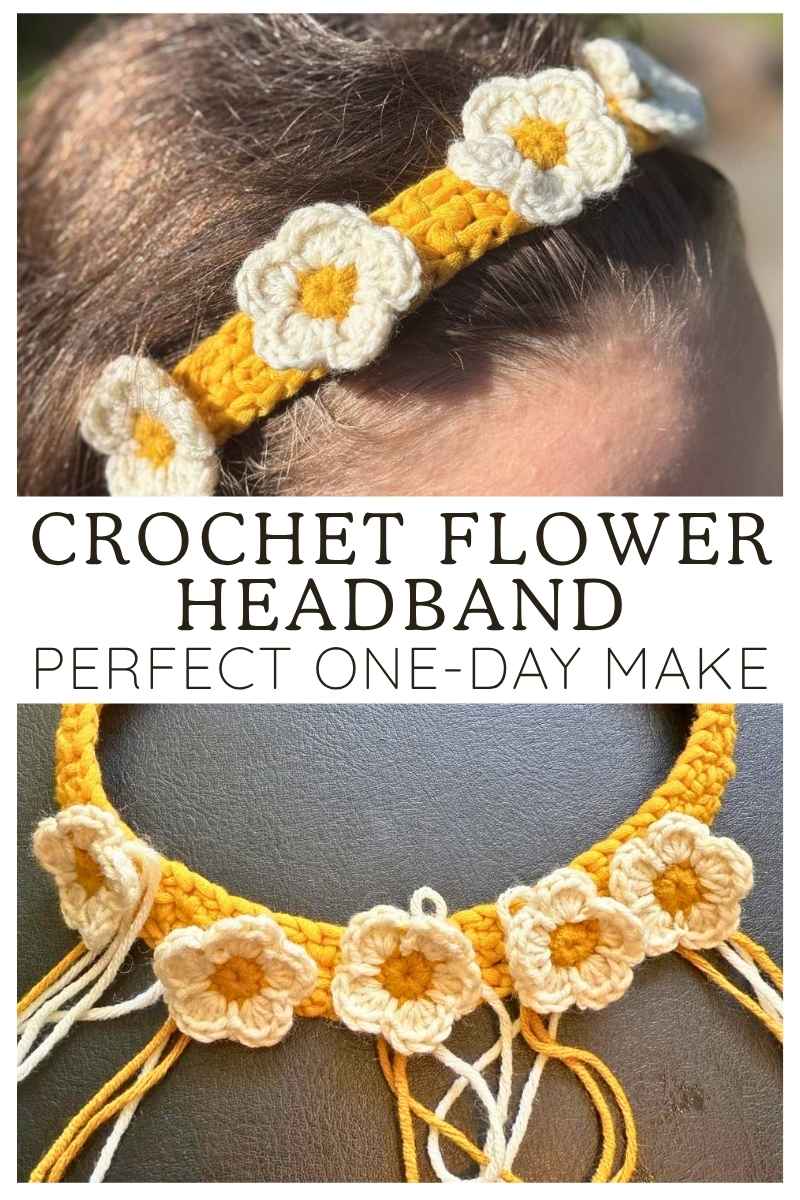
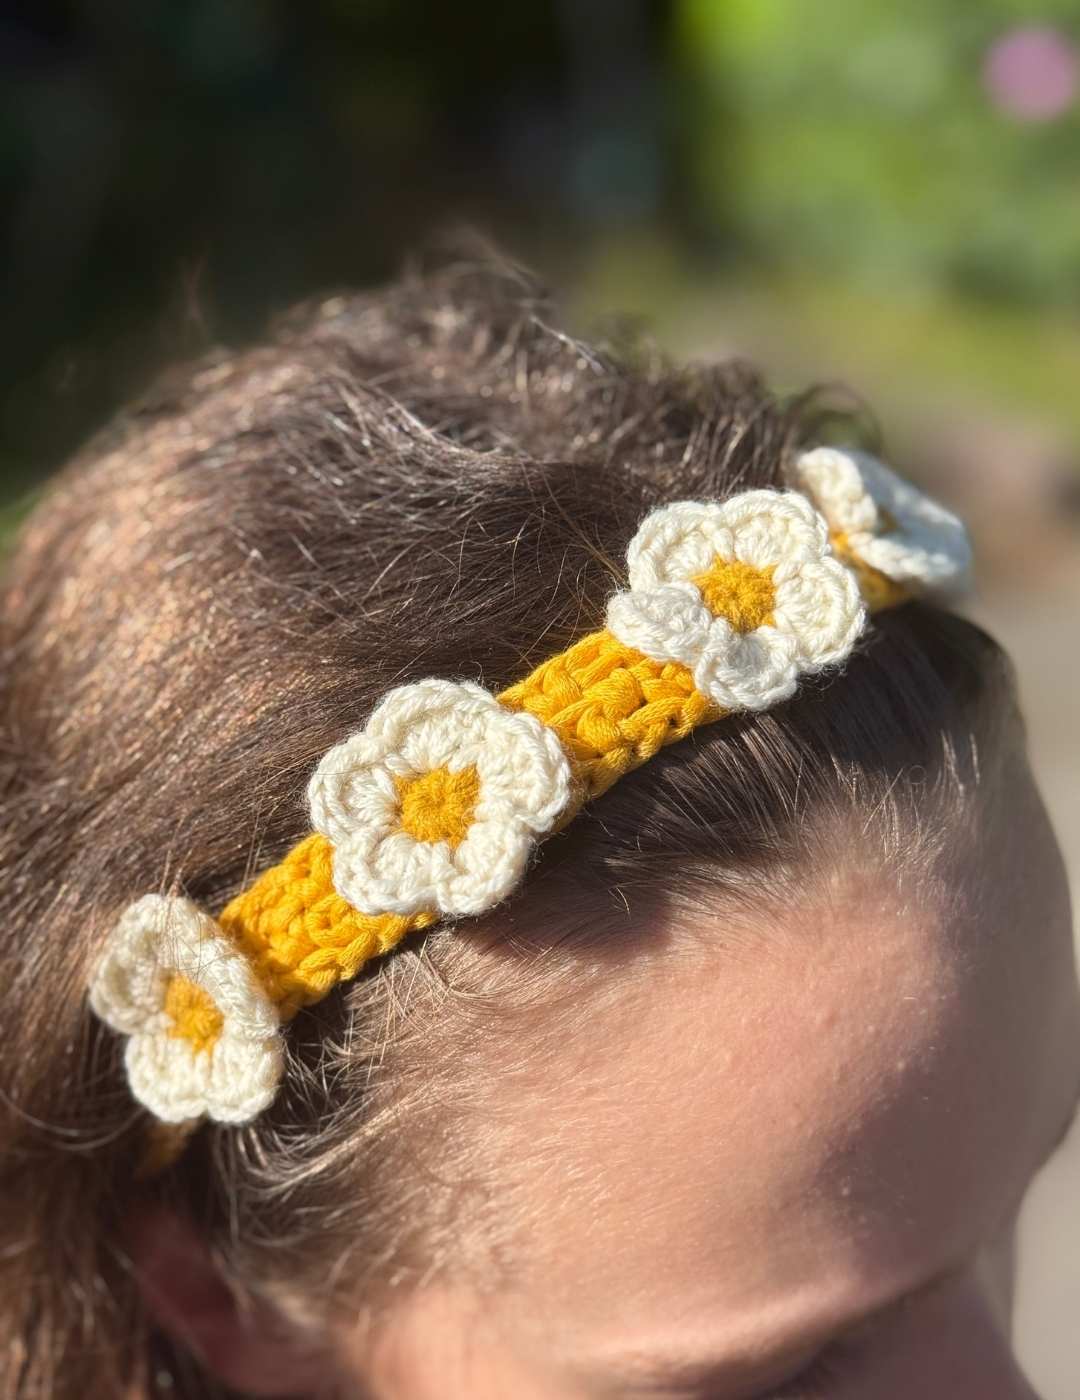
Crochet Flower Headband Pattern
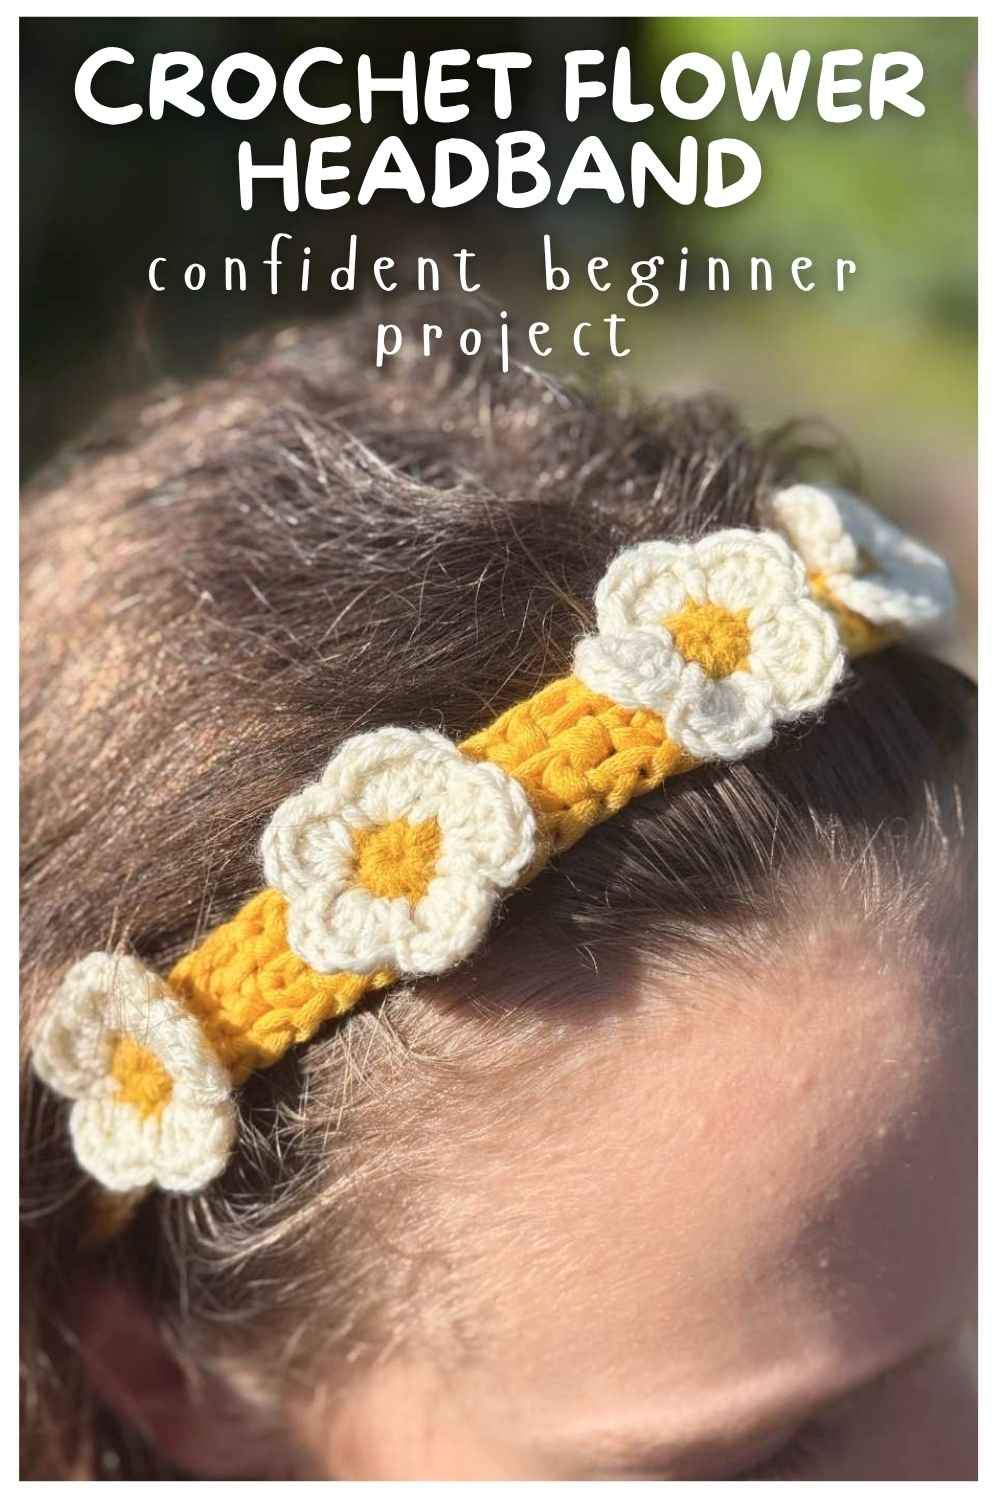
I have made a few headbands in the past, they are usually the thick kind that hold my errant fringe out of the way, or tuck my hair back on bad hair days! But this one I wanted to have the cute factor as a primary function. It’s designed to look like a fun accessory, or to match with my flower bracelet, earrings or necklace for a bolder hippy-vibe look.
This crochet flower headband is made in a few different parts, but individually they are all pretty basic crochet skills that any confident beginner should be able to handle with no trouble. However, just in case you’re a bit newer to any of the techniques I have linked tutorials below that you can check out before you begin.
The Stitches
- Magic circle
- sc – single crochet
- dc – double crochet
- slst – slip stitch
- ch – chain
- sk – skip
- Moss stitch
- cc – color change
What You’ll Need
- 3.5mm crochet hook
- 5mm crochet hook
- Chunky yellow nylon/cotton yarn
- DK white cotton blend yarn
- DK yellow cotton blend yarn
- Yarn needle
I used Bernat Maker yarn for the headband and Hobbii Cosy yarn for the flowers.
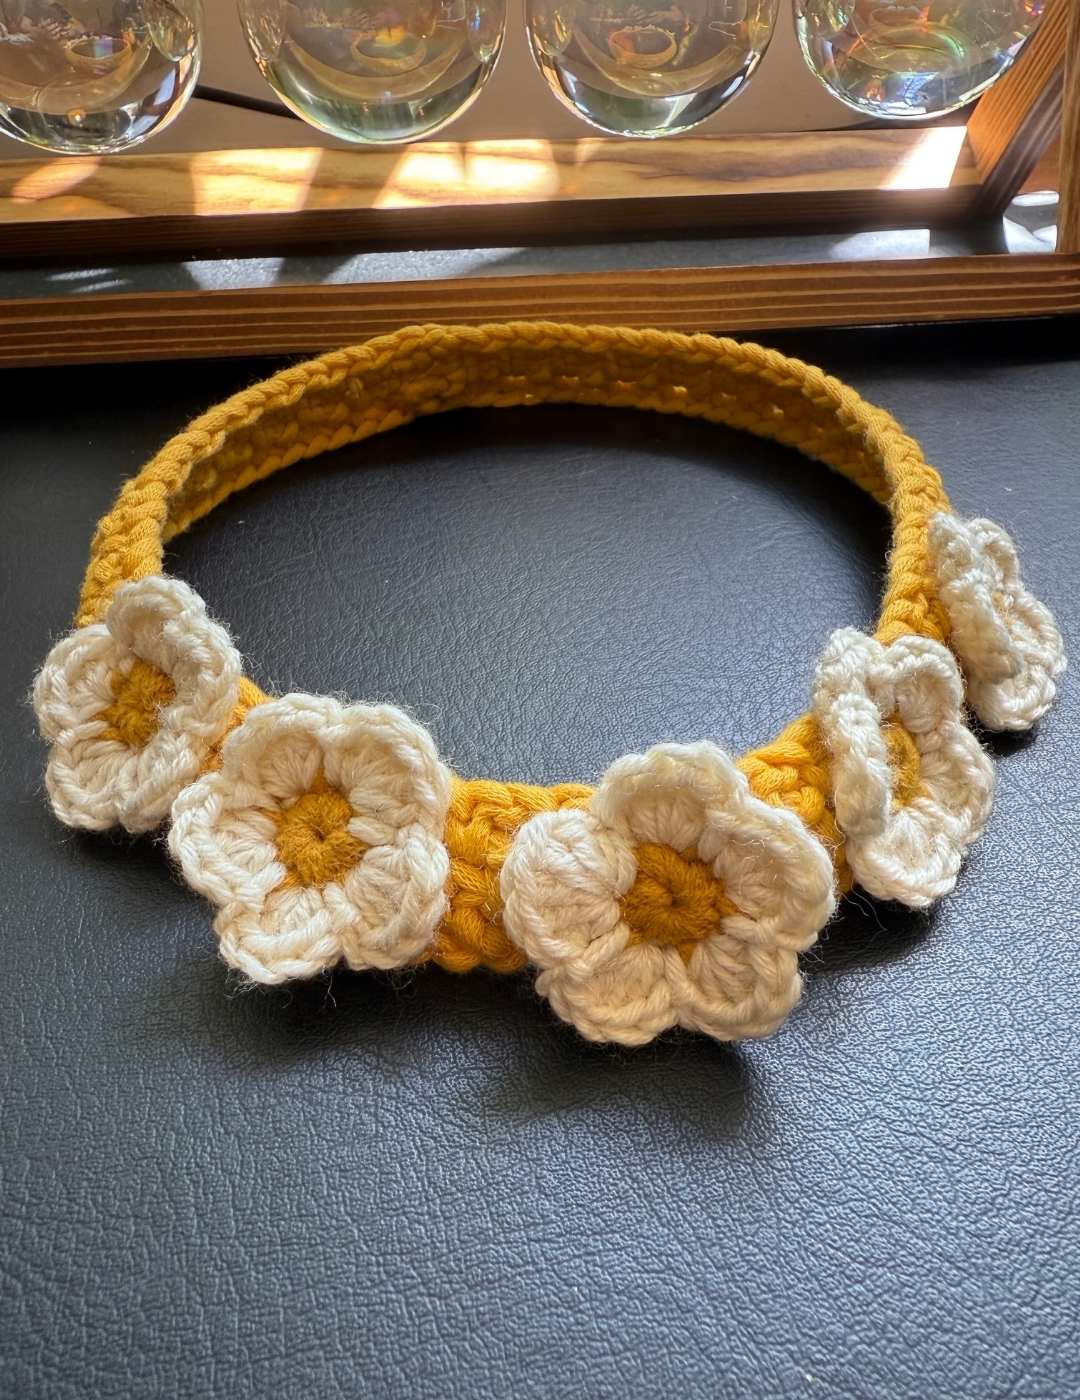
My Crochet Flower Headband Pattern
I began by making the headband itself, the flowers were crocheted separately and then sewed on.
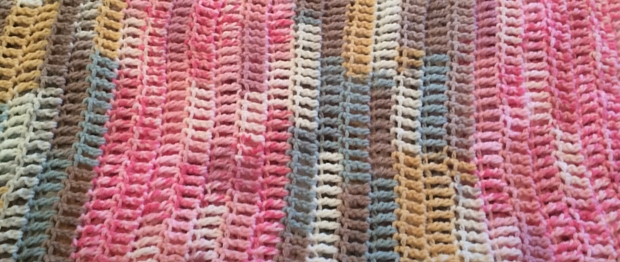
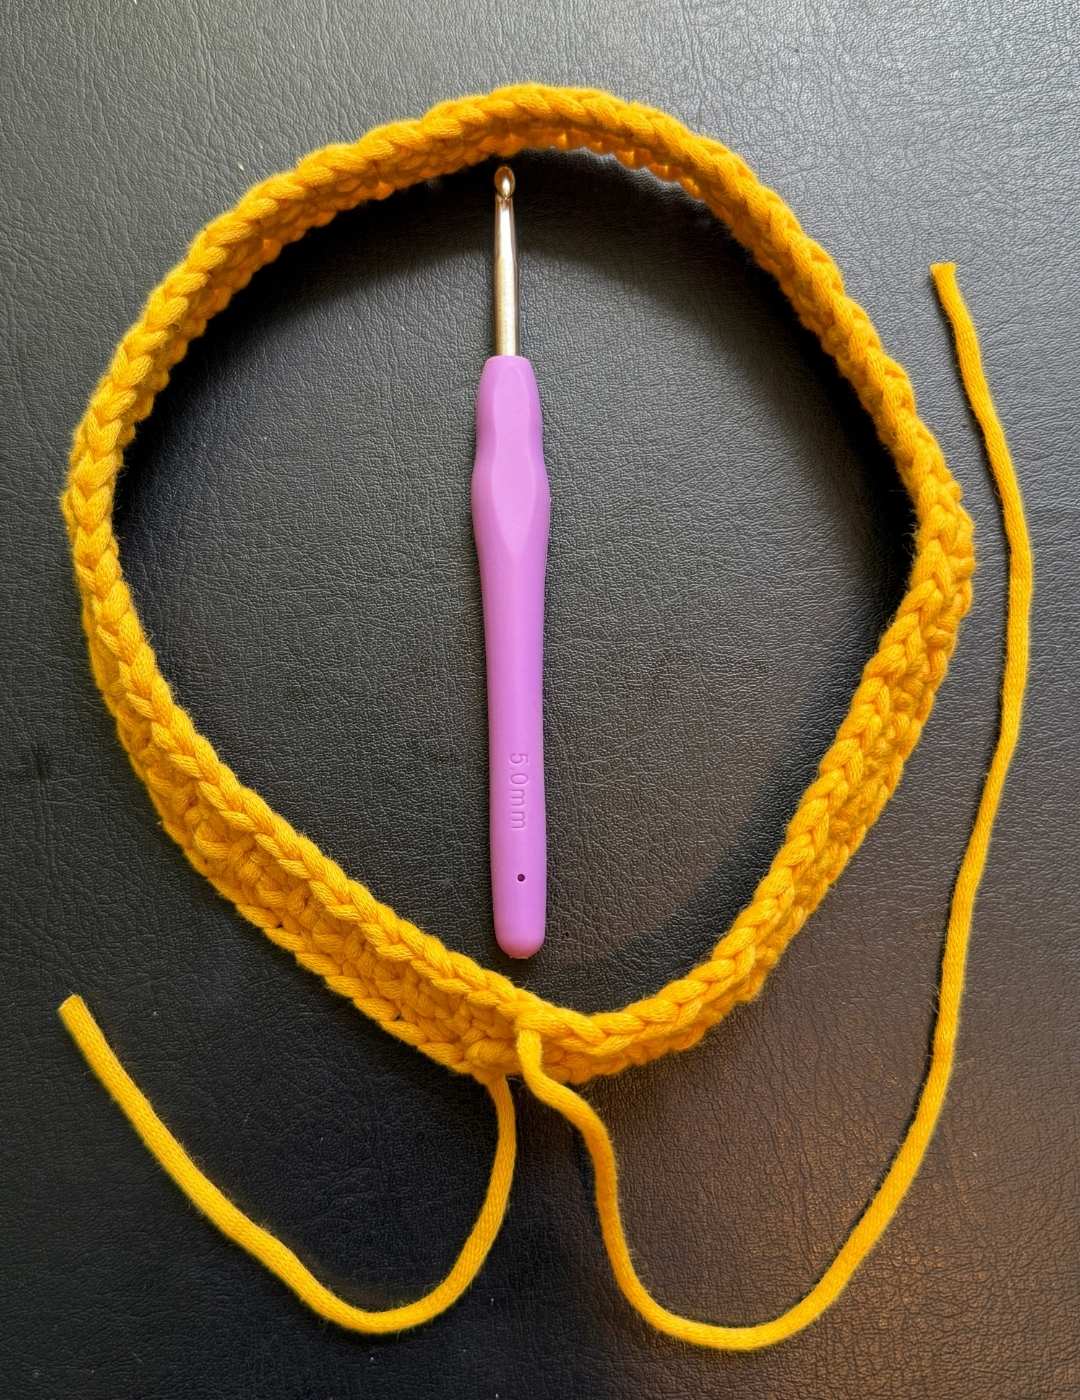
Begin by crocheting the headband with your 5mm crochet hook and chunky yarn.
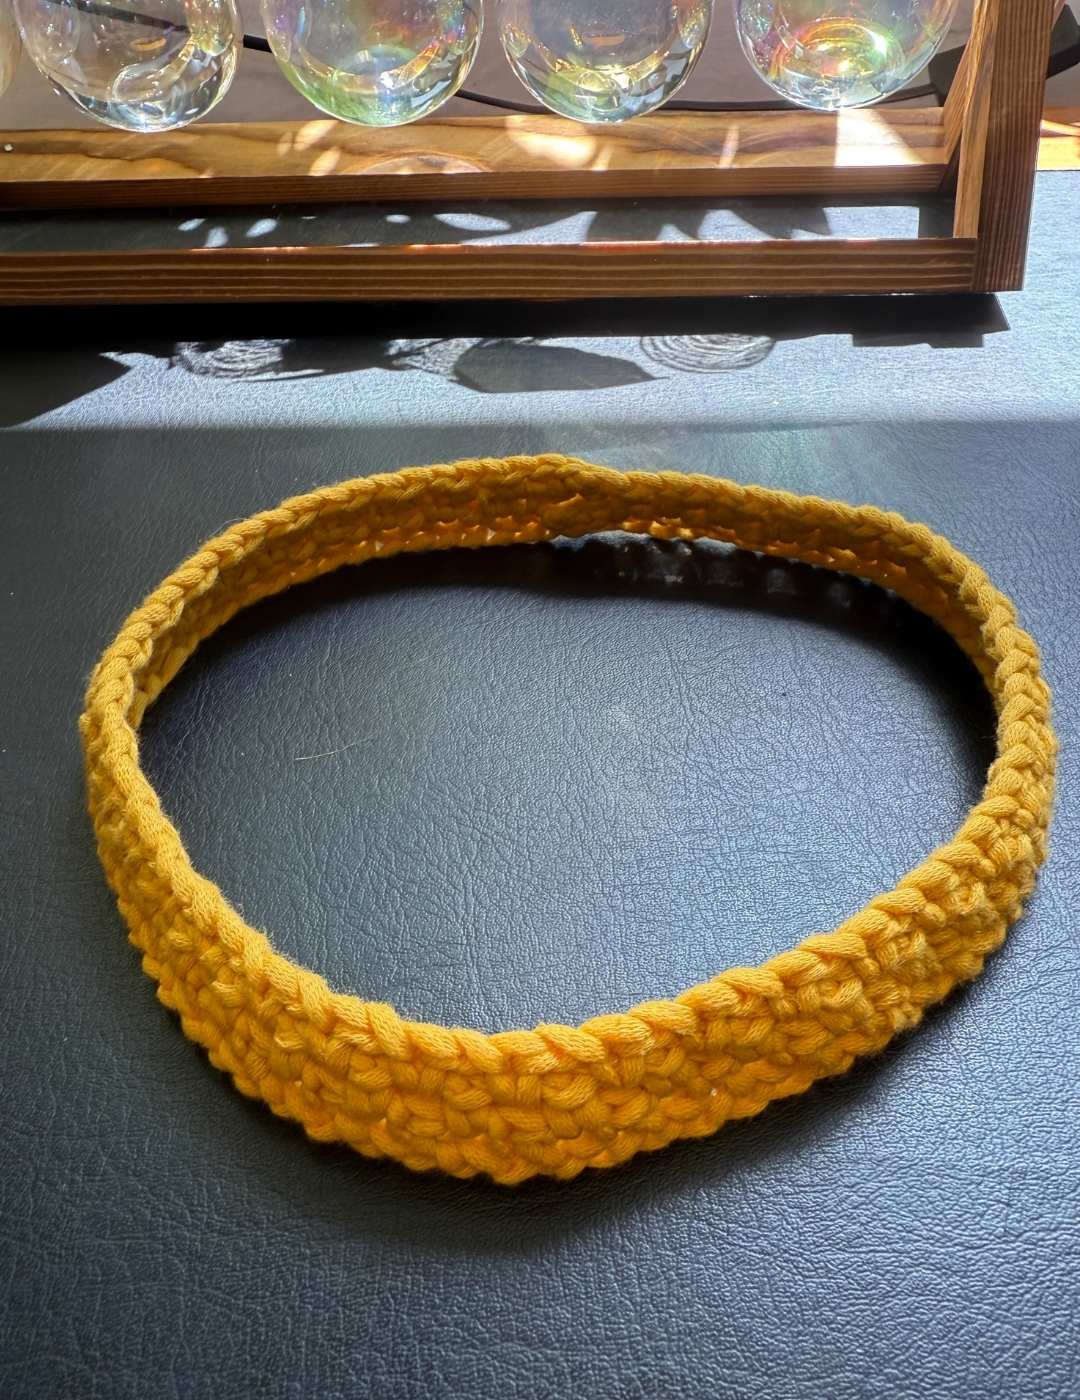
Round 1
ch75, and slst to create a circle.
At this point pop it over your head to make sure it’s the right size, if it isn’t then adjust the length of the chain by a few stitches in whichever direction you think. Remember when it’s made it’ll likely be slightly tighter due to the tension of your stitches.
Round 2
slst into the next stitch, *(sc, ch1, sk1) Repeat from * then make a slst into the second loop of the starting chain. Turn.
Round 3 – 4
From this row onward all sc will be made into the following chain gap.
slst into the next stitch, *(sc, ch1, sk1) Repeat from * then make a slst into the second loop of the starting chain. Turn.
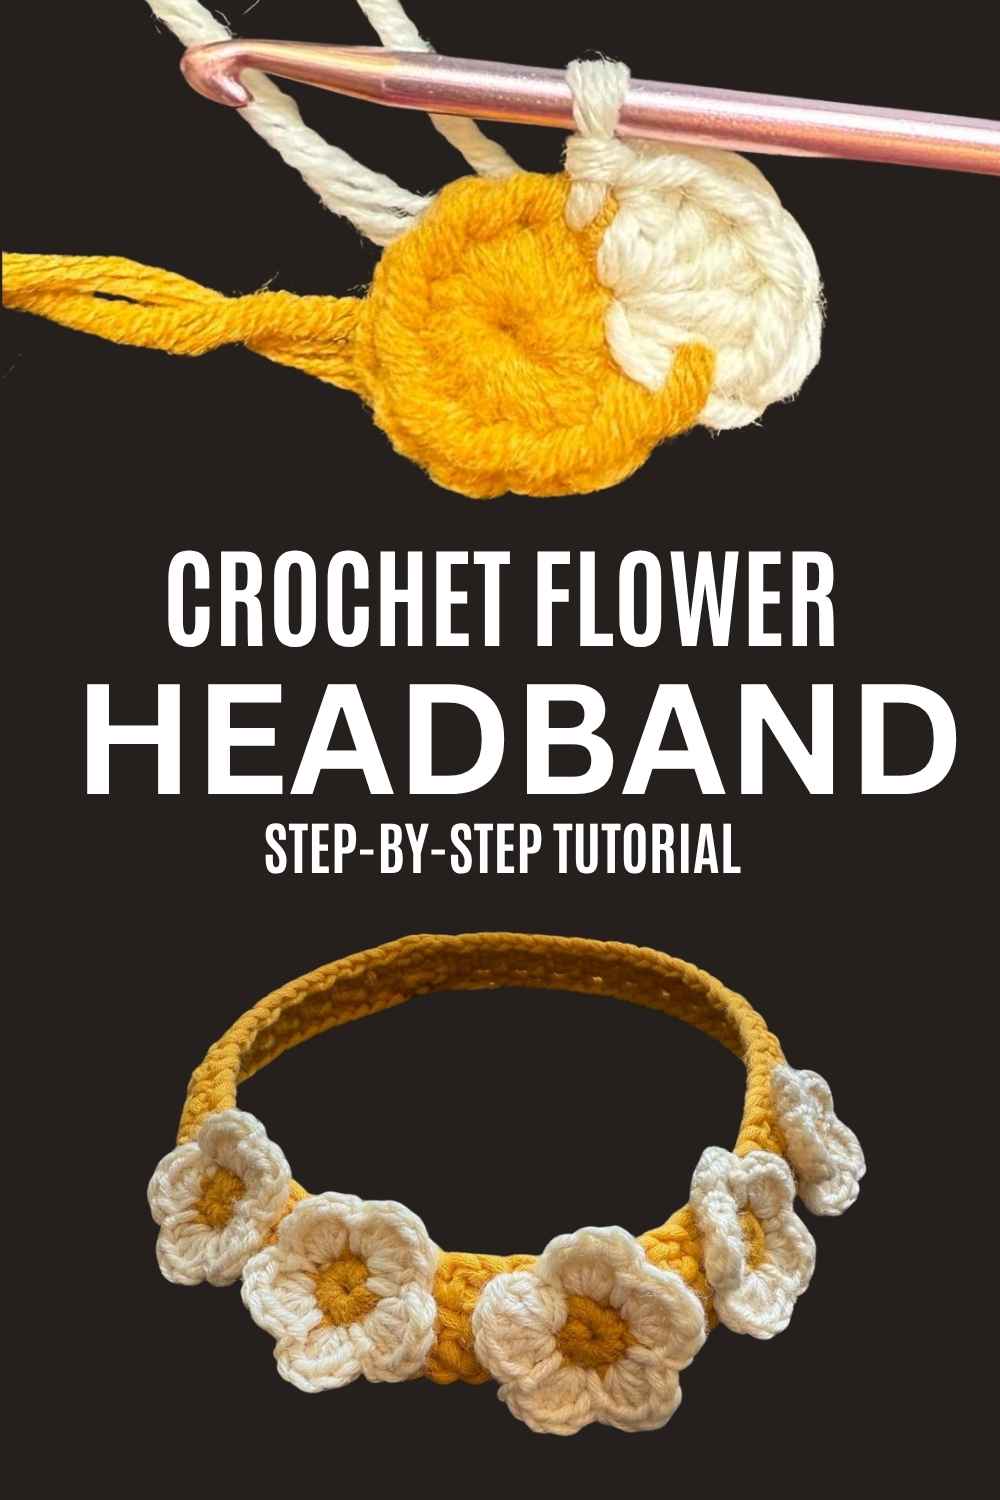
The Flowers
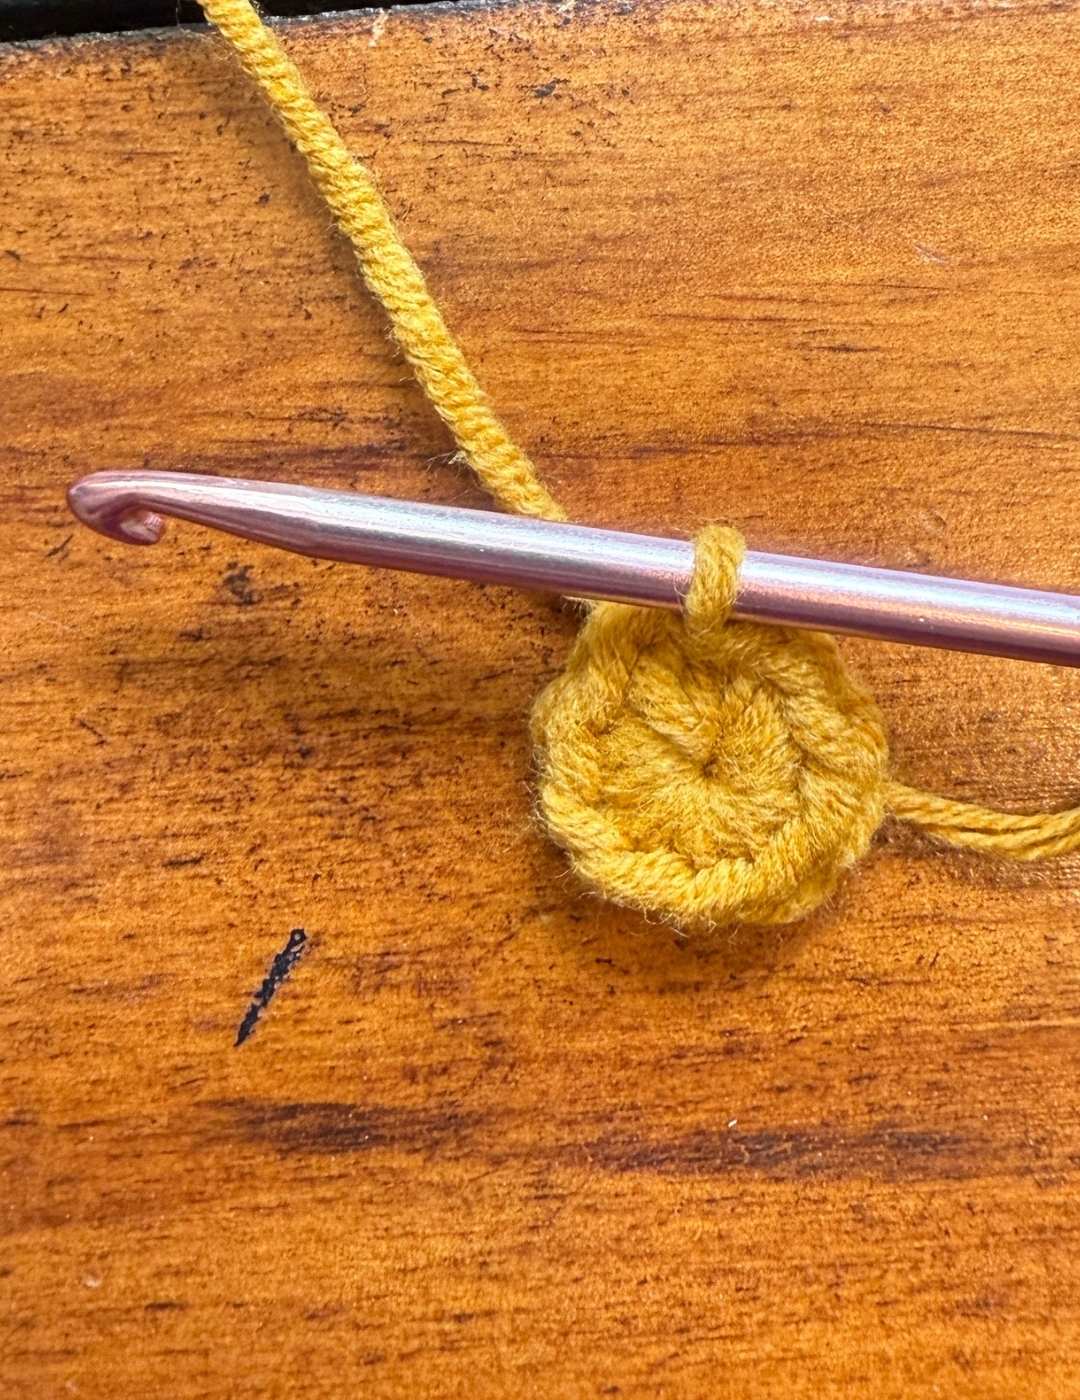
Begin in your yellow DK yarn. You are going to make five flowers to go around your headband.
Round 1
Make a magic circle of eight stitches.
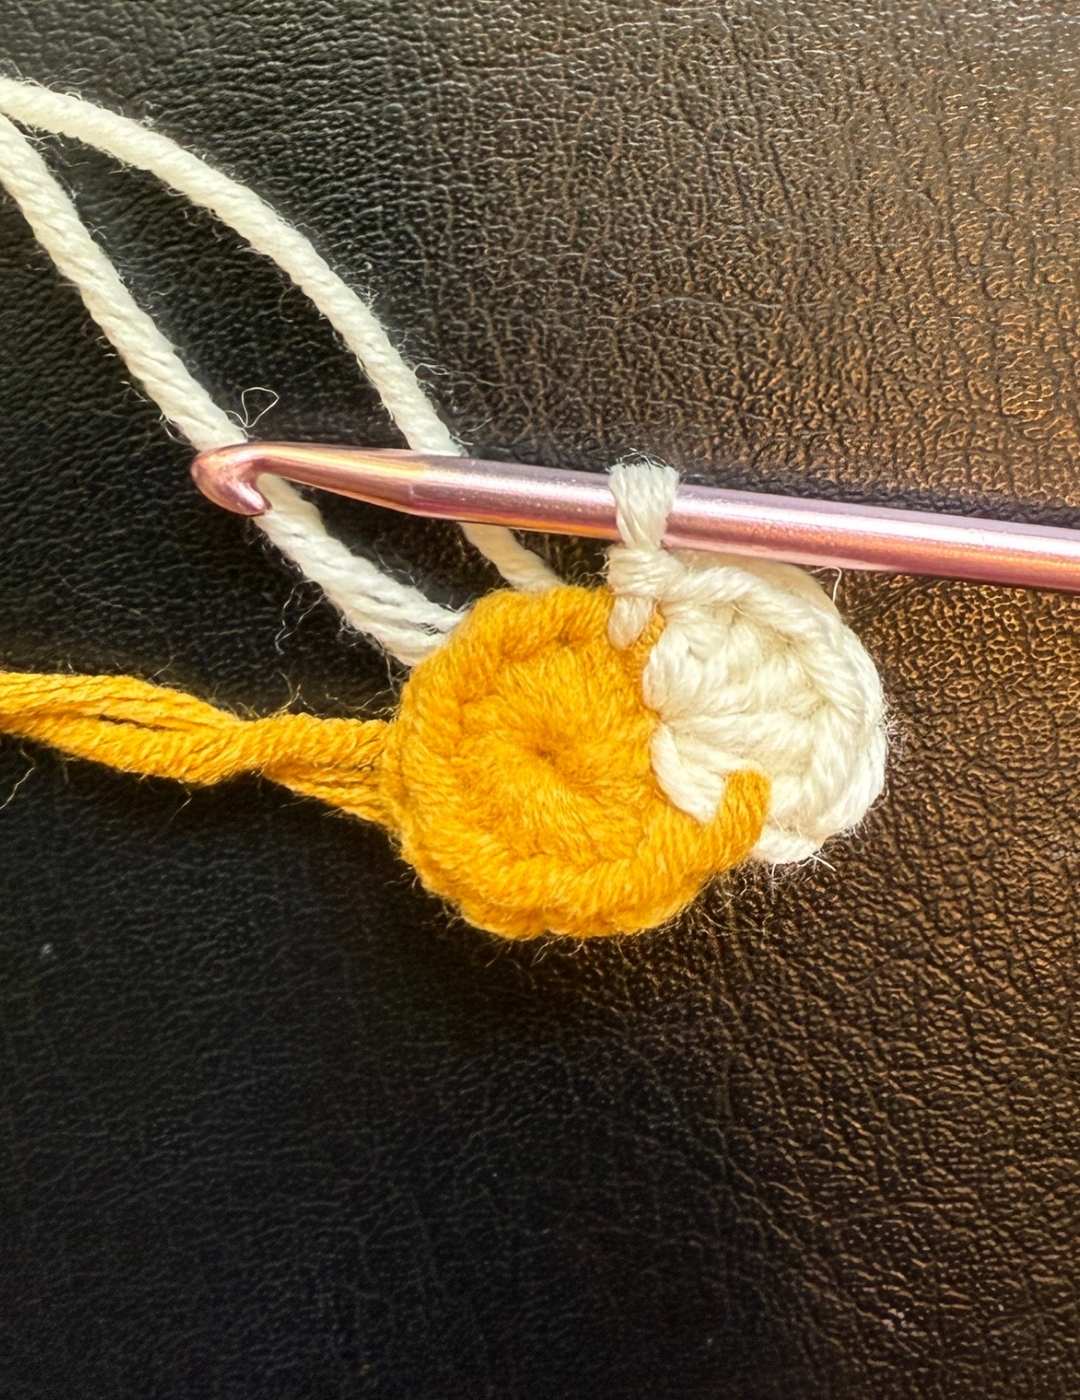
Close the circle then cc to white.
Round 2
(5dc, slst) * 5
At the end of the round sew in your loose ends very securely.
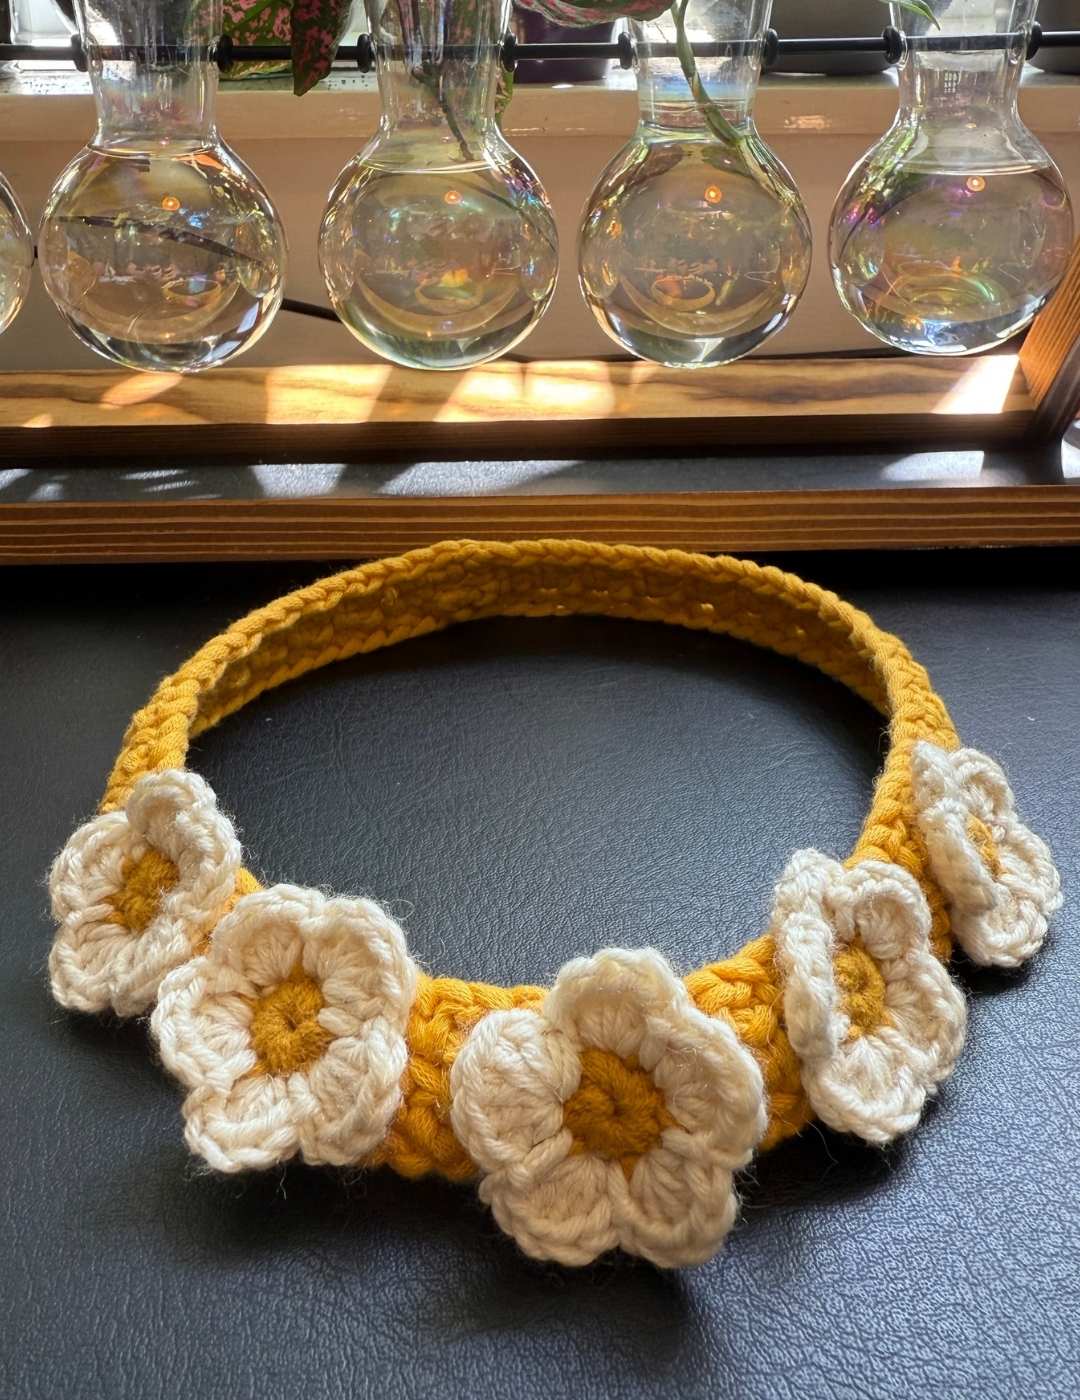
Attaching the Flowers
If you are anything like me, the joining section of your headband is not 100% as neat as the rest of it. So let’s make that area the one that’s going to be hidden at the back of your head under your hair.
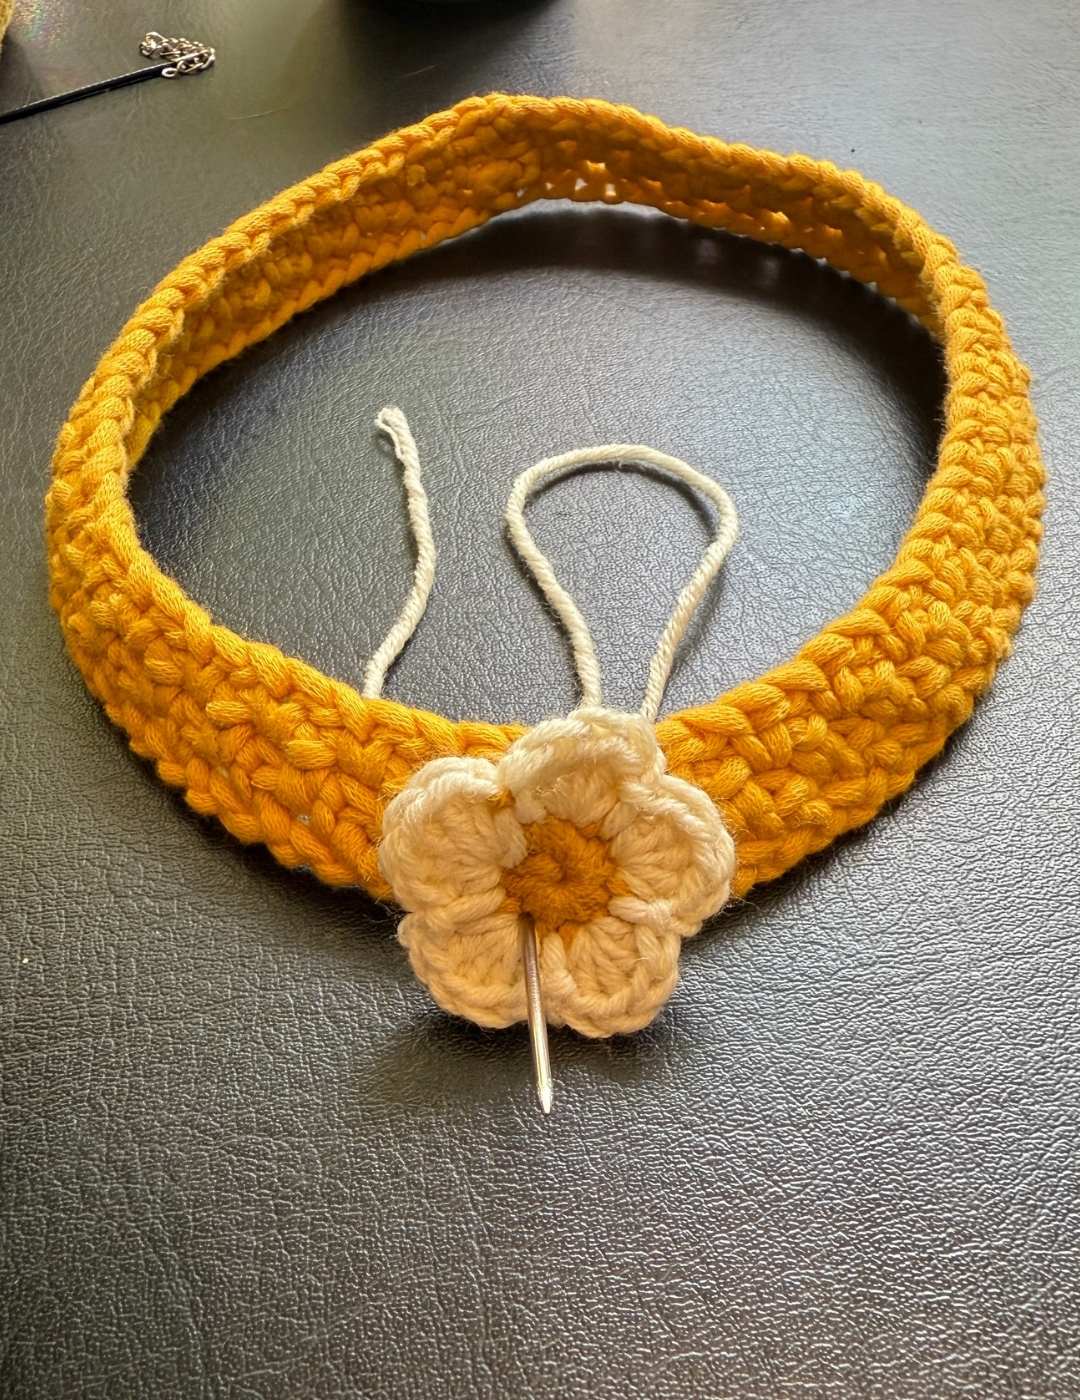
Place it on the desk in front of you, with that piece furthest away. Now take your first flower and using the white yarn sew it to the front side of the headband. I would weave in and out of the petal sections, mattress stitch style, through the band until it feels secure.
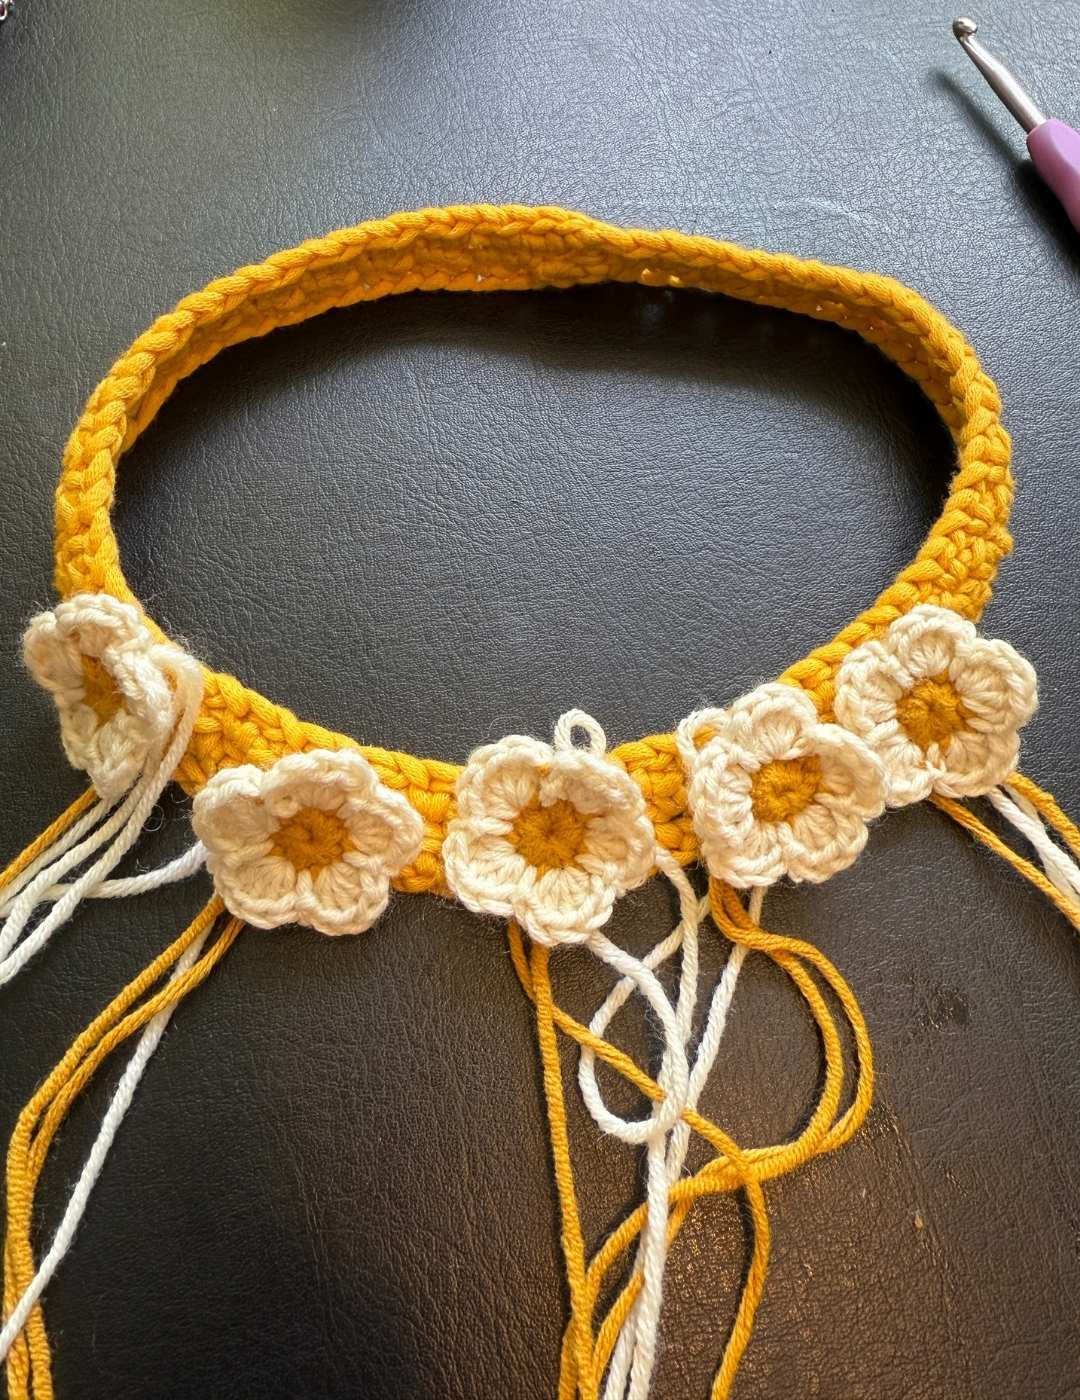
Now you are going to attach two more flowers to each side of that one, about a half an inch apart.
When you’re done, sew in the loose ends and you are good to go!